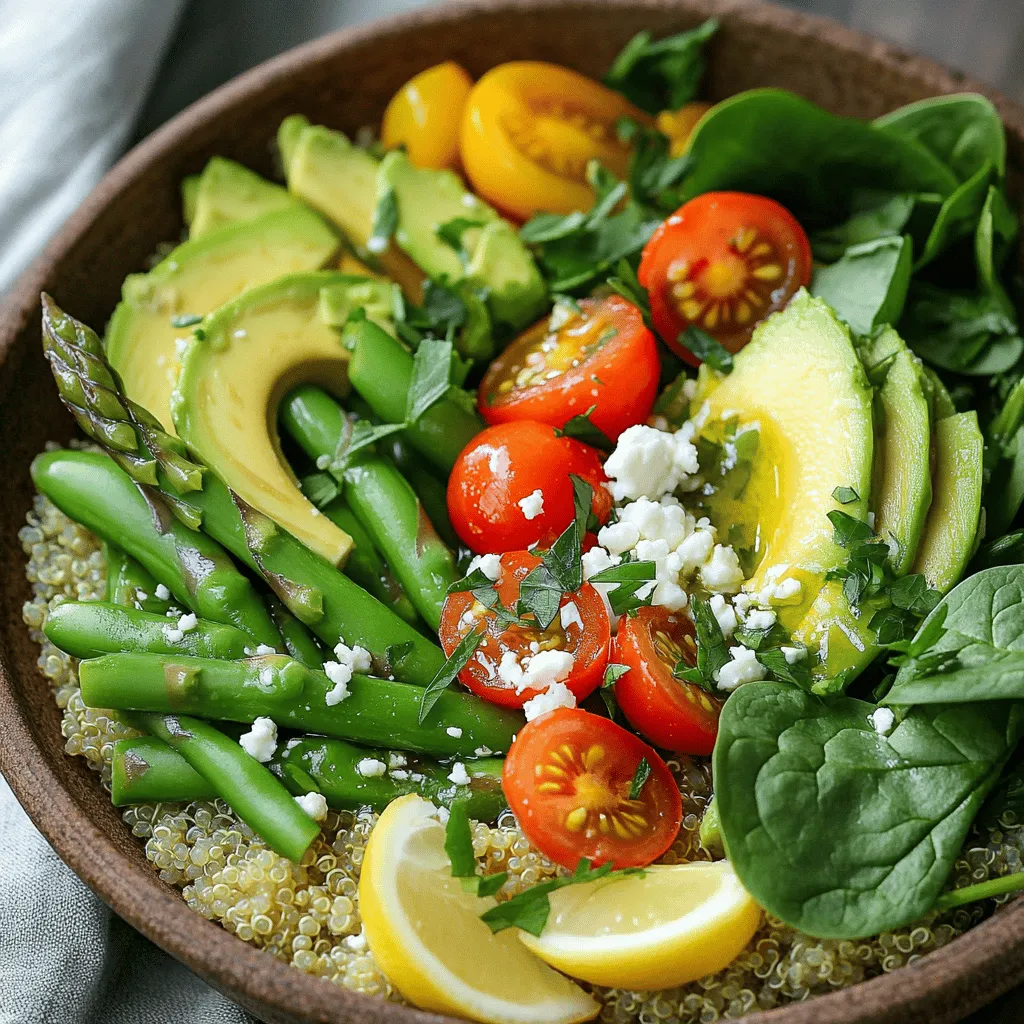
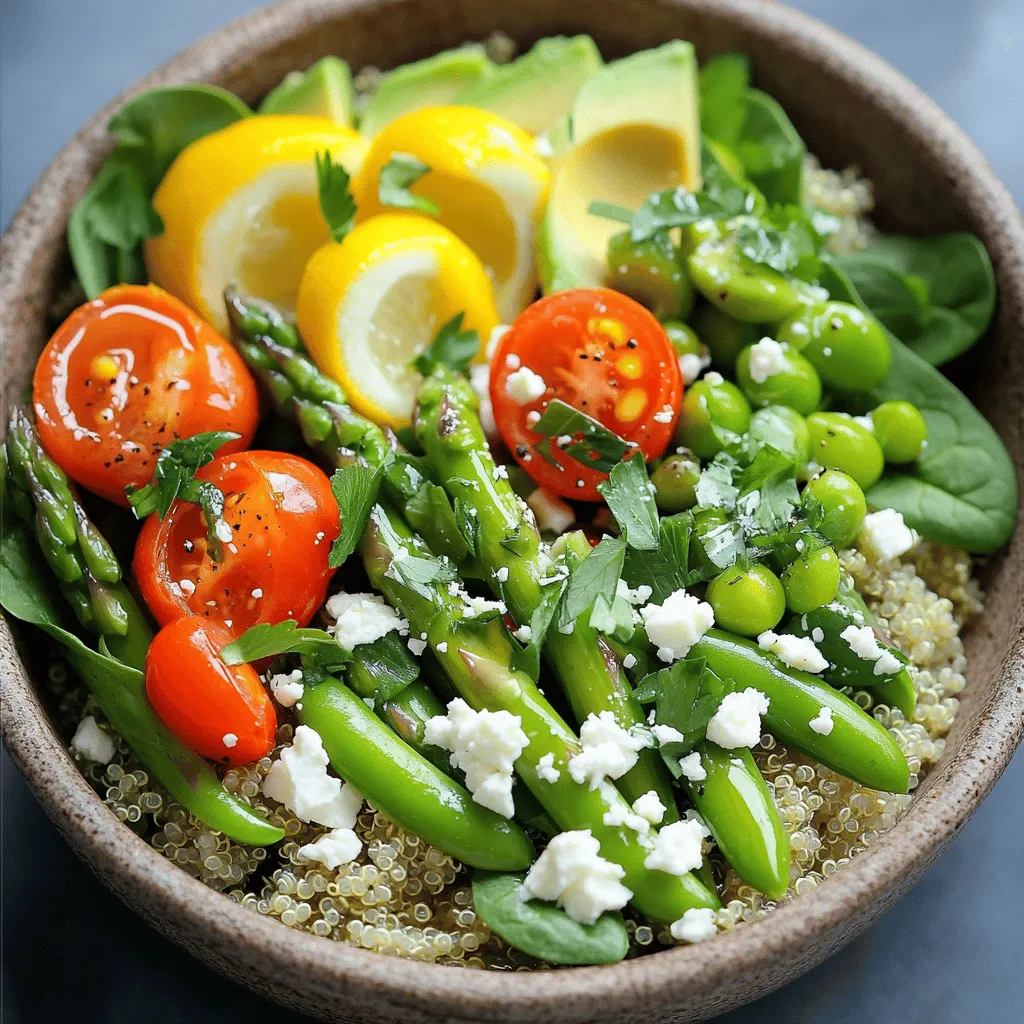
Spring is the perfect time to enjoy fresh flavors with my Spring Veggie Power Bowls. Packed with vibrant greens and crunchy veggies, these bowls are both simple and healthy. I’ll guide you through choosing the best ingredients, preparing each element, and customizing your bowl for max taste. Whether you’re a veggie lover or looking to boost your meals, you’ll find inspiration here. Let’s dive into this nutrient-packed delight!
Ingredients
Essential Ingredients for Spring Veggie Power Bowls
These bowls pack a punch with fresh, bright flavors. Here’s what you need:
- 1 cup quinoa, rinsed
- 2 cups vegetable broth or water
- 1 cup cherry tomatoes, halved
- 1 cup asparagus, trimmed and cut into 1-inch pieces
- 1 cup snap peas, trimmed
- 1 cup baby spinach leaves
- 1 avocado, sliced
- 1/4 cup feta cheese, crumbled (optional)
- 1/4 cup chickpeas, rinsed and drained
- 2 tablespoons olive oil
- 1 tablespoon lemon juice
- Salt and pepper to taste
- Fresh herbs (such as basil or parsley) for garnish
This mix of ingredients gives you a colorful bowl. Each one brings its own taste and health boost.
Optional Additions for Extra Flavor and Nutrition
You can add a few extras to make your bowls even better. Here are some ideas:
- Roasted red peppers for a smoky flavor
- Grilled chicken for added protein
- Nuts like almonds or walnuts for crunch
- Seeds such as pumpkin or sunflower for extra nutrition
- A dollop of hummus for creaminess
Feel free to get creative! Adding these options can make each bowl unique.
Nutritional Benefits of Key Ingredients
Each ingredient in these bowls offers great health perks:
- Quinoa: A complete protein, rich in fiber and other nutrients.
- Vegetable broth: Boosts flavor without extra calories.
- Asparagus: Full of vitamins A, C, and K, great for bone health.
- Snap peas: High in vitamins and antioxidants.
- Spinach: Packed with iron and essential vitamins.
- Avocado: Healthy fats that keep your heart happy.
- Chickpeas: Source of protein and fiber that aids digestion.
These ingredients not only taste good but also help keep you healthy.
Step-by-Step Instructions
Cooking the Quinoa
Start by cooking the quinoa. In a medium saucepan, combine 1 cup of rinsed quinoa with 2 cups of vegetable broth or water. Bring it to a boil, then reduce the heat to low. Cover the pot and let it simmer for about 15 minutes. The quinoa should be fluffy and all the liquid must be absorbed. After cooking, remove it from heat and let it sit covered for 5 minutes. This step makes the quinoa light and airy.
Preparing the Vegetables
While the quinoa cooks, prepare the vegetables. Heat 1 tablespoon of olive oil in a large skillet over medium heat. Add 1 cup of trimmed asparagus, cut into 1-inch pieces. Sauté for about 3-4 minutes until the asparagus is tender but still crisp. Next, add 1 cup of snap peas to the skillet. Sauté for another 2-3 minutes until they turn bright green. Season with salt and pepper for flavor. Once done, remove the skillet from the heat.
Assembling the Power Bowls
In a mixing bowl, combine the cooked quinoa, sautéed vegetables, 1 cup of halved cherry tomatoes, 1 cup of baby spinach leaves, and 1/4 cup of rinsed chickpeas. Drizzle 1 tablespoon of lemon juice and the remaining olive oil over the mixture. Gently toss everything together to mix. To assemble the power bowls, divide the quinoa and veggie mixture among serving bowls. Top each bowl with sliced avocado, 1/4 cup of crumbled feta cheese (if you like), and fresh herbs like basil or parsley. Serve immediately and enjoy this nutrient-packed delight.
Tips & Tricks
How to Perfectly Cook Quinoa
To cook quinoa right, start by rinsing it well. This removes the bitter coating. Use one cup of quinoa and two cups of vegetable broth or water. Bring it to a boil, then lower the heat. Cover and let it simmer for about 15 minutes. When done, let it sit for 5 more minutes with the lid on. This makes it fluffy and perfect for your power bowl.
Sautéing Vegetables: Maintaining Crispness
When you sauté vegetables, keep the heat medium-high. This helps them stay crisp. Add oil to a hot skillet, then toss in your asparagus first. Cook for just 3 to 4 minutes. Next, add snap peas. They only need 2 to 3 minutes. Season with salt and pepper at the end. This method keeps their bright color and crunch.
Customizing Your Power Bowl for Optimal Flavor
You can make your power bowl unique by adding your favorite flavors. Try different veggies based on what you like. Roasted bell peppers or zucchini work well. You can also add nuts for crunch or seeds for extra nutrition. For a zesty touch, drizzle lemon juice or a tasty dressing over the top. Enjoy the mix of flavors in each bite!

Variations
Vegetarian vs. Vegan Options
You can easily make this bowl fit your diet. If you want a vegetarian option, add feta cheese. If you prefer vegan, simply skip the cheese. The rest of the ingredients are vegan-friendly. You can still enjoy all the flavors and textures. A colorful bowl loaded with veggies tastes great, no matter the choice.
Protein Choices: Chickpeas, Chicken, or Tofu
For protein, I love using chickpeas. They add a nice texture and flavor. If you want meat, grilled chicken is a great choice. Slice it thin and add it on top. Tofu is another option. It soaks up flavors well when marinated. Choose what suits your taste or diet best.
Dressing Ideas to Elevate Your Bowls
Dressing can change the whole bowl. A simple dressing of olive oil and lemon juice works well. You can also try tahini for a creamy touch. Mix in some garlic or herbs for extra flavor. Another idea is a balsamic glaze for a sweet touch. Try different dressings to find your favorite. These small changes can make each bowl unique.
Storage Info
Refrigerating Leftovers
After enjoying your Spring Veggie Power Bowls, store any leftovers in the fridge. Place them in a sealed container. They can last up to three days. This way, you can enjoy your meal again. The flavors will meld together, making it even tastier.
Freezing Instructions for Meal Prepping
If you want to store your bowls for longer, freezing is a great option. First, let the bowls cool completely. Then, use freezer-safe bags or containers to store them. Be sure to remove as much air as possible. This helps prevent freezer burn. You can freeze the bowls for up to a month. When ready to eat, thaw in the fridge overnight and reheat gently.
Recommended Containers for Storage
Using the right containers makes storage easy. For refrigerating, glass or plastic containers with tight lids work best. They keep the food fresh and make it easy to see what’s inside. For freezing, use heavy-duty freezer bags or rigid containers. They protect your food from air and moisture. Always label your containers with the date. This helps keep track of how long they’ve been stored.
FAQs
How to Make Spring Veggie Power Bowls Gluten-Free?
To make Spring Veggie Power Bowls gluten-free, use gluten-free grains. Quinoa is a great choice. Make sure to check any packaged items for gluten-free labels. Most vegetables are naturally gluten-free. So, you can enjoy asparagus, snap peas, and spinach without worry.
What Other Seasonal Vegetables Can Be Included?
You can add many seasonal vegetables to your power bowls. Try bell peppers, zucchini, or radishes for extra color and flavor. Carrots and beets also make great additions. Choose what looks fresh at your local market. This makes your bowls more fun and tasty.
Can I Use Cooked Quinoa for This Recipe?
Yes, you can use cooked quinoa! If you have leftovers, just warm them before mixing. This saves time and adds flavor. Be sure to adjust the amount of broth or water you use if needed. The goal is to keep the bowl fresh and delicious.
Spring veggie power bowls are easy to make and full of flavor. We explored essential ingredients and optional toppings that boost nutrition. You learned how to cook quinoa and prepare fresh veggies for a perfect bowl. We shared tips to keep your veggies crisp and ideas to customize flavors.
In conclusion, enjoy the freedom to make your power bowls unique. Experiment with different veggies and dressings to find your perfect mix. Your healthy meals can be fun and flavorful!


