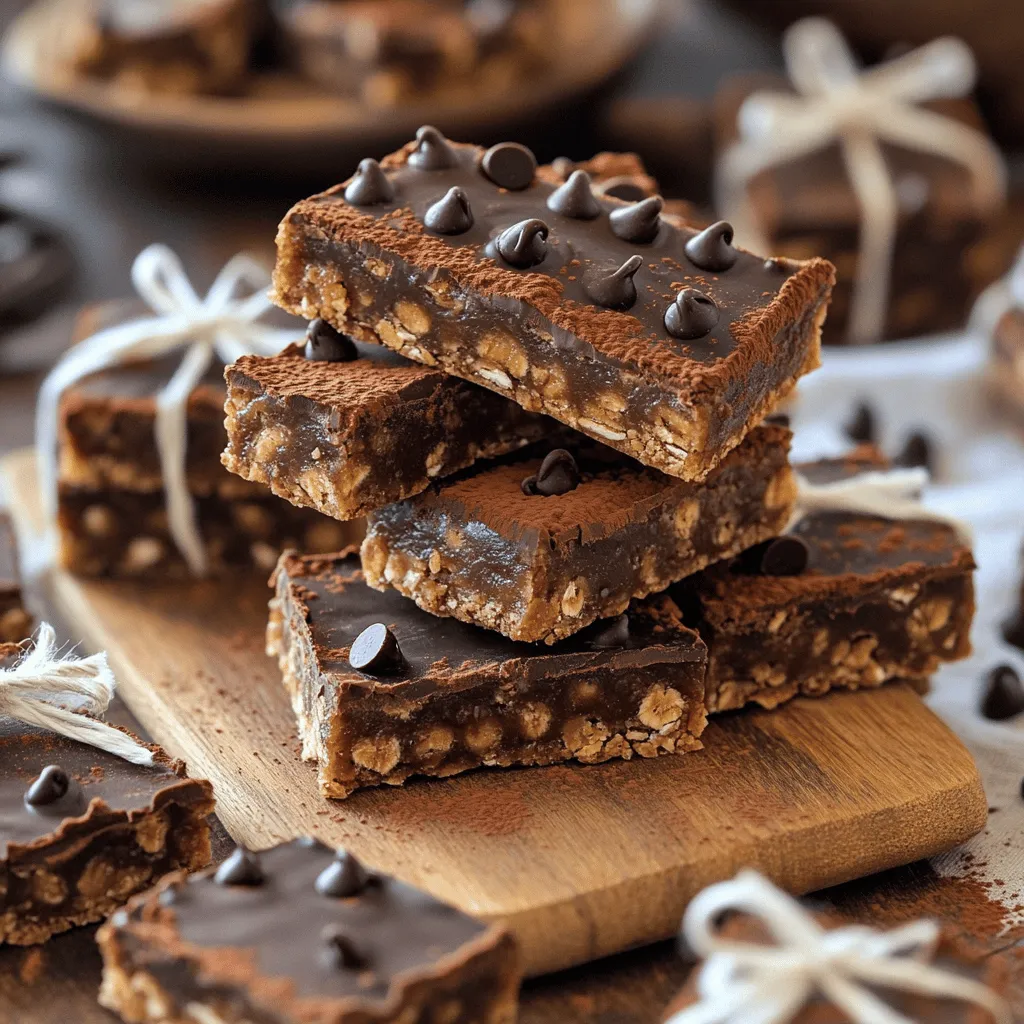
Are you ready to whip up a quick, tasty treat? These No-Bake Choco Peanut Butter Oat Bars are both easy and delicious! With just a few simple steps, you can create a snack that’s perfect for anytime cravings. Whether you’re a busy parent or a sweet-toothed student, these bars fit right in. Let’s dive into the world of no-bake treats that everyone can enjoy!
Ingredients
Essential Ingredients Overview
To make these no-bake choco peanut butter oat bars, you need a few key items. Here’s what you will need:
- 1 cup rolled oats
- 1/2 cup creamy peanut butter
- 1/4 cup honey (or maple syrup for a vegan option)
- 1/2 cup dark chocolate chips
- 1/4 cup unsweetened cocoa powder
- 1/4 cup chopped nuts (like almonds or walnuts)
- 1/4 teaspoon salt
- 1/2 teaspoon vanilla extract
These ingredients come together to create a rich and tasty treat. Each one plays a role in flavor and texture. The oats form the base, while peanut butter adds creaminess. Honey or maple syrup brings sweetness, and chocolate chips give a delightful bite.
Optional Ingredients for Customization
You can easily change the recipe with a few optional ingredients. Here are some ideas:
- Add a scoop of protein powder for extra nutrition.
- Use coconut flakes for a tropical twist.
- Sprinkle in some chia seeds or flaxseeds for added fiber.
- Swap out the nuts for seeds if you prefer.
These additions let you personalize your bars to your tastes. Feel free to mix and match for fun flavors.
Substitutions for Dietary Preferences
If you have dietary needs, there are simple swaps you can make. Here are some suggestions:
- Use almond or cashew butter instead of peanut butter for nut allergies.
- Replace honey with agave syrup for a vegan option.
- Omit cocoa powder for a lighter version.
- Use gluten-free oats if you need a gluten-free treat.
These substitutions help everyone enjoy this delicious snack. You can adapt the recipe to fit your lifestyle without losing flavor.
Step-by-Step Instructions
Preparing the Dry Ingredients
First, gather your dry ingredients. In a bowl, mix together:
- 1 cup rolled oats
- 1/4 cup unsweetened cocoa powder
- 1/4 cup chopped nuts (like almonds or walnuts)
- 1/4 teaspoon salt
Stir these well until they blend. This step makes sure each bite is tasty.
Mixing the Wet Ingredients
Next, you’ll mix the wet ingredients. In another bowl, warm:
- 1/2 cup creamy peanut butter
- 1/4 cup honey (or maple syrup)
Heat them in the microwave for 20 to 30 seconds. Stir until smooth. Add in:
- 1/2 teaspoon vanilla extract
Mix well. This will give your bars a sweet flavor.
Combining and Molding the Mixture
Now, pour the peanut butter mixture into the dry ingredients. Stir until everything combines. The mix should feel thick and sticky. Next, fold in:
- 1/2 cup dark chocolate chips
If you want, save some chips to top the bars later.
Prepare an 8×8-inch baking dish by lining it with parchment paper. Leave some paper hanging over the edges. This helps with easy removal later. Transfer the mixture to the dish. Press it down firmly with a spatula or your hands to create an even layer. If you saved chocolate chips, sprinkle them on top now. Press them down lightly.
Refrigerating and Slicing the Bars
Refrigerate the bars for at least 2 hours. This helps them set. Once firm, lift the bars out using the parchment paper. Slice them into squares or rectangles. Enjoy your no-bake choco peanut butter oat bars!
Tips & Tricks
Ensuring Perfect Texture
To get the right texture, use rolled oats. They give the bars a nice chew. Also, make sure to press the mixture firmly in the pan. This makes the bars hold together better. If they are too crumbly, the mix might need more peanut butter or honey. A thicker mix binds well.
Enhancing Flavor Combinations
Feel free to mix in different nuts. Almonds or walnuts add a nice crunch. You can also add a pinch of cinnamon for warmth. If you like a little kick, try a dash of sea salt on top. It balances the sweetness perfectly. Don’t forget to keep some chocolate chips for later. They make a sweet topping.
Best Practices for Storing Leftovers
Store your bars in an airtight container. This keeps them fresh for up to a week. If you want them to last longer, wrap them in plastic. You can also freeze them for up to three months. Just make sure to thaw them in the fridge before eating. That way, they stay tasty and firm.

Variations
Vegan Version: Substitutions and Tips
You can easily make these bars vegan. Swap honey for maple syrup. Use a creamy vegan peanut butter. This keeps the rich taste but makes it plant-based. You can also add a touch of coconut oil for extra creaminess.
Adding Superfoods: Seeds and Dried Fruits
Boost your bars with some seeds or dried fruits. Chia seeds or flaxseeds add fiber and omega-3s. You can also mix in dried cranberries or chopped dates for sweetness. These additions make the bars more nutritious and fun!
Flavor Infusions: Experimenting with Extracts
Want to change the flavor? Try adding different extracts. Almond or coconut extract can give a new twist. Just a little goes a long way! You can also add a pinch of cinnamon for warmth. Playing with flavors keeps it exciting and fresh.
Storage Info
Best Practices for Storage
To keep your no-bake choco peanut butter oat bars fresh, store them in an airtight container. This keeps moisture out and keeps the bars from drying out. If you used parchment paper, place a layer between the bars. This helps prevent sticking. Make sure to keep them in the fridge for the best taste and texture.
Shelf Life of No-Bake Bars
These bars can last up to one week in the fridge. The flavors blend nicely over time. However, if you notice any changes in smell or texture, it’s best to toss them. Remember, freshness matters for taste and safety.
Freezing and Thawing Instructions
If you want to enjoy your bars longer, consider freezing them. Cut the bars into squares, then wrap each piece tightly in plastic wrap. Place them in a freezer-safe bag or container. They can last up to three months in the freezer. To enjoy, simply take a bar out and let it thaw in the fridge overnight or on the counter for a few hours.
FAQs
Can I use crunchy peanut butter instead of creamy?
Yes, you can use crunchy peanut butter. It adds texture and flavor. Just swap the creamy for the crunchy in equal amounts. The bars will still hold together well, and you’ll enjoy those delightful nutty bits.
How long do no-bake bars last in the fridge?
No-bake bars last about one week in the fridge. Store them in an airtight container to keep them fresh. If you notice them getting dry, just wrap them tightly to lock in moisture.
Can I make these bars without cocoa powder?
Yes, you can skip the cocoa powder. The bars will still taste great with just peanut butter and oats. You might want to add a bit more honey or maple syrup for sweetness if you omit cocoa.
What other ingredients can I add for extra nutrition?
You can add a variety of ingredients for extra nutrition. Consider these options:
- Chia seeds
- Flaxseeds
- Dried fruits like cranberries or raisins
- Protein powder
- Coconut flakes
These additions boost health benefits without changing the great taste.
In this article, we covered key ingredients for no-bake bars, including essential and optional items. I provided step-by-step instructions for making them, along with useful tips for texture and flavor. You also learned about variations for vegan options and added nutrition. Remember to store your bars properly to keep them fresh. Explore different flavors and enjoy your creations! You can customize these bars to fit your taste and needs. Now, it’s time to start making your own delicious no-bake bars!

