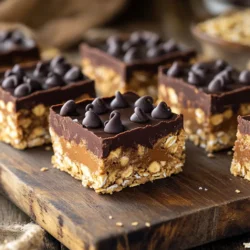
If you crave a quick, tasty snack, you’ve found the right recipe! My No-Bake Peanut Butter Chocolate Oat Bars are packed with flavor and nutrition. With just a few ingredients, they come together in no time. Perfect for lunch boxes or a post-workout treat, these bars will satisfy your sweet tooth without the guilt. Let’s jump into this easy recipe that everyone will love!
Ingredients
Here’s what you will need for these tasty bars:
- 1 cup creamy peanut butter
- 1/2 cup honey or maple syrup
- 2 cups rolled oats
- 1/2 cup dark chocolate chips
- 1/4 cup unsweetened cocoa powder
- 1/2 teaspoon vanilla extract
- A pinch of salt
- Extra chocolate chips for topping (optional)
These ingredients blend together to create a rich, satisfying treat. Each item plays a key role. The peanut butter gives creaminess, while honey or maple syrup adds sweetness. Rolled oats provide texture and heartiness. Dark chocolate chips and cocoa powder give a deep chocolate taste. Vanilla extract adds warmth, and salt enhances all the flavors.
You can modify some ingredients if needed. For example, use agave syrup instead of honey. You can also swap creamy peanut butter for crunchy if you want a bit of crunch. Each choice can change the final taste and texture slightly.
Gather these ingredients, and you’ll be ready to make something delicious!
Step-by-Step Instructions
Preparing the Peanut Butter Mixture
- First, grab a medium saucepan.
- Add 1 cup of creamy peanut butter and 1/2 cup of honey (or maple syrup).
- Turn the heat to low. Stir the mix until it is smooth and well combined.
Mixing in Cocoa and Flavor
- Remove the saucepan from the heat.
- Now, add 1/4 cup of unsweetened cocoa powder, 1/2 teaspoon of vanilla extract, and a pinch of salt.
- Stir all the ingredients together until they blend completely.
Combining with Oats and Pressing into Dish
- Take a large mixing bowl and add 2 cups of rolled oats.
- Pour the peanut butter-chocolate mixture over the oats.
- Mix well until all the oats are coated.
- Line an 8×8 inch baking dish with parchment paper.
- Pour the mixture into the dish, and press it firmly with a spatula.
- Make sure it is even and packed tightly.
Tips & Tricks
Achieving the Perfect Texture
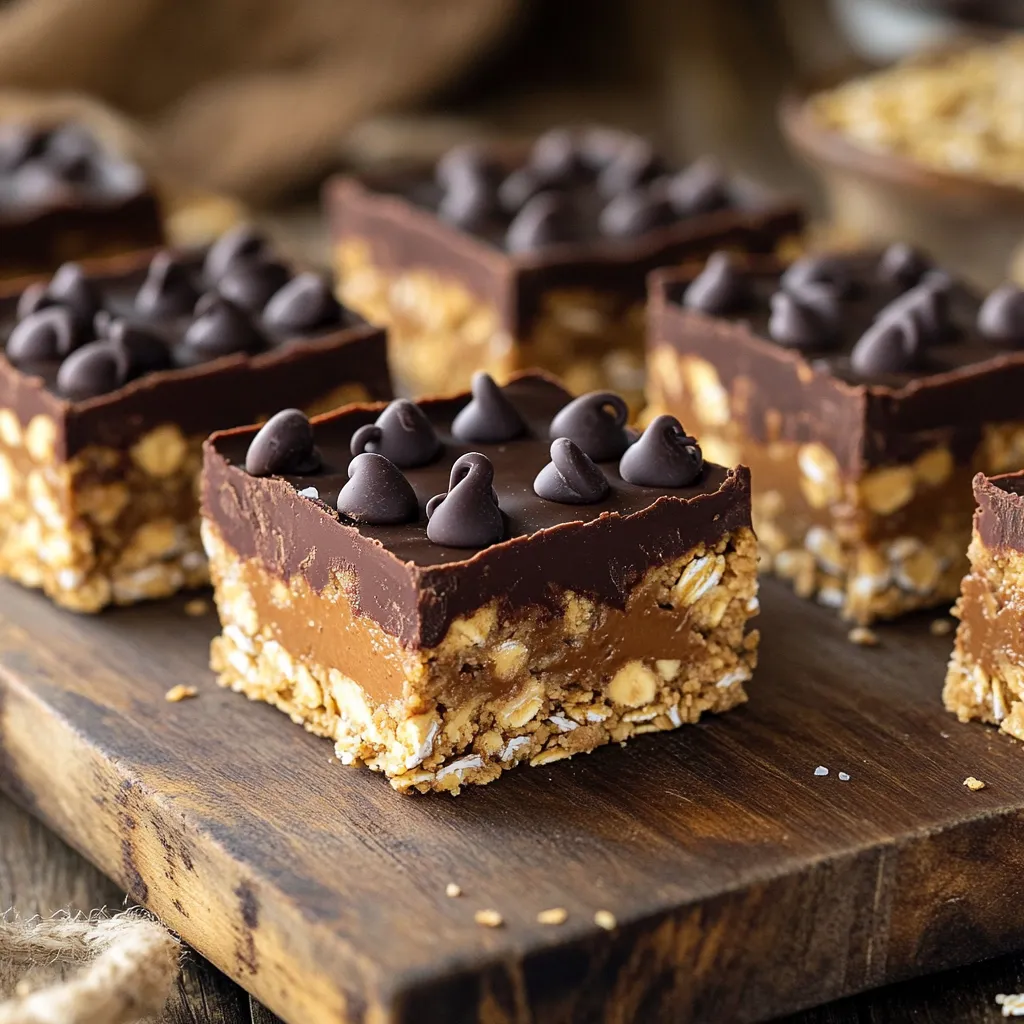
To get the best bars, firmly press the mixture into your dish. This step helps hold everything together. If the bars are loose, they will crumble when cut. Use a spatula to spread the mixture evenly. Make sure the oats get a good coat of the peanut butter-chocolate mix. Stir well to ensure every oat is covered. This way, each bite is rich and tasty.
Substitutions and Adaptations
You can switch up the sweetener too. Try using agave or maple syrup instead of honey. Both options add a unique flavor. If you want a crunch, use crunchy peanut butter. It adds a fun texture to the bars. You can also mix in seeds or dried fruit for extra flavor.
Serving Suggestions
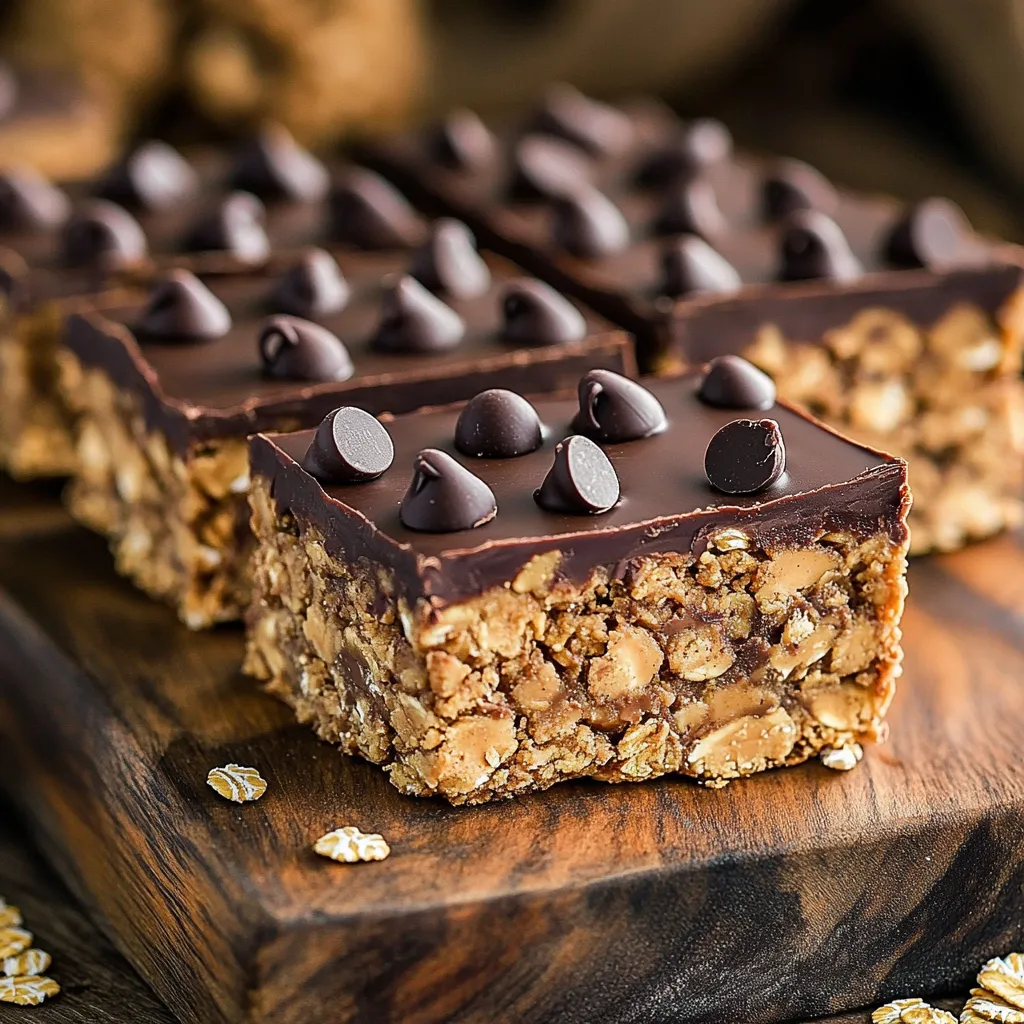
Top your bars with extra chocolate chips or nuts. This adds a special touch. For drinks, pair them with coffee or a glass of milk. The flavors blend nicely together. You can also serve them as a snack at parties. Everyone will love these delicious treats!
Variations
Adding Extra Ingredients
You can make these bars even better with some fun mix-ins. Try adding dried fruit like cranberries or raisins. Nuts like walnuts or almonds also add great crunch. Want more flavor? Consider adding shredded coconut for a tropical twist or a splash of espresso for coffee fans. Each mix-in brings its own taste and texture, making your bars unique. Get creative and have fun with these options!
Dietary Adaptations
If you’re looking for gluten-free options, simply use gluten-free oats. This way, everyone can enjoy them without worry. For those who follow a vegan diet, swap in vegan chocolate chips and use agave syrup instead of honey. These changes keep the bars tasty while fitting into different diets. Enjoy making them your own!
Storage Info
Best Storage Methods
To keep your no-bake peanut butter chocolate oat bars fresh, store them in an airtight container. This helps keep moisture out and prevents the bars from drying. You can also wrap them in plastic wrap before placing them in the container for extra protection.
For short-term storage, refrigeration works well. Place the container in the fridge where it stays cool. If you want to keep them longer, consider freezing. Just cut the bars, wrap each one, and place them in a freezer-safe bag. This method preserves freshness and flavor.
Shelf Life
In the refrigerator, your bars will stay fresh for about a week. They make a great snack for busy days! Just check for any changes in color or smell. If you see any mold or if the bars feel dry, it’s time to toss them out.
If you freeze the bars, they can last for up to three months. Just remember to let them thaw in the fridge before enjoying them again.
FAQs
Can I freeze no-bake peanut butter chocolate oat bars?
Yes, you can freeze these bars. First, cut them into squares. Wrap each piece in plastic wrap. Then, place them in a freezer bag or container. They can last for about three months in the freezer. When you want to eat one, just take it out and let it thaw in the fridge for a few hours or on the counter for about 30 minutes. This keeps them tasty and fresh.
How long do these bars last in the refrigerator?
These bars last about a week in the fridge. Store them in an airtight container to keep them fresh. Check for any signs of spoilage, like changes in smell or texture. If they look or smell off, it’s best to throw them away. Enjoy them while they are still at their best!
Can I use different types of nut butters?
You can use other nut butters like almond, cashew, or sunflower butter. Each type gives a unique flavor. Almond butter adds a nutty taste, while sunflower butter is great for those with nut allergies. Just make sure the texture is similar to peanut butter. This way, the bars will still hold together well. Feel free to experiment and find your favorite!
You now have a simple and tasty recipe for no-bake peanut butter chocolate oat bars. We covered the key steps, from melting the peanut butter and honey to mixing in chocolate and oats. I shared tips for the best texture and ideas for fun variations. Remember to store your bars properly to keep them fresh. These treats are easy to make and customize. Enjoy making them for snacks or dessert!