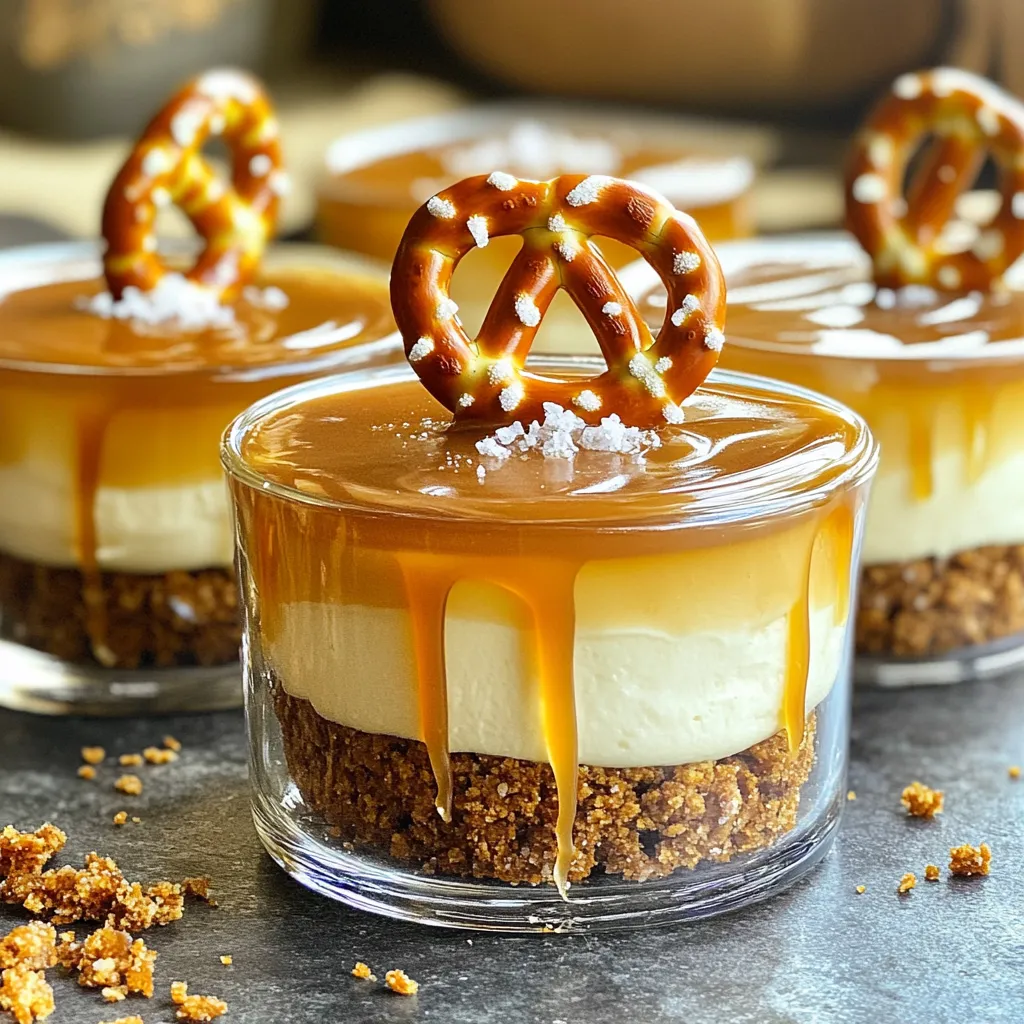
Get ready to indulge in a treat that’s both sweet and salty! These No-Bake Salted Caramel Pretzel Cheesecake Cups offer layers of flavor that will make your taste buds dance. Perfect for parties or a cozy night in, this dessert is easy to whip up and requires no baking. Join me as we dive into a step-by-step guide to create these delightful cups that everyone will love!
Ingredients
To make these No-Bake Salted Caramel Pretzel Cheesecake Cups, you need some simple yet tasty ingredients. Here’s what you’ll need:
- 1 cup crushed pretzels
- 1/4 cup granulated sugar
- 1/2 cup unsalted butter, melted
- 8 oz cream cheese, softened
- 1/2 cup powdered sugar
- 1 cup heavy whipping cream
- 1 teaspoon vanilla extract
- 1/2 cup caramel sauce (store-bought or homemade)
- Sea salt, for sprinkling
- Extra pretzels, for garnish
Each ingredient plays a key role. The crushed pretzels give a nice crunch and salty taste. The butter helps bind the crust together. Cream cheese provides that creamy texture we crave in a cheesecake. Heavy whipping cream makes the filling light and fluffy.
I love using powdered sugar for a smoother mix, and vanilla adds warmth. The caramel sauce brings sweetness and a lovely flavor contrast to the salty pretzels. Don’t forget the sea salt! It enhances all the flavors. Lastly, those extra pretzels make a great garnish.
Gather these ingredients, and you’re ready to create a dessert that will impress everyone!
Step-by-Step Instructions
Instructions Overview
Making No-Bake Salted Caramel Pretzel Cheesecake Cups is fun and easy. Each layer adds flavor and texture. The crust gives a nice crunch, the filling is creamy, and the caramel adds sweetness.
Detailed Instructions
1. Combine the crust ingredients: In a medium bowl, mix crushed pretzels, sugar, and melted butter. Stir until pretzels are coated.
2. Prepare the cheesecake filling: In another bowl, beat softened cream cheese with powdered sugar until smooth. Then, whip the heavy cream until it forms soft peaks. Gently fold the whipped cream into the cream cheese mixture. Add vanilla extract for extra taste.
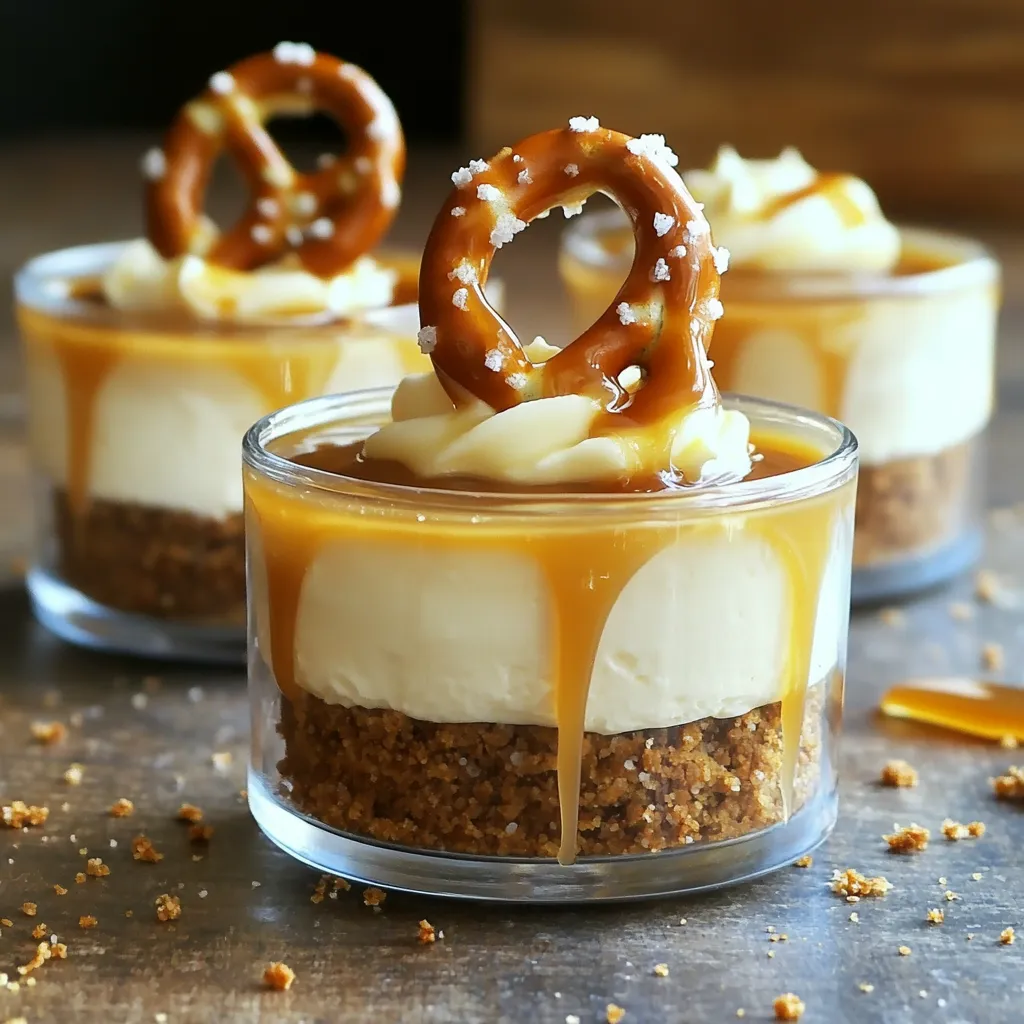
3. Layer and assemble the cups: Start by pressing 2 tablespoons of the pretzel mixture into the bottom of each serving cup. Add half of the cheesecake filling on top. Drizzle a tablespoon of caramel sauce over the filling. Continue with another layer of cheesecake filling, then top with more caramel sauce. Finish with a sprinkle of sea salt.
Setting Time
Chilling is key for this recipe. It helps the layers set and flavors blend. I recommend chilling the cups for at least 2 hours. This makes them firm and ready to enjoy.
Tips & Tricks
Expert Tips for Best Results
- Make sure you soften the cream cheese. This step helps it blend smoothly. I often leave it out for about 30 minutes before I start.
- Whip the heavy cream until it forms soft peaks. This gives the cheesecake a light, airy feel. Be gentle when you fold it into the cream cheese mix.
Customization Ideas
- You can mix in different flavors. Try adding crushed cookies or fresh fruit for a twist.
- Adjust the sweetness to your taste. You can add more or less powdered sugar based on your preference.
Presentation Tips
- Garnish each cup with a whole pretzel on top. This adds a nice touch and looks great!
- Serve with a small spoon for easy enjoyment. It makes serving at parties fun and simple.
Variations
Alternative Flavor Combinations
You can switch up the flavor of these cups to keep things fun. Add cocoa powder to make a chocolate version. Just mix in a few tablespoons of cocoa powder with the cream cheese for a rich taste. Another fun twist is the peanut butter version. Simply use a creamy peanut butter filling instead of the usual cheesecake mix. This will give your cups a nutty and sweet flavor that everyone will love.
Dietary Modifications
Want to enjoy these cups while staying gluten-free? You can use gluten-free pretzels. They taste great and work just like regular pretzels. If you want a vegan option, swap the cream cheese with a vegan cream cheese. Use coconut cream in place of heavy cream. This keeps the cups tasty while meeting dietary needs.
Serving Size Adjustments
You can easily adjust the size of your servings. If you want larger cups, just double the ingredients. For smaller treats, use smaller cups and cut the ingredient amounts in half. Keep the same layers for each size, so they still look great. This way, you can serve just the right amount for any occasion.
Storage Info
How to Store Leftovers
To keep your cheesecake cups fresh, place them in an airtight container. Make sure to cover each cup with plastic wrap if you don’t have a lid. They can stay in the fridge for up to three days. After that, the crust may lose its crunch.
Freezing Tips
You can freeze these cheesecake cups if you want to save some for later. Wrap each cup in plastic wrap, then put them in a freezer-safe container. They can last up to two months in the freezer. When you’re ready to enjoy, move them to the fridge to thaw overnight.
Re-serving Tips
After storing, the cups may need a little refresh. If they seem soft, chill them for a bit before serving. You can add extra caramel sauce and a whole pretzel on top for a pretty look. This will make them even more tempting and enjoyable!
FAQs
Common Questions
Can I use low-fat cream cheese?
Yes, you can use low-fat cream cheese. It may change the texture a bit. The cheesecake might be less rich but still tasty. Just make sure it is softened to mix well.
How can I make homemade caramel sauce?
To make homemade caramel sauce, heat 1 cup of sugar in a saucepan. Stir until it melts and turns golden brown. Slowly add 1/2 cup of heavy cream and mix well. Add a pinch of salt for flavor. Let it cool before using.
What can I substitute for heavy whipping cream?
You can use coconut cream or silken tofu as substitutes. Both can give a creamy texture. For a lighter option, try half-and-half, but the result will be less fluffy.
Troubleshooting
What to do if the cheesecake mixture is runny?
If the mixture is runny, chill it for a bit. This helps it firm up. You can also add more cream cheese to thicken the mix. Just blend it in well.
Fixing issues with crust consistency
If your crust is too crumbly, add a bit more melted butter. This helps it stick together. If it’s too wet, add more crushed pretzels. Press it down firmly in the cups.
Serving Recommendations
Best occasions for serving these dessert cups
These dessert cups are great for parties, holidays, or family gatherings. They are easy to serve and fun to eat. You can impress guests with their sweet and salty flavor.
Pairing suggestions with drinks or other desserts
Serve these cups with coffee or sweet tea. They go well with vanilla ice cream too. For a fun twist, pair them with a chocolate dessert for a mix of flavors.
To sum up, we explored how to make delicious cheesecake cups using simple ingredients. Key steps included preparing the crust, mixing the filling, and layering the components. I shared useful tips for perfecting your dessert and ideas for customizing flavors. Now you have the knowledge to impress at your next gathering. Whether you stick to the classic recipe or try a twist, these treats are sure to be a hit. Enjoy making and sharing these delightful cheesecake cups!

