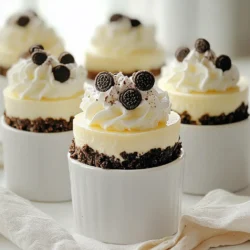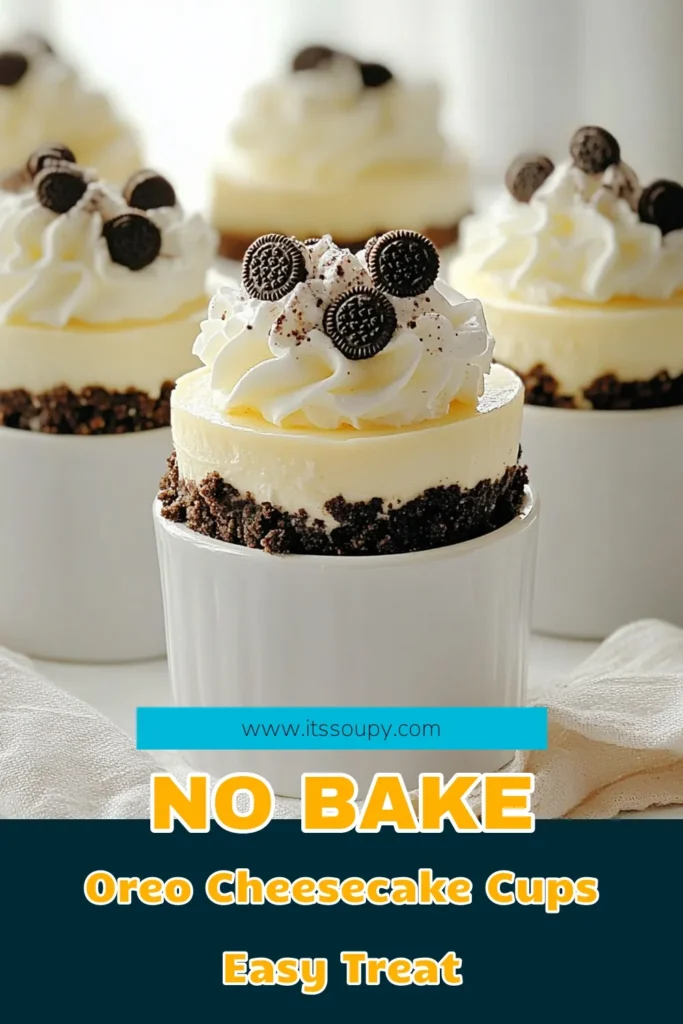
Do you crave a sweet treat but dread turning on the oven? You’re in luck! These No Bake Oreo Cheesecake Cups are simple, quick, and oh-so-delicious. With just a few easy steps, you can whip up this creamy dessert that will impress your friends and family. Ready to indulge? Let’s dive into the easy recipe and make your taste buds dance!
Ingredients
To make No Bake Oreo Cheesecake Cups, you need some simple ingredients. Here’s the list:
- 24 Oreo cookies, finely crushed
- 4 tablespoons unsalted butter, melted
- 8 ounces cream cheese, softened
- 1/2 cup powdered sugar
- 1 teaspoon vanilla extract
- 1 1/2 cups whipped cream (or 1 cup heavy cream, whipped)
- 6 mini Oreo cookies for topping (optional)
Each ingredient plays an important role in the recipe. The crushed Oreo cookies form a tasty crust. The melted butter helps bind the crust together. Cream cheese adds a smooth and creamy base. Powdered sugar sweetens the filling, while vanilla extract adds flavor. Whipped cream gives lightness and fluffiness to the cheesecake. For decoration, mini Oreo cookies add a fun touch.
Using quality ingredients makes a big difference. Choose fresh cream cheese and real vanilla extract for the best flavor. This recipe is perfect for gatherings or a sweet treat at home. With these ingredients, you can make a dessert that will impress everyone.
Step-by-Step Instructions
Preparing the Oreo Crust
- In a medium bowl, mix 24 crushed Oreo cookies with 4 tablespoons of melted butter.
- Stir until the cookie crumbs soak up the butter.
- Take about 2 tablespoons of the mixture and press it into the bottom of each serving cup.
Making the Cream Cheese Filling
- In another large bowl, beat 8 ounces of softened cream cheese until it’s smooth.
- Slowly add in 1/2 cup of powdered sugar and 1 teaspoon of vanilla extract. Mix well until combined.
Assembling the Cheesecake Cups
- Gently fold in 1 1/2 cups of whipped cream until the mixture is light.
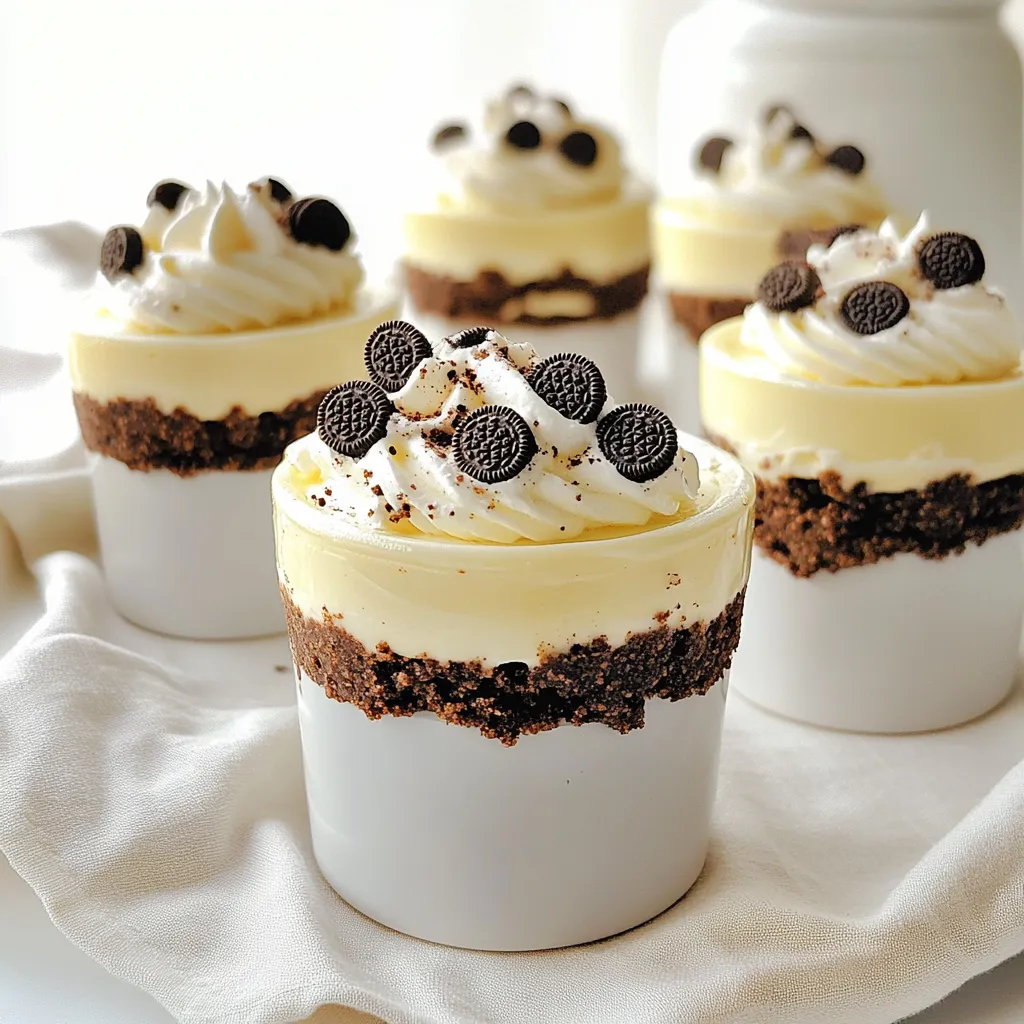
- Spoon or pipe this cream cheese mixture over the crust in each cup. Fill them about 3/4 full.
- If you want, add more crushed Oreos on top for a nice layer.
- For a fun touch, place a mini Oreo on each cup for decoration.
- Chill the cups in the fridge for at least 2 hours to set before serving.
Tips & Tricks
Perfecting the Texture
To make your cheesecake cups creamy, avoid overmixing the cream cheese. Once the cream cheese is smooth, stop mixing. Overmixing adds air and can make the filling too fluffy. You want it smooth and thick.
For whipping heavy cream, start with cold cream. Use a cold bowl and beaters for the best results. Begin at a low speed to avoid splattering. Gradually increase the speed until soft peaks form. This makes the cream light and airy, perfect for folding into your mixture.
Serving Suggestions
Get creative when you serve your cheesecake cups. Use clear cups to show off the layers. You can also add a sprig of mint for color. This adds a fresh touch and makes the dessert look fancy.
When it comes to toppings, think outside the box. You can add chocolate syrup or fresh berries. Crushed nuts or a drizzle of caramel can also enhance the flavor. Each topping adds a new twist to your delicious treat.
Variations
Flavor Variations
You can play with flavors in your No Bake Oreo Cheesecake Cups. Here’s how:
- Adding Chocolate or Fruit Flavors: Try mixing in chocolate syrup or melted chocolate into the cream cheese layer. This adds a rich, deep flavor. If you prefer fruit, fold in pureed strawberries or raspberries for a fruity twist. They will add a fun color and taste!
- Incorporating Other Types of Cookies: You don’t have to stick to Oreos. Try using other cookies like chocolate chip or peanut butter cookies for the crust. This can change the taste and keep things exciting. You might even mix crushed cookies into the cheesecake layer for added texture.
Dietary Adjustments
Making your dessert fit different diets is easy!
- Making it Gluten-Free: Use gluten-free cookies instead of regular Oreos. Many brands offer gluten-free options that taste just as good. Just check the label to make sure.
- Substitution Ideas for Dairy-Free Options: To make this recipe dairy-free, swap the cream cheese for a dairy-free cream cheese. You can also use coconut cream in place of whipped cream. This gives a nice tropical taste and works well with the other flavors.
Storage Info
Best Practices for Storing
Store your No Bake Oreo Cheesecake Cups in airtight containers. Glass or plastic containers work well. Make sure they are sealed tight to keep them fresh. In the fridge, these treats stay good for about 3 to 5 days. The longer they sit, the softer the crust may get.
Freezing Instructions
Yes, you can freeze No Bake Oreo Cheesecake Cups. To freeze, place them in a freezer-safe container. Make sure to cover them well. They can stay frozen for up to 2 months.
For thawing, take them out of the freezer and place them in the fridge for a few hours. This helps them thaw slowly. Serve them chilled for the best taste.
FAQs
Common Questions About No Bake Oreo Cheesecake Cups
How long do you need to refrigerate cheesecake cups?
You should refrigerate the cheesecake cups for at least 2 hours. This time helps them set properly. If you wait longer, they will taste even better.
Can I use regular Oreos instead of mini Oreos for topping?
Yes, you can use regular Oreos. Just crush them and sprinkle them on top. This will give your cups a nice look and taste.
What can I use instead of whipped cream?
If you don’t have whipped cream, you can use heavy cream. Beat it until it’s fluffy. You can also use store-bought whipped topping for a quick option.
Can you make these cheesecake cups ahead of time?
Absolutely! You can make these cups a day or two in advance. Just keep them in the fridge until you are ready to serve.
What can I add to the recipe for extra flavor?
You can add peanut butter or melted chocolate. You could also mix in fruit like strawberries or raspberries for a fresh twist.
You learned how to make No Bake Oreo Cheesecake Cups. We covered the ingredients, step-by-step instructions, and some useful tips. I shared ways to add variety and even how to store your dessert. Remember, you can adjust the recipe for dietary needs or get creative with flavors. Enjoy these sweet treats with friends and family. They are fun to make and taste great! Now, gather your ingredients and start your cheesecake journey. You won’t regret it!