
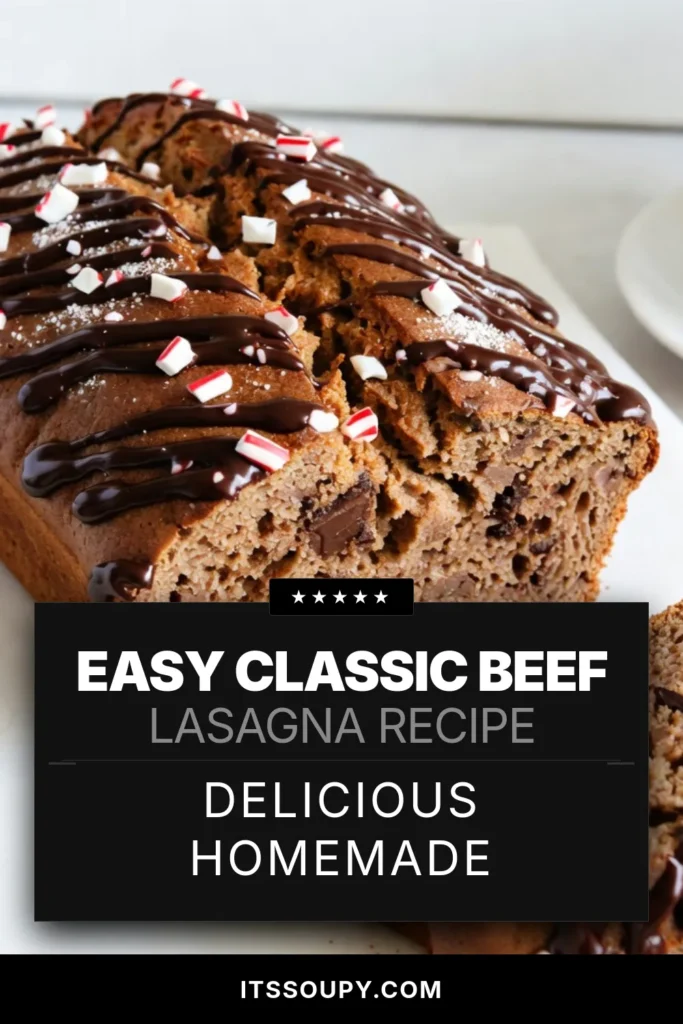
Get ready to treat your taste buds with a festive delight! This Chocolate Peppermint Bread combines rich cocoa and cool peppermint for a treat you’ll crave. With simple ingredients, you can whip up this sweet loaf in no time. Whether you’re sharing it at gatherings or enjoying it with a warm drink, this recipe is sure to impress. Let’s dive into the details and bake something special together!
Why I Love This Recipe
- Festive Flavor: This chocolate peppermint bread perfectly captures the essence of the holiday season with its rich chocolate and refreshing peppermint combination.
- Easy to Make: The straightforward steps make this recipe accessible for bakers of all skill levels, ensuring you can whip it up in no time.
- Versatile Treat: Enjoy it as a breakfast option, a dessert, or even as a gift during the festive season—it’s a crowd-pleaser!
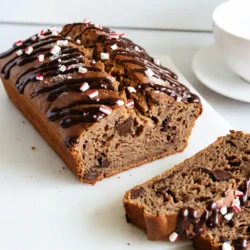
- Beautiful Presentation: With a drizzle of melted chocolate and a sprinkle of crushed peppermint, this bread looks as good as it tastes, making it perfect for holiday gatherings.
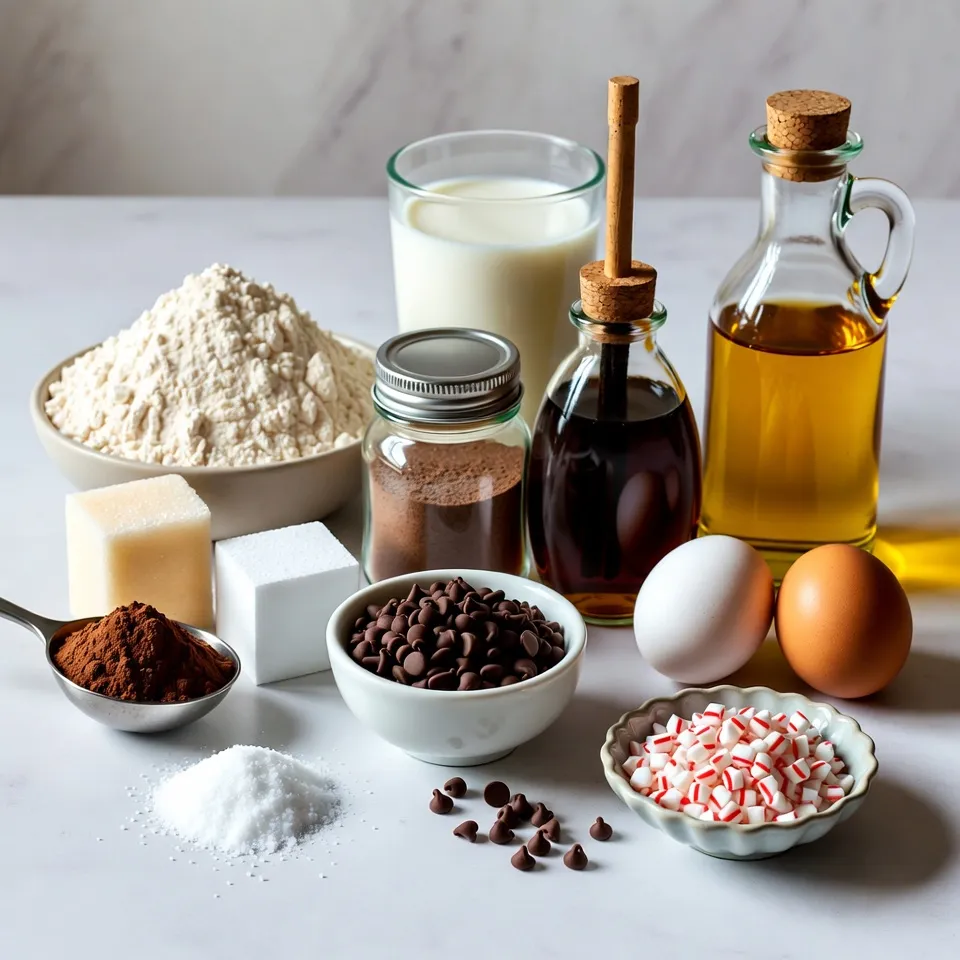
Ingredients
List of Required Ingredients
- 2 cups all-purpose flour
- 1 cup granulated sugar
- ½ cup unsweetened cocoa powder
- 1 teaspoon baking powder
- ½ teaspoon baking soda
- ¼ teaspoon salt
- 1 cup milk
- ⅓ cup vegetable oil
- 2 large eggs
- 1 teaspoon vanilla extract
- 1 teaspoon peppermint extract
To make Chocolate Peppermint Bread, you need some basic ingredients. The all-purpose flour gives the bread its body. Sugar adds sweetness, while cocoa powder gives it that rich chocolate flavor. Baking powder and baking soda help the bread rise. Salt balances the sweetness and enhances flavor.
Optional Ingredients
- ½ cup semi-sweet chocolate chips
- ½ cup crushed peppermint candies
For a special touch, you can add semi-sweet chocolate chips. They melt and create gooey spots in the bread. Crushed peppermint candies add extra crunch and flavor. These optional ingredients make the bread even more festive and fun.
Recommended Tools
- 9×5-inch loaf pan
- Mixing bowls and whisk
You’ll need a 9×5-inch loaf pan to bake your bread. This size helps it cook evenly. Mixing bowls are essential for combining your dry and wet ingredients. A whisk will help you blend everything smoothly. Having these tools ready makes your baking process easy and fun.
Step-by-Step Instructions
Prepping the Oven and Loaf Pan
First, you need to preheat your oven to 350°F. This warms the oven evenly, helping the bread rise well. Next, grab a 9×5-inch loaf pan and grease it well. You can use butter or cooking spray to make sure the bread does not stick.
Mixing Dry Ingredients
In a large mixing bowl, combine these dry ingredients:
- 2 cups all-purpose flour
- 1 cup granulated sugar
- ½ cup unsweetened cocoa powder
- 1 teaspoon baking powder
- ½ teaspoon baking soda
- ¼ teaspoon salt
Use a whisk to mix them together. This step is key for ensuring the baking powder and baking soda are evenly spread.
Mixing Wet Ingredients
In another bowl, whisk together:
- 1 cup milk
- ⅓ cup vegetable oil
- 2 large eggs
- 1 teaspoon vanilla extract
- 1 teaspoon peppermint extract
Mix these well until everything is fully combined. The wet mix will add moisture and flavor to your bread.
Combining Ingredients
Now, pour the wet mixture into the dry ingredients. Stir gently to combine. It’s okay if the batter is a bit lumpy. Overmixing can make the bread tough. Then, fold in:
- ½ cup semi-sweet chocolate chips
- ½ cup crushed peppermint candies
This adds rich chocolate flavor and a fun crunch.
Baking Process
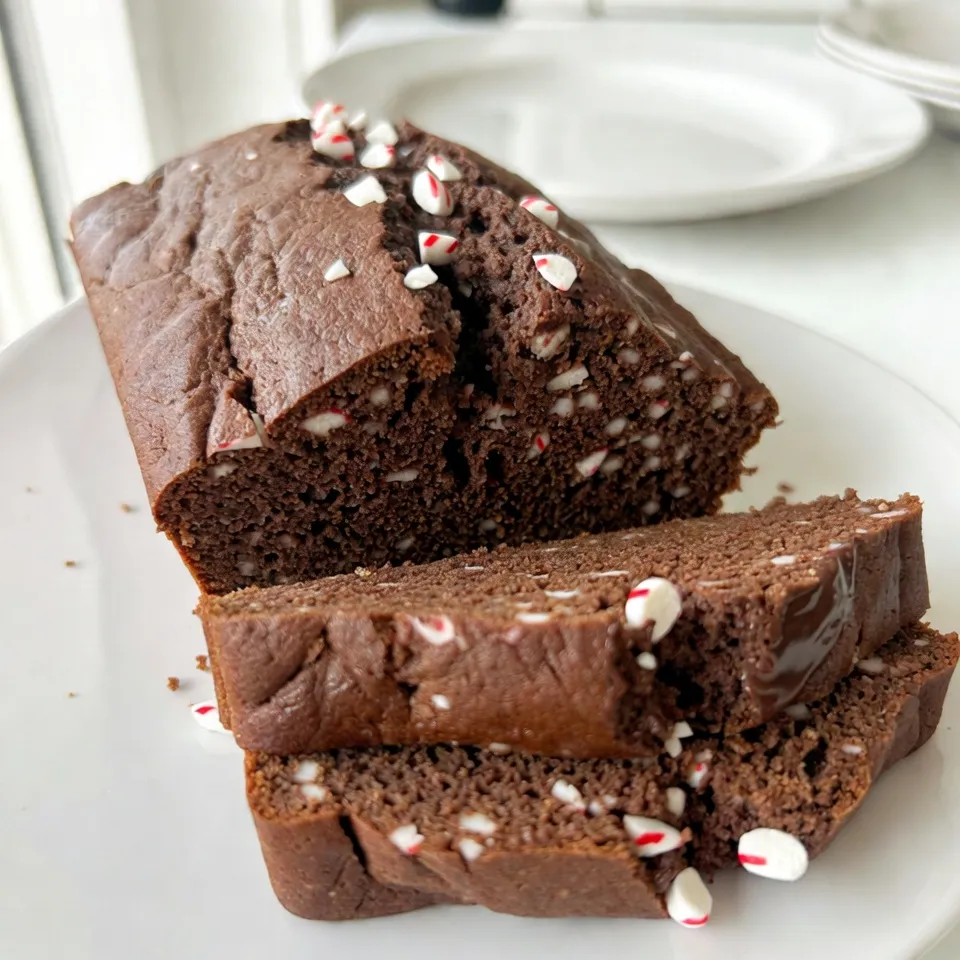
Transfer the batter into your greased loaf pan. Smooth the top so it bakes evenly. Place the pan in the oven and bake for 50 to 60 minutes. To check if it’s done, insert a toothpick into the center. It should come out clean.
After baking, take the bread out of the oven. Let it cool in the pan for about 10 minutes. Then, carefully transfer the bread to a wire rack to cool completely. This keeps the bread from getting soggy.
Tips & Tricks
Baking Tips
- Avoid overmixing for a fluffy texture: When you mix the wet and dry ingredients, stir gently. This keeps the bread light and airy. A few lumps are okay. Overmixing makes the bread dense.
- Checking doneness with a toothpick: To know if your bread is ready, use a toothpick. Insert it into the center of the loaf. If it comes out clean, your bread is done. If it has wet batter, bake a bit longer.
Serving Suggestions
- Drizzling melted chocolate: For a fun touch, melt some chocolate and drizzle it on top of the bread. It adds sweetness and makes it look fancy.
- Garnishing with crushed peppermint: Sprinkle some crushed peppermint candies on top. This adds a nice crunch and enhances the festive flavor.
Storage Tips
- Best storage practices for freshness: To keep your bread fresh, wrap it tightly in plastic wrap. You can also store it in an airtight container. It stays good at room temperature for up to three days. For longer storage, freeze it. Just slice it first for easy serving later.
Pro Tips
- Use Room Temperature Ingredients: Ensure your eggs and milk are at room temperature for better emulsification and a smoother batter.
- Don’t Overmix: Mix until just combined to keep your bread tender and avoid a dense texture.
- Check for Doneness: Start checking your bread at the 50-minute mark to prevent overbaking; a toothpick should come out clean.
- Storage Tips: Keep the bread wrapped in plastic wrap at room temperature for up to 3 days or freeze for longer storage.
Variations
Flavor Variations
You can easily change the flavor of your Chocolate Peppermint Bread. Adding nuts is a great way to bring in a crunchy texture. I suggest using walnuts or pecans. They pair nicely with chocolate. You can also try different types of chocolate. White chocolate chips add a sweet twist. Dark chocolate can deepen the flavor. Adjusting the peppermint extract is another fun option. If you love strong mint, use more. If you prefer it mild, use less.
Gluten-Free Option
For a gluten-free version, you can use gluten-free flour substitutes. Look for blends that work well in baked goods. Almond flour or coconut flour are great choices. Just remember to mix in a binding agent, like xanthan gum. This helps the bread hold together. It will still taste delicious and have that festive peppermint flavor.
Vegan Adaptation
If you want a vegan Chocolate Peppermint Bread, you can swap the eggs and milk. Use flaxseed meal mixed with water as an egg substitute. One tablespoon of flaxseed meal with three tablespoons of water equals one egg. For milk, choose almond, soy, or oat milk. These options keep the bread moist and tasty. This way, everyone can enjoy this sweet treat!
FAQs
What can I substitute for peppermint extract?
You can use mint extract as a great substitute. It has a strong flavor, so use less. You could also try vanilla extract for a different taste. If you want a fresh touch, use crushed mint leaves. Just chop them finely and mix them in. These swaps can change the taste, so adjust to your liking.
Can I freeze Chocolate Peppermint Bread?
Yes, you can freeze this bread. First, let it cool completely. Then, wrap it tightly in plastic wrap. For extra protection, place it in a freezer bag. You can freeze it for up to three months. When you want to eat it, thaw it in the fridge overnight. You can also warm it up in the oven for a few minutes after thawing.
How long does this bread last?
This bread stays fresh for about 3 to 5 days at room temperature. Keep it in an airtight container to maintain its softness. If you want it to last longer, store it in the fridge. It can last up to a week when refrigerated. Remember, the chocolate and peppermint flavors get better over time!
Nutritional Information
Caloric Content
Each slice of Chocolate Peppermint Bread has around 200 calories. This number can change based on how thick you cut your slices. To keep track, divide the total calories of the whole loaf by ten, which is the number of slices you get.
Nutritional Benefits
This bread is not just tasty; it also has some important nutrients. Here are key ones:
- Carbohydrates: Provides energy for your day.
- Protein: Supports muscle growth and repair from the eggs and milk.
- Calcium: Good for strong bones, thanks to the milk.
- Iron: Found in cocoa powder, helps to carry oxygen in your blood.
- Fiber: Comes from flour and peppermint, helps with digestion.
Allergens
Chocolate Peppermint Bread contains some common allergens. Here’s what to look out for:
- Gluten: From all-purpose flour, not suitable for those with gluten issues.
- Dairy: Present in milk, which can affect lactose-intolerant people.
- Eggs: Included, so avoid if you’re allergic.
- Soy: If using certain brands of vegetable oil, check for soy content.
Always read labels and choose ingredients that fit your dietary needs.
This blog post took you through making delicious Chocolate Peppermint Bread. We covered all the key ingredients, both required and optional. You learned how to prep your oven, mix your batter, and bake it to perfection. I shared tips to avoid mistakes, ideas for serving, and ways to store the bread. You even got variations for different diets.
In the end, making this bread is a fun way to explore baking. Enjoy it fresh, share with friends, or try your favorite twists. Happy bakin
Chocolate Peppermint Bread
Ingredients
- 2 cups all-purpose flour
- 1 cup granulated sugar
- ½ cup unsweetened cocoa powder
- 1 teaspoon baking powder
- ½ teaspoon baking soda
- ¼ teaspoon salt
- 1 cup milk
- ⅓ cup vegetable oil
- 2 large eggs
- 1 teaspoon vanilla extract
- 1 teaspoon peppermint extract
- ½ cup semi-sweet chocolate chips
- ½ cup crushed peppermint candies
Instructions
- Preheat your oven to 350°F (175°C) and grease a 9x5-inch loaf pan.
- In a large mixing bowl, whisk together the flour, sugar, cocoa powder, baking powder, baking soda, and salt.
- In another bowl, mix the milk, vegetable oil, eggs, vanilla extract, and peppermint extract until well combined.
- Gradually pour the wet ingredients into the dry ingredients, stirring until just combined. Be careful not to overmix; it's okay if there are a few lumps.
- Fold in the semi-sweet chocolate chips and crushed peppermint candies until evenly distributed throughout the batter.
- Transfer the batter into the prepared loaf pan, smoothing the top to ensure even baking.
- Bake in the preheated oven for 50-60 minutes, or until a toothpick inserted into the center comes out clean.
- Once baked, remove the bread from the oven and allow it to cool in the pan for about 10 minutes. Then, carefully transfer the bread to a wire rack to cool completely.
