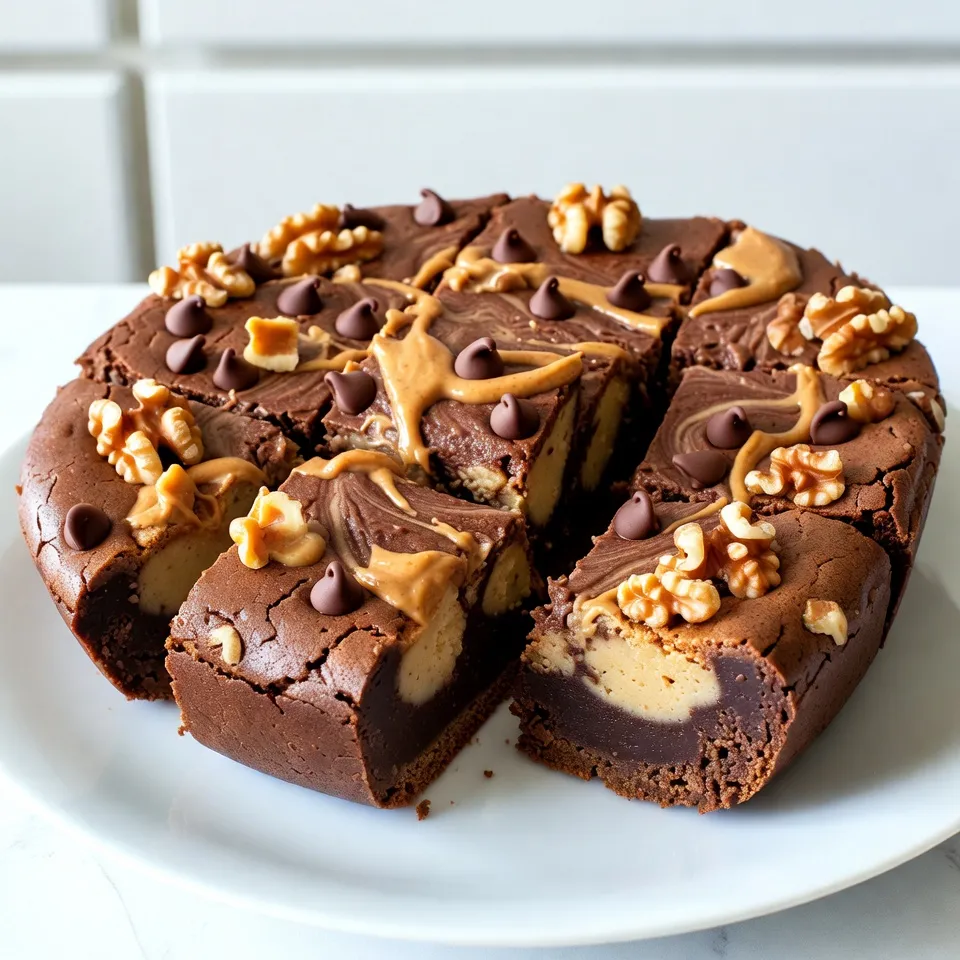

Craving something sweet? Let me introduce you to the Peanut Butter Earthquake Cake! This easy and delectable treat brings together rich flavors and creamy textures that will delight your taste buds. Perfect for any occasion, this cake is sure to impress your family and friends. In this blog post, I’ll share simple steps, helpful tips, and variations to make it truly your own. Let’s dive into this peanut buttery goodness!
Why I Love This Recipe
- Decadent Flavor Combination: The rich chocolate cake paired with creamy peanut butter creates an irresistible flavor that satisfies any sweet tooth.
- Easy to Make: This recipe comes together quickly with minimal prep, making it perfect for both novice bakers and seasoned pros.
- Versatile Toppings: Whether you prefer chocolate chips or nuts, you can customize the toppings to suit your taste.
- Perfect for Gatherings: With generous servings and a show-stopping look, this cake is ideal for parties, potlucks, or family gatherings.
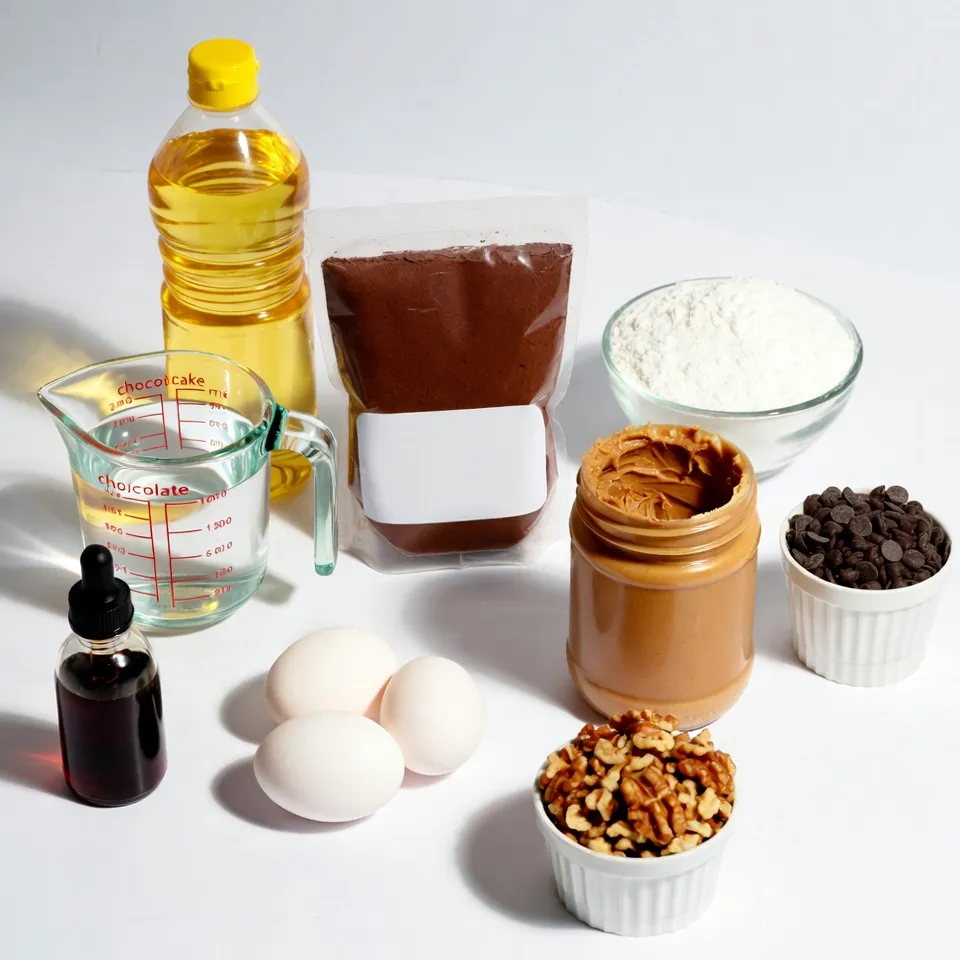
Ingredients
Full List of Ingredients
To make Peanut Butter Earthquake Cake, you will need:
- 1 package chocolate cake mix (15.25 oz)
- 1 cup water
- 1/2 cup vegetable oil
- 3 large eggs
- 1 cup creamy peanut butter
- 1 cup powdered sugar
- 1 cup chocolate chips
- 1 cup chopped walnuts (optional)
- 1/2 teaspoon vanilla extract
Substitutions for Common Ingredients
You can swap some ingredients if needed:
- Use apple sauce instead of vegetable oil for a healthier option.
- Any nut butter can replace peanut butter. Almond butter works well.
- You can use whole eggs or egg whites, depending on your diet.
- For a nut-free cake, skip the walnuts or choose seeds instead.
Importance of Ingredient Quality
Using good ingredients makes a big difference. Fresh eggs give better texture. High-quality chocolate chips add rich flavor. If you can, choose organic peanut butter. It tastes better and is healthier. Remember, the cake’s success relies on these choices. The better the ingredients, the tastier the cake!
Step-by-Step Instructions
Preparation of the Cake Batter
Start by preheating your oven to 350°F (175°C). This step is key for even baking. Next, take a large mixing bowl. Combine the chocolate cake mix, water, vegetable oil, and eggs. Use a whisk to mix well. Make sure there are no lumps. Once mixed, pour the cake batter into a greased 9×13 inch baking dish. Spread it evenly across the dish.
Making the Peanut Butter Mixture
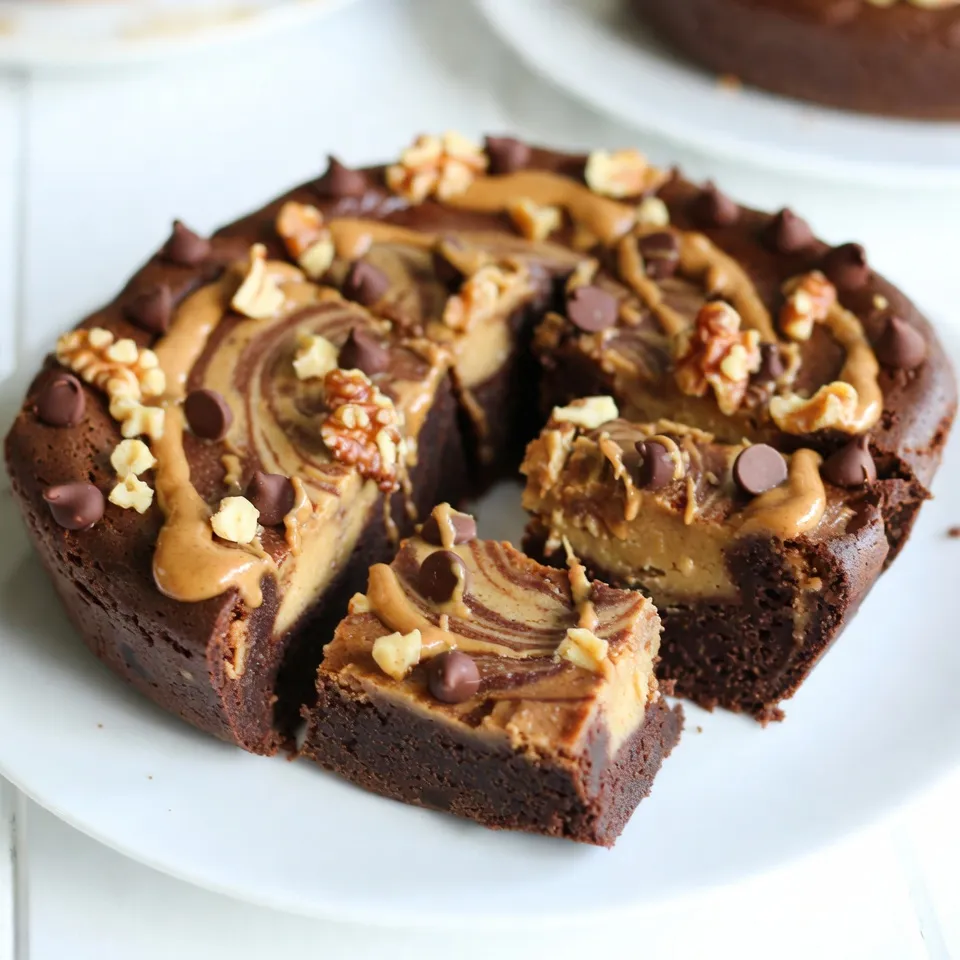
In another bowl, add the creamy peanut butter, powdered sugar, and vanilla extract. Stir until the mixture is smooth and well combined. This creates a rich, sweet layer to add to your cake. Once it’s ready, drop spoonfuls of this mixture over the cake batter. Let it sink slightly into the batter. This will create the “earthquake” effect when baked.
Baking Instructions and Tips
Now it’s time to bake! Add chocolate chips and walnuts on top of the batter and peanut butter mixture. Use a knife or skewer to gently swirl the batter. Create a marbled effect, but avoid overmixing. Place the dish in the oven and bake for 30-35 minutes. To check if it’s done, insert a toothpick in the center. If it comes out clean, your cake is ready! Let it cool in the pan on a wire rack before serving.
Tips & Tricks
How to Achieve an Ideal Texture
To get the best texture in your Peanut Butter Earthquake Cake, focus on mixing. Combine the cake mix, water, oil, and eggs until smooth. Avoid lumps for a fluffy result. When you add the peanut butter mix, don’t over swirl it. This keeps your cake light and fluffy, with rich pockets of flavor.
Common Mistakes to Avoid
Many home cooks make a few common mistakes. First, don’t skip greasing your pan. This prevents sticking and makes serving easier. Second, be careful with mixing times. Overmixing can lead to a dense cake. Lastly, remember to check your oven temperature. An oven that’s too hot can burn the edges while leaving the center raw.
Best Tools and Equipment for Success
Having the right tools will make baking easier. Here’s what I recommend:
- Mixing bowls
- Measuring cups and spoons
- A whisk for blending
- A spatula for spreading
- A 9×13 inch baking dish
- A toothpick for testing doneness
These tools help you work quickly and efficiently, ensuring your cake turns out perfect every time.
Pro Tips
- Use Room Temperature Ingredients: Ensure your eggs and peanut butter are at room temperature for better mixing, which helps achieve a smoother batter.
- Don’t Overmix the Batter: Mix until just combined to keep your cake light and fluffy; overmixing can lead to a dense texture.
- Swirling Technique: When swirling the peanut butter mixture into the batter, aim for a gentle motion to create beautiful marbling without fully blending.
- Cool Completely Before Serving: Allow the cake to cool in the pan to ensure it sets properly, making it easier to slice and serve.
Variations
Gluten-Free Option
You can make this cake gluten-free with a simple swap. Use a gluten-free chocolate cake mix instead of regular. Check the label to ensure it meets your needs. The rest of the recipe stays the same. You still get that rich, chocolatey goodness with a tasty peanut butter twist.
Nut-Free Alternative
If you need a nut-free option, leave out the walnuts. You can also replace peanut butter with sunbutter. This sunflower seed butter gives you a similar creamy texture. It adds a nice flavor without nuts. Just make sure to check for any allergies.
Flavor Additions and Substitutions
Feel free to get creative! You can add different flavors to the cake. Try using white chocolate chips instead of regular ones. Or mix in some caramel sauce for a sweet surprise. Want a touch of spice? Add a pinch of cinnamon or some coffee to the batter. These small changes make your cake unique and fun!
Storage Info
How to Store Leftover Cake
To keep your Peanut Butter Earthquake Cake fresh, store it in an airtight container. You can leave it at room temperature for up to three days. If you want to keep it longer, place it in the fridge. Just make sure it’s covered well to avoid drying out.
Freezing Instructions
You can freeze this cake for up to three months. First, let the cake cool completely. Then, slice it into squares. Wrap each piece tightly in plastic wrap, and then place them in a freezer bag. Label the bag with the date, so you remember when you froze it.
Best Practices for Serving Later
When you’re ready to serve the cake, thaw it in the fridge overnight. You can also warm it slightly in the microwave for a few seconds. This will bring back its soft texture. For an extra treat, drizzle some melted peanut butter on top before serving.
FAQs
How to ensure the cake rises properly?
To make sure your cake rises, follow the recipe closely. Use the right amount of ingredients. Always check the expiration date on your baking powder. Ensure your oven is preheated to 350°F. Do not open the oven door too soon. This helps keep the heat in while baking.
Can I use a different type of cake mix?
Yes, you can use different cake mixes. Vanilla or marble cake mixes work well. They add a fun twist to the cake. Just remember that the flavor will change. Make sure to keep the baking time the same.
What is the origin of Peanut Butter Earthquake Cake?
Peanut Butter Earthquake Cake has roots in American kitchens. It became popular in the 1990s. The name comes from the marbled look after baking. The mix of chocolate and peanut butter makes it special. Many enjoy this cake for gatherings and parties. It’s a fun dessert that kids and adults love.
This blog post covered all you need for making Peanut Butter Earthquake Cake. We explored ingredients, step-by-step instructions, and helpful tips. I shared variations to suit different diets and storage info for leftovers. Remember to focus on ingredient quality and avoid common mistakes to make the best cake. With these insights, you can bake successfully and enjoy a delicious treat. Happy baking, and enjoy sharing your cak
Peanut Butter Earthquake Cake
Ingredients
- 1 package chocolate cake mix (15.25 oz)
- 1 cup water
- 1/2 cup vegetable oil
- 3 large eggs
- 1 cup creamy peanut butter
- 1 cup powdered sugar
- 1 cup chocolate chips
- 1 cup chopped walnuts (optional)
- 1/2 teaspoon vanilla extract
Instructions
- Preheat your oven to 350°F (175°C). Grease a 9x13 inch baking dish with cooking spray or butter.
- In a large mixing bowl, combine the chocolate cake mix, water, vegetable oil, and eggs. Mix well until there are no lumps.
- Pour the cake batter into the prepared baking dish and spread it evenly.
- In another bowl, stir together the peanut butter, powdered sugar, and vanilla extract until it's smooth.
- Drop spoonfuls of the peanut butter mixture over the batter, allowing it to sink slightly into the cake.
- Sprinkle chocolate chips and walnuts evenly on top of the batter and peanut butter mixture.
- Using a knife or a skewer, gently swirl through the batter to create a marbled effect, but do not overmix.
- Bake in the preheated oven for 30-35 minutes, or until a toothpick inserted in the center comes out clean.
- Allow to cool in the pan on a wire rack before serving.
