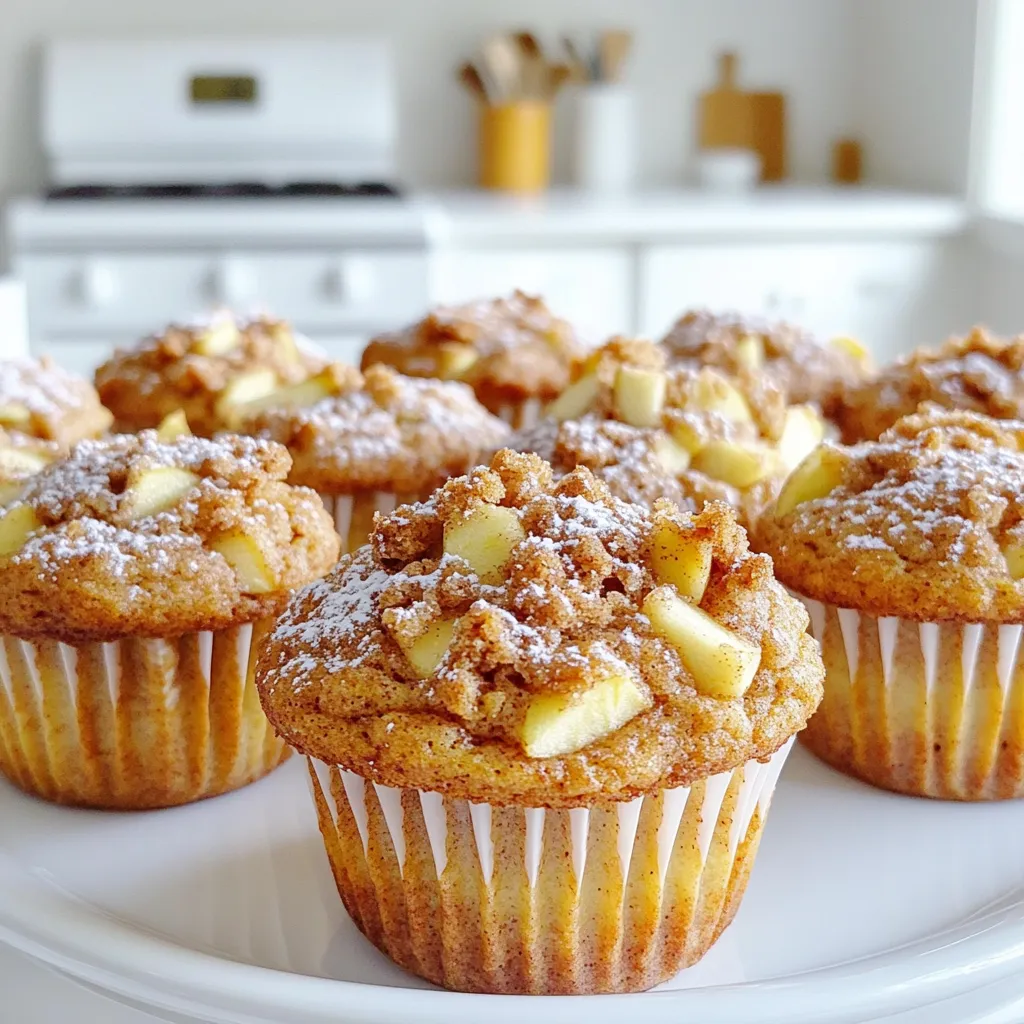
Bakery-Style Cinnamon Streusel Apple Muffins Delight
Craving a sweet treat that tastes like it came from your favorite bakery? Look no further! Our Bakery-Style Cinnamon Streusel

Craving a sweet treat that tastes like it came from your favorite bakery? Look no further! Our Bakery-Style Cinnamon Streusel
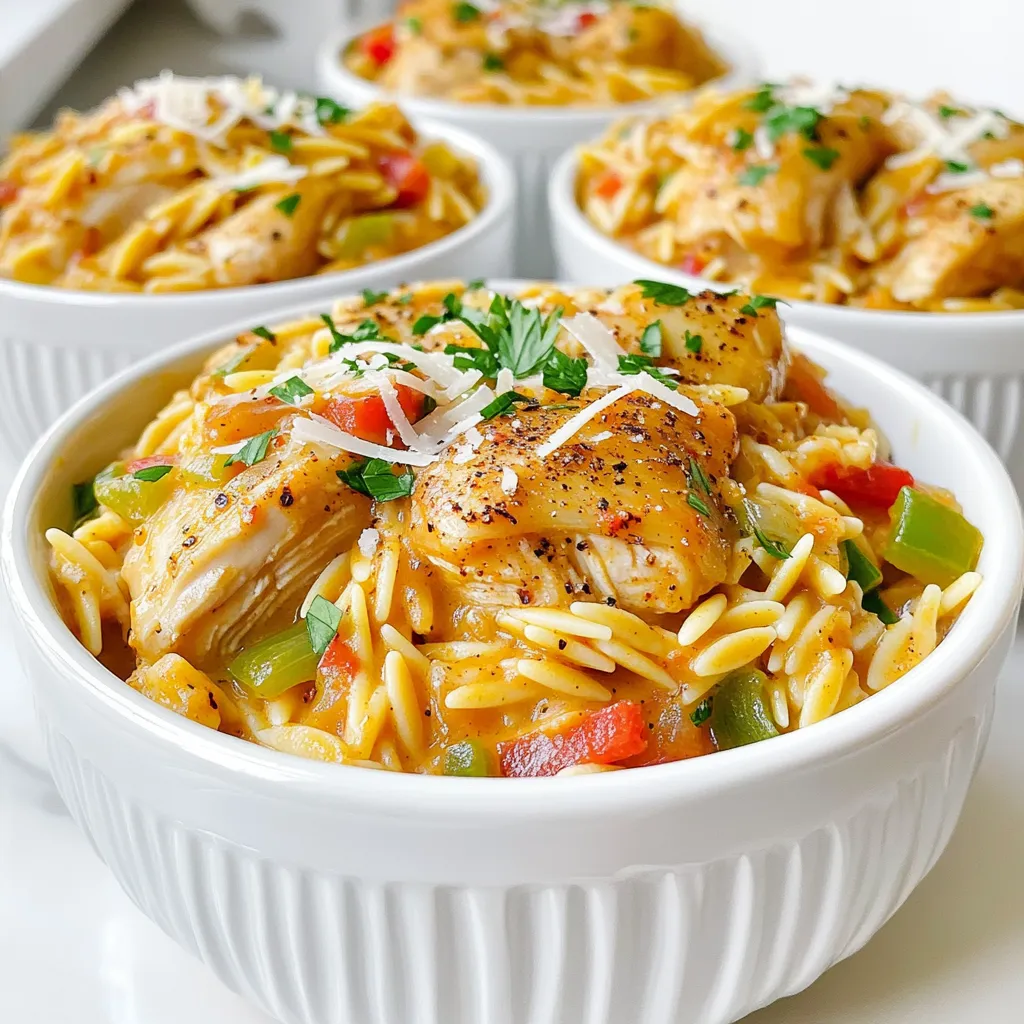
Are you ready to spice up your dinner routine? This One-Pot Creamy Cajun Chicken Orzo is a game changer. It’s
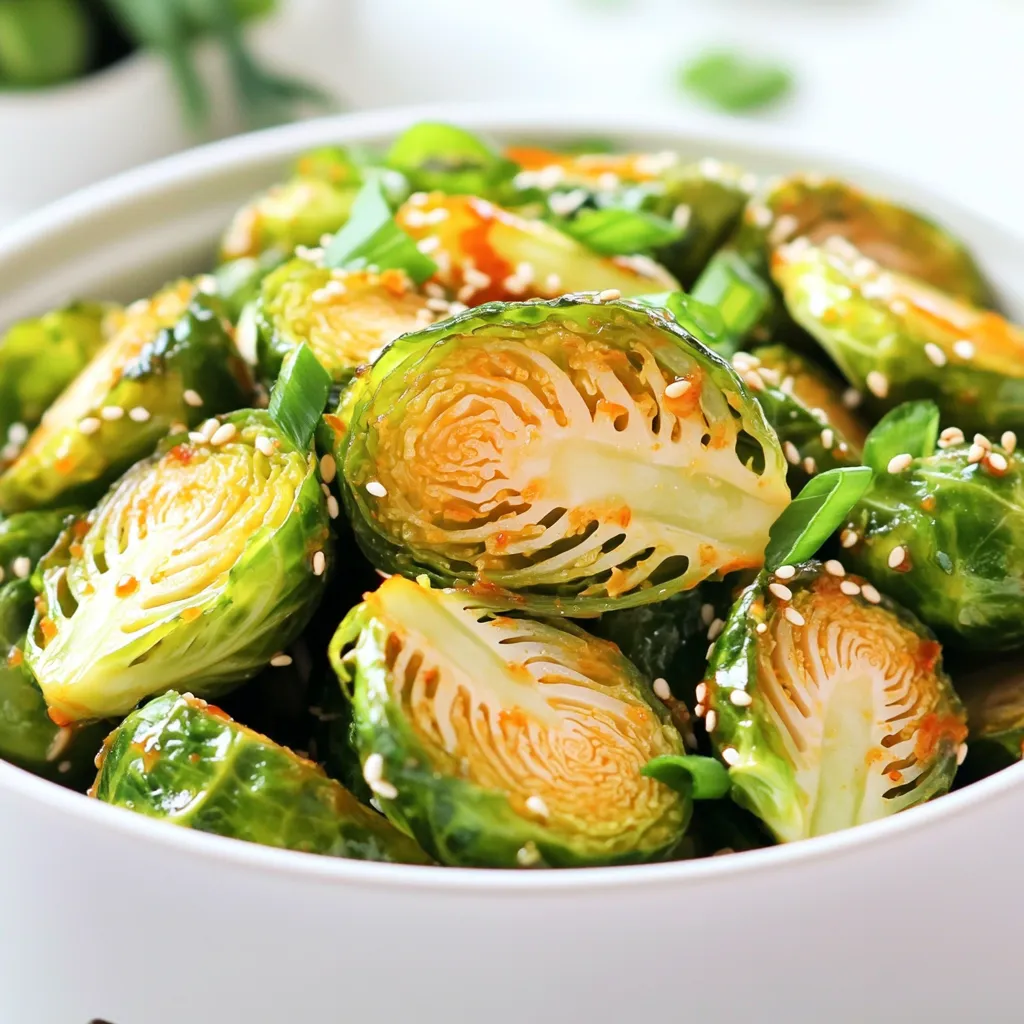
If you want a side dish that’s both tasty and easy to make, try my Air Fryer Sweet Chili Brussels
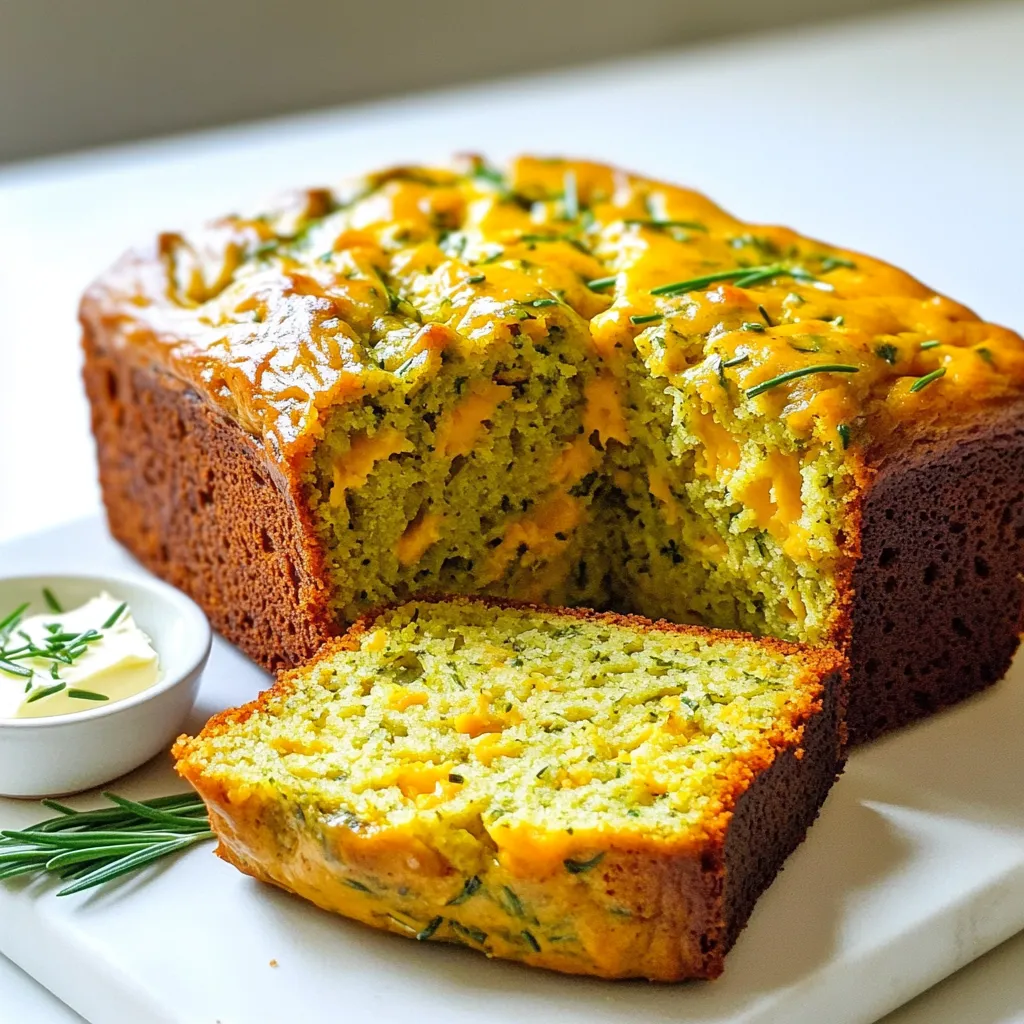
If you love warm, hearty flavors, you’ll adore my Savory Cheddar Herb Pumpkin Bread recipe! It’s an easy way to
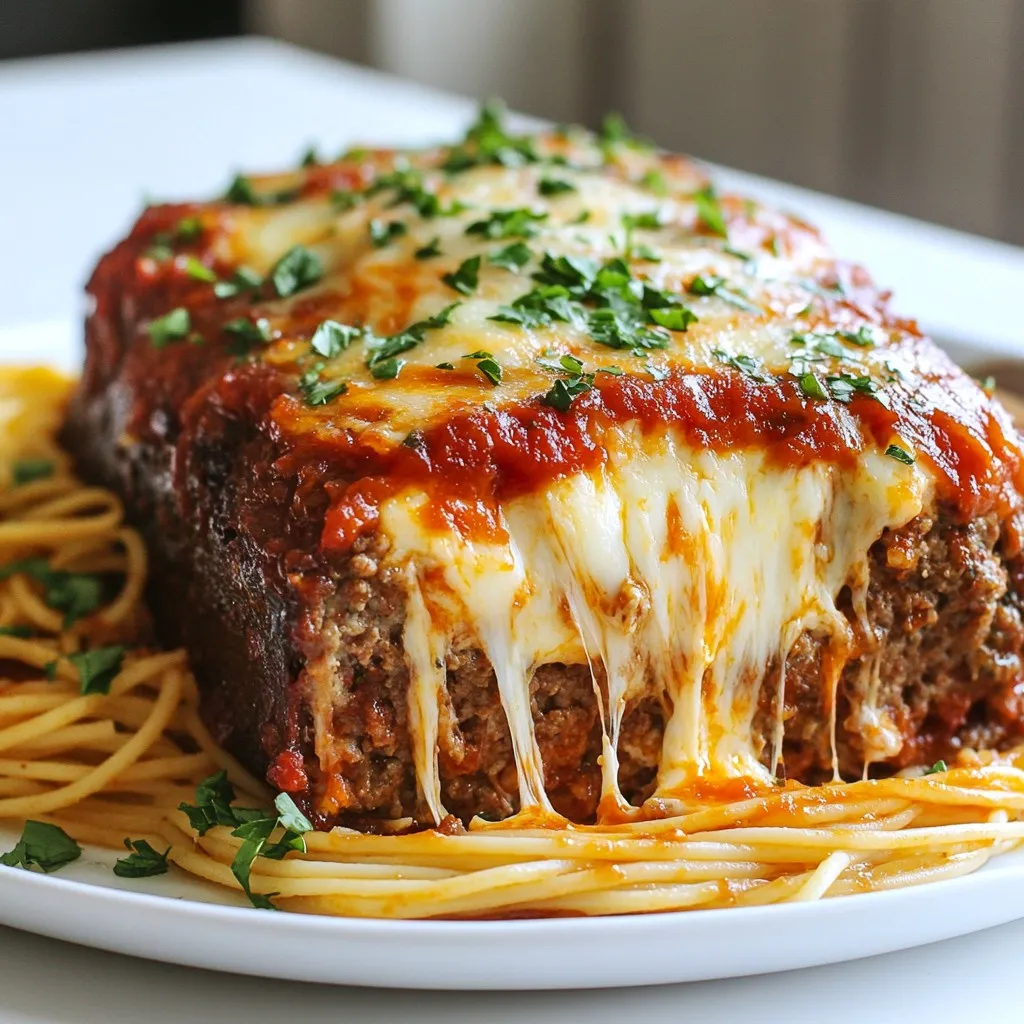
If you’re craving a warm, hearty dish, you need to try my Mozzarella Stuffed Italian Meatloaf! This meatloaf combines ground

If you want to elevate your holiday meals, try my cranberry sauce with rosemary and thyme. This easy recipe adds
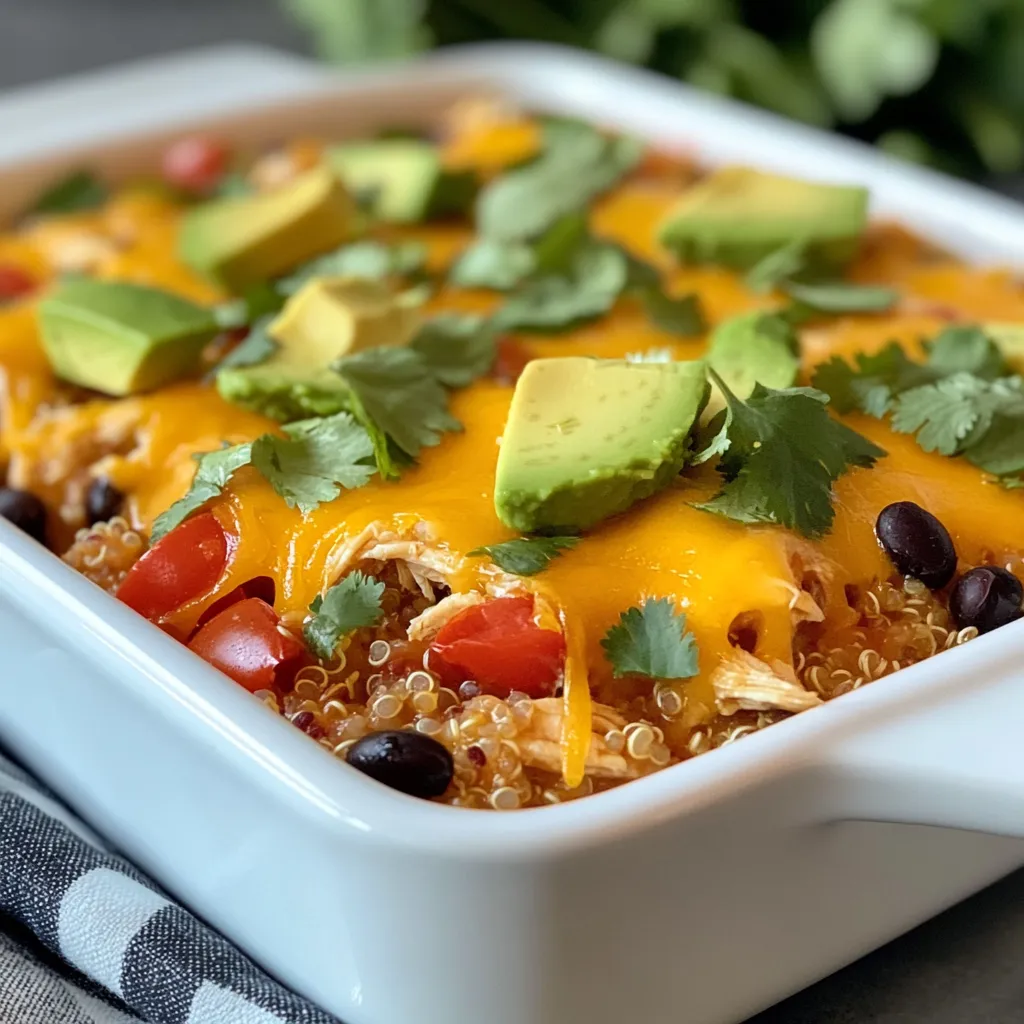
Are you ready to simplify your meal prep? My Meal Prep Chicken Casserole is a simple, satisfying dish that brings
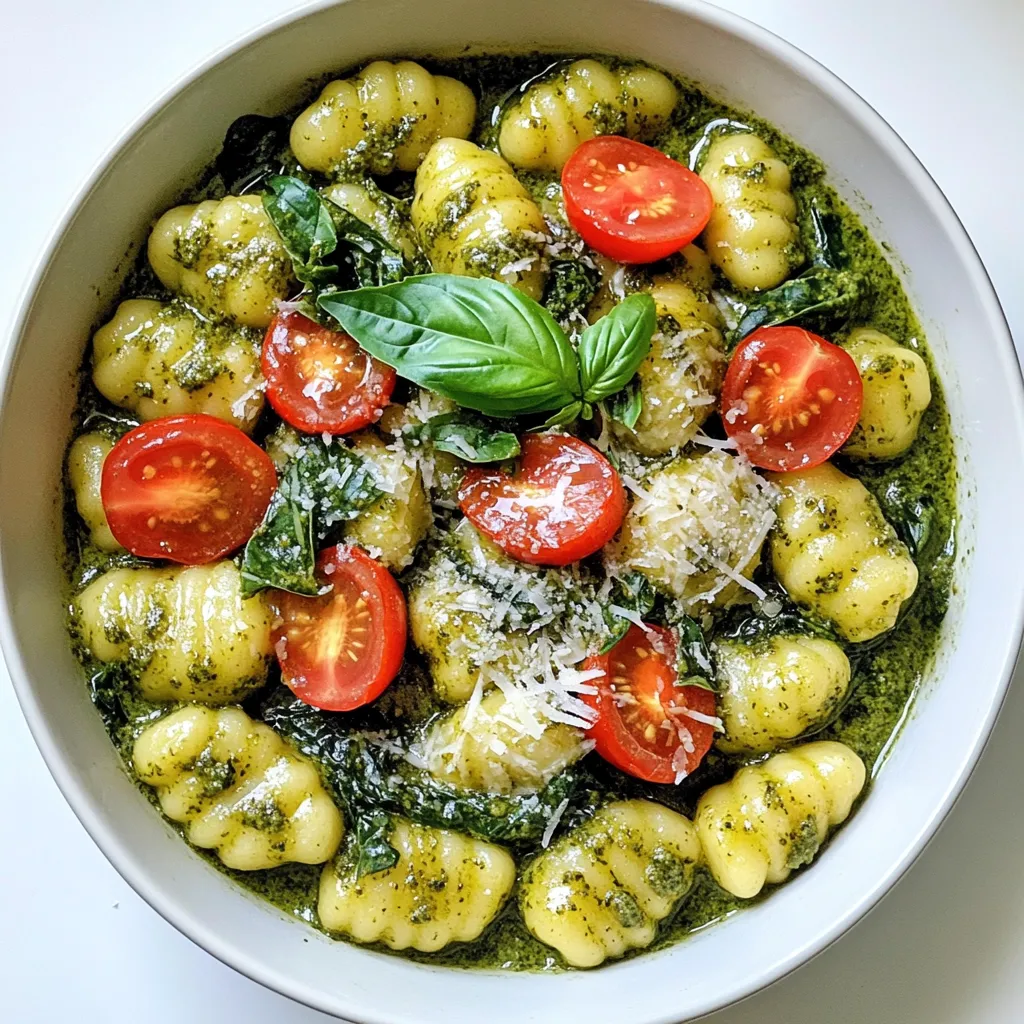
Are you looking for a quick and tasty meal? One Pot Creamy Pesto Gnocchi is your answer! This easy recipe
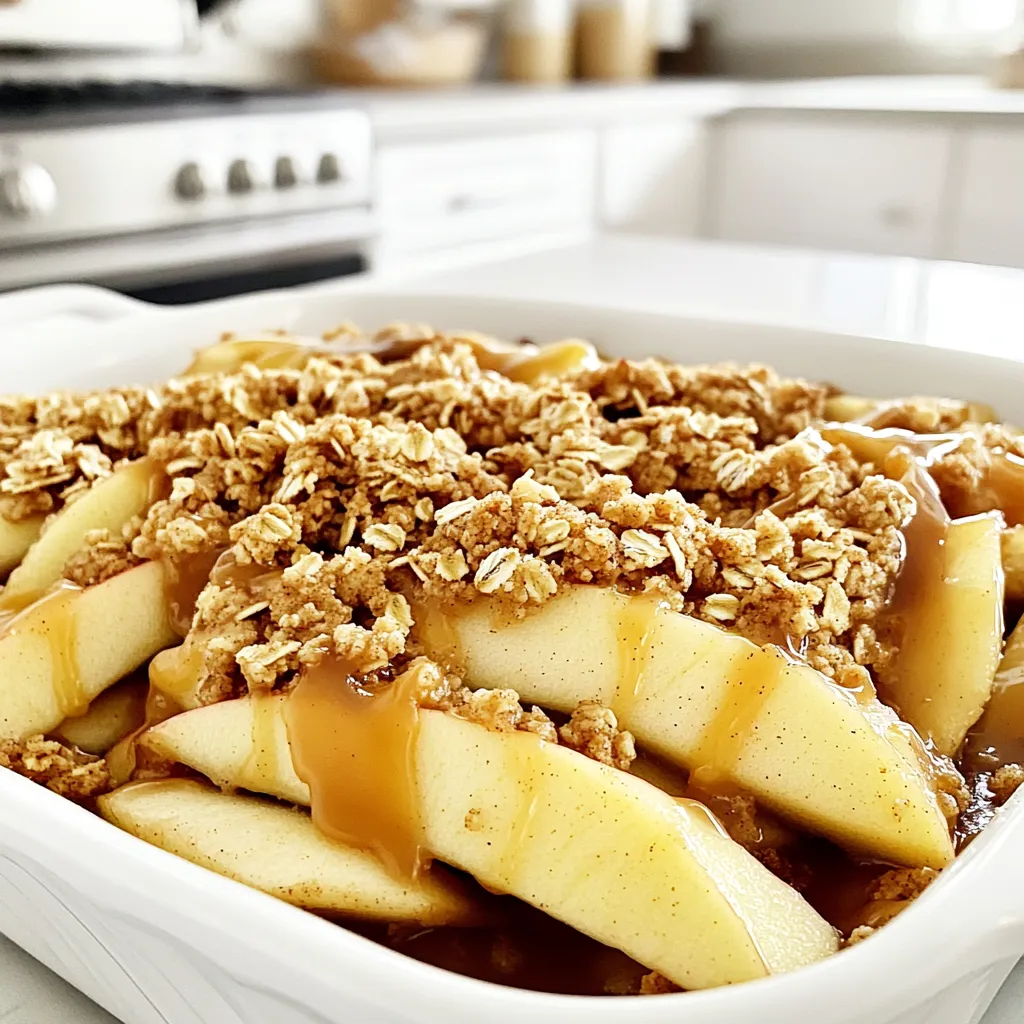
Are you ready for a warm, tasty treat? This Caramel Apple Crisp with Oats is simple to make and packed
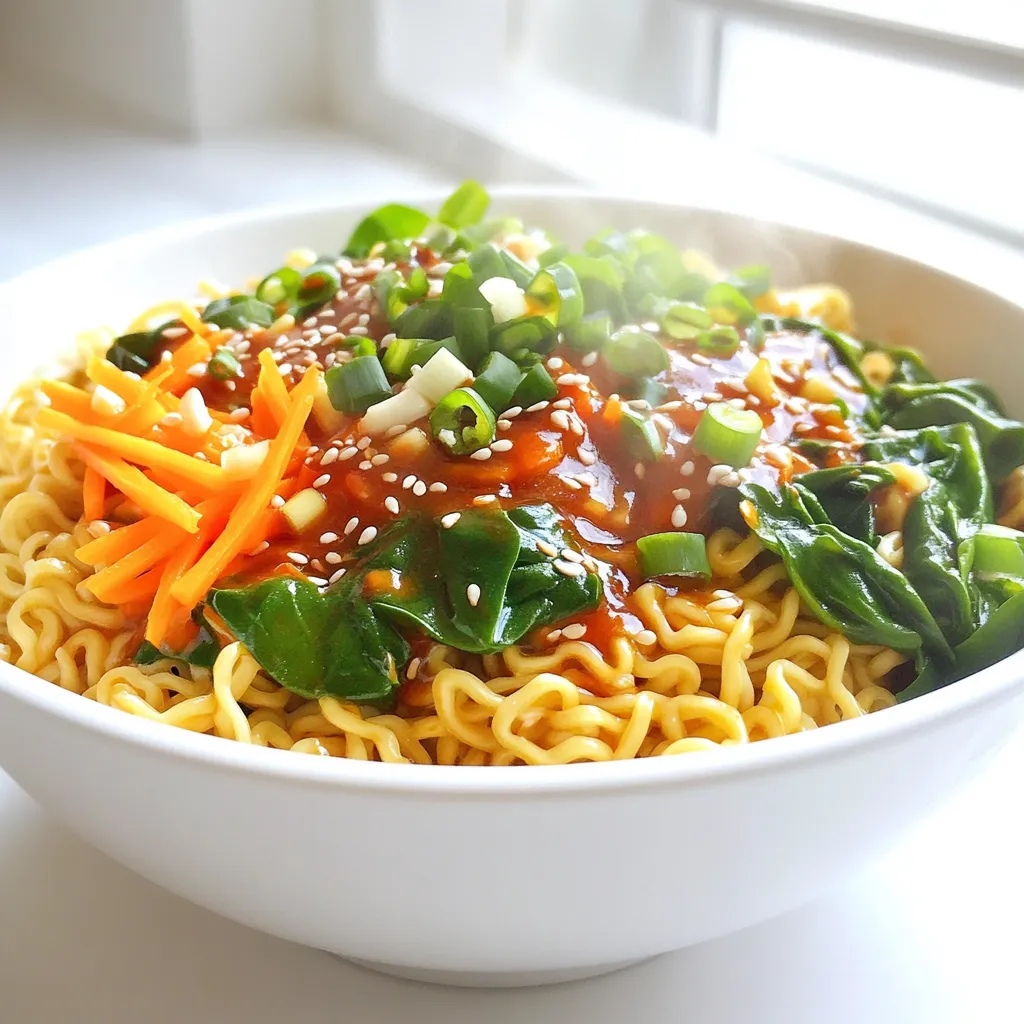
Are you ready for a flavor explosion? My Chili Garlic Ramen Noodles pack a punch with spice and taste. In
