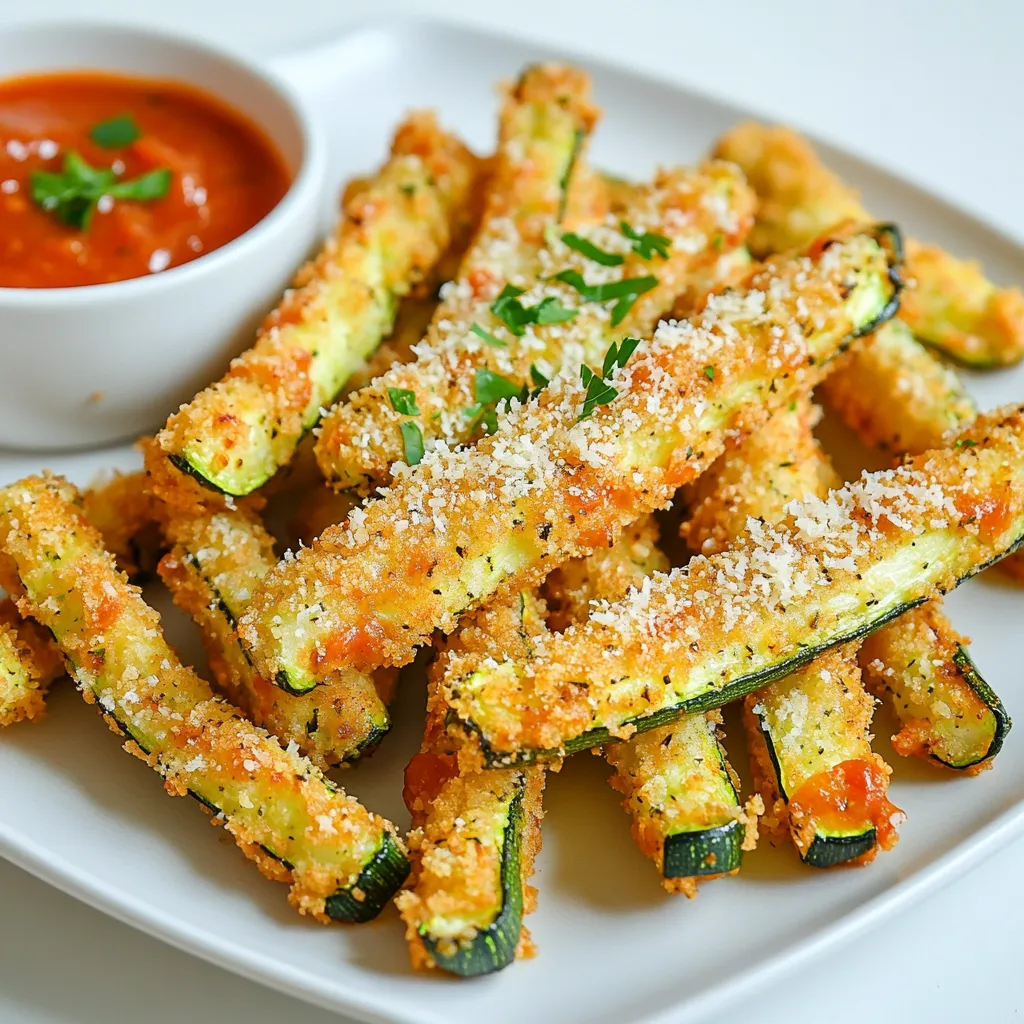
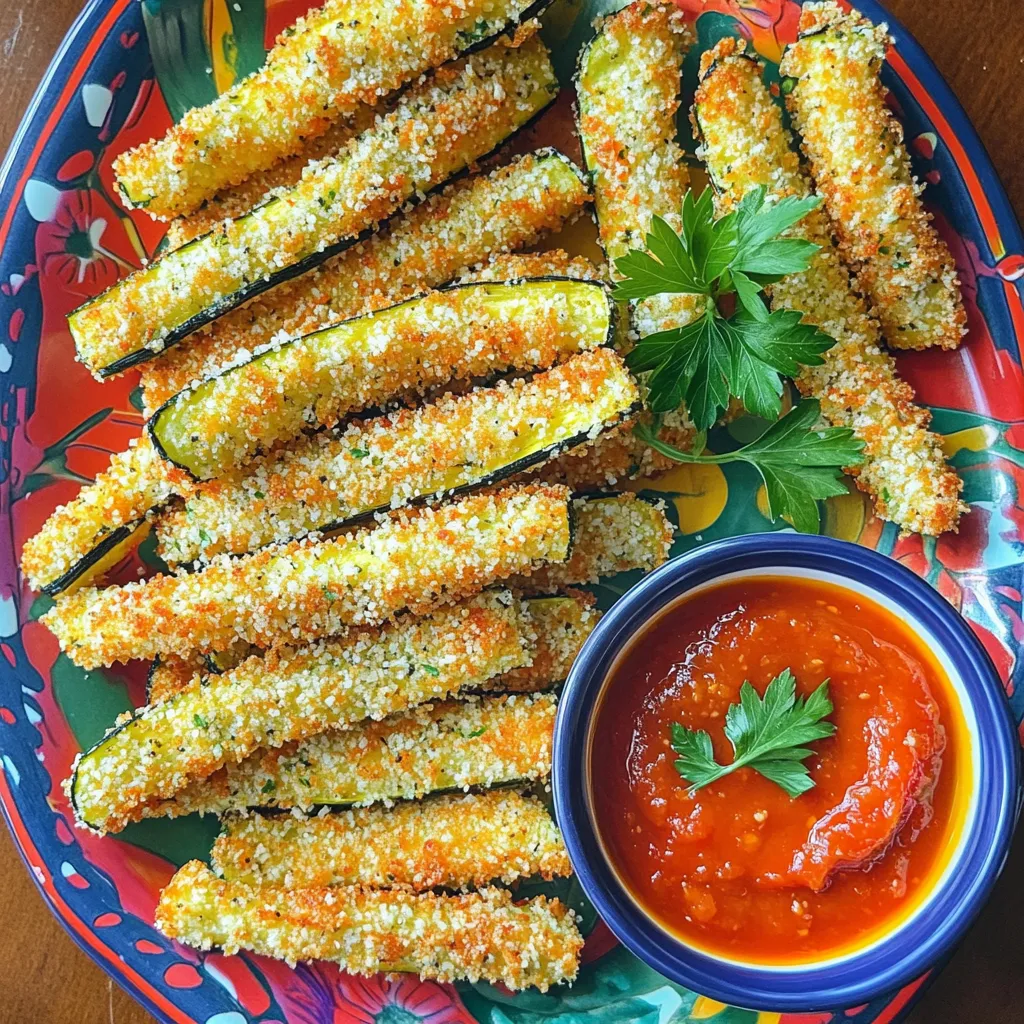
Crispy Air Fryer Parmesan Zucchini Fries Recipe
Get ready to enjoy a crunchy snack that’s easy to make and hard to resist! My Crispy Air Fryer Parmesan

Get ready to enjoy a crunchy snack that’s easy to make and hard to resist! My Crispy Air Fryer Parmesan
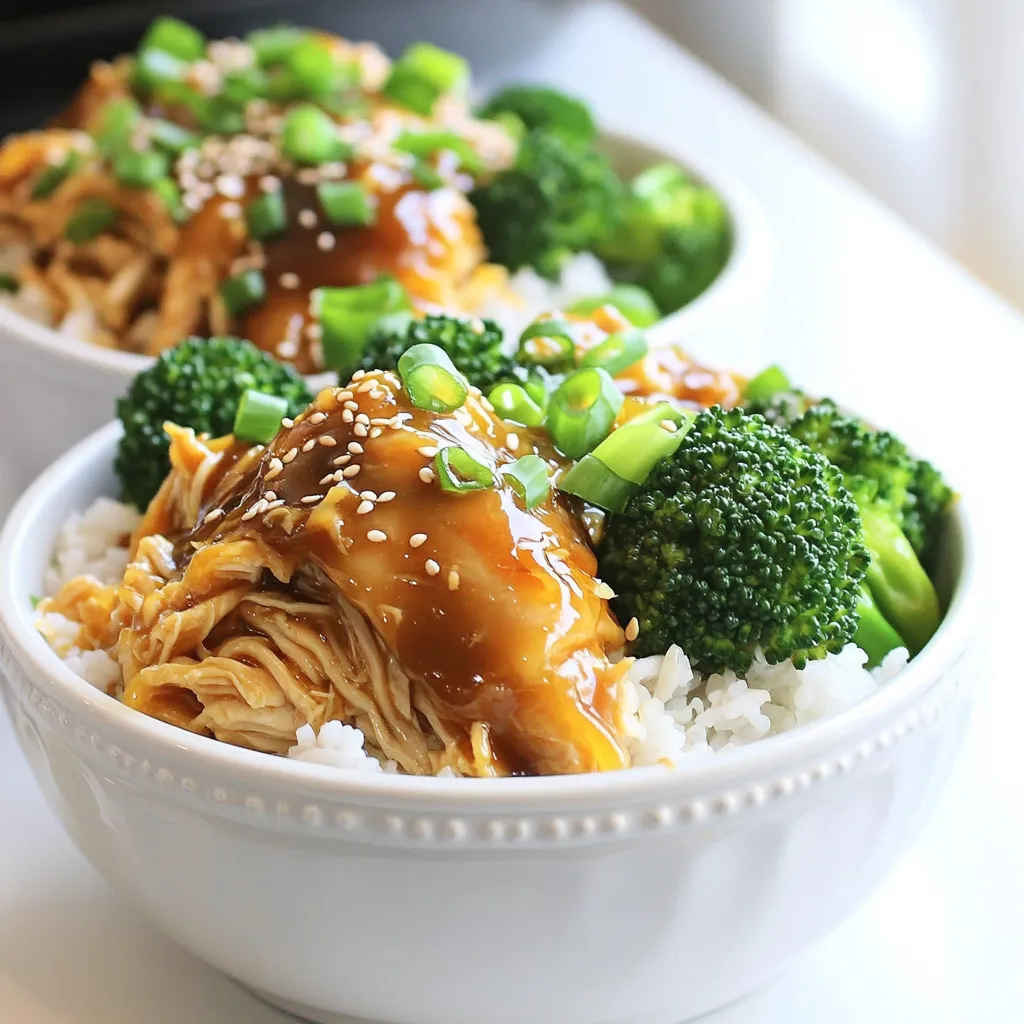
Are you ready to create a mouth-watering meal with minimal effort? Slow Cooker Teriyaki Chicken Bowls will become a family
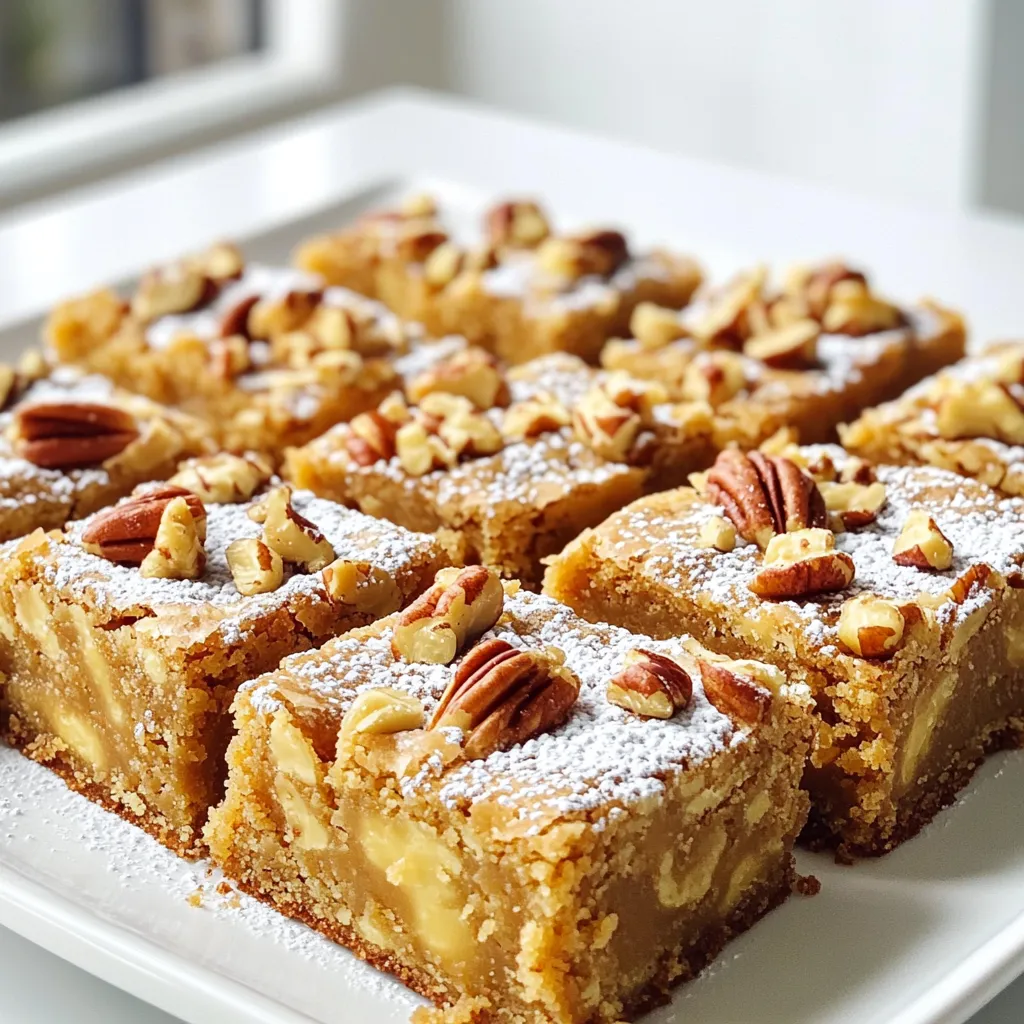
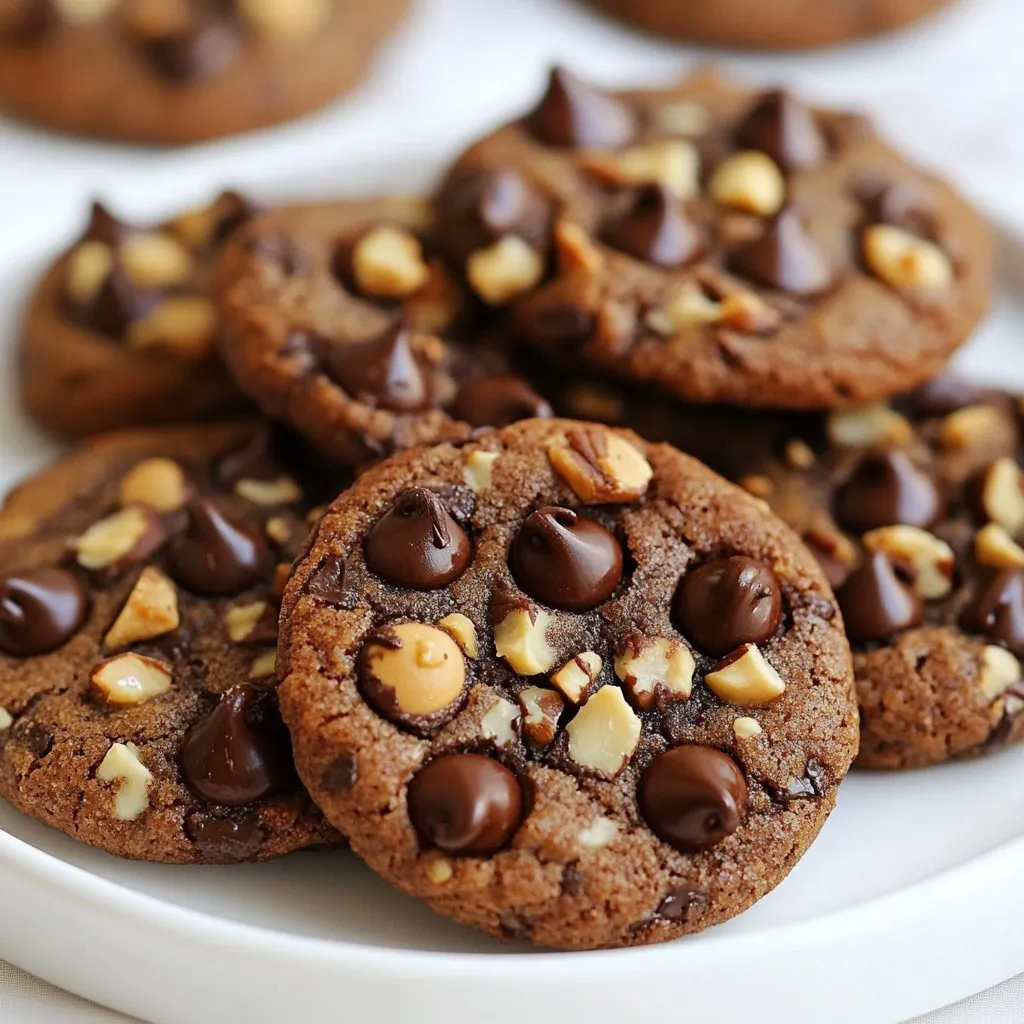
Are you ready to discover a sweet treat that will make your taste buds dance? Brown Butter Pecan Blondies are
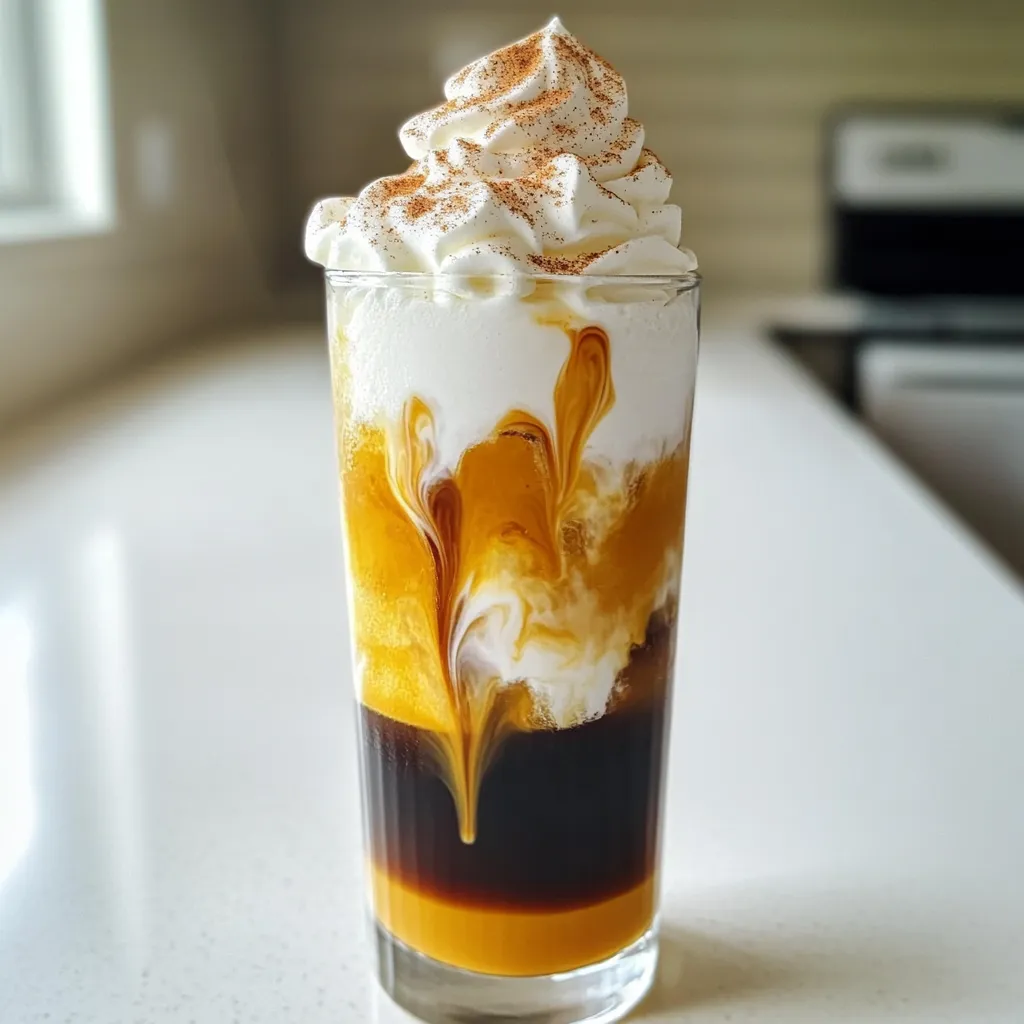
Fall just got a whole lot cozier with my Pumpkin Cream Cold Brew recipe! This drink combines rich coffee with
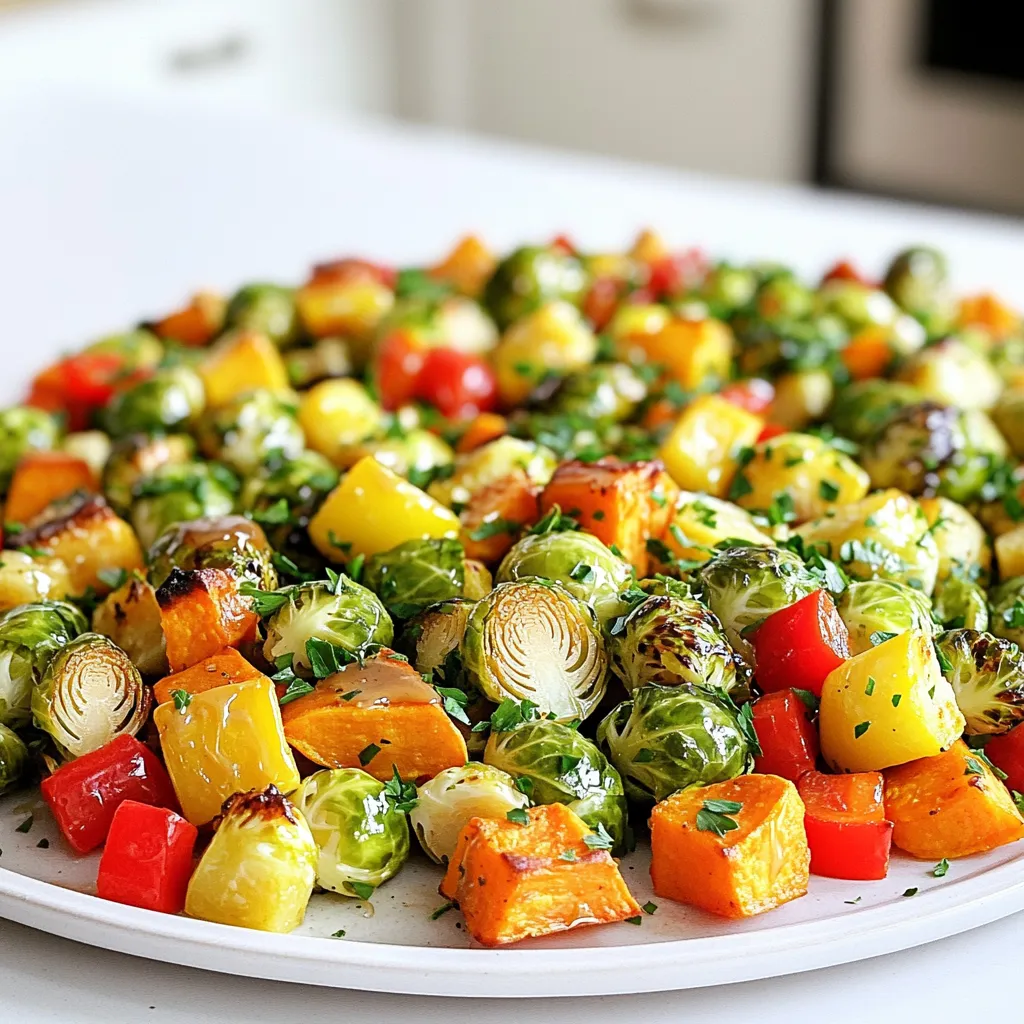
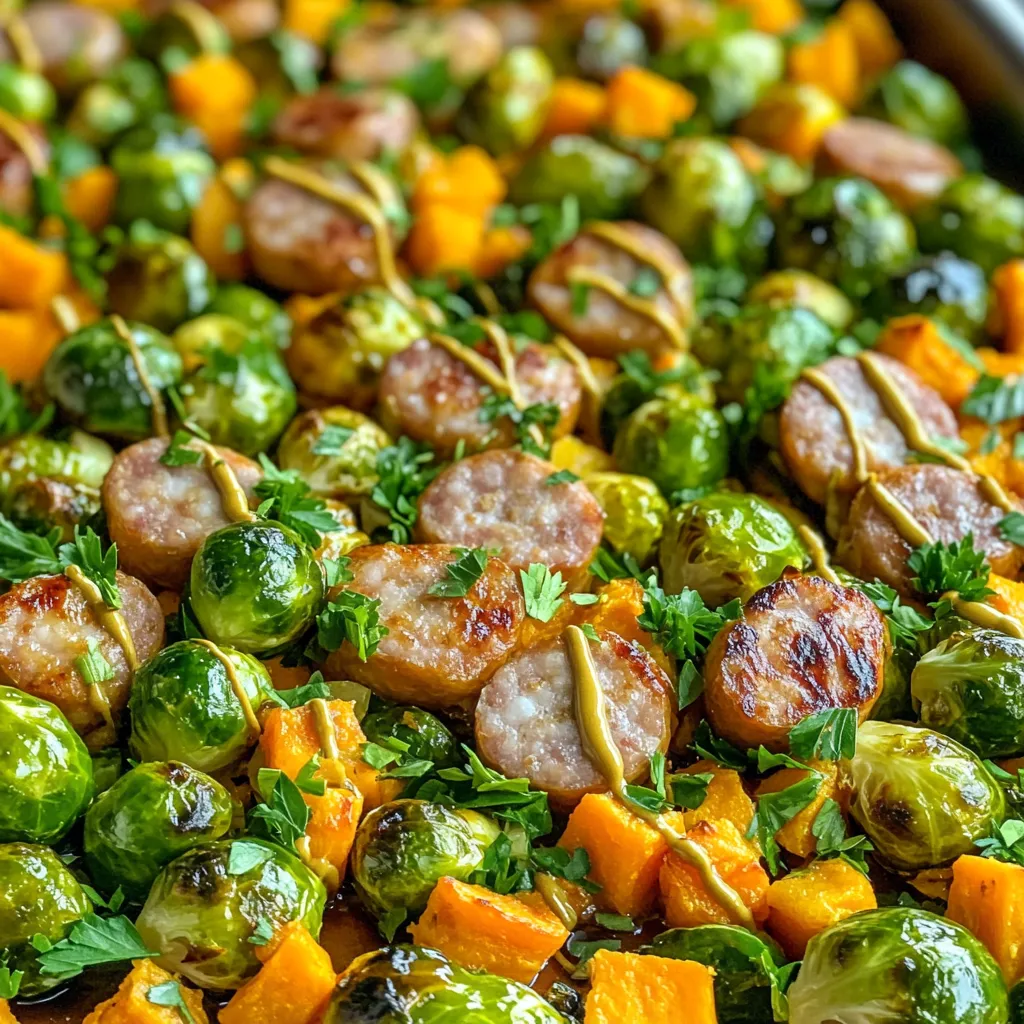
Looking for a simple and tasty meal? Try my Maple Dijon Sheet Pan Veggies! This easy recipe packs flavor and
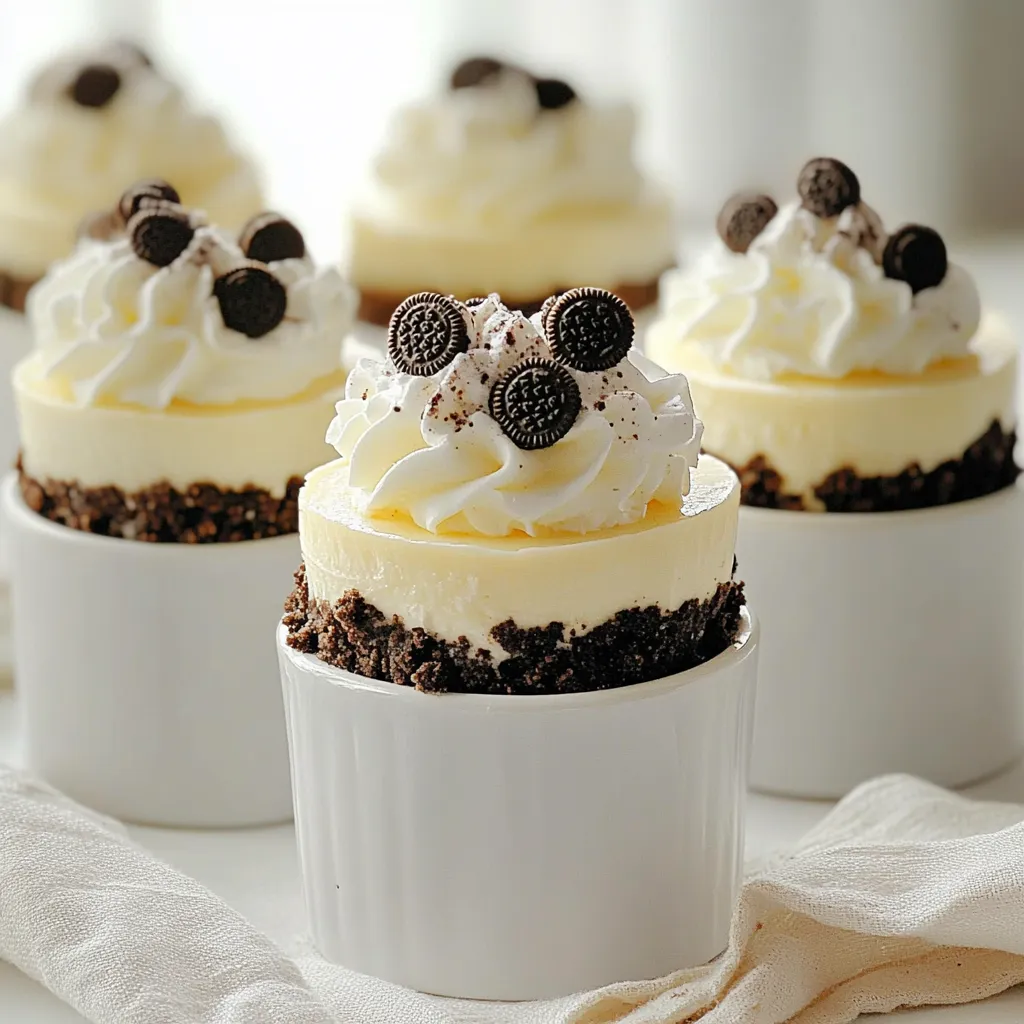
Do you crave a sweet treat but dread turning on the oven? You’re in luck! These No Bake Oreo Cheesecake
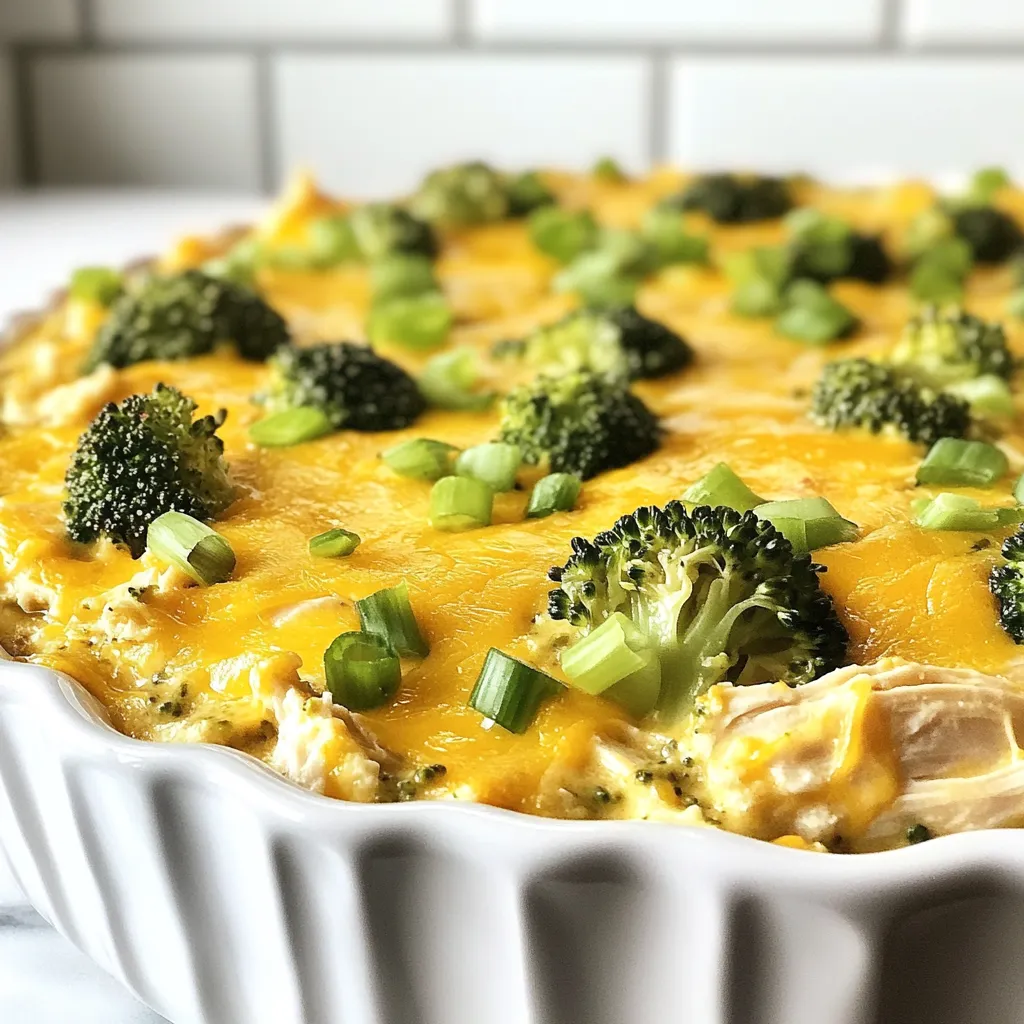
Looking for a delicious, easy meal that fits perfectly into your keto diet? This Keto Broccoli Chicken Casserole is the
Craving a sweet treat but don’t have eggs? You’re in the right place! I’m excited to share my easy recipe
Are you looking for a tasty snack that won’t ruin your diet? You’re in the right place! I’m excited to
Get ready to enjoy a meal that’s both simple and delicious! In this blog post, I’ll show you how to
