
Copycat Spiced Chai Latte Flavorful and Easy Recipe
Craving a cozy cup of chai? You can create a Copycat Spiced Chai Latte at home! This easy recipe brings

Craving a cozy cup of chai? You can create a Copycat Spiced Chai Latte at home! This easy recipe brings

Are you ready to create a dish that’s bursting with flavor? My Lemon Butter Salmon Asparagus Skillet is simple yet

Craving a treat that’s both simple and delicious? You’re in the right place! This Caramel Apple Cheesecake Dip brings together

Looking for a warm hug in a bowl? My Carrot Ginger Miso Soup is just that! Packed with fresh carrots,

Craving a delicious meal that brings the taste of Italy to your kitchen? Look no further! This Creamy Tuscan Garlic

If you crave a sweet treat that brings warmth and comfort, you’re in the right place. These Brown Sugar Pecan

Are you ready to warm up with a bowl of rich and hearty soup? My Slow Cooker Chicken Tortilla Soup

Are you ready to elevate your snacking game? In this post, I’ll show you how to make Air Fryer Crispy
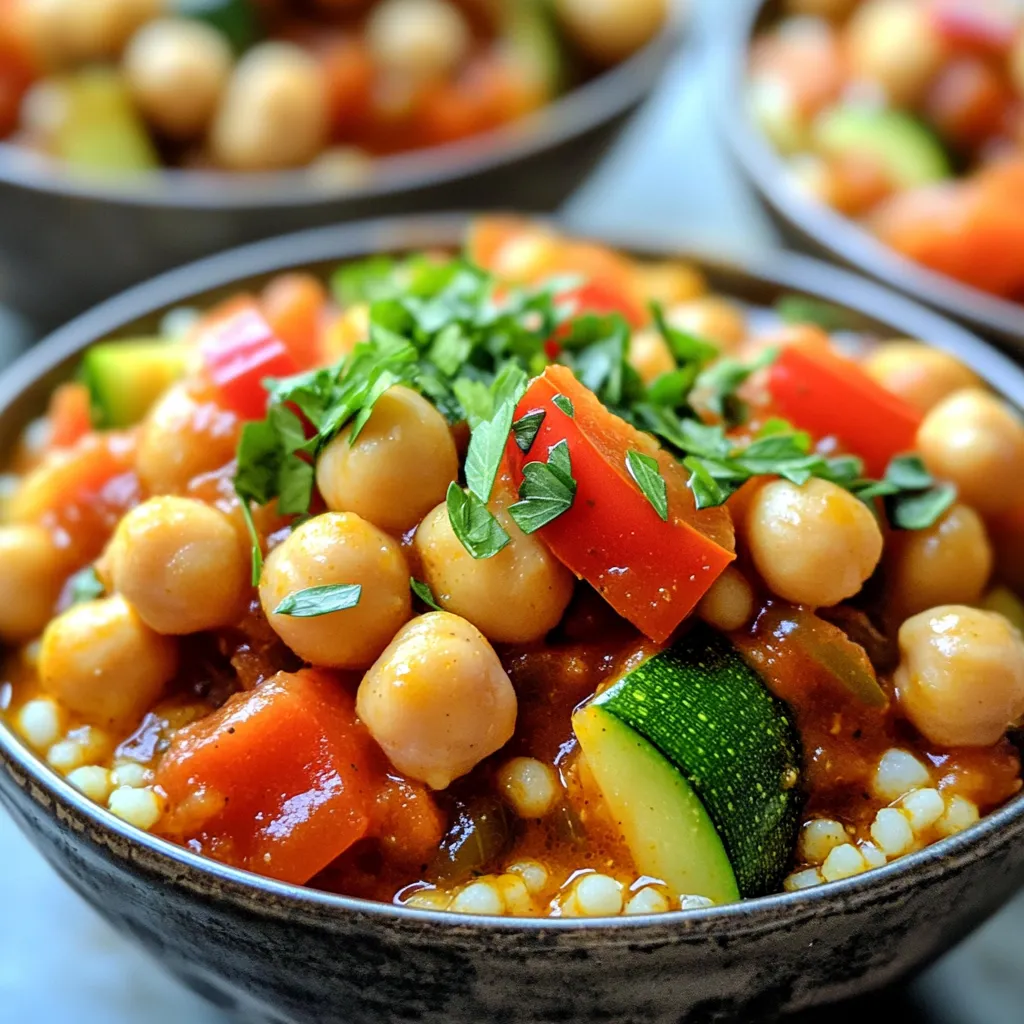
Looking for a quick, spicy meal that packs a punch? My Spicy Harissa Chickpea Couscous Stew is just what you
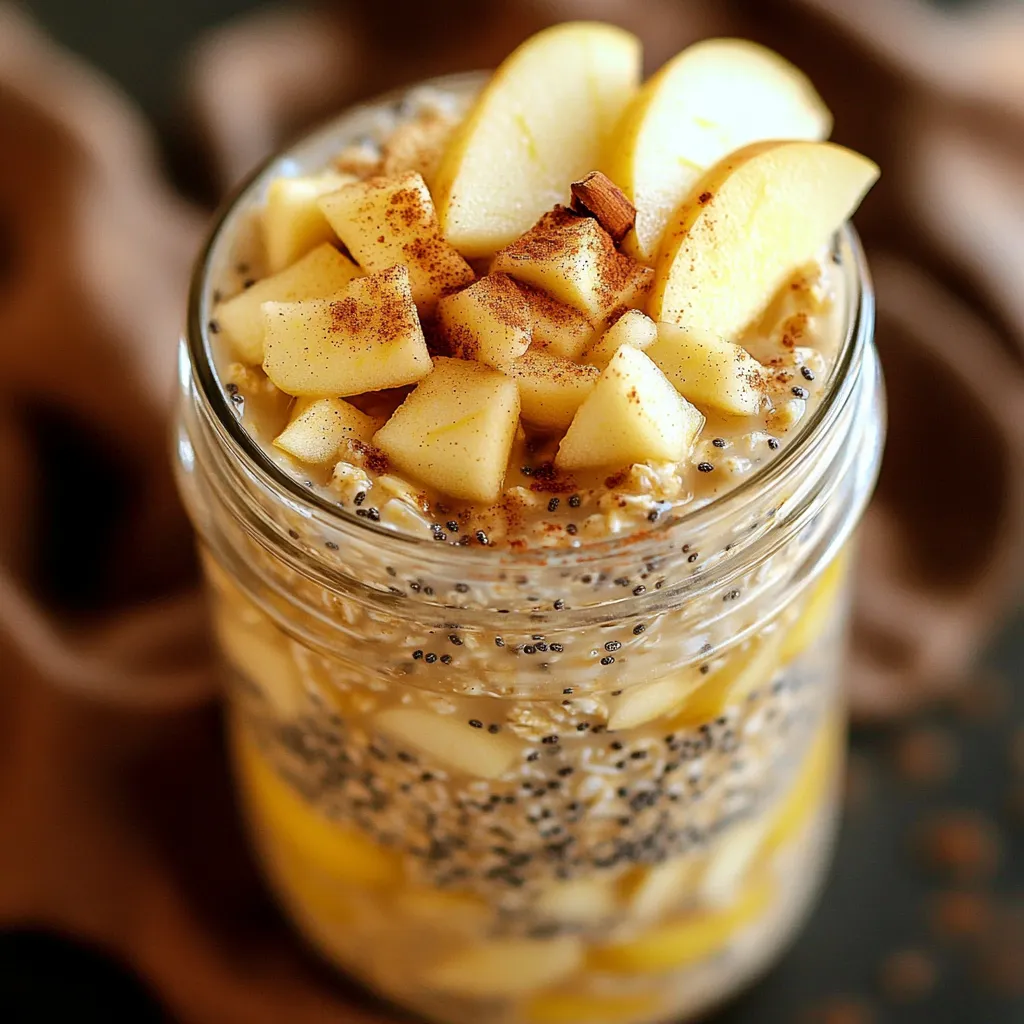
Looking for a quick and tasty breakfast? My Apple Cinnamon Overnight Oats recipe is just the thing! This dish is
