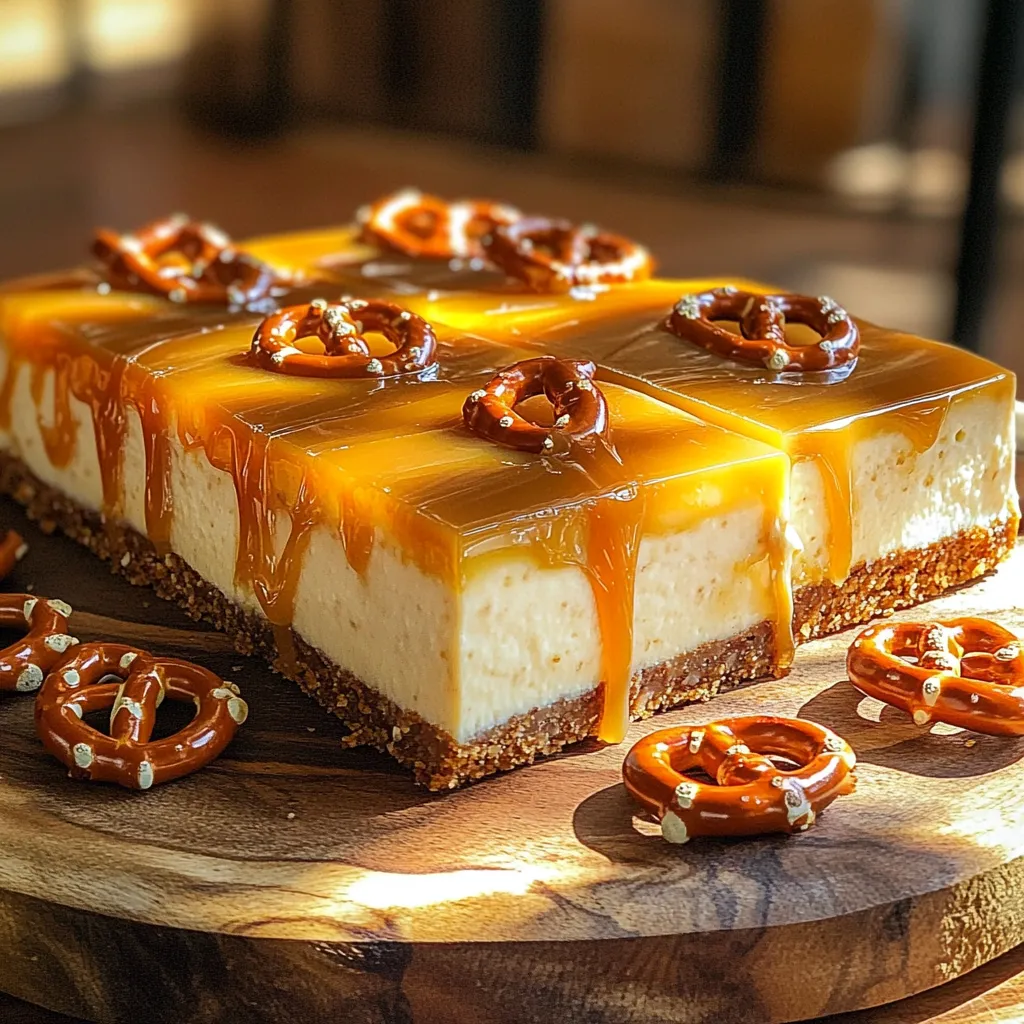
No-Bake Salted Caramel Pretzel Cheesecake Bars Delight
If you love sweet and salty treats, then you’ll adore these No-Bake Salted Caramel Pretzel Cheesecake Bars! Picture a crunchy

If you love sweet and salty treats, then you’ll adore these No-Bake Salted Caramel Pretzel Cheesecake Bars! Picture a crunchy

Looking for a meal that’s fresh, simple, and packed with flavor? Bang Bang Salmon Bite Bowls are your answer! In

Are you ready for a tasty treat that’s easy to make? Chocolate Cottage Cheese Pudding is a fun dessert that
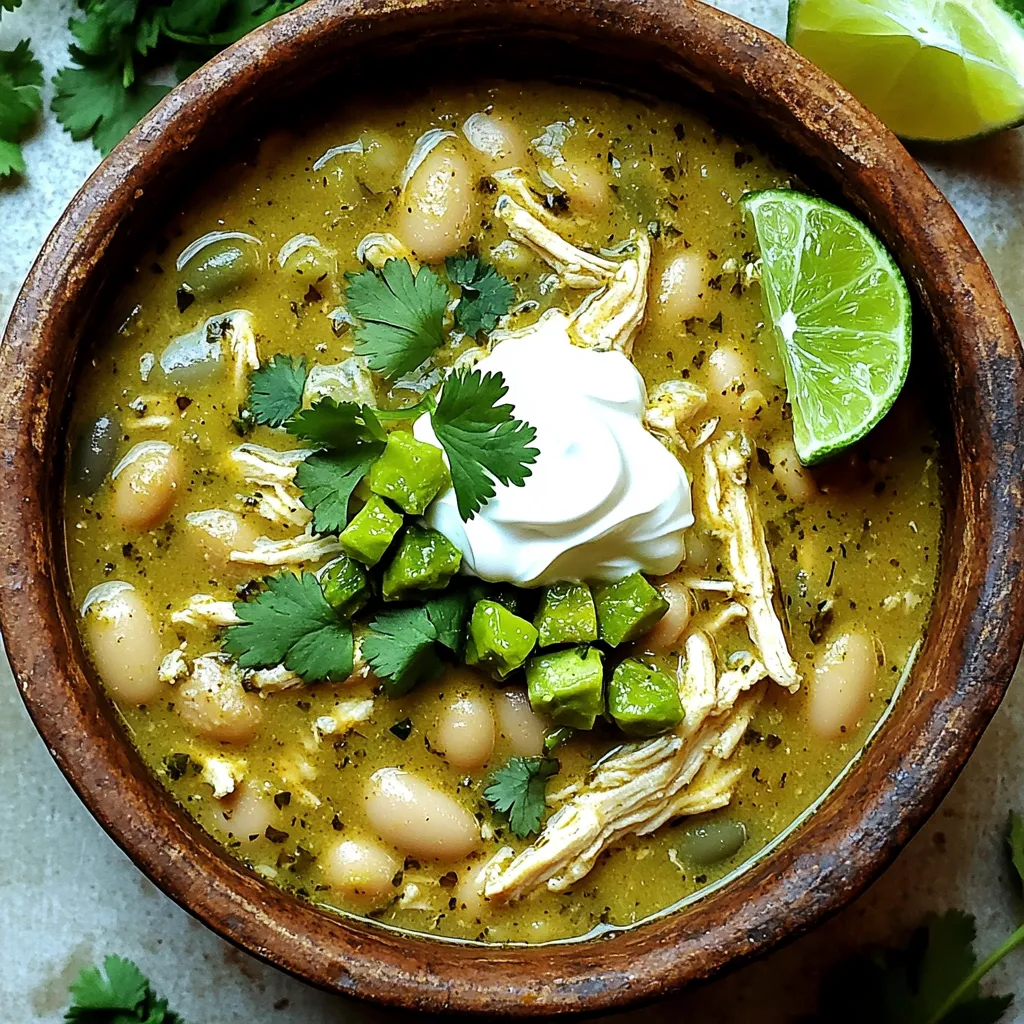
If you crave a meal that hugs you from the inside out, try my Slow Cooker White Chicken Chili. This

Craving a tasty snack that’s both crispy and healthy? You’re in the right place! Today, I’ll show you how to
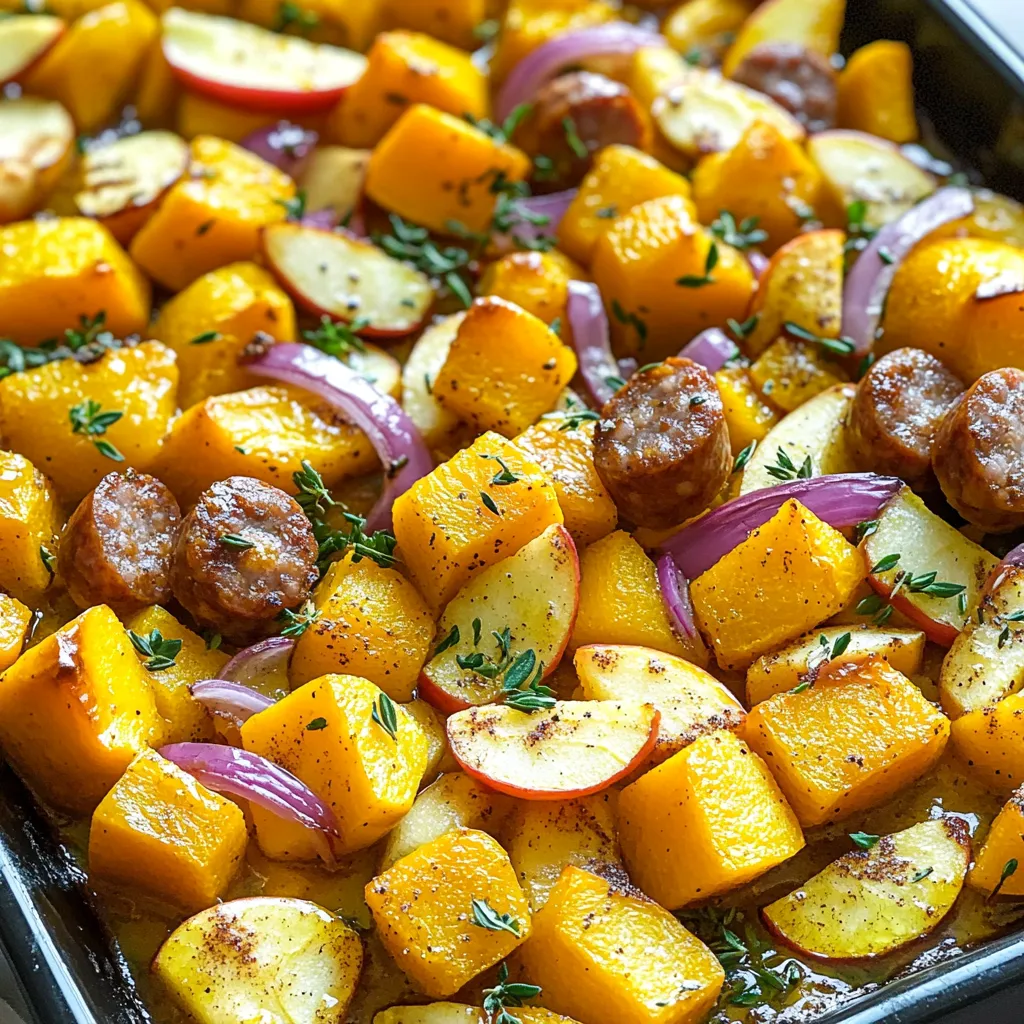
Looking for a quick and tasty dinner? Try my Sheet-Pan Sausage, Squash, and Apples recipe! This dish brings together savory
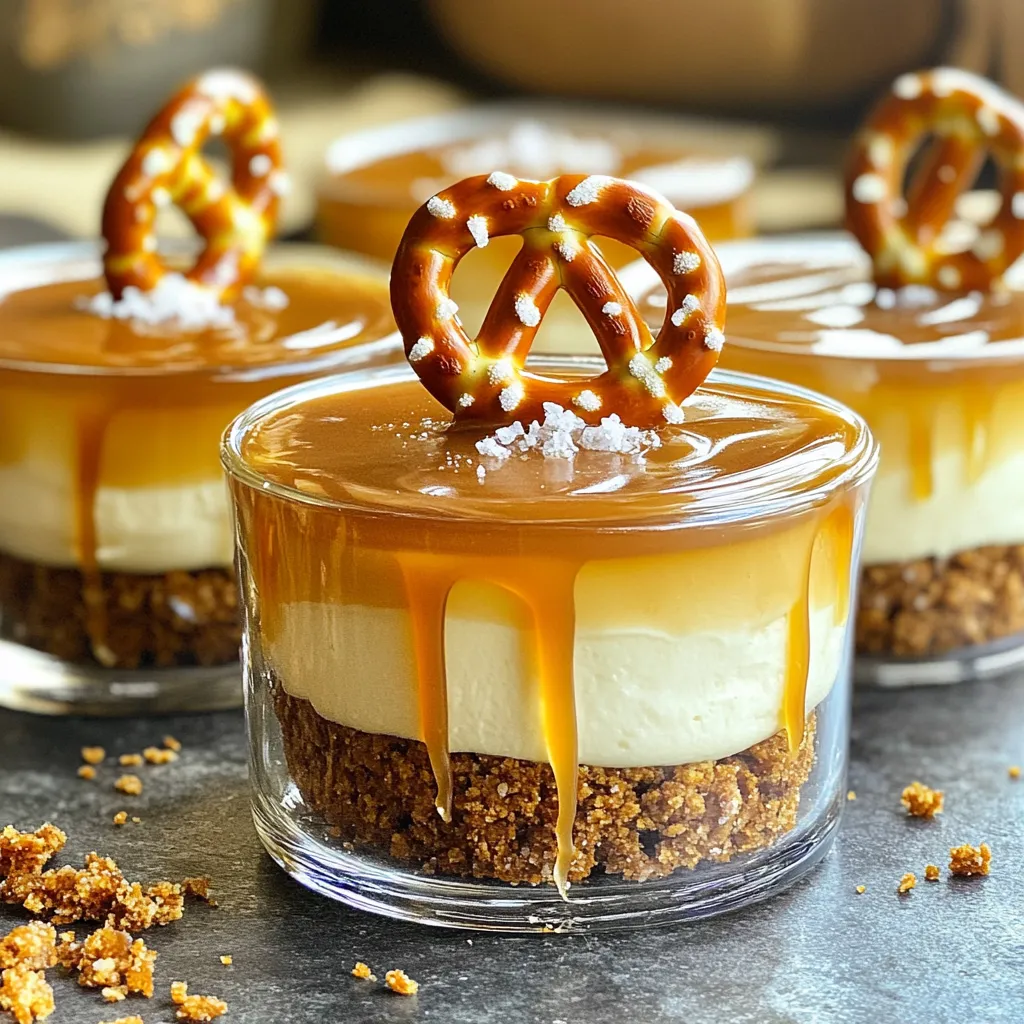
Get ready to indulge in a treat that’s both sweet and salty! These No-Bake Salted Caramel Pretzel Cheesecake Cups offer
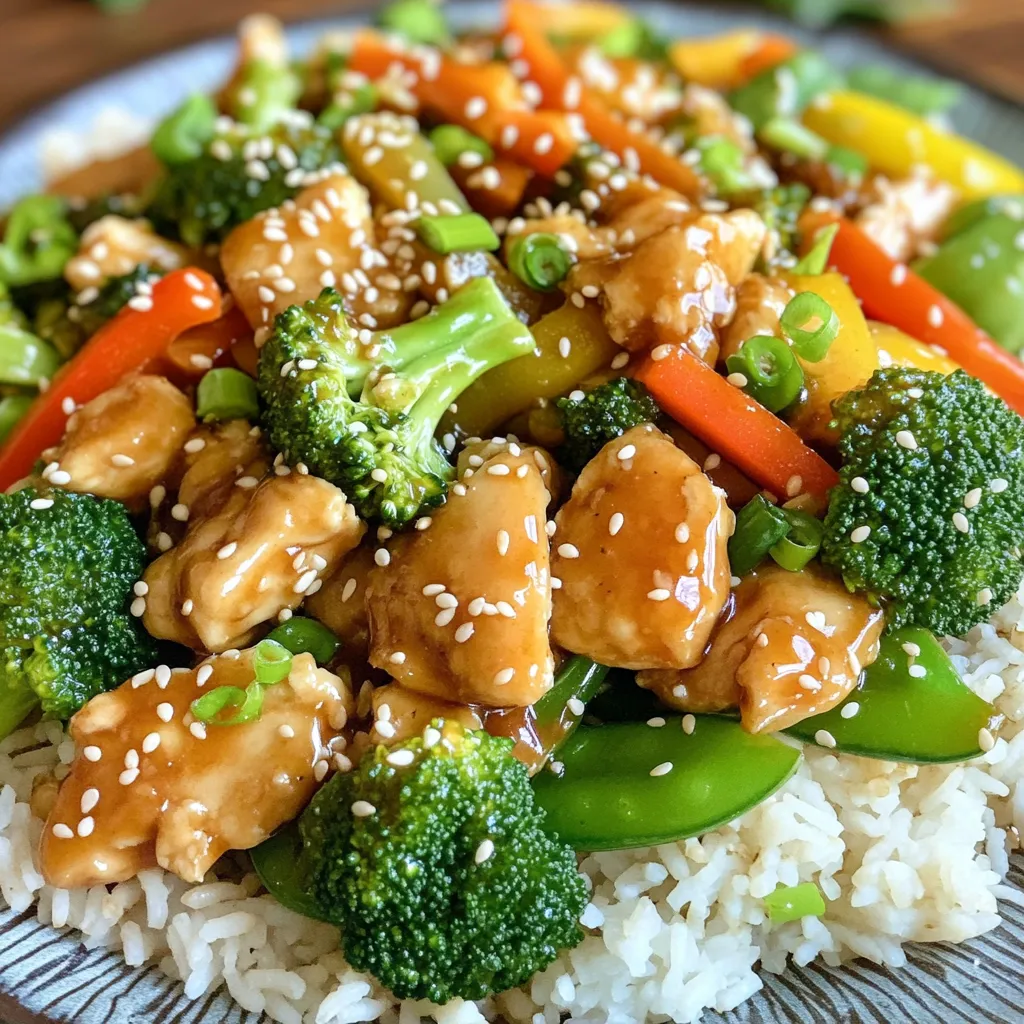
Looking for a quick meal that bursts with flavor? You’re in the right place! Honey Sesame Chicken Stir Fry is
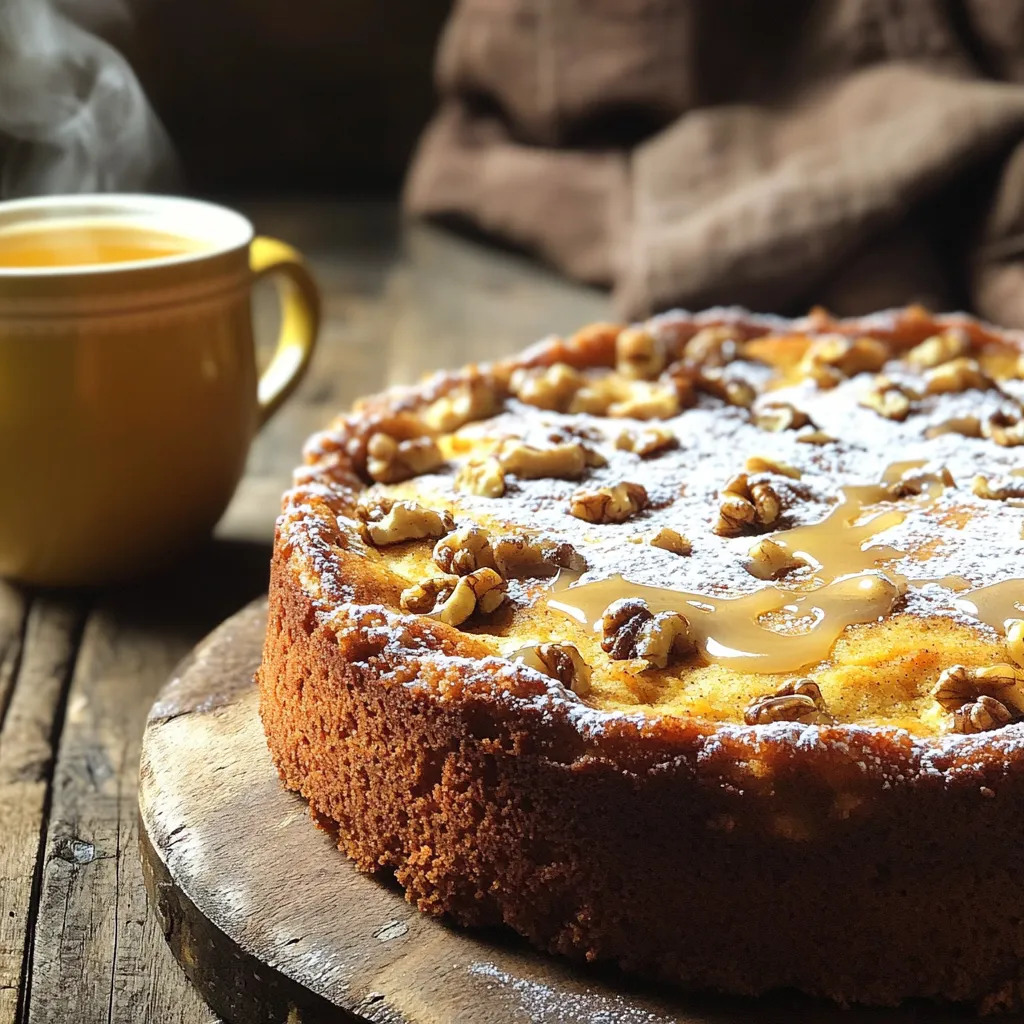
Are you ready to spice up your baking game? This Chai Spice Coffee Cake recipe combines sweet and cozy flavors,
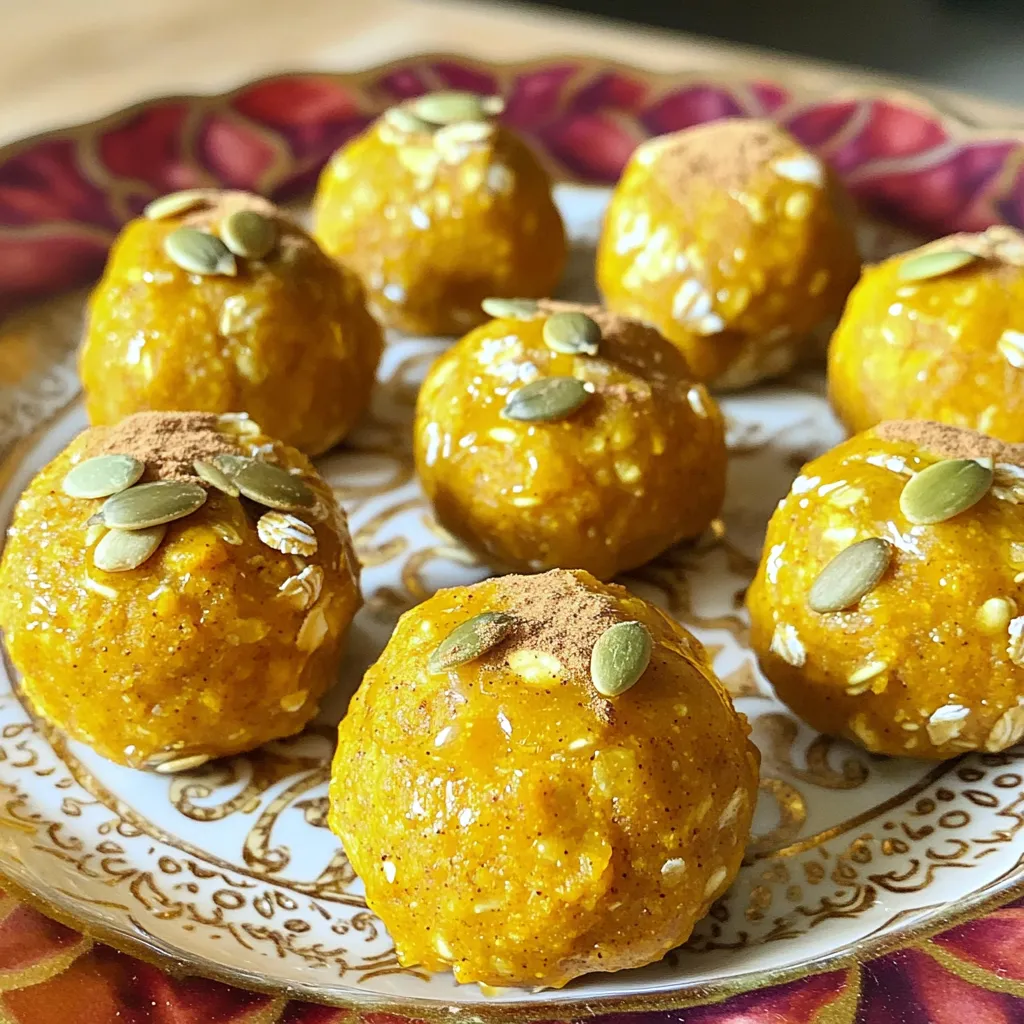
Looking for a tasty, healthy snack? Try my Ingredient Pumpkin Pie Energy Bites! They combine the warm flavors of pumpkin
