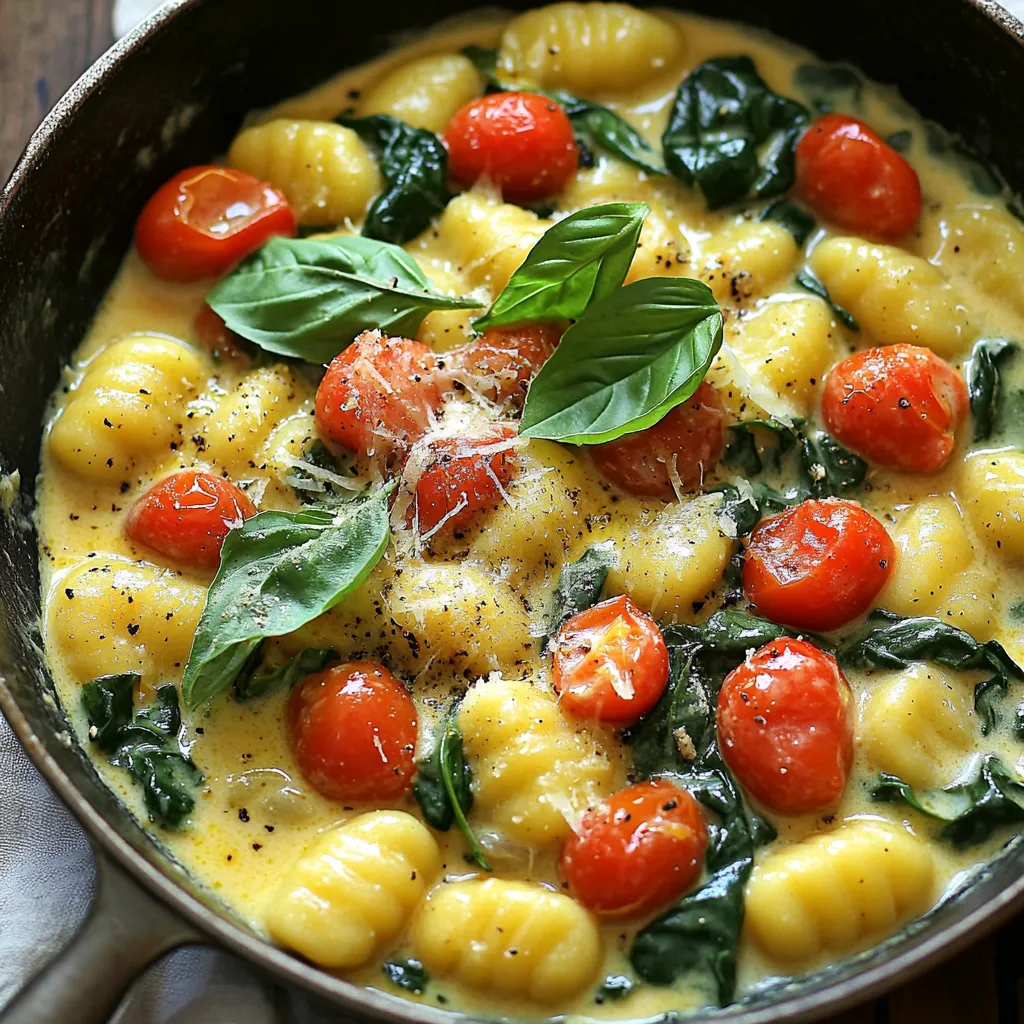
One-Pan Creamy Tuscan Gnocchi Rich and Easy Meal
Are you ready to impress at dinner time without the hassle? This One-Pan Creamy Tuscan Gnocchi is rich, flavorful, and

Are you ready to impress at dinner time without the hassle? This One-Pan Creamy Tuscan Gnocchi is rich, flavorful, and
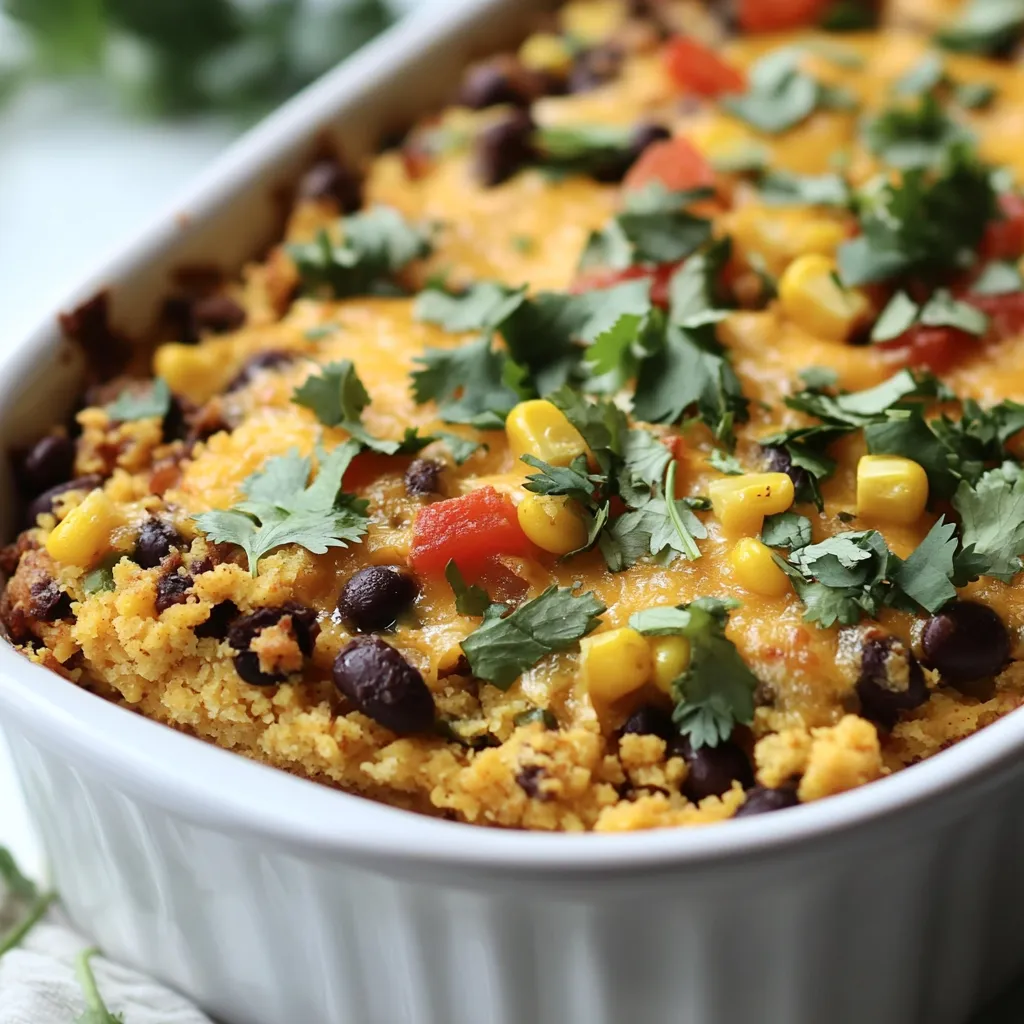
Looking for a warm, tasty dish that’s easy to make? Mexican Cornbread Casserole is the answer! This dish combines rich

Are you ready for a treat that blends rich chocolate with a cool mint twist? Chocolate Mint Thumbprint Cookies are
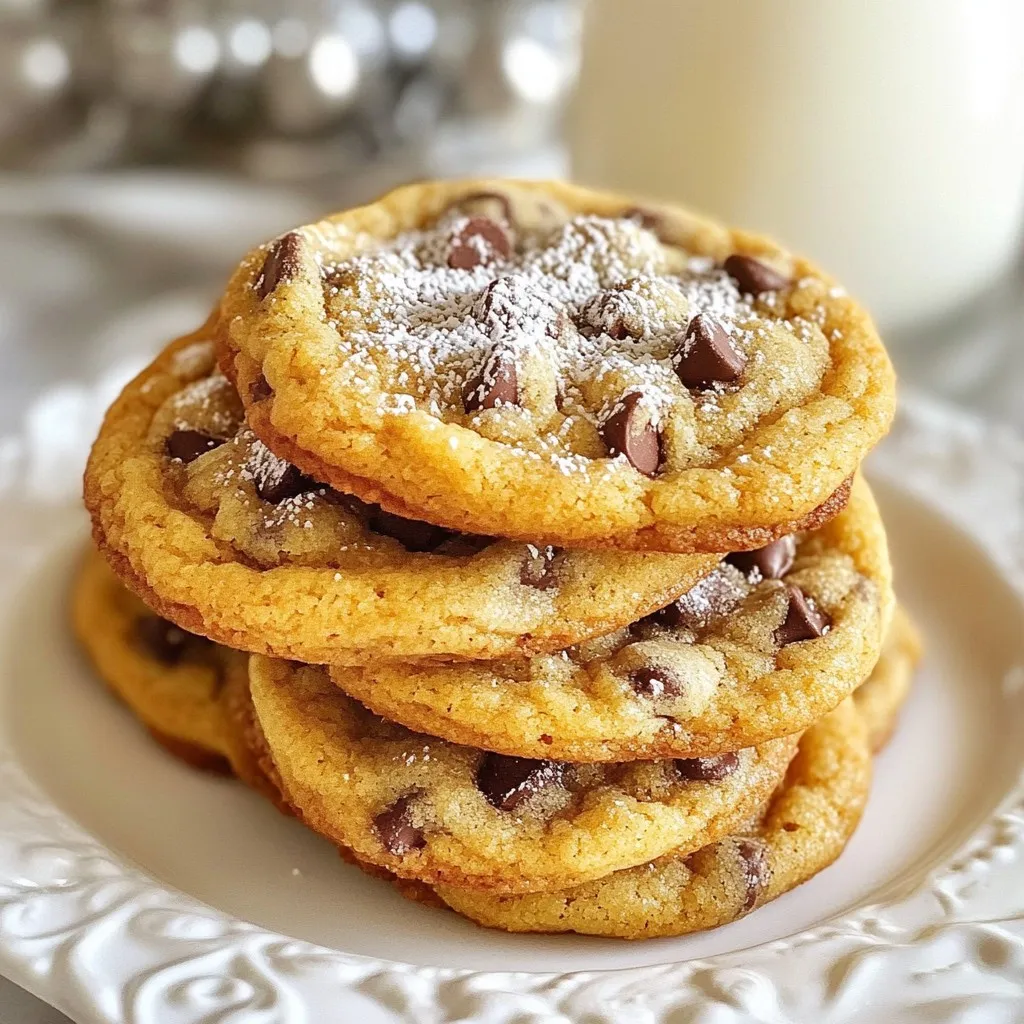
Craving a delicious treat? Look no further than the famous Neiman Marcus chocolate chip cookies! This classic recipe features gooey
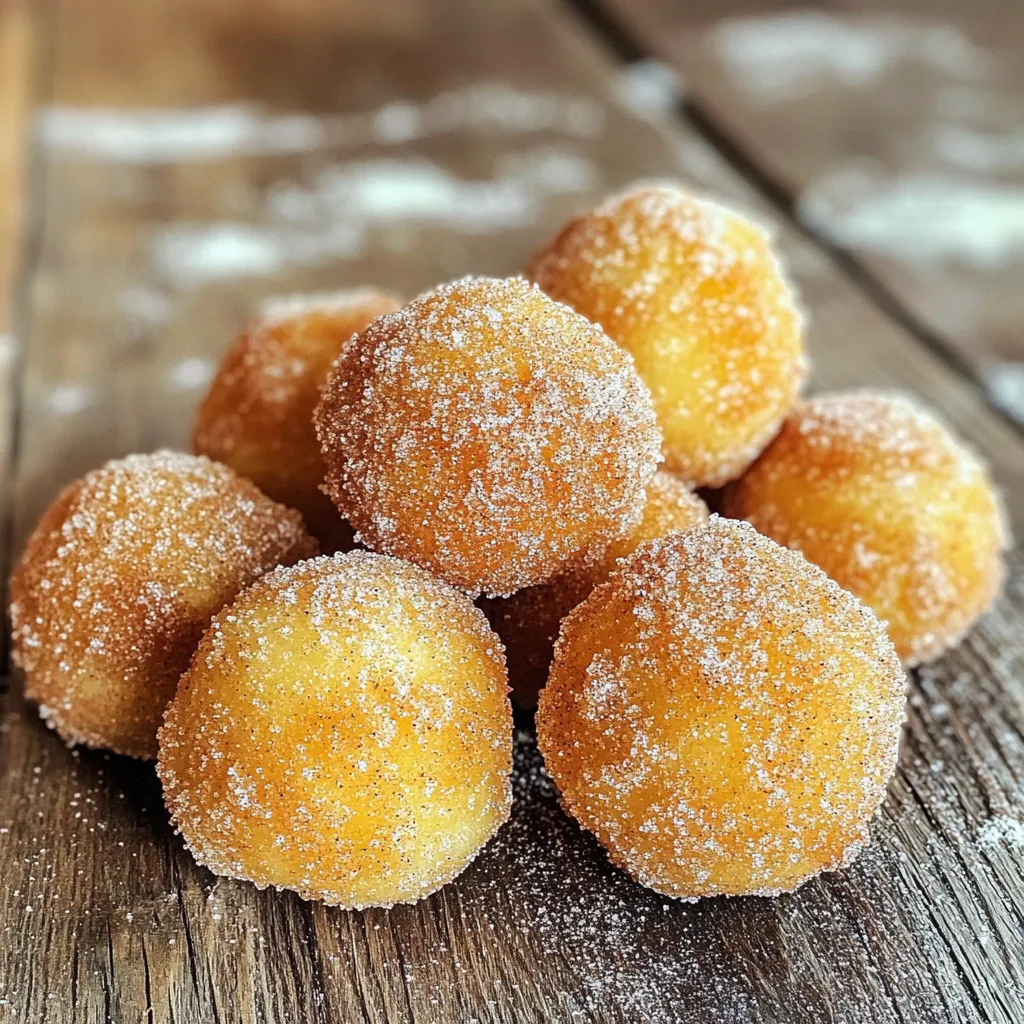
Craving something sweet and fun? With my Air Fryer Cinnamon Sugar Donut Holes Recipe, you’ll create fluffy treats in no
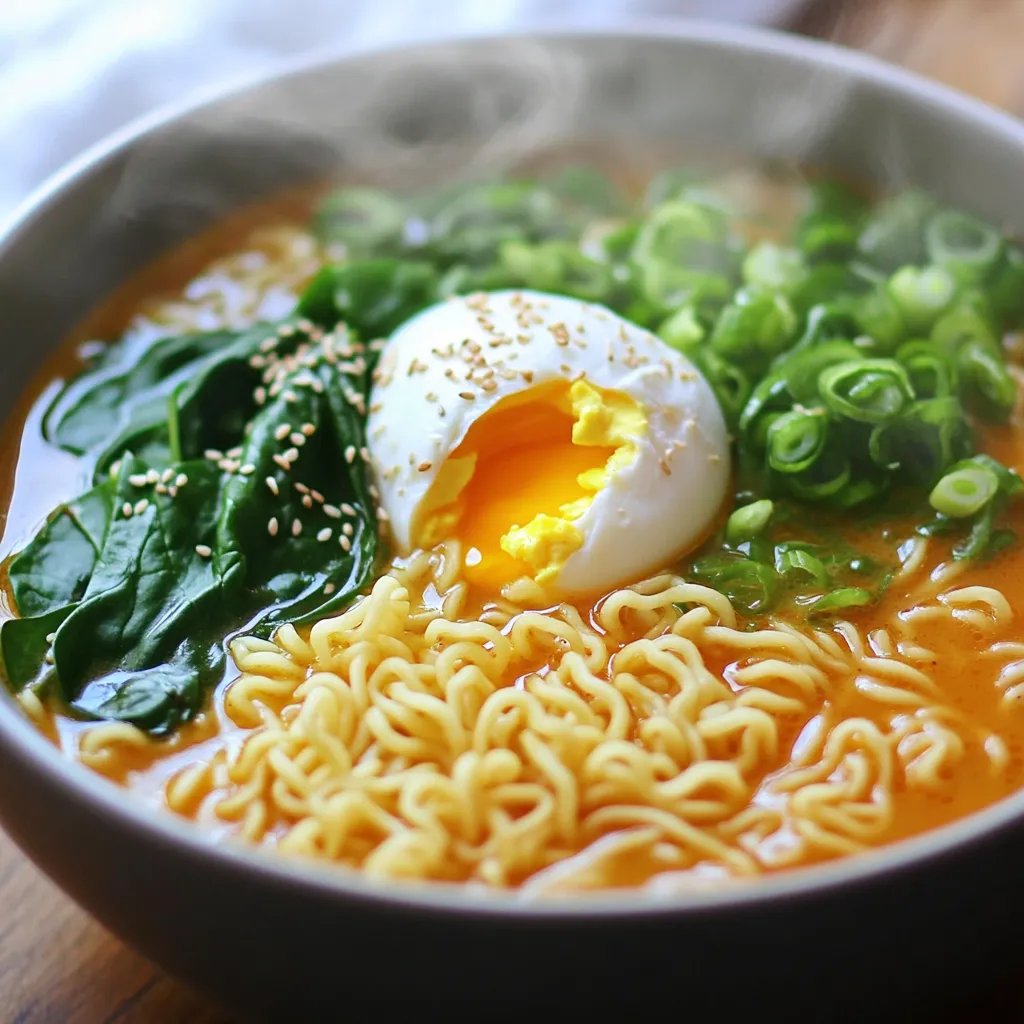
If you crave a quick, tasty meal packed with flavor, Minute Garlic Chili Ramen is your answer. This dish offers
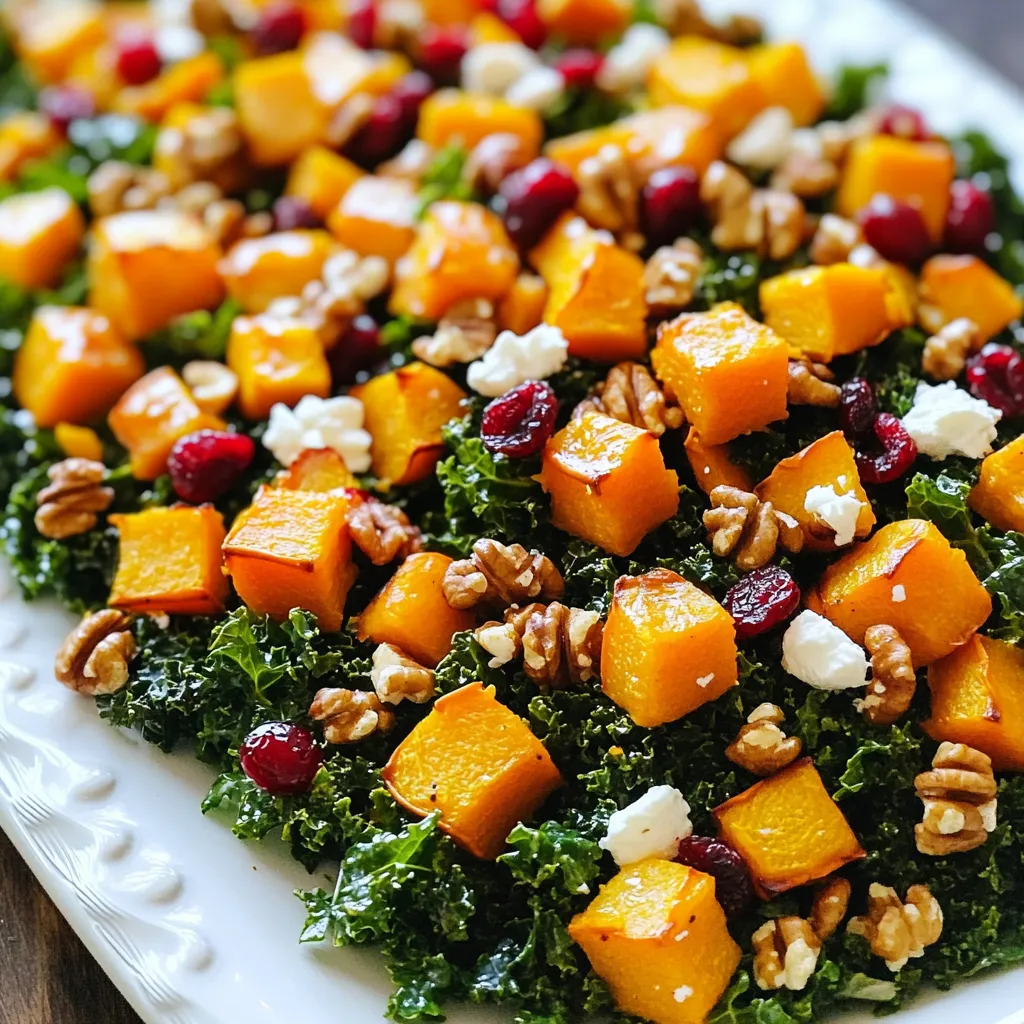
If you’re looking for a tasty, healthy salad, I’m excited to share my Roasted Butternut Squash Kale Salad with you!
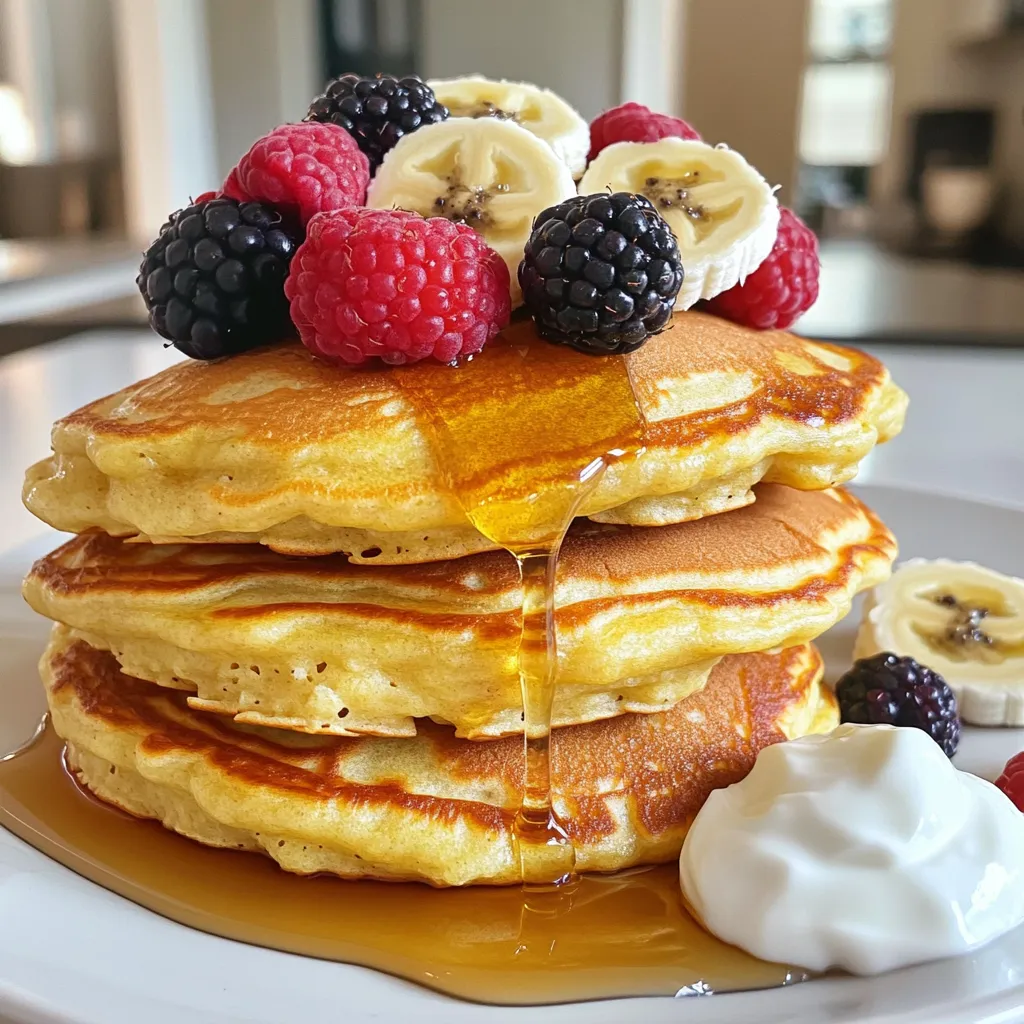
Looking for a quick and healthy breakfast? Cottage cheese protein pancakes are your answer! These pancakes pack a punch of
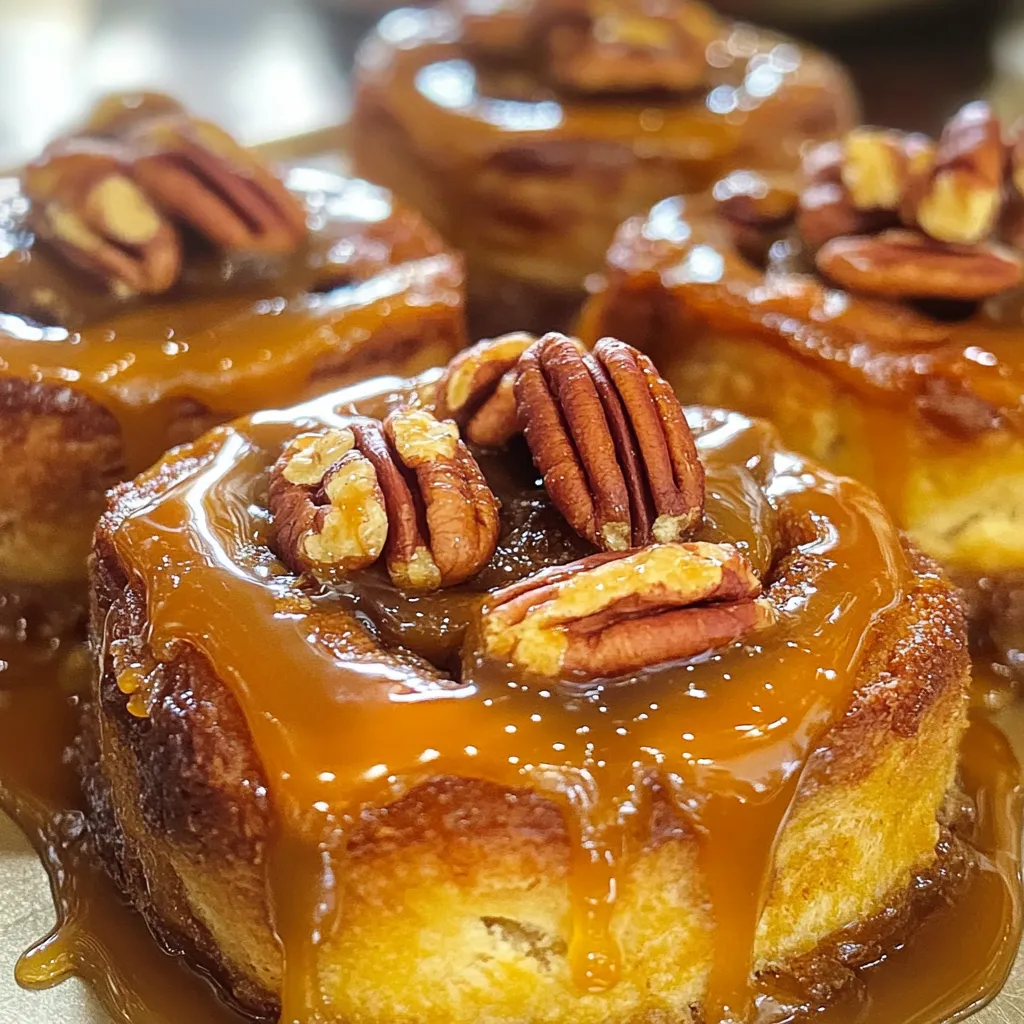
Welcome to the sweet world of Caramel Pecan Sticky Bun Bread! This recipe is your ticket to a warm, gooey
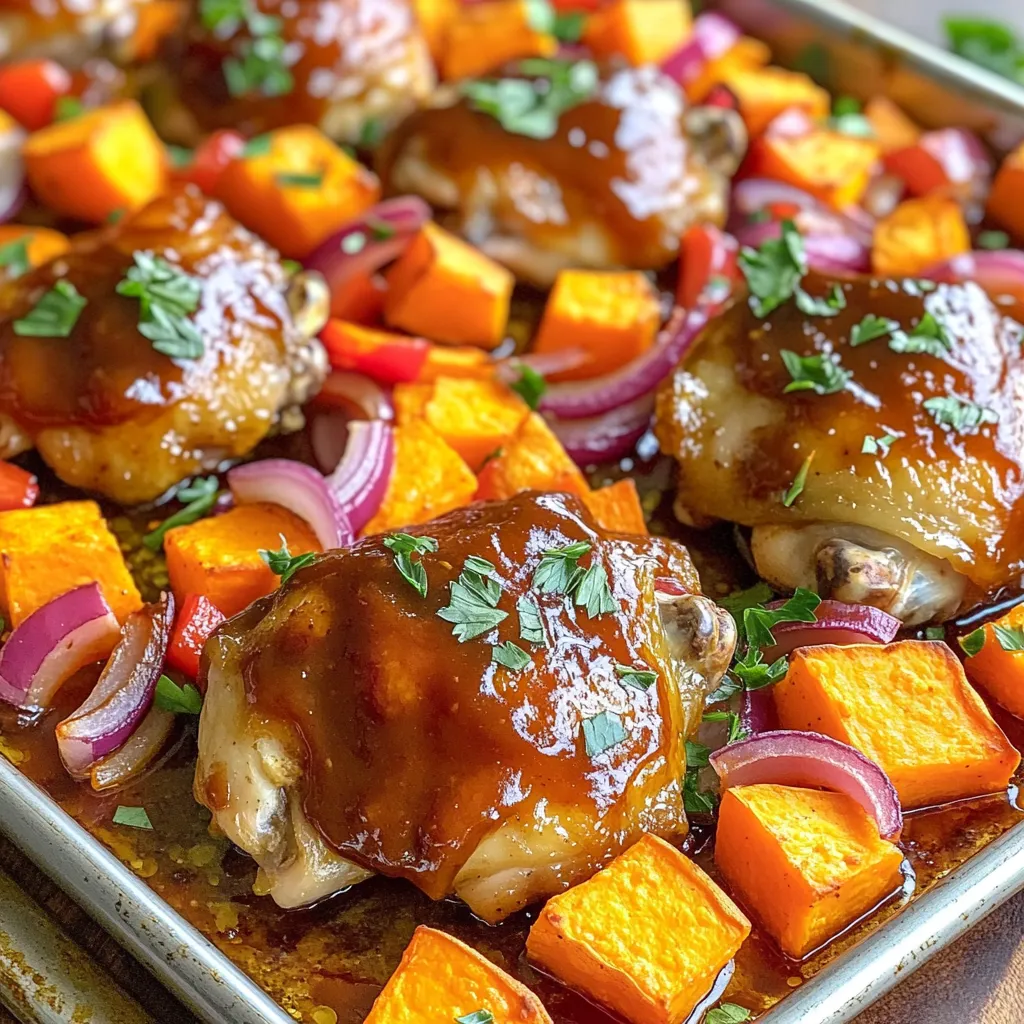
Get ready for a flavor explosion with my BBQ Chicken & Sweet Potato Sheet Pan recipe! This dish combines tender
