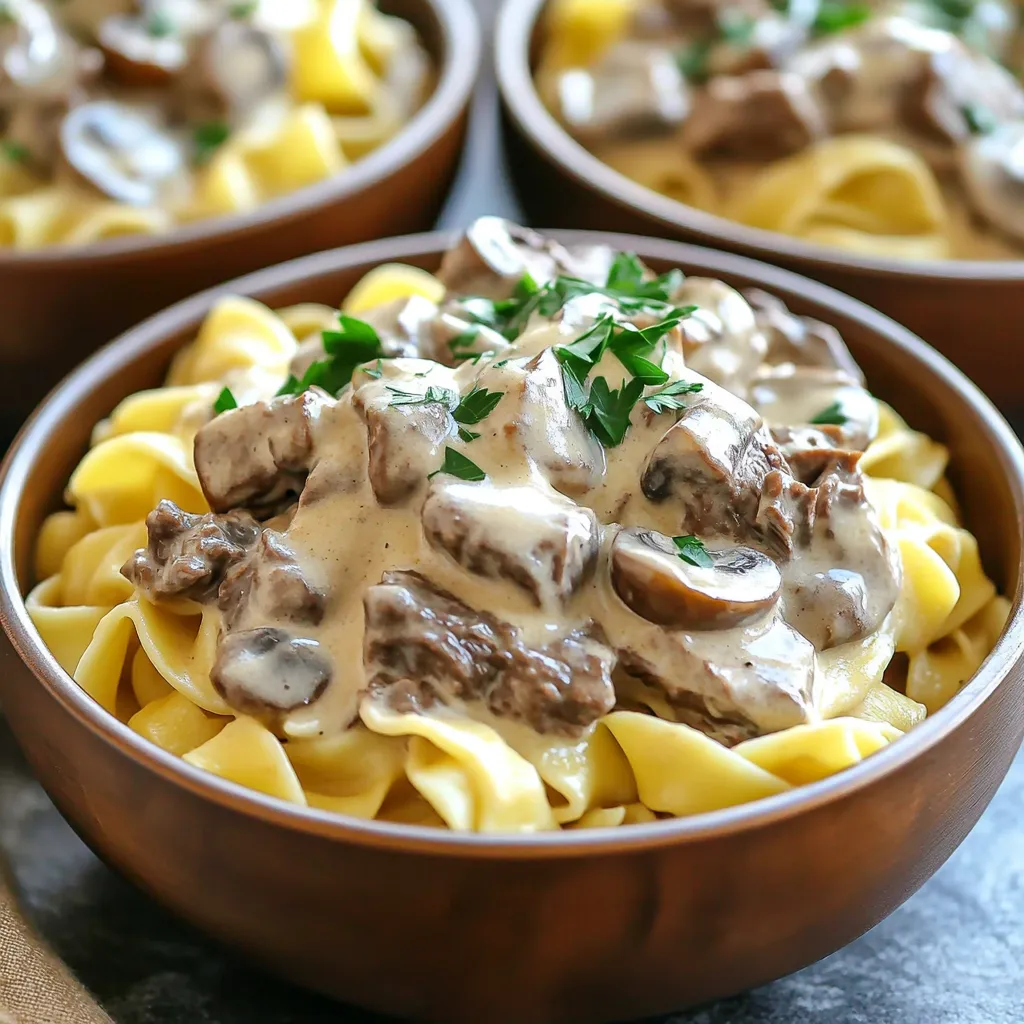
Slow Cooker Mushroom Beef Stroganoff Tasty Comfort Food
Are you ready to dive into comfort food heaven? This Slow Cooker Mushroom Beef Stroganoff is the ultimate dish for

Are you ready to dive into comfort food heaven? This Slow Cooker Mushroom Beef Stroganoff is the ultimate dish for
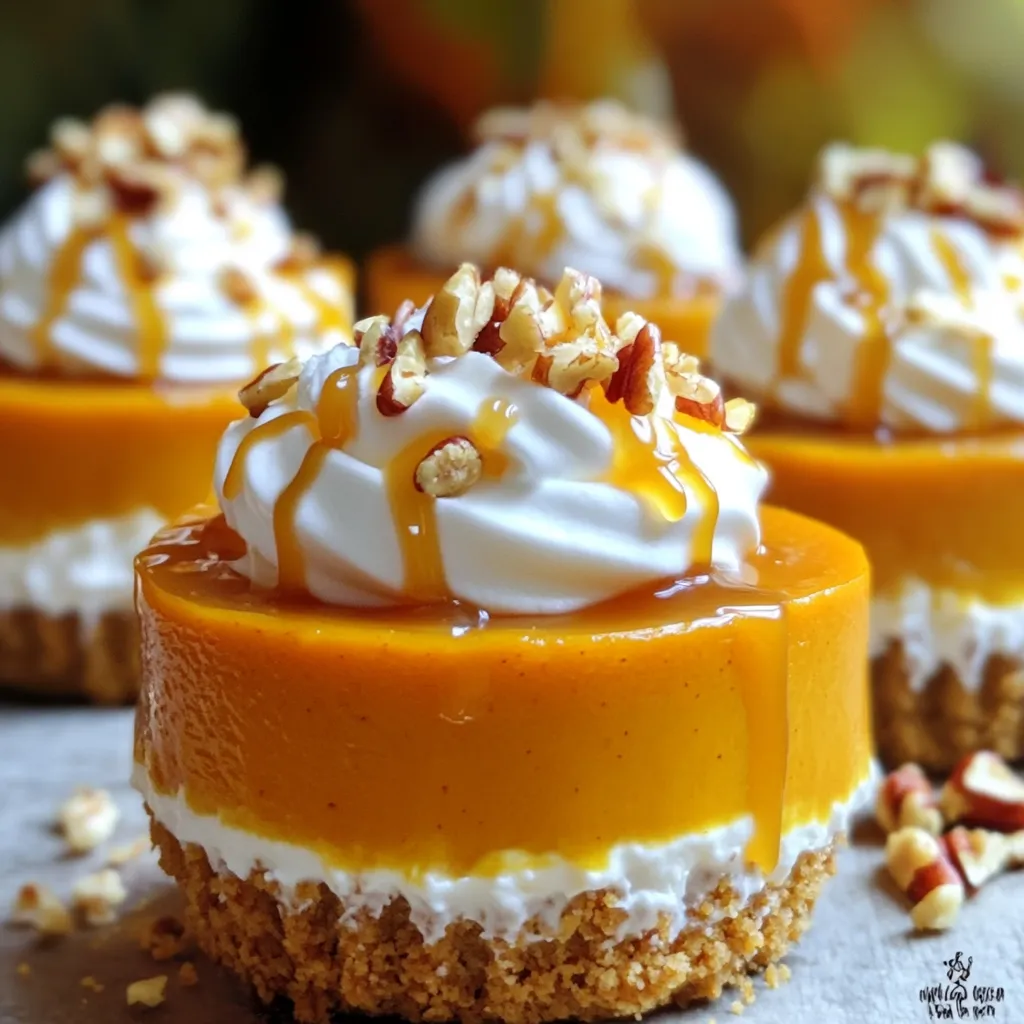
Craving a sweet treat that’s easy and delicious? Look no further! These No-Bake Pumpkin Cheesecake Cups are perfect for any
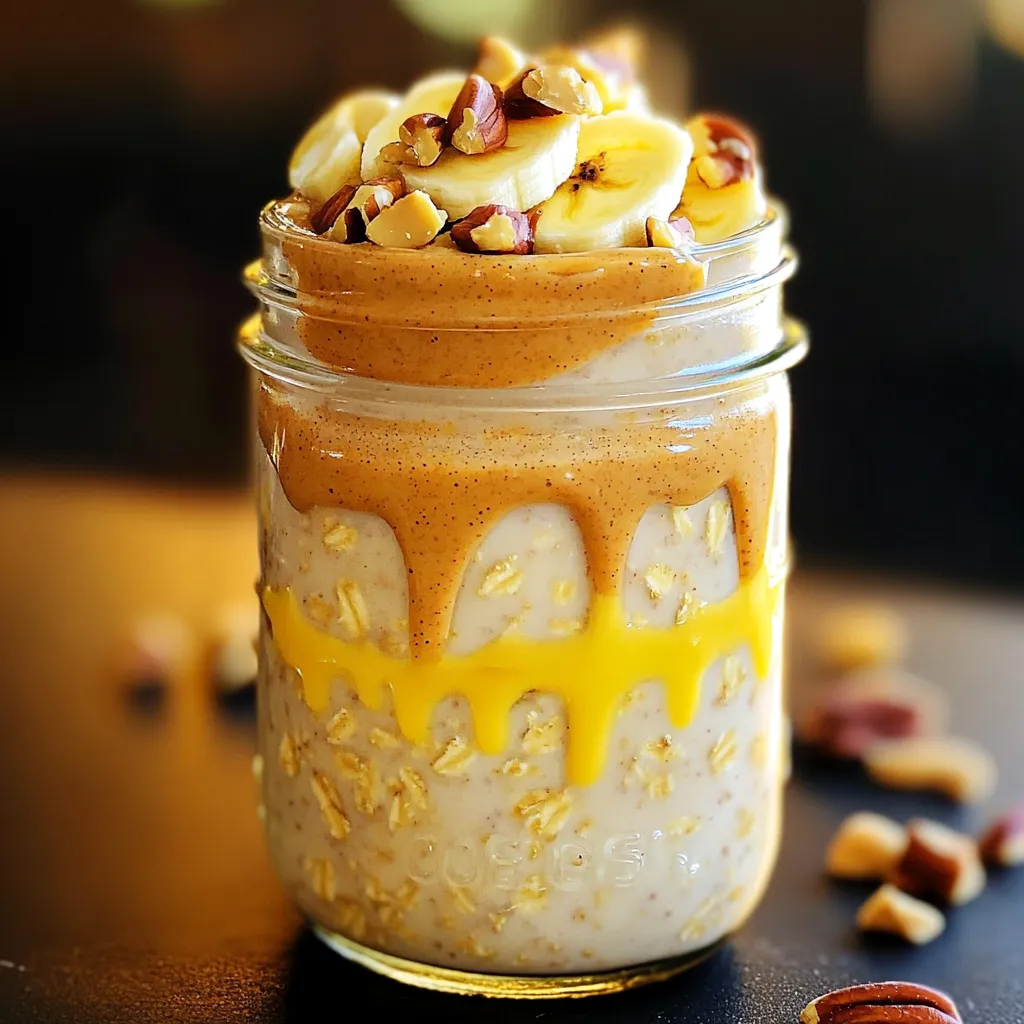
Start your mornings right with my Chai Overnight Oats with Almond Butter Delight! This easy recipe brings warming chai spices
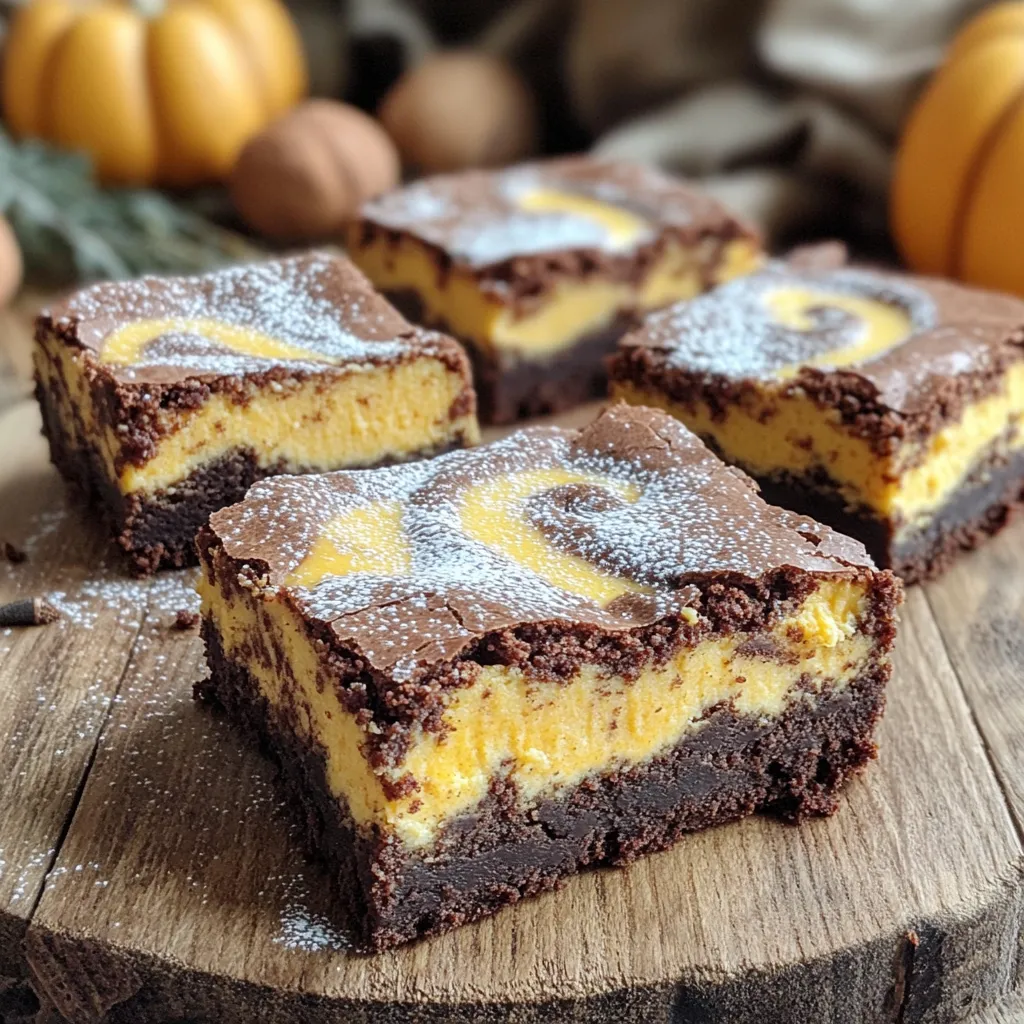
Are you ready to dive into a dessert that combines two favorites: brownies and pumpkin cheesecake? This Pumpkin Cheesecake Swirl
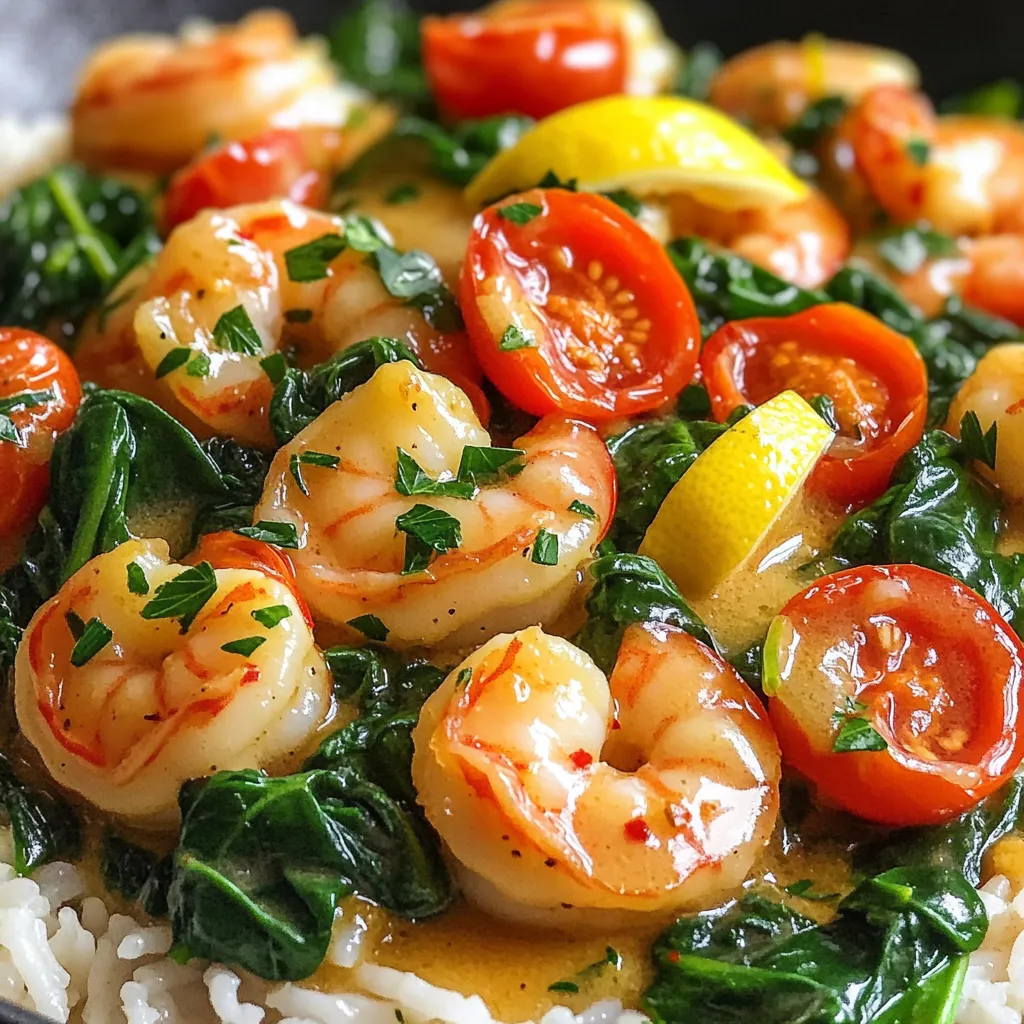
Looking for a quick meal that packs a punch? This Minute Garlic Butter Shrimp Skillet is your answer! In just
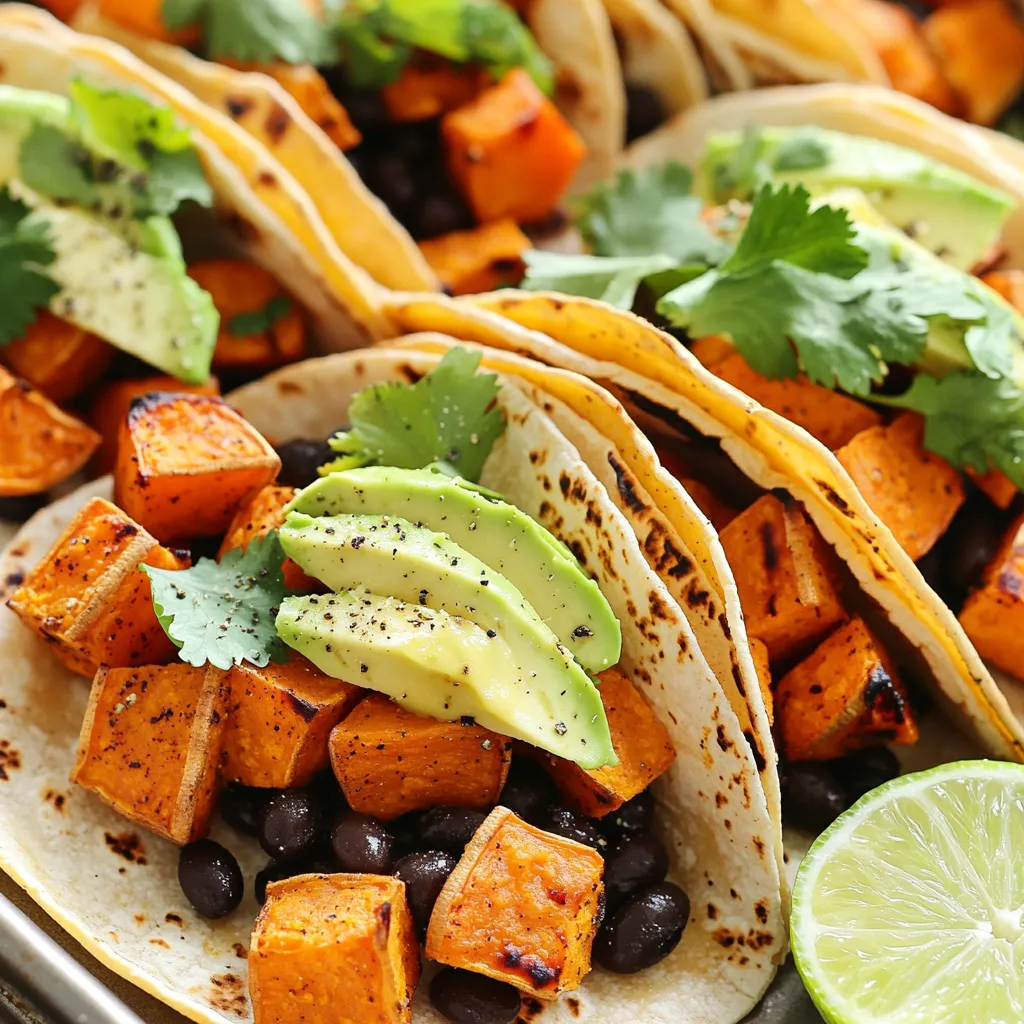
Are you ready to energize your dinner table? My Sheet Pan Sweet Potato Black Bean Tacos are a game-changer! This
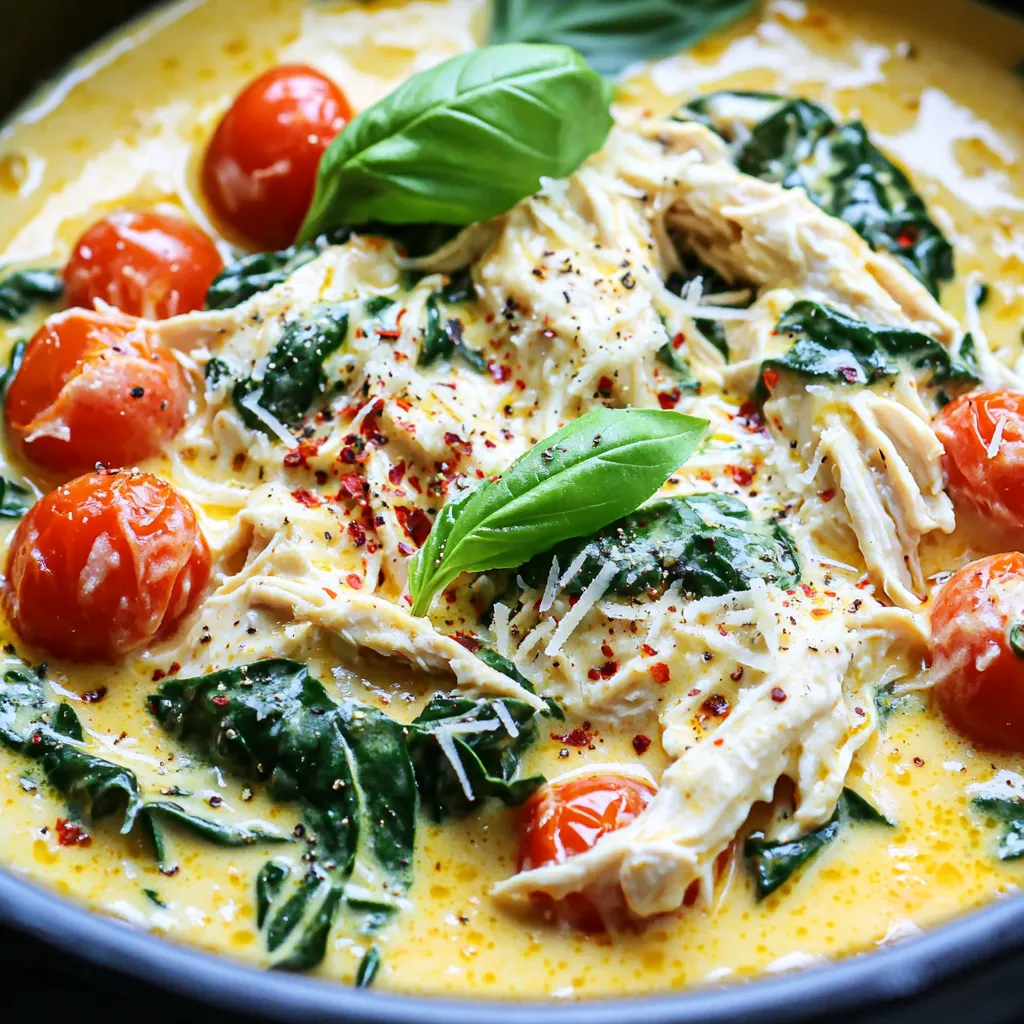
Are you ready to impress your family with a meal that’s both tasty and simple? My Slow Cooker Creamy Tuscan
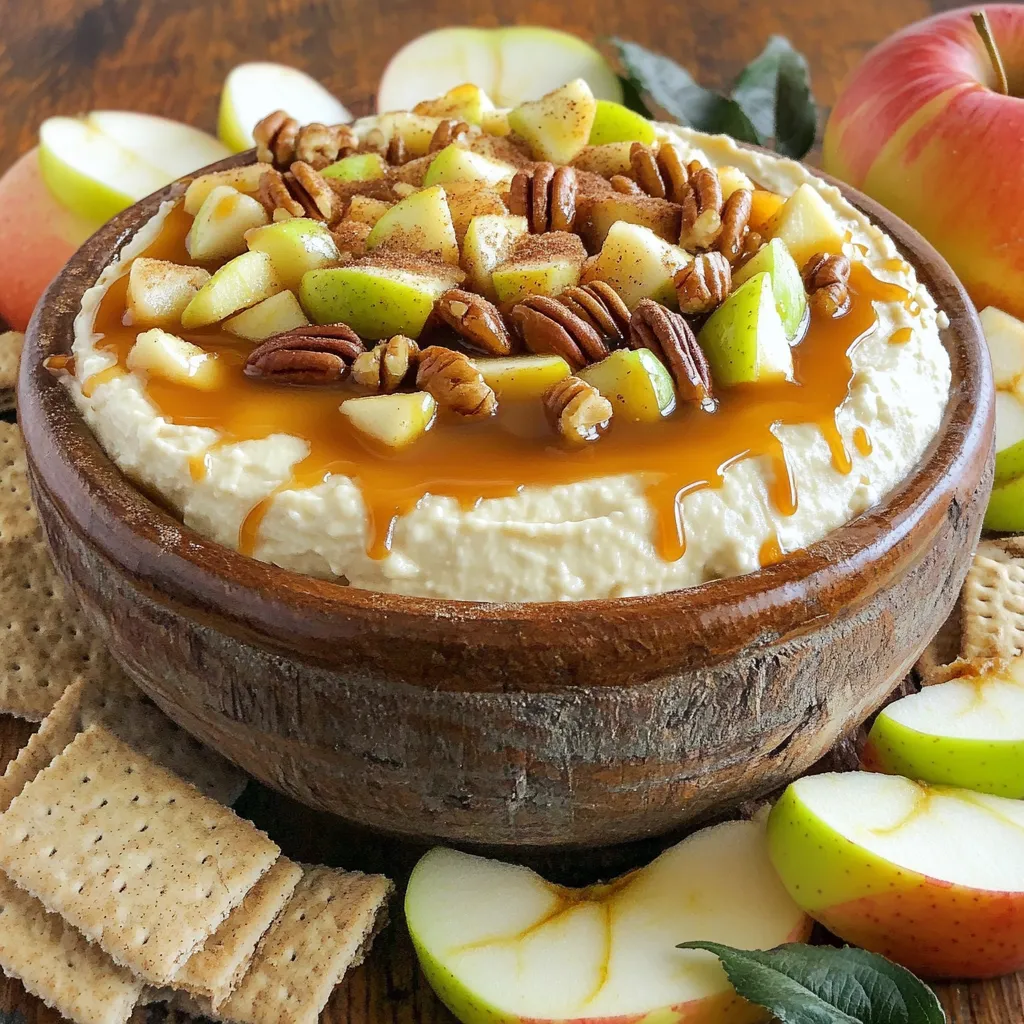
Looking for the perfect party treat? Caramel Apple Cheesecake Dip is your answer! This creamy, sweet dip combines smooth cream
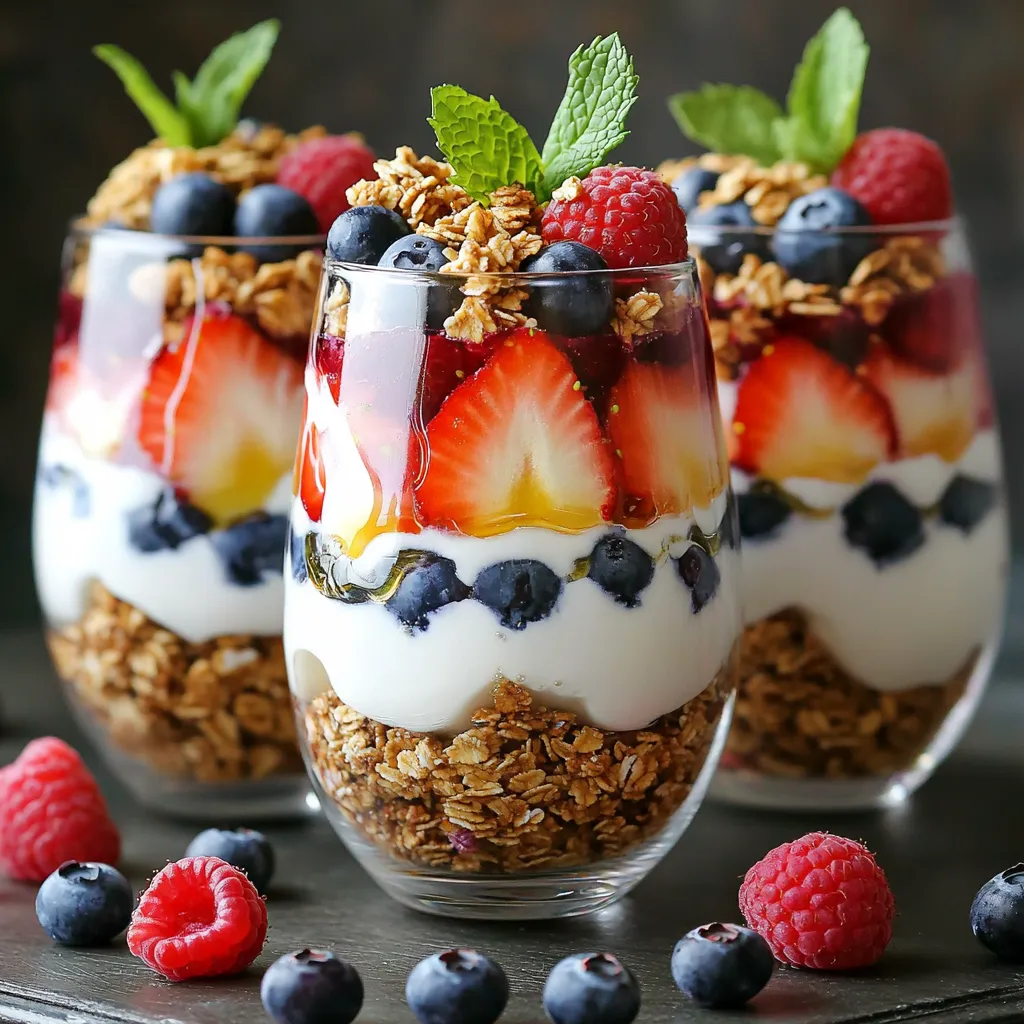
Looking for a quick, healthy snack that looks as good as it tastes? Greek yogurt berry parfaits are your answer!
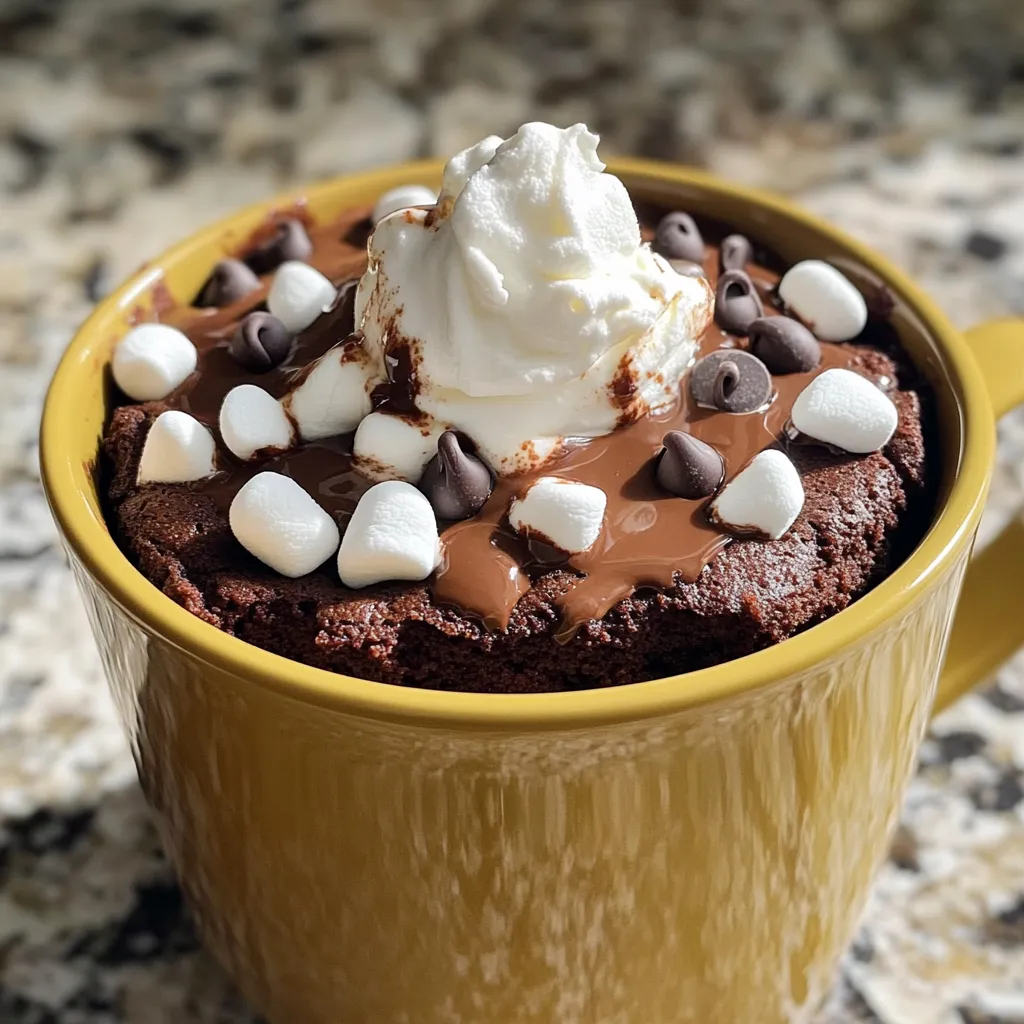
Are you ready for a warm and gooey treat in just minutes? This Hot Chocolate Brownie Mug Cake is a
