
Slow Cooker BBQ Chicken Sliders Quick and Easy Meal
Looking for a simple yet tasty meal? You’ll love these Slow Cooker BBQ Chicken Sliders! This recipe is a quick

Looking for a simple yet tasty meal? You’ll love these Slow Cooker BBQ Chicken Sliders! This recipe is a quick
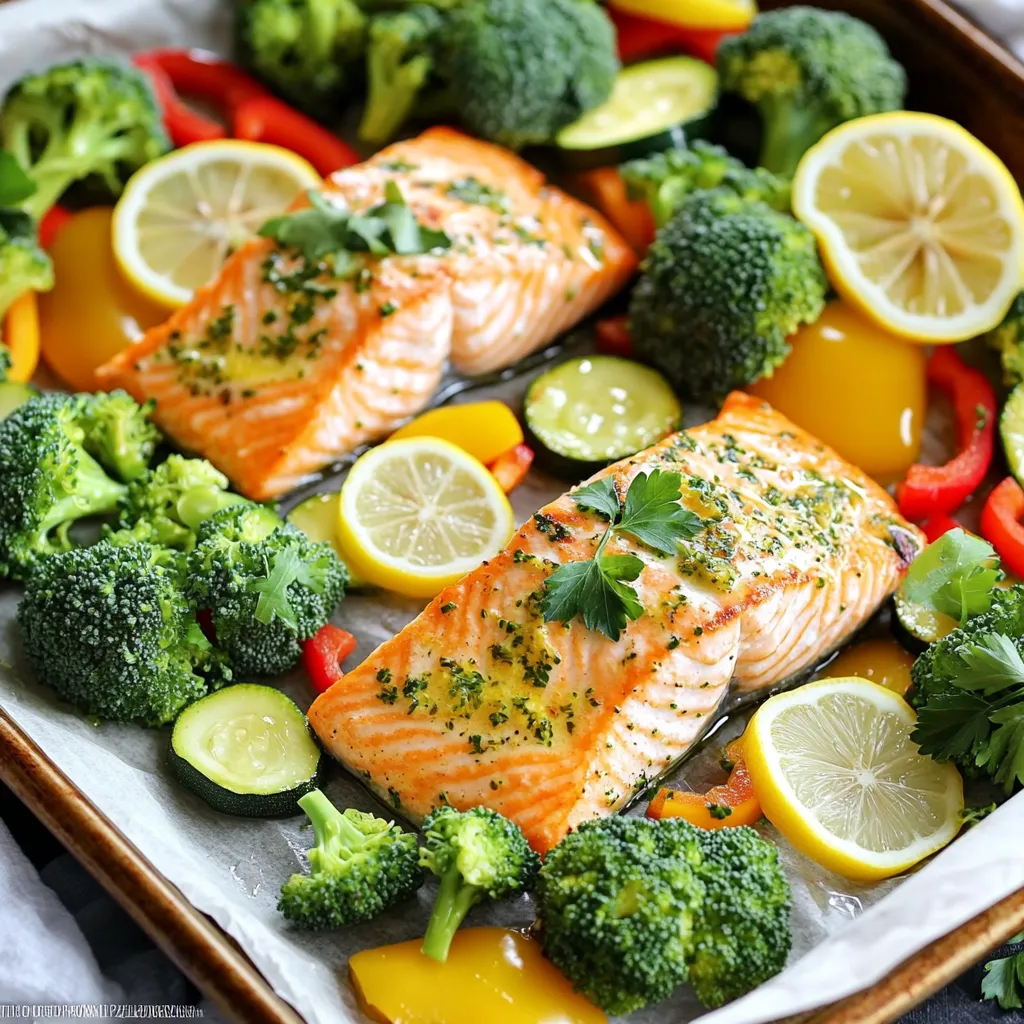
If you’re looking for a simple, tasty meal, this Sheet Pan Lemon Herb Salmon and Veggies recipe is for you.
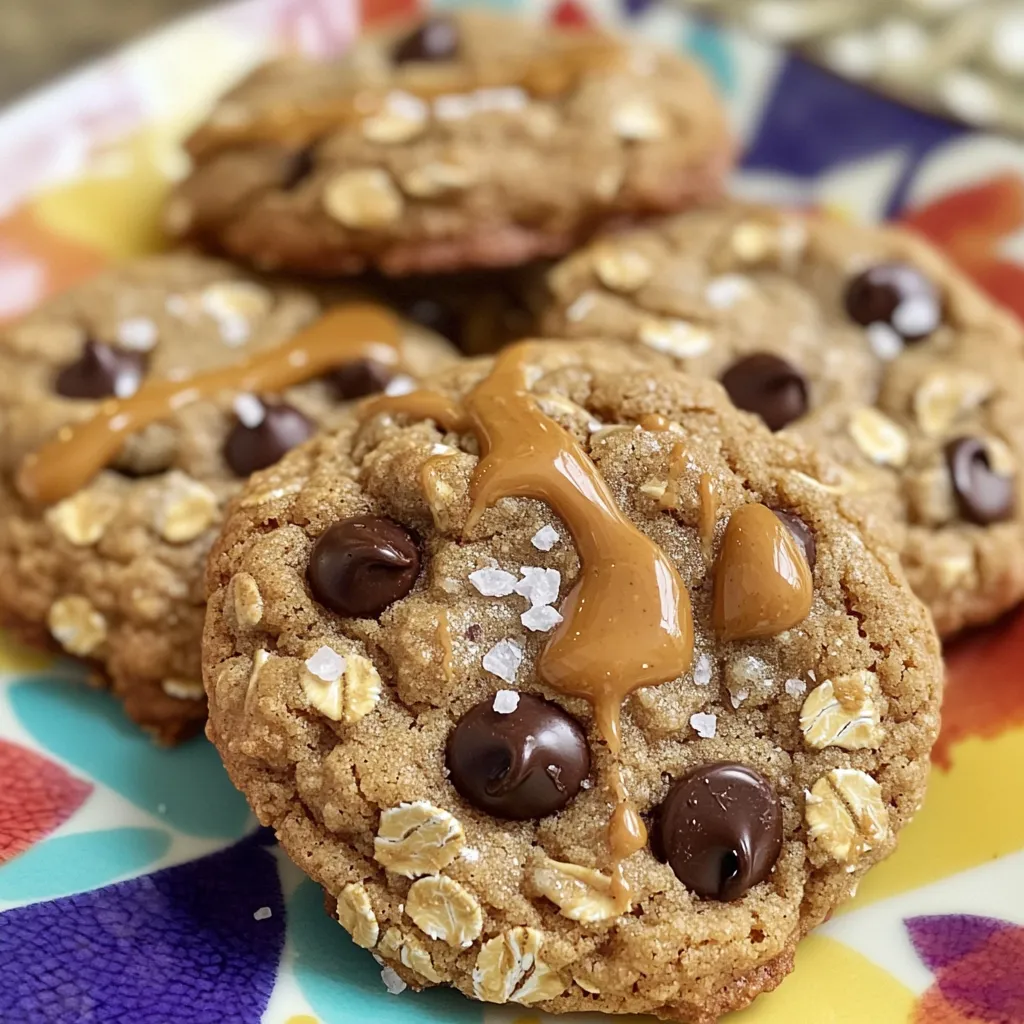
Looking for a simple, healthy treat? You’ve found it! These Peanut Butter Banana Oat Cookies are not only delicious but
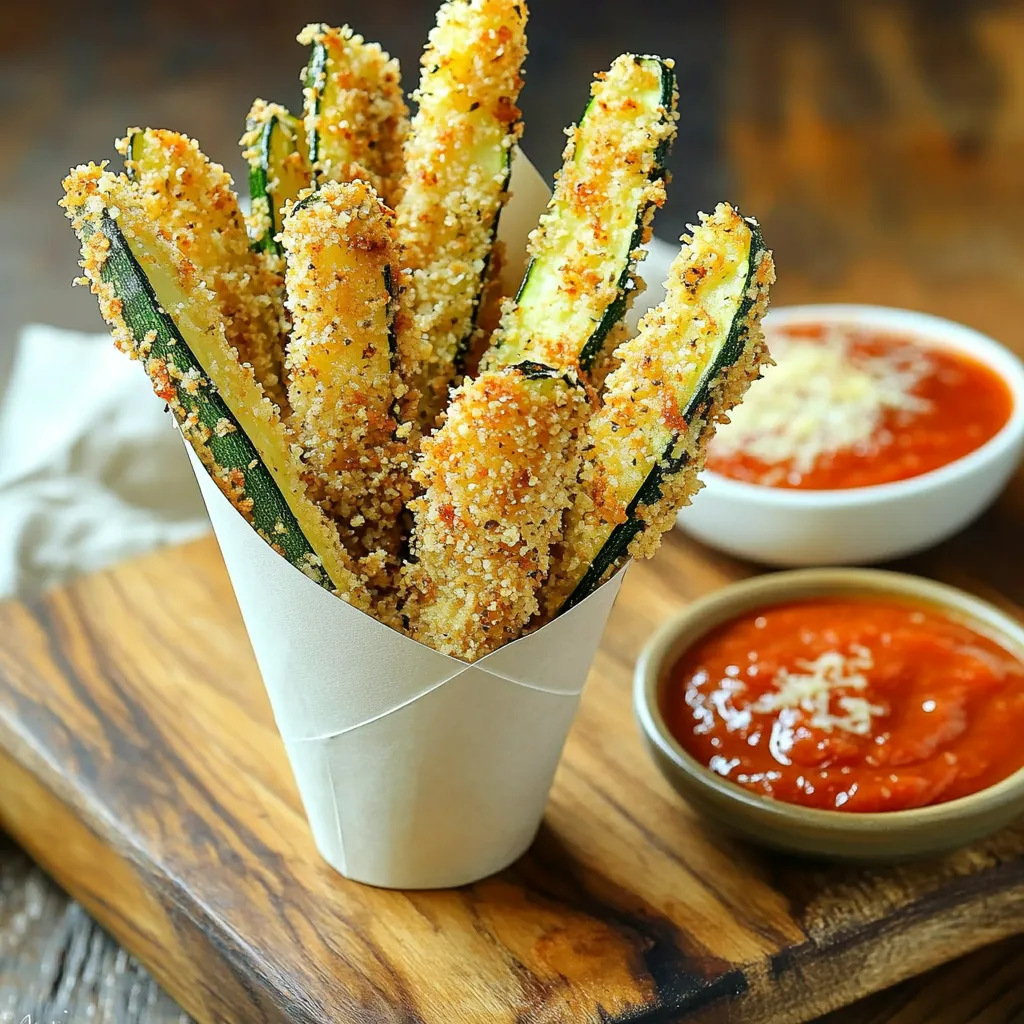
If you’re looking for a tasty snack, look no further! Air Fryer Zucchini Parmesan Fries are crispy, cheesy, and easy

Craving something sweet and unique? Candied Cherry Divinity Squares are a treat you’ll love! Picture soft, fluffy squares packed with

Looking for a simple and delicious breakfast that will impress your family? This Sausage Egg Cheese Breakfast Bake is the
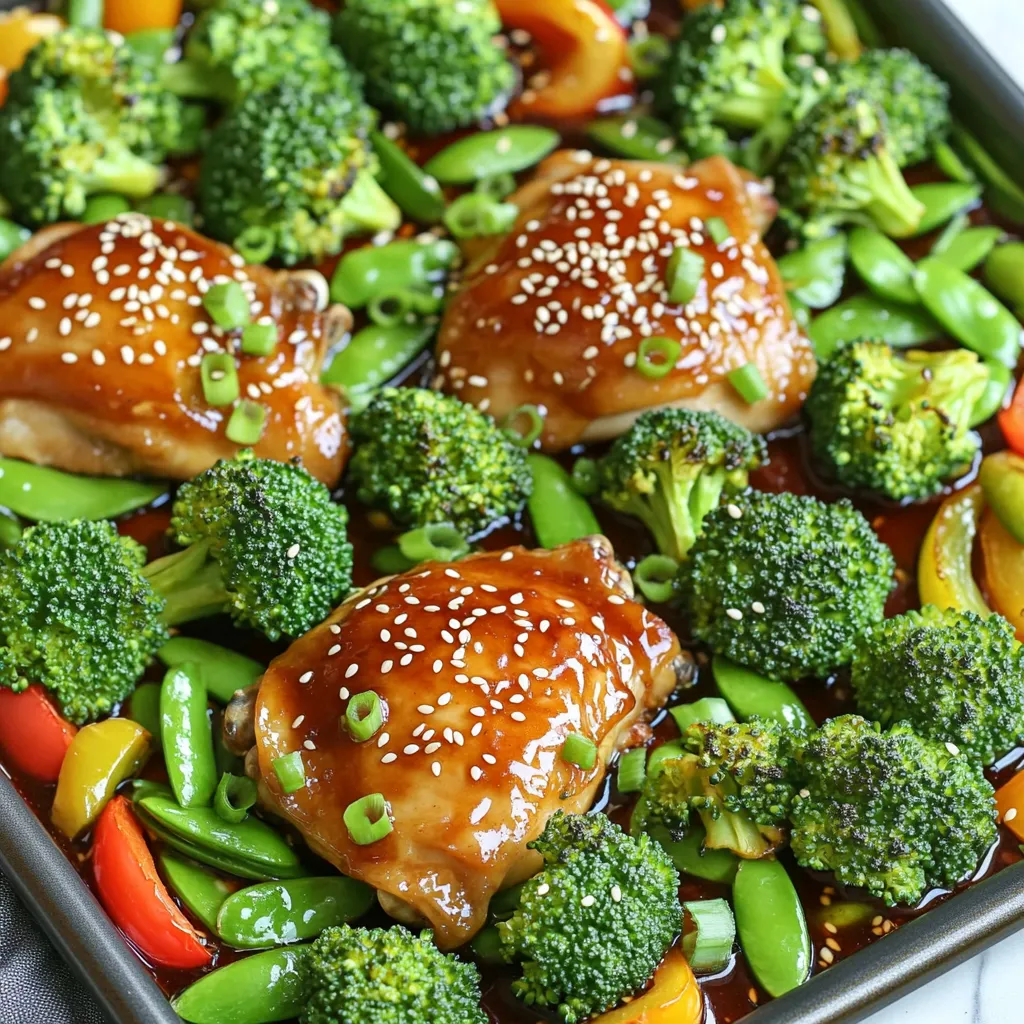
If you love easy weeknight meals that burst with flavor, you’re in the right place! My Sheet-Pan Teriyaki Chicken and

Are you ready to enjoy the cozy flavors of fall any time of year? This simple Pumpkin Spice Chai Latte
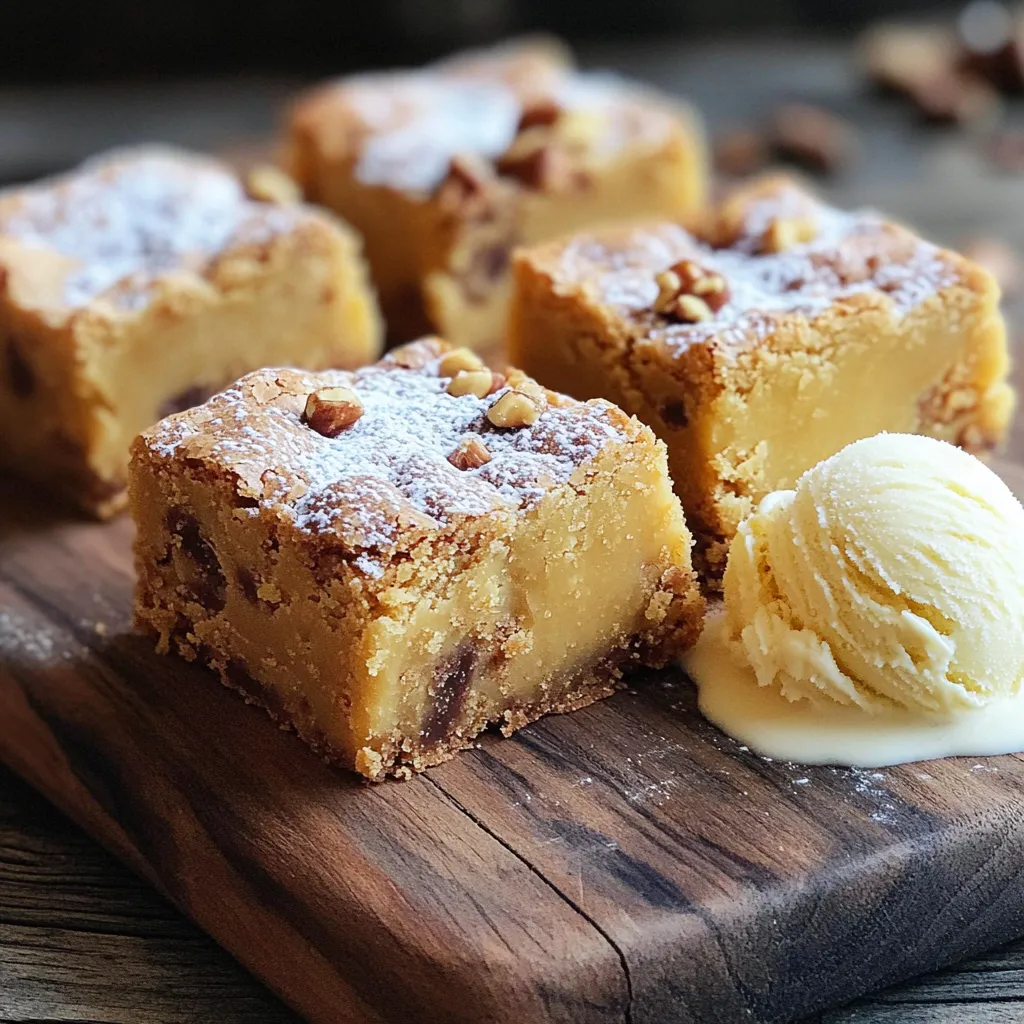
If you’re ready to indulge, you must try these Chewy Brown Butter Toffee Blondies! Their rich flavor and soft texture
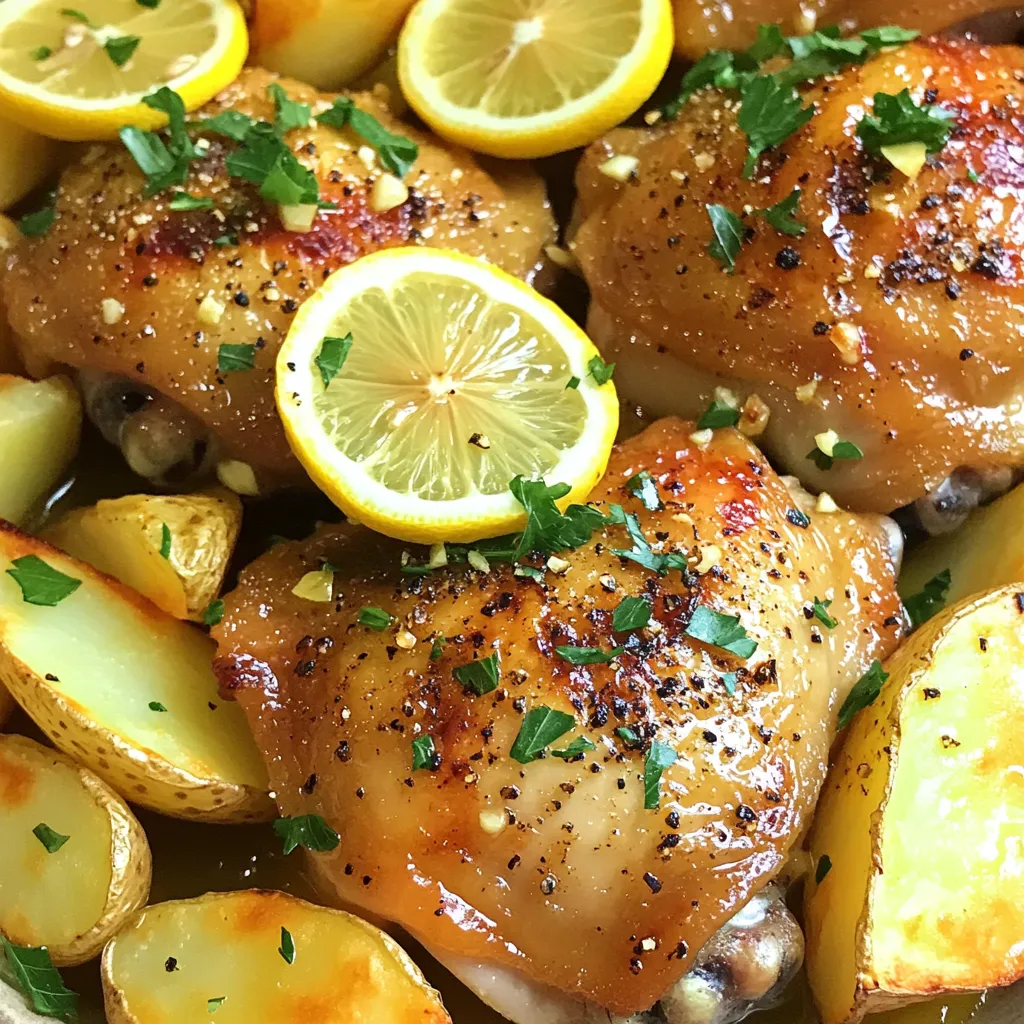
Looking for an easy, flavorful meal? One-Pan Greek Lemon Chicken and Potatoes Delight is your answer! This dish brings a
