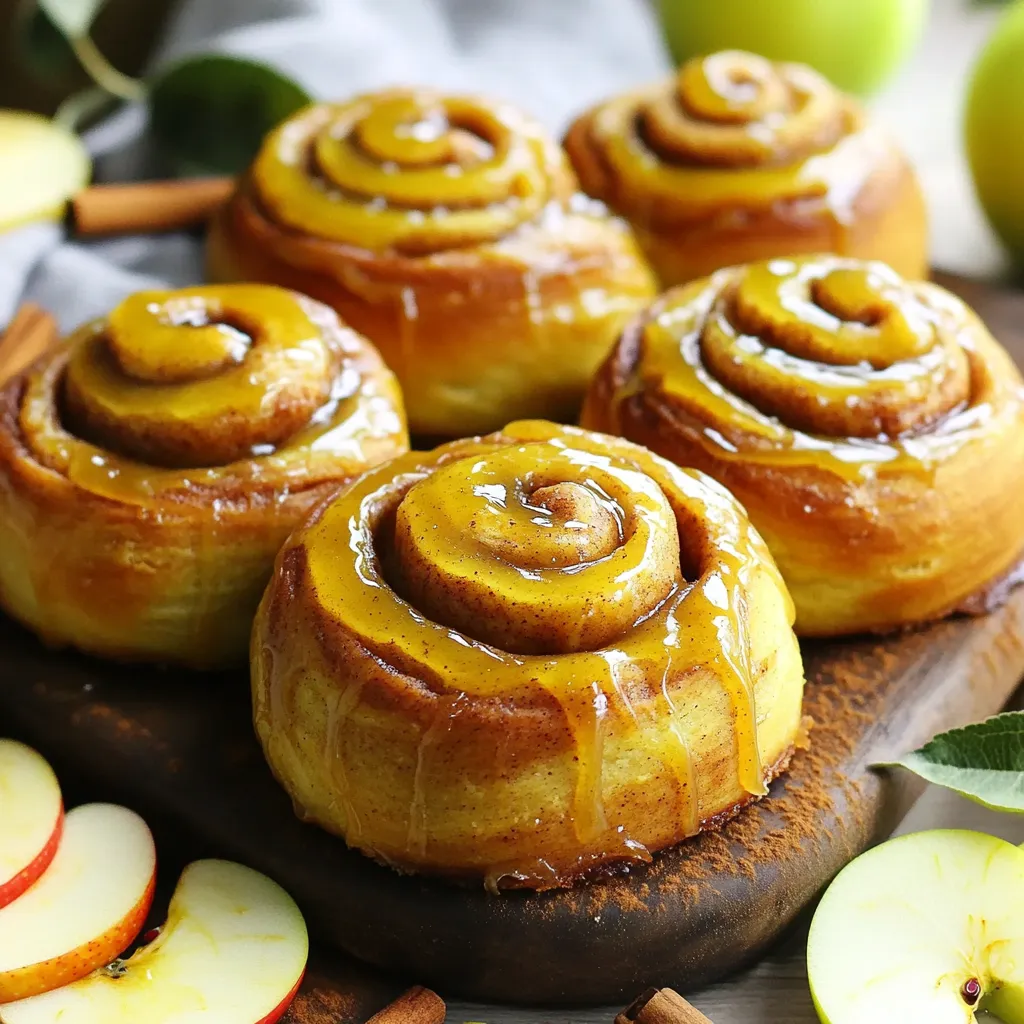
Apple Butter Cinnamon Rolls with Maple Glaze Delight
Get ready to treat yourself with my Apple Butter Cinnamon Rolls topped with rich maple glaze! If you love warm,

Get ready to treat yourself with my Apple Butter Cinnamon Rolls topped with rich maple glaze! If you love warm,
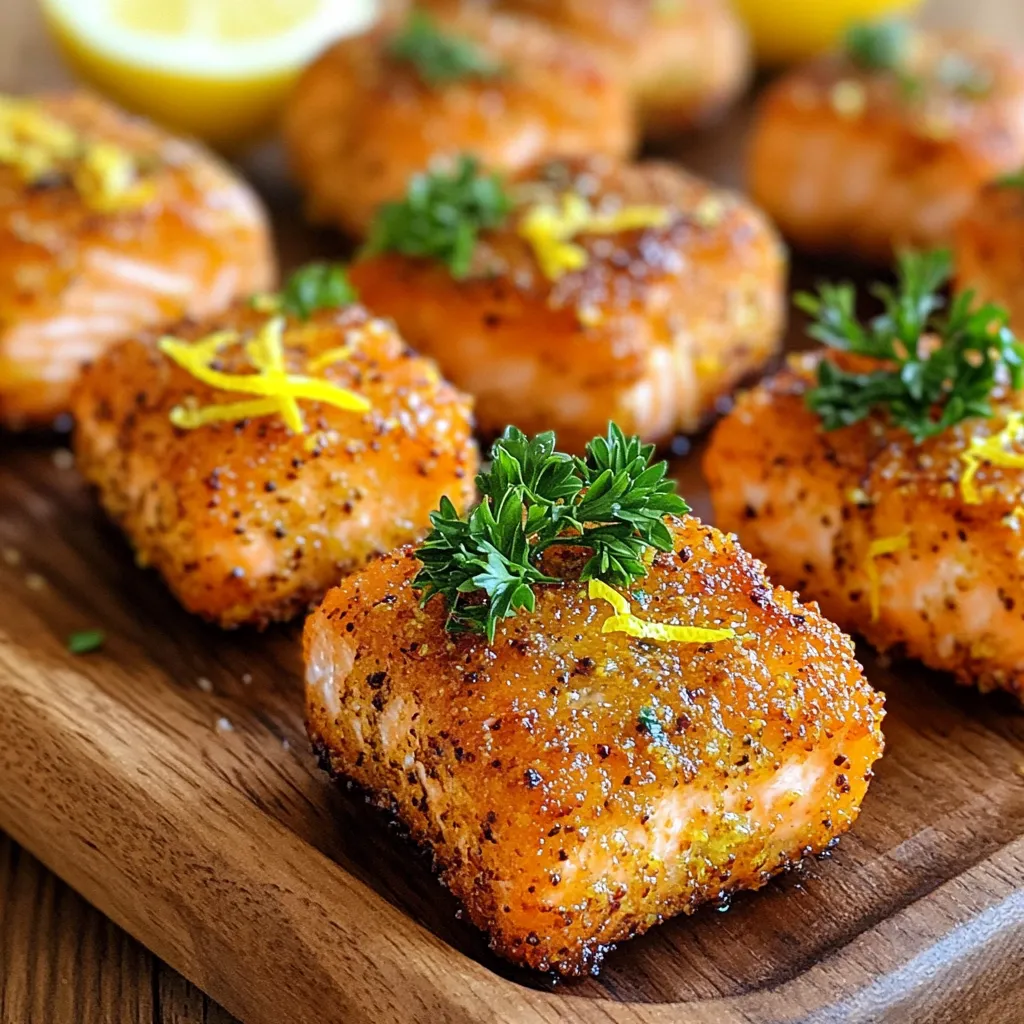
Are you ready to enjoy a delightful meal that’s quick and easy? My Crispy Air Fryer Lemon Pepper Salmon Bites
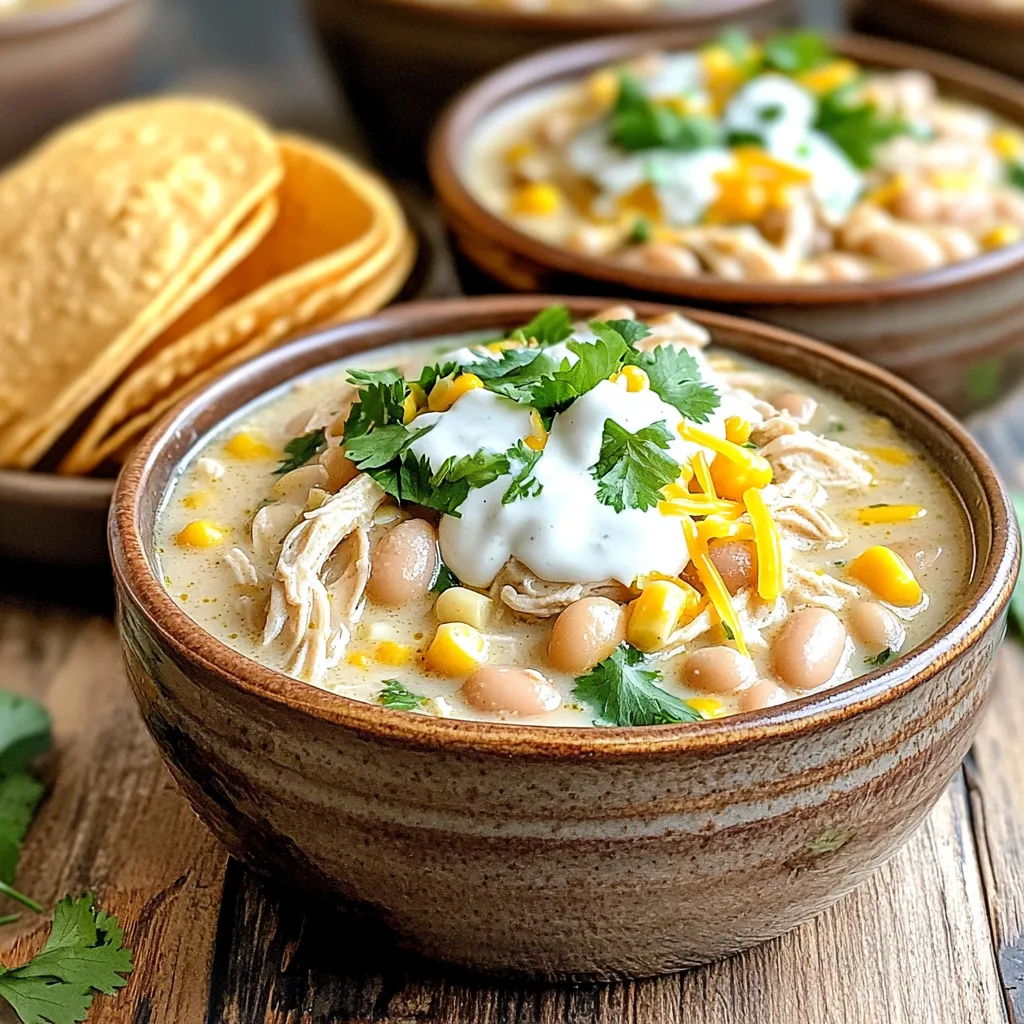
Ready to create the ultimate comfort food sensation? This Slow Cooker Creamy White Chicken Chili is a game changer, and
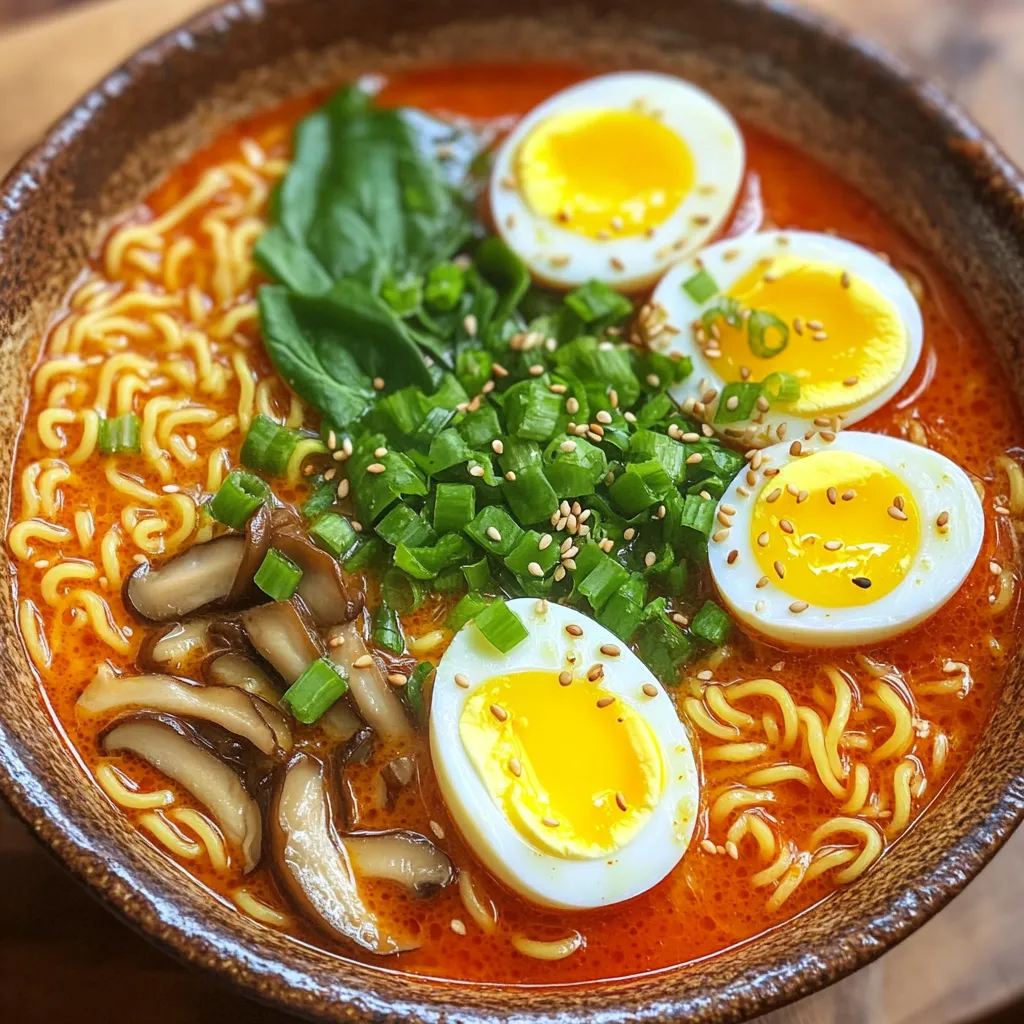
Are you ready to spice up your dinner? Today, we’re diving into a bowl of Spicy Gochujang Ramen with Soft-Boiled
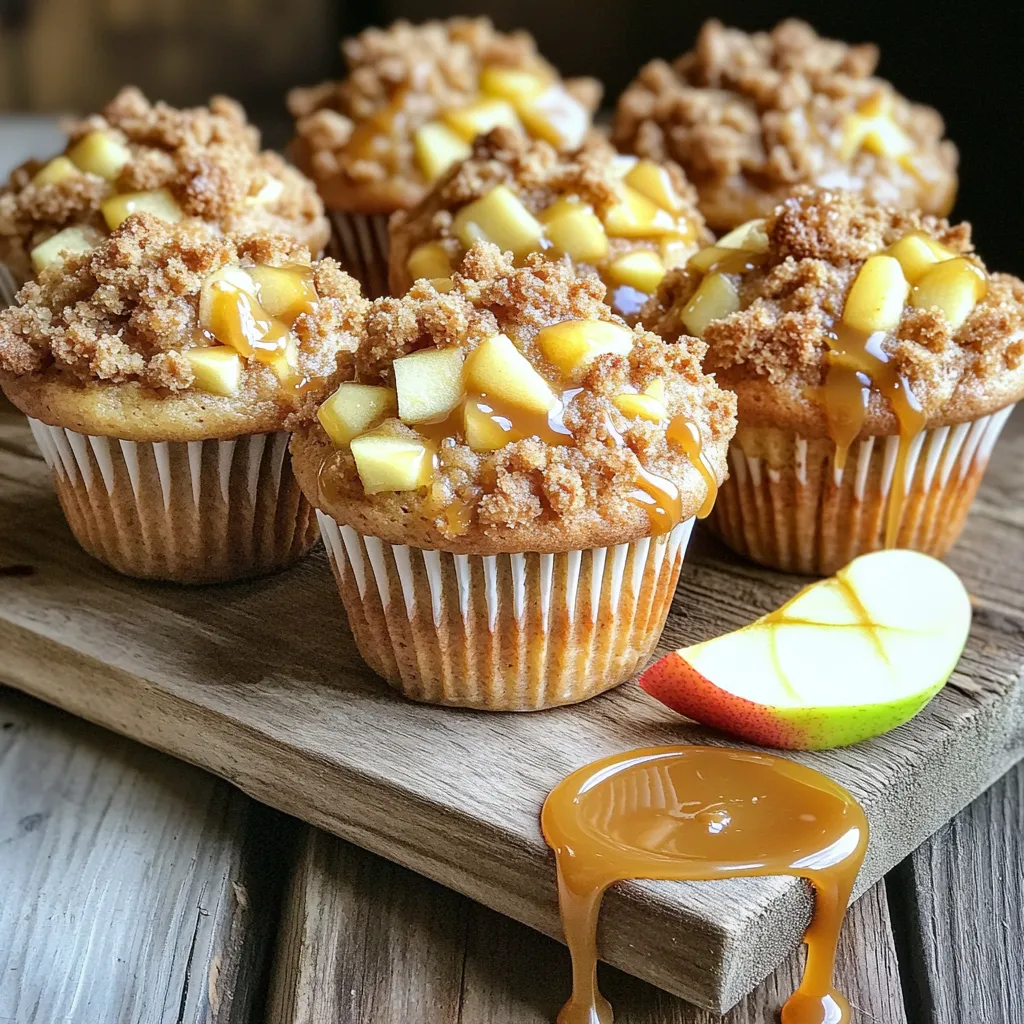
Craving a cozy treat that blends savory and sweet? Look no further! My Caramel Apple Streusel Muffins bring the delightful
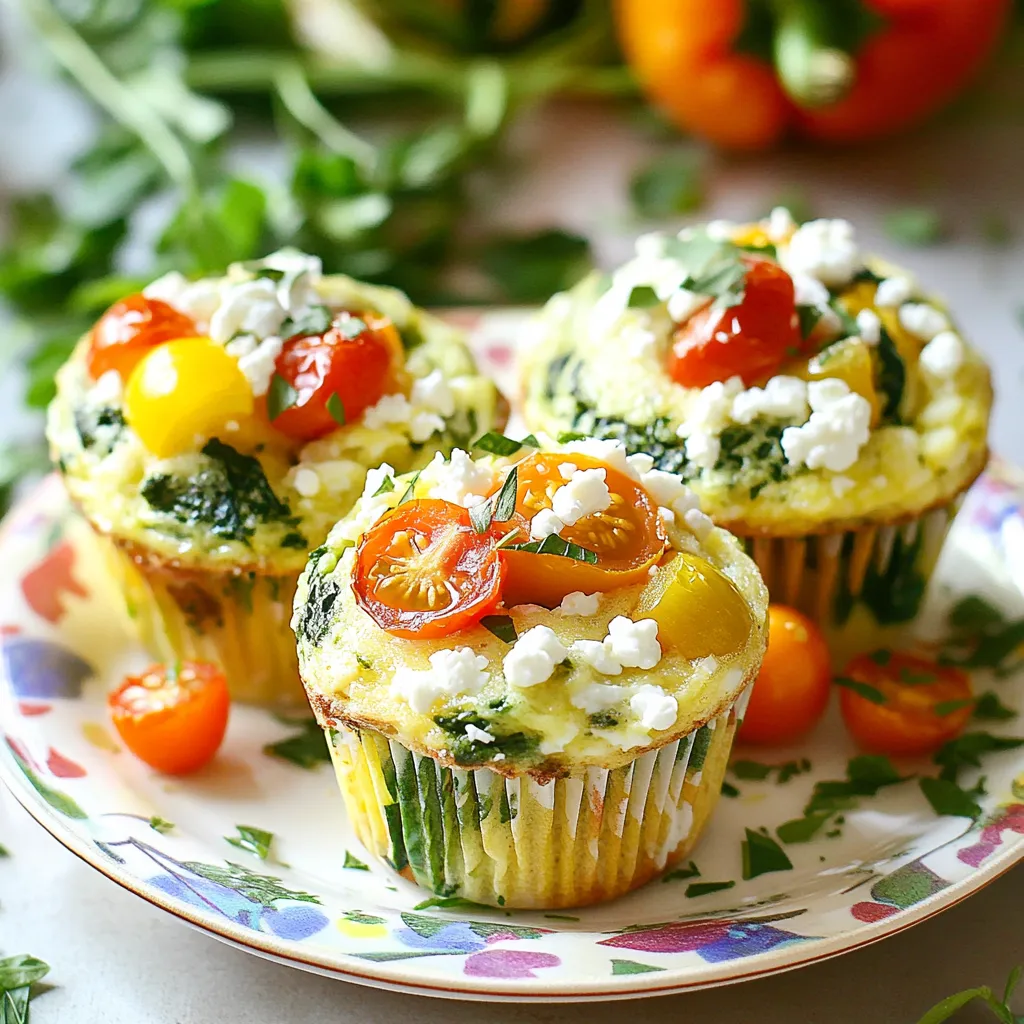
Start your day with a boost of energy and nutrition! My High-Protein Egg White Breakfast Muffins are packed with protein
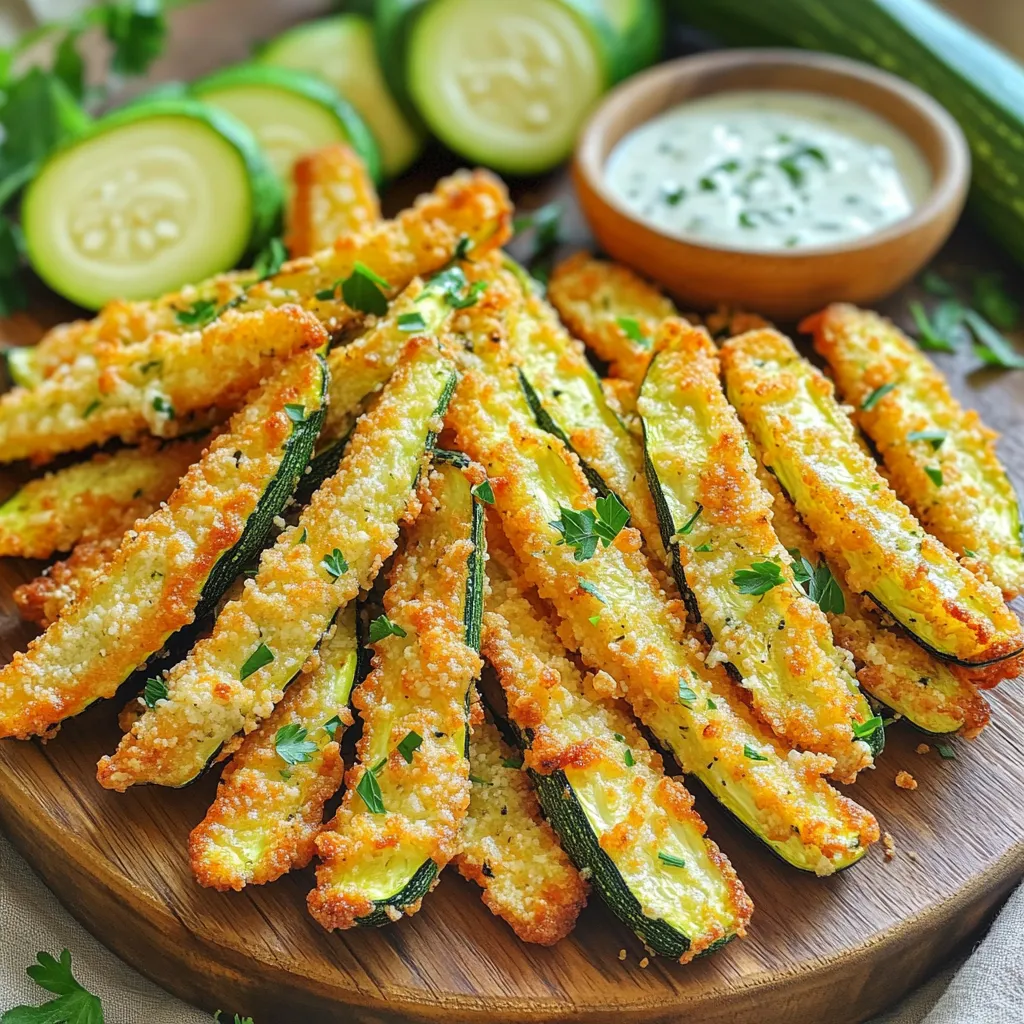
Craving a crunchy, guilt-free snack? Try my Air Fryer Parmesan Zucchini Fries with Ranch Bliss. These tasty fries are simple
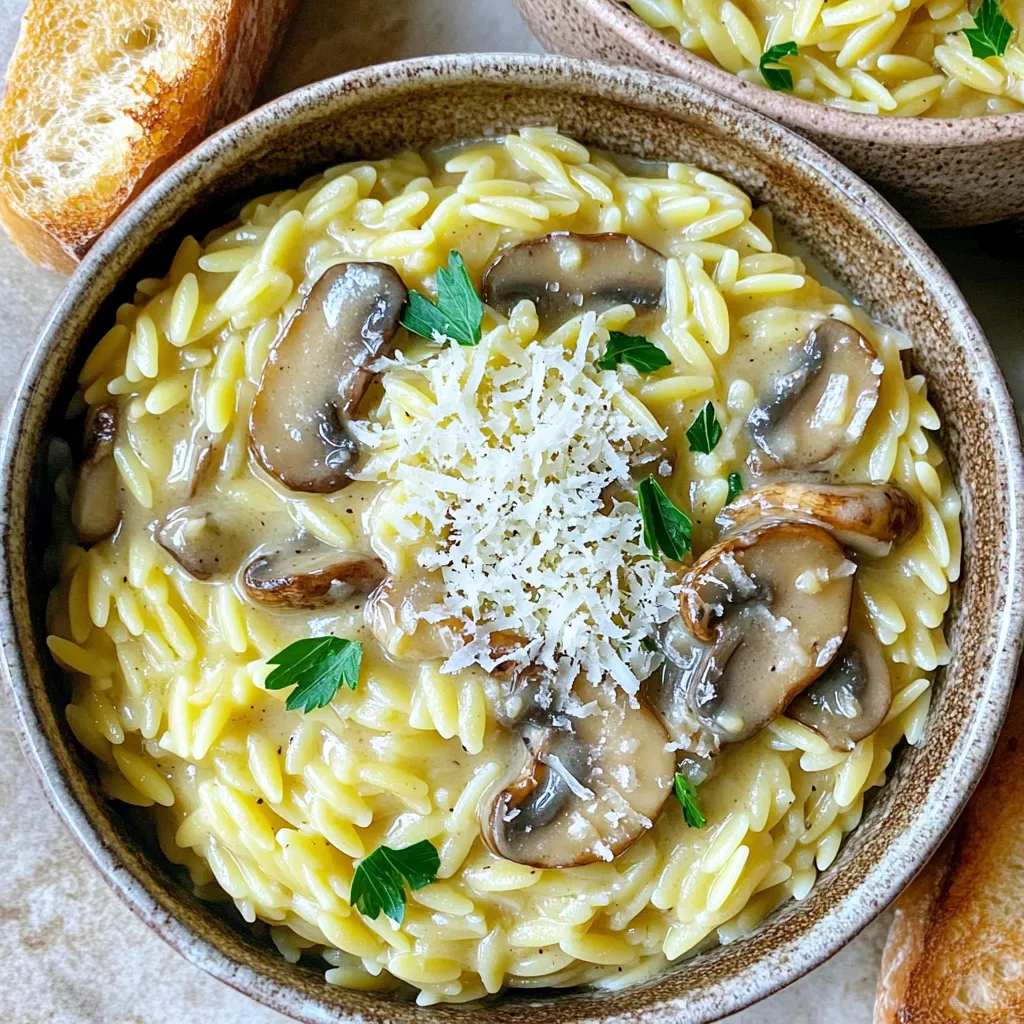
Welcome to your new favorite dish—One-Pot Creamy Mushroom Parmesan Orzo! This meal is simple, rich, and full of flavor. You’ll
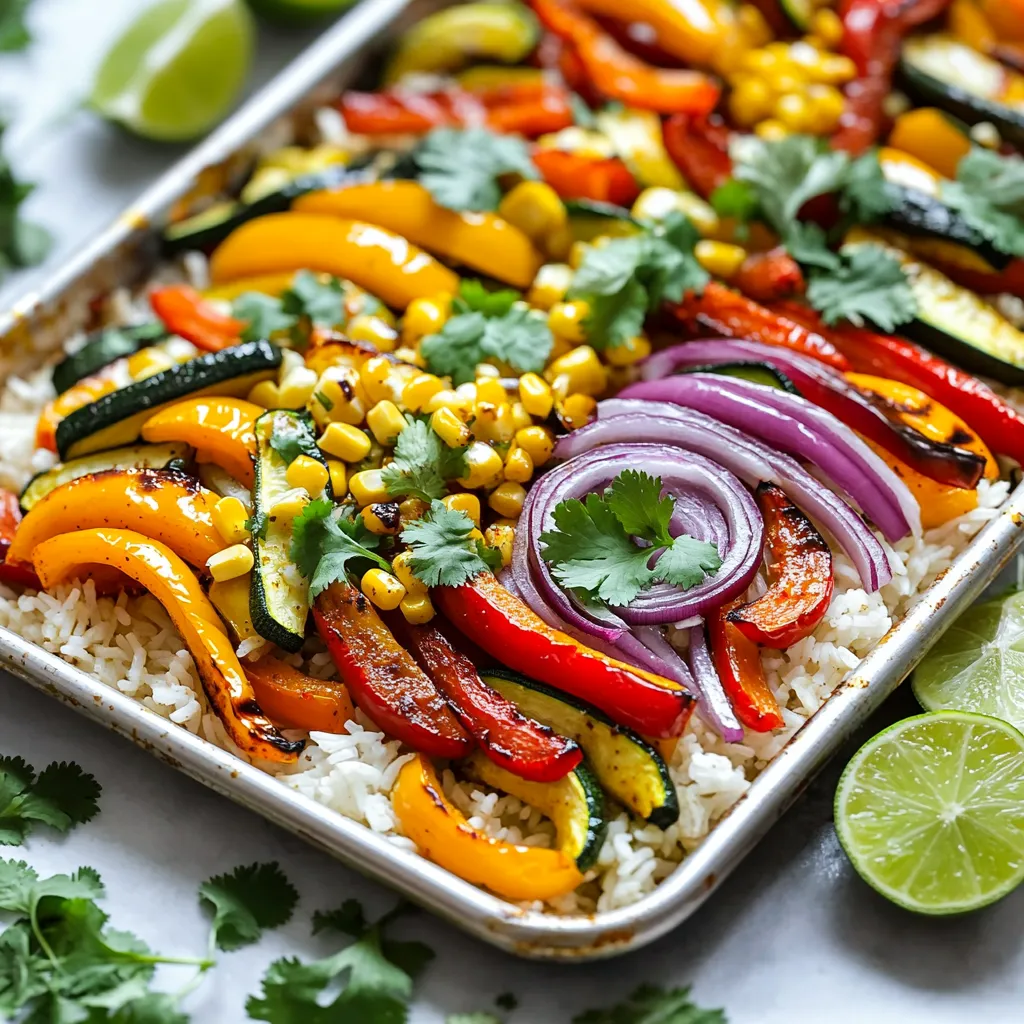
Craving a fresh and simple meal? Try my Sheet-Pan Fajita Veggie Rice Bowls! This recipe combines colorful veggies with jasmine
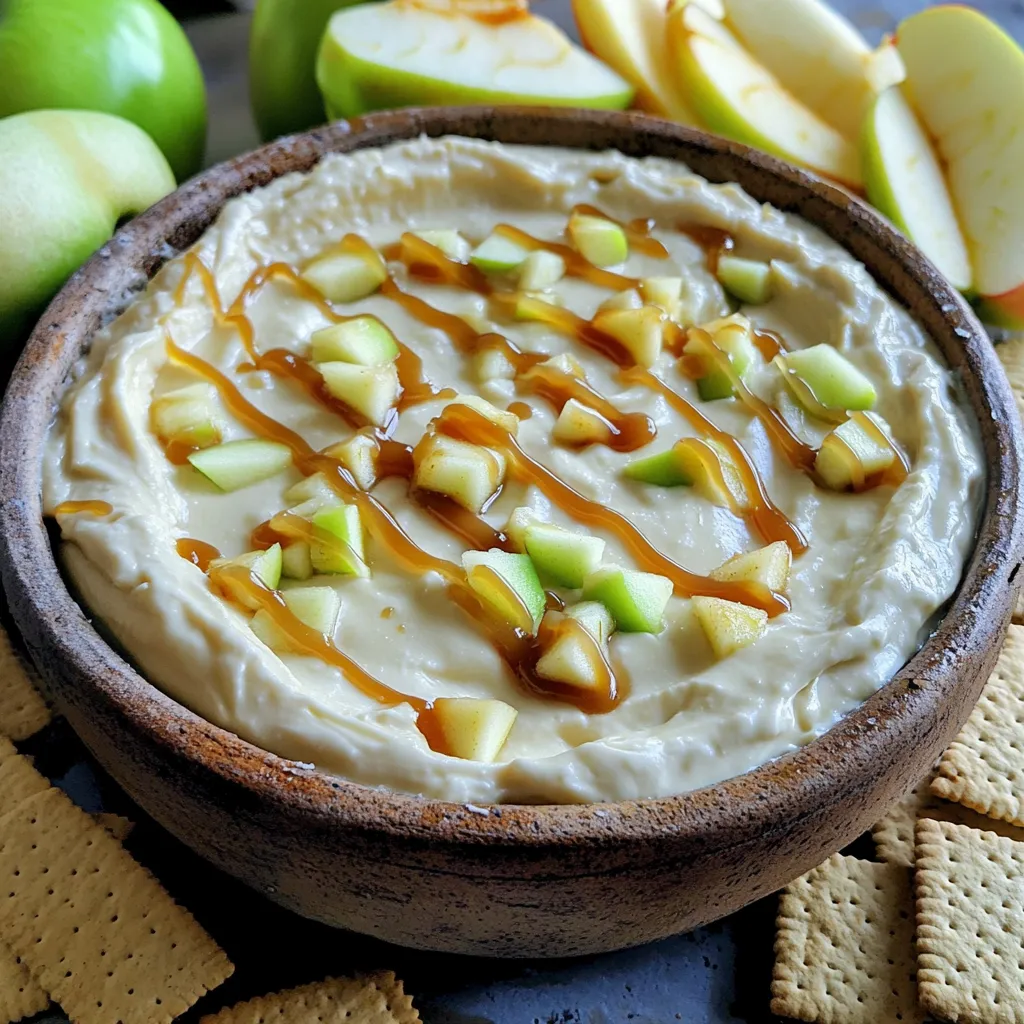
Craving a sweet, fun treat that’s quick to whip up? Let me introduce you to my Minute Caramel Apple Cheesecake
