
Air Fryer Buffalo Cauliflower Bites Crispy Delight
Are you ready for a crunchy, spicy treat? Air Fryer Buffalo Cauliflower Bites offer all the flavor with none of

Are you ready for a crunchy, spicy treat? Air Fryer Buffalo Cauliflower Bites offer all the flavor with none of
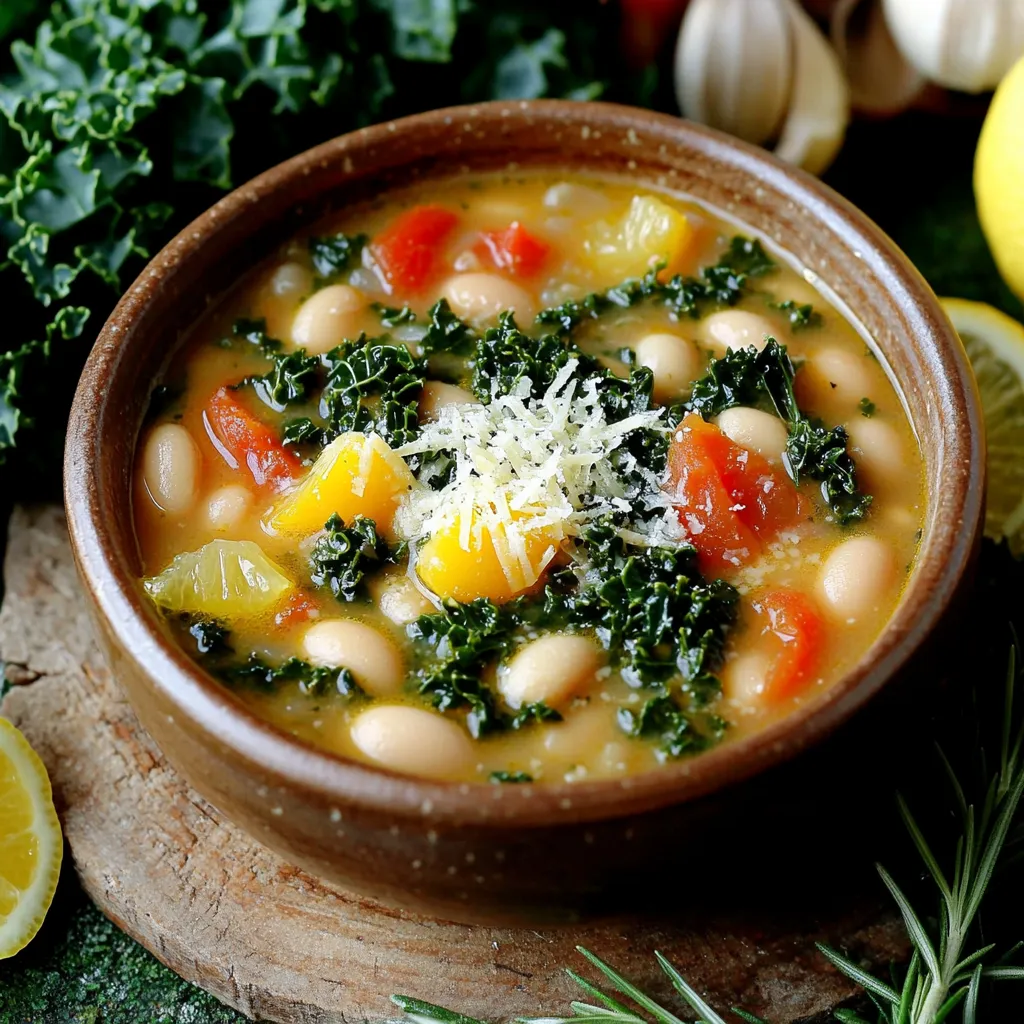
Looking for a cozy, nutritious meal that you can set and forget? Slow Cooker Tuscan White Bean Kale Soup is

If you love dessert but want a healthy twist, you’re in the right place! Today, I’ll show you how to

Are you ready to take your taco game to the next level? Smoky Chipotle Sweet Potato Tacos are here to

If you love apple pie and want a quick breakfast, try my Caramel Apple Overnight Oats! This fun recipe brings

Looking for a quick and tasty dinner? The Lemon Herb Chicken Orzo Skillet is here to save your weeknight meals!

Looking for a quick and easy sweet treat? You’ll love this Ten Minute Peppermint Fudge! With just a few simple

Craving a warm, hearty meal? Look no further than my Slow Cooker Chicken Pot Pie Soup. This dish combines tender
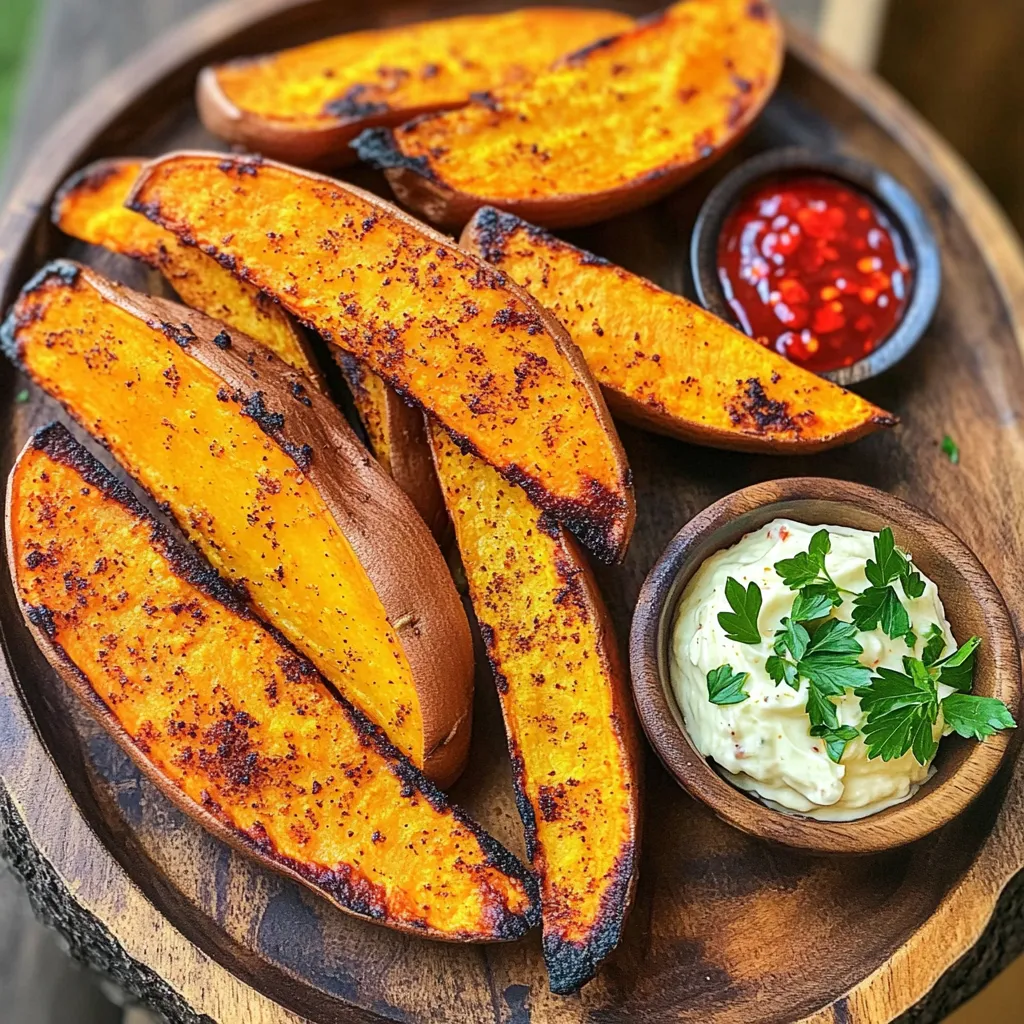
Are you ready to elevate your snacking game? With this Air Fryer Sweet Potato Wedges recipe paired with spicy aioli,

If you’re craving a dish that’s both simple and impressive, I’ve got you covered! My One-Pan Creamy Lemon Garlic Salmon
