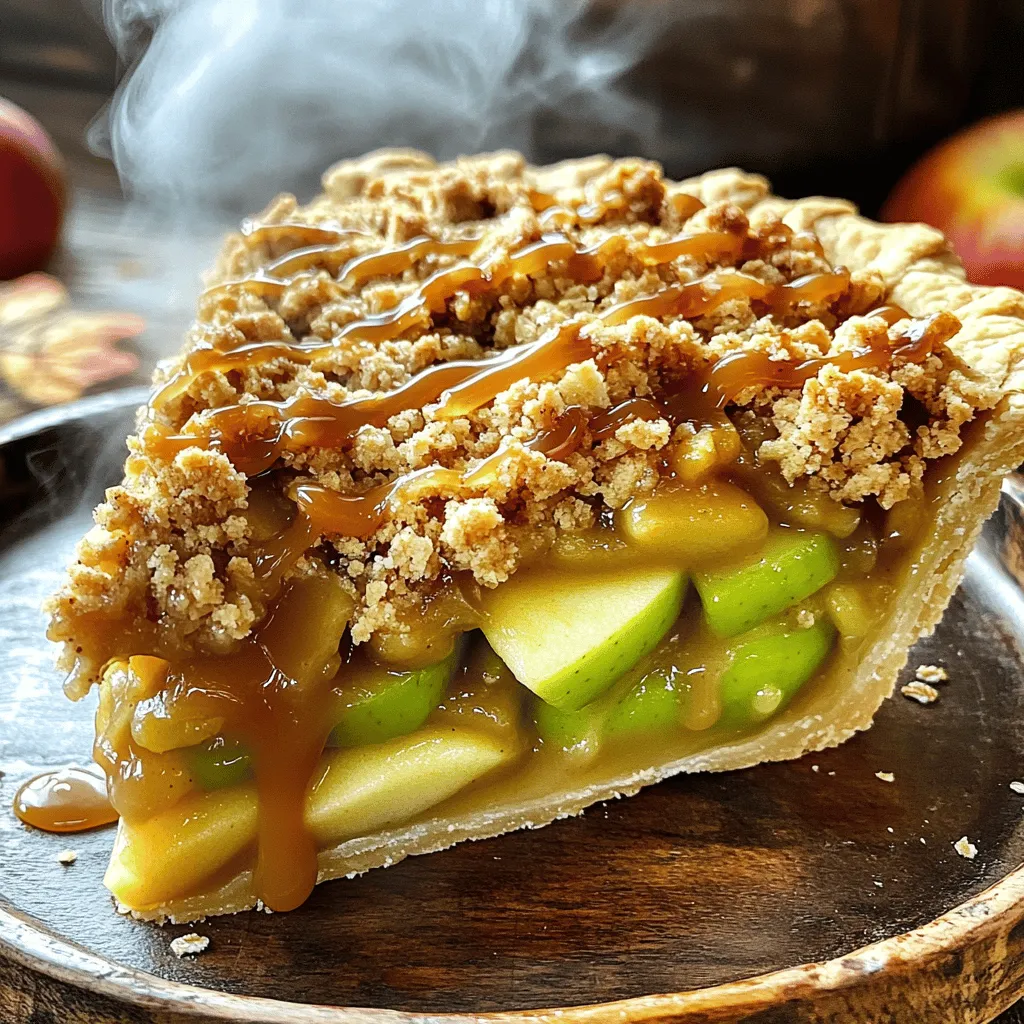
Caramel Apple Crumble Pie Delicious and Easy Recipe
Are you ready to delight your taste buds with a warm slice of Caramel Apple Crumble Pie? In this easy

Are you ready to delight your taste buds with a warm slice of Caramel Apple Crumble Pie? In this easy
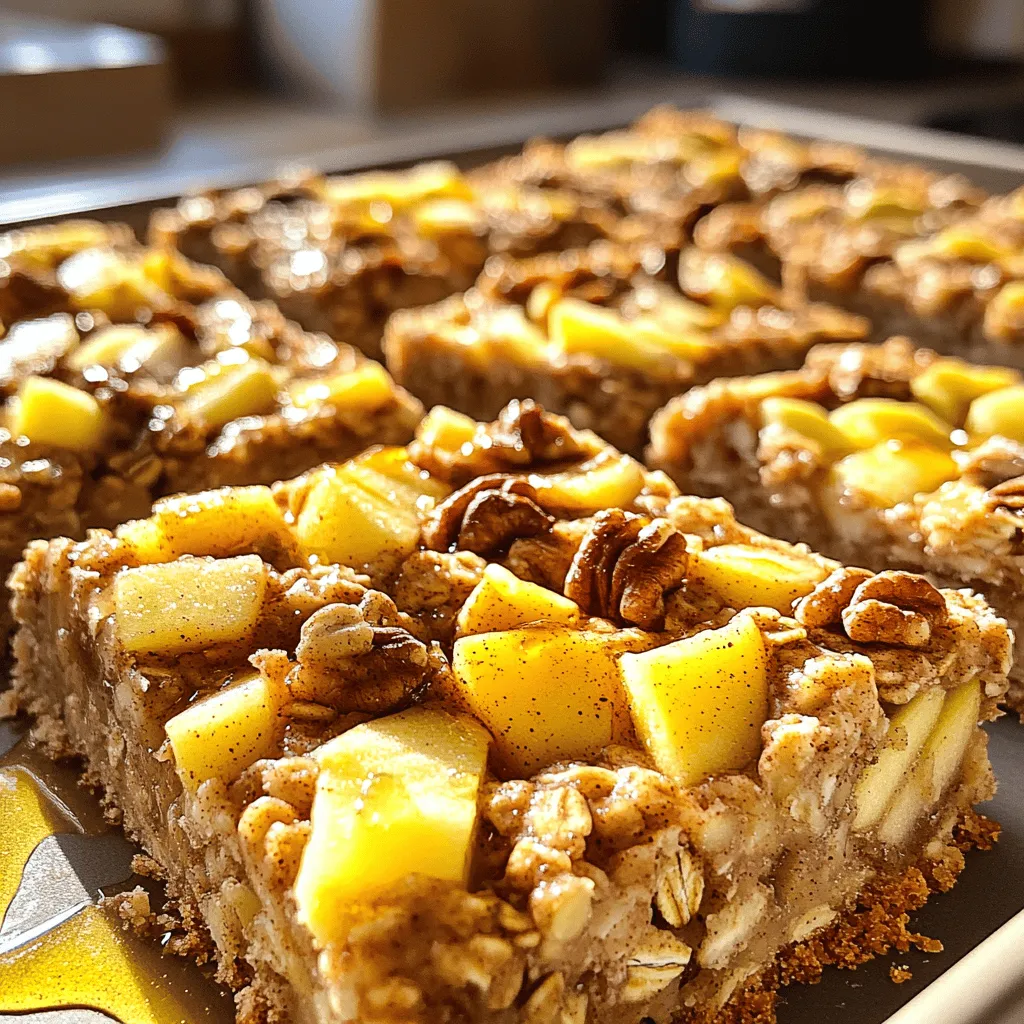
Looking for a tasty and nourishing snack? You’ll love these Apple Cinnamon Oatmeal Bars! Packed with rolled oats, fresh apples,

Get ready to enjoy a simple, tasty meal with my Slow Cooker Pulled BBQ Chicken Sandwiches! This dish is perfect
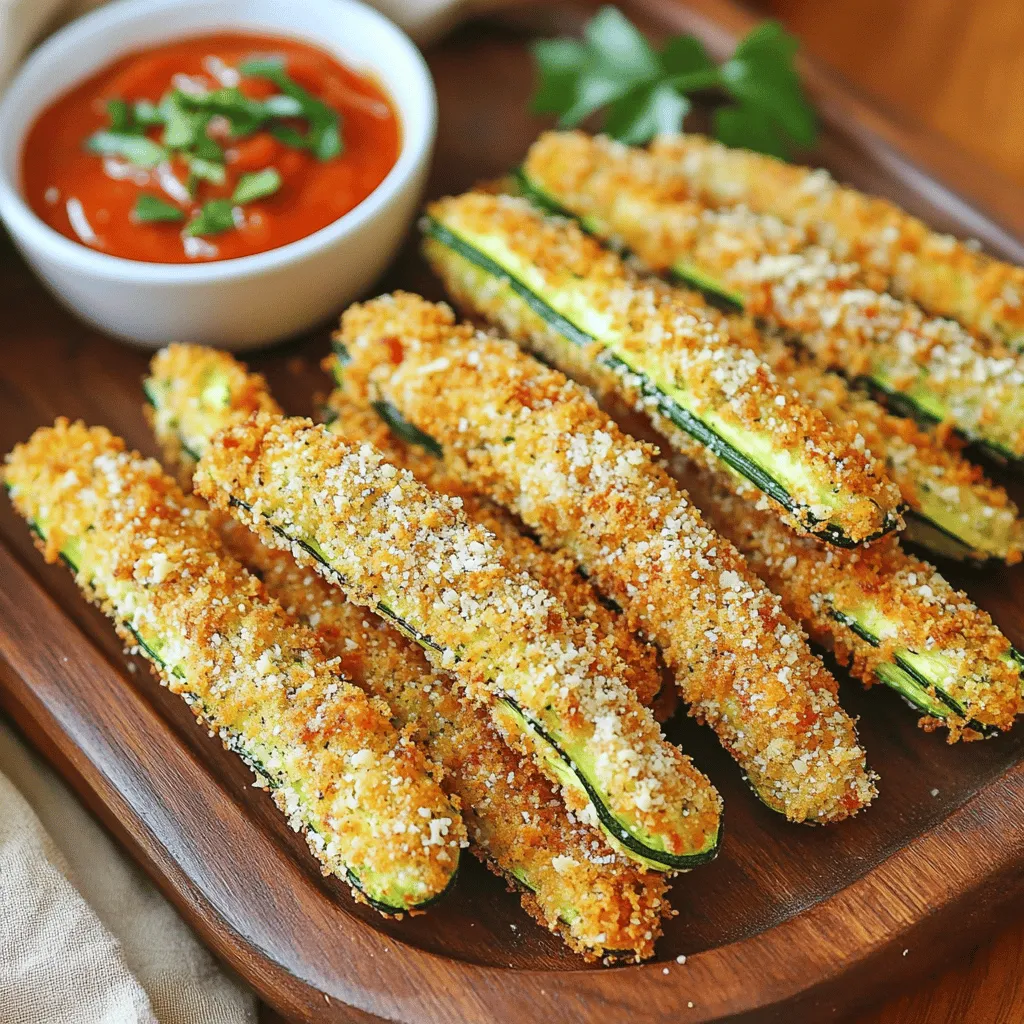
Are you ready to make a tasty snack that’s both crispy and healthy? In this guide, I’ll show you how

If you’re looking for a quick and tasty meal, these Flavorful Orange Chicken Rice Bowls are for you! With juicy
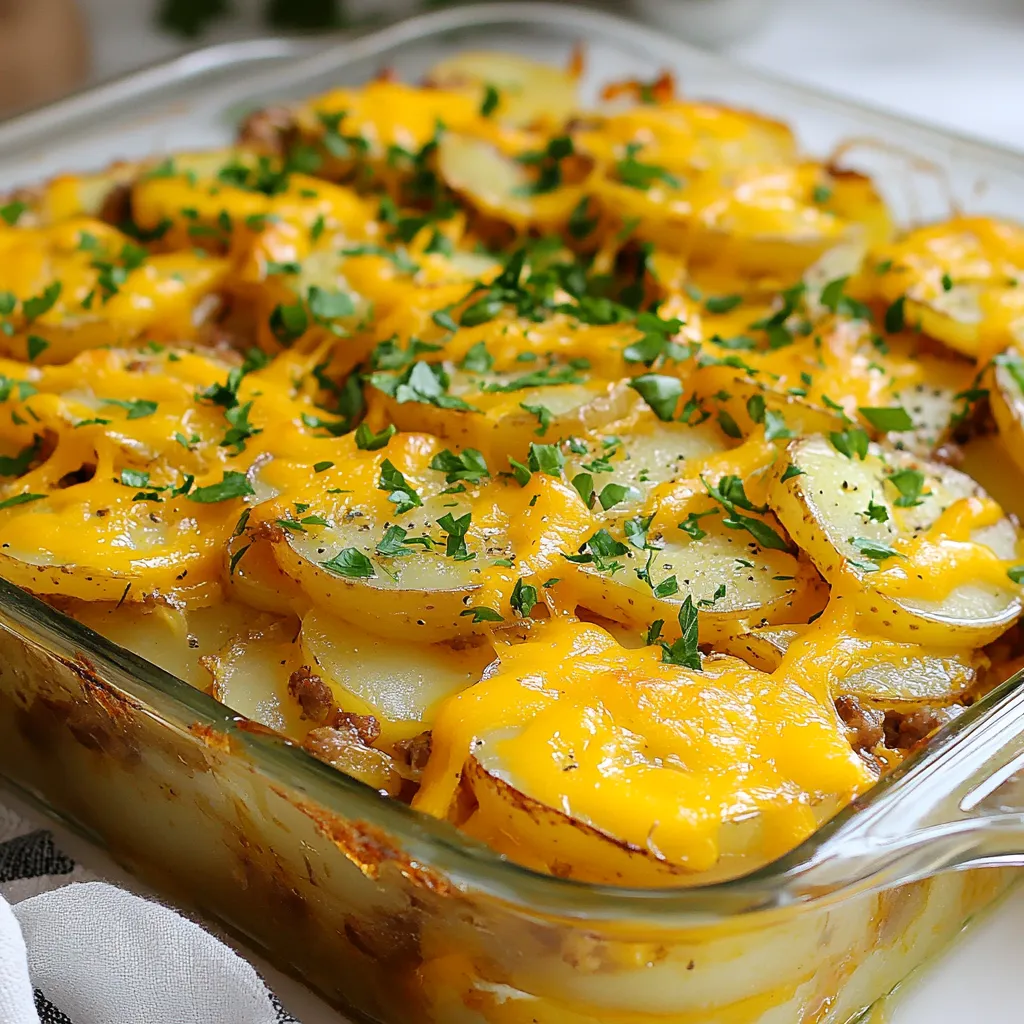
Are you looking for a hearty family meal that’s easy to make? This Smoked Sausage Potato Bake combines tender potatoes,

Craving a dessert that shines at every gathering? Look no further! My White Chocolate Cheesecake is the perfect creamy delight,
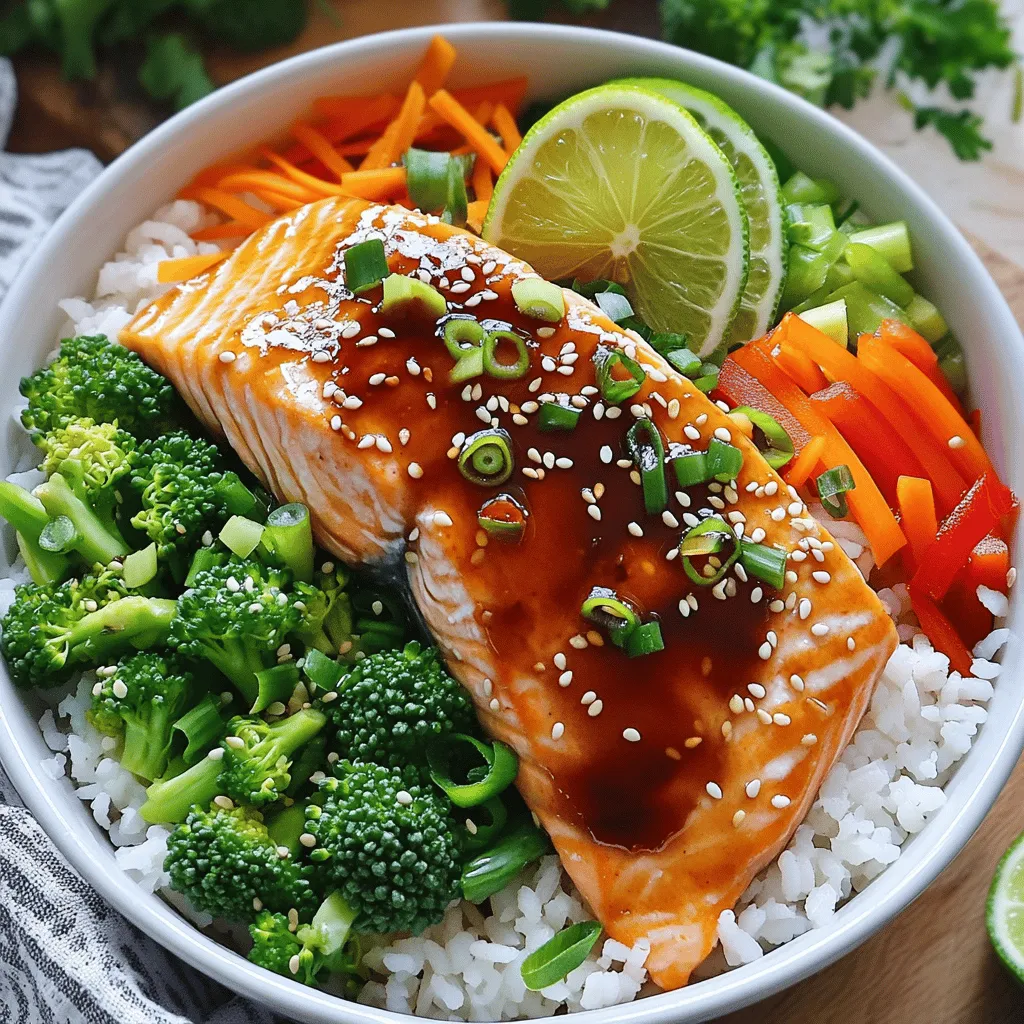
Looking for a meal that’s both flavorful and simple? Min Teriyaki Salmon Bowls might be just what you need! This

Are you ready to impress friends and family with a sweet treat? These No-Bake Lemon Berry Cheesecake Cups are a
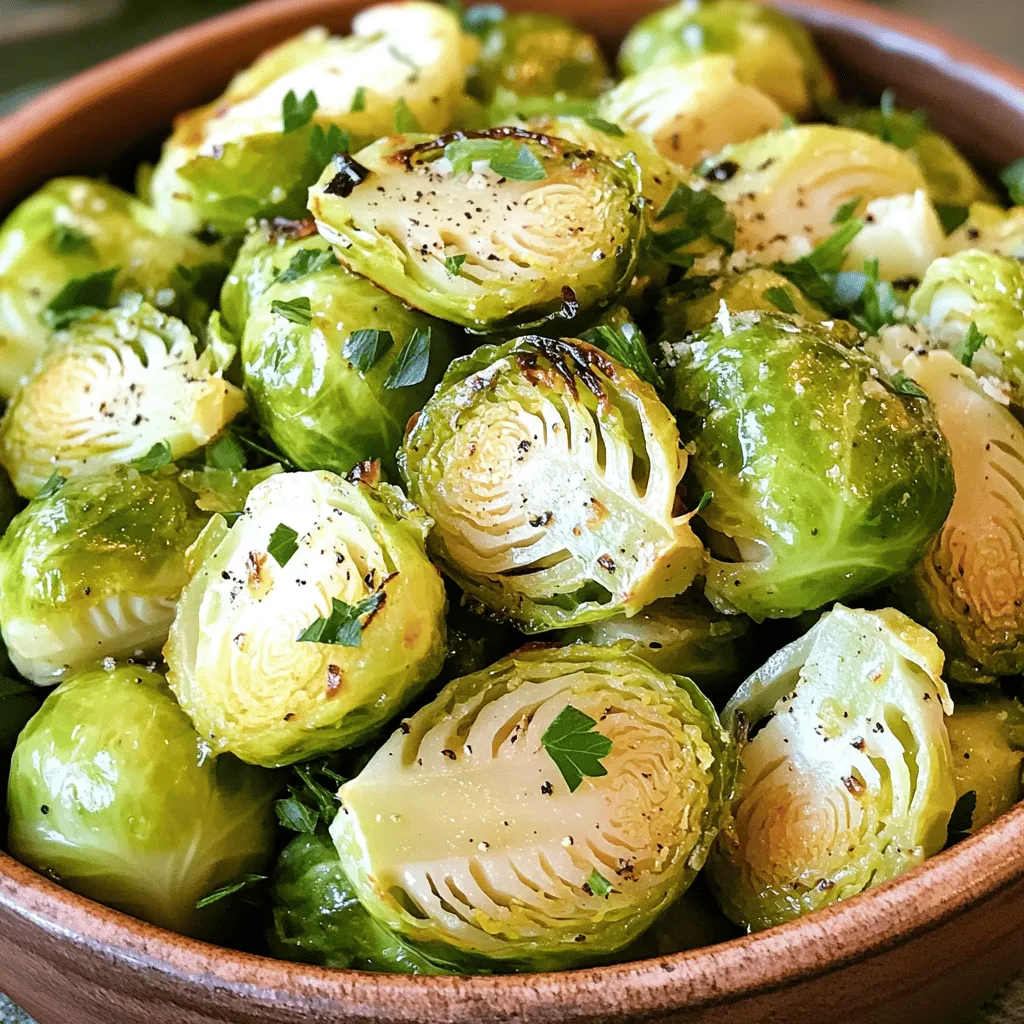
If you’re looking for a simple yet delicious side dish, Garlic Butter Roasted Brussels Sprouts is the perfect choice. These
