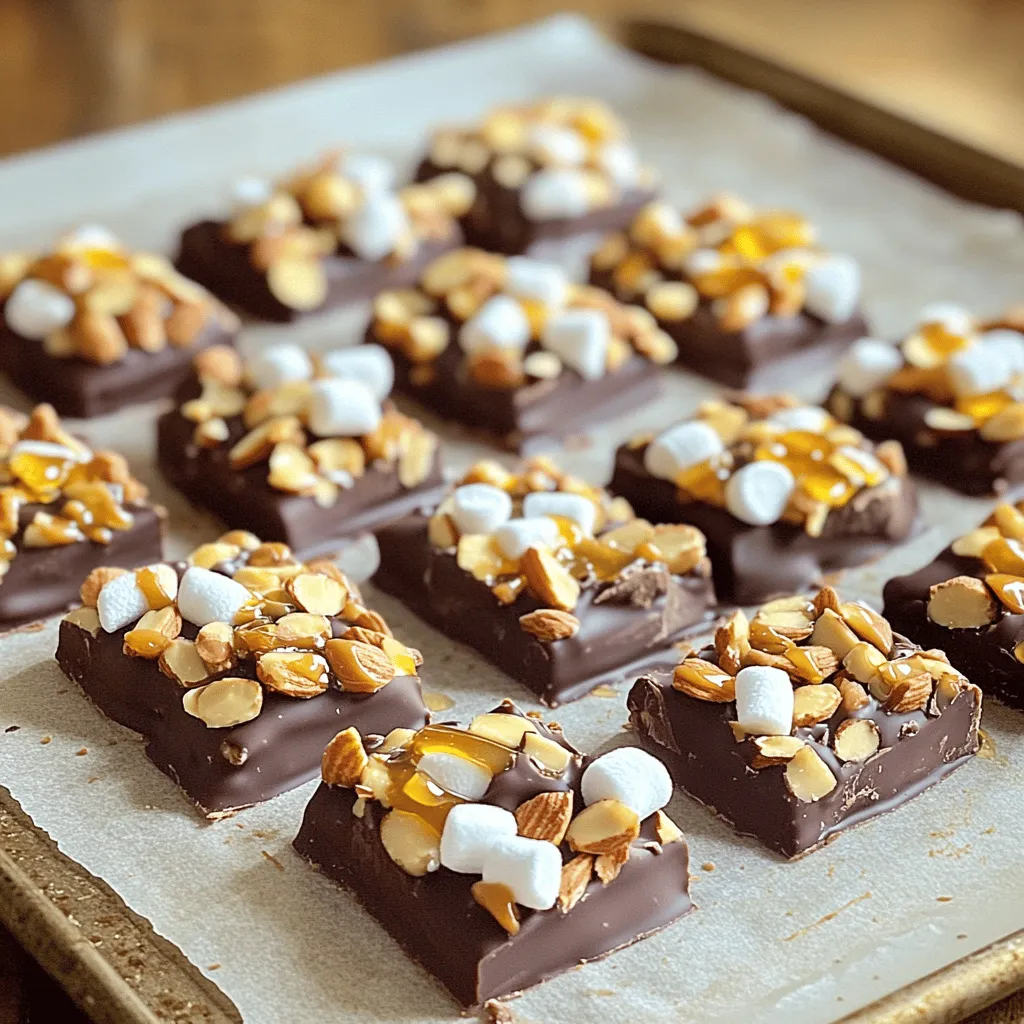
Ingredient Peanut Butter Clusters Quick and Easy Recipe
Are you craving a sweet snack that’s easy to make? Peanut butter clusters fit that bill perfectly! With just a

Are you craving a sweet snack that’s easy to make? Peanut butter clusters fit that bill perfectly! With just a
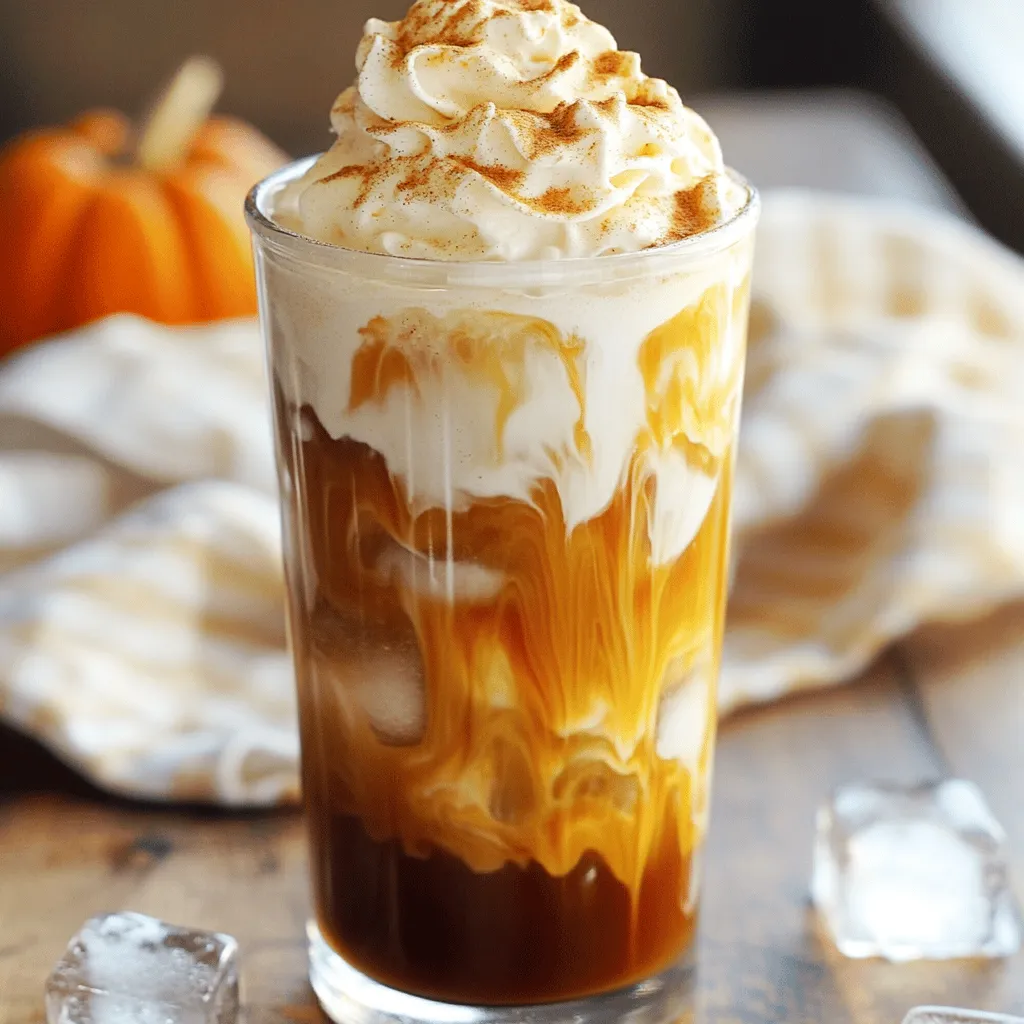
Are you ready to enjoy a cozy fall drink at home? This Copycat Pumpkin Cream Cold Brew recipe will make
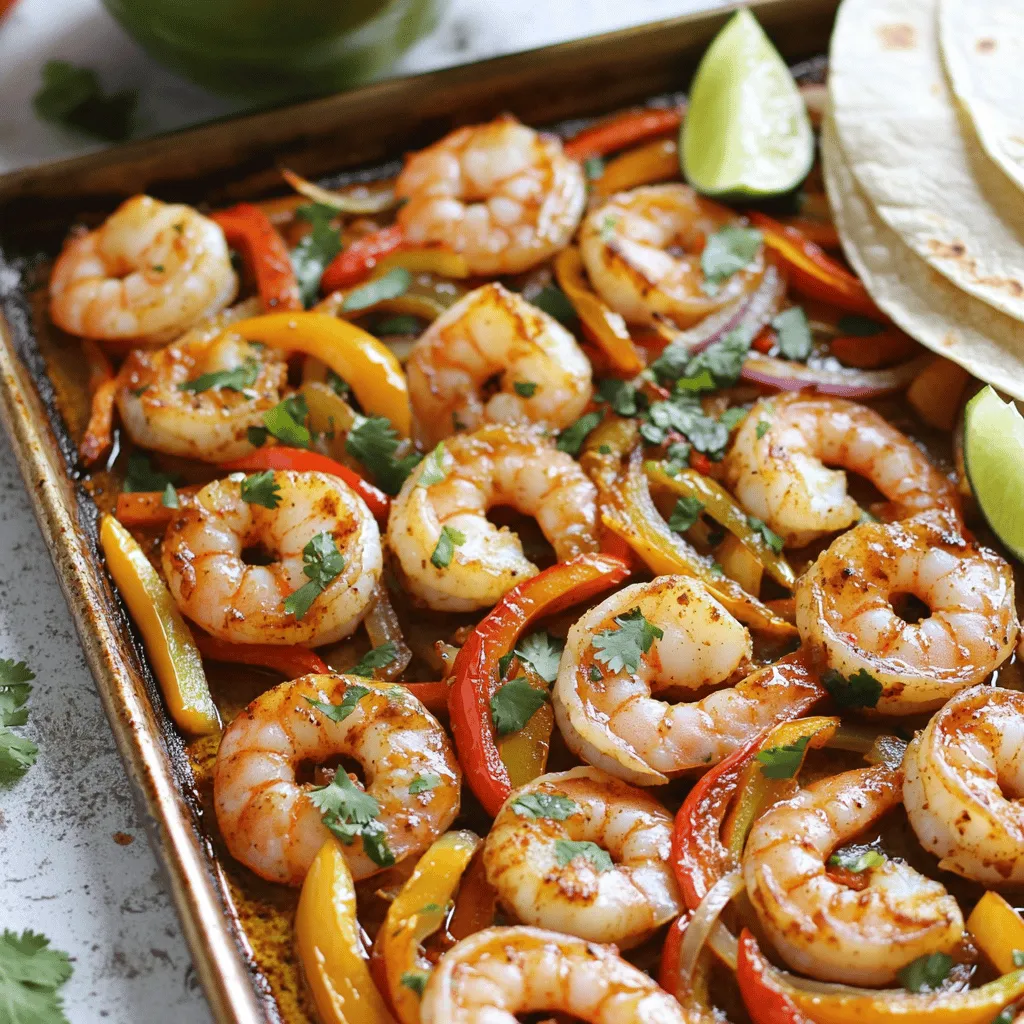
Get ready for a tasty trip to flavor town with my Sheet Pan Chipotle Shrimp Fajitas! This easy recipe combines

Are you ready to indulge in a guilt-free dessert? My Min Cottage Cheese Chocolate Mousse is a delightful treat that’s
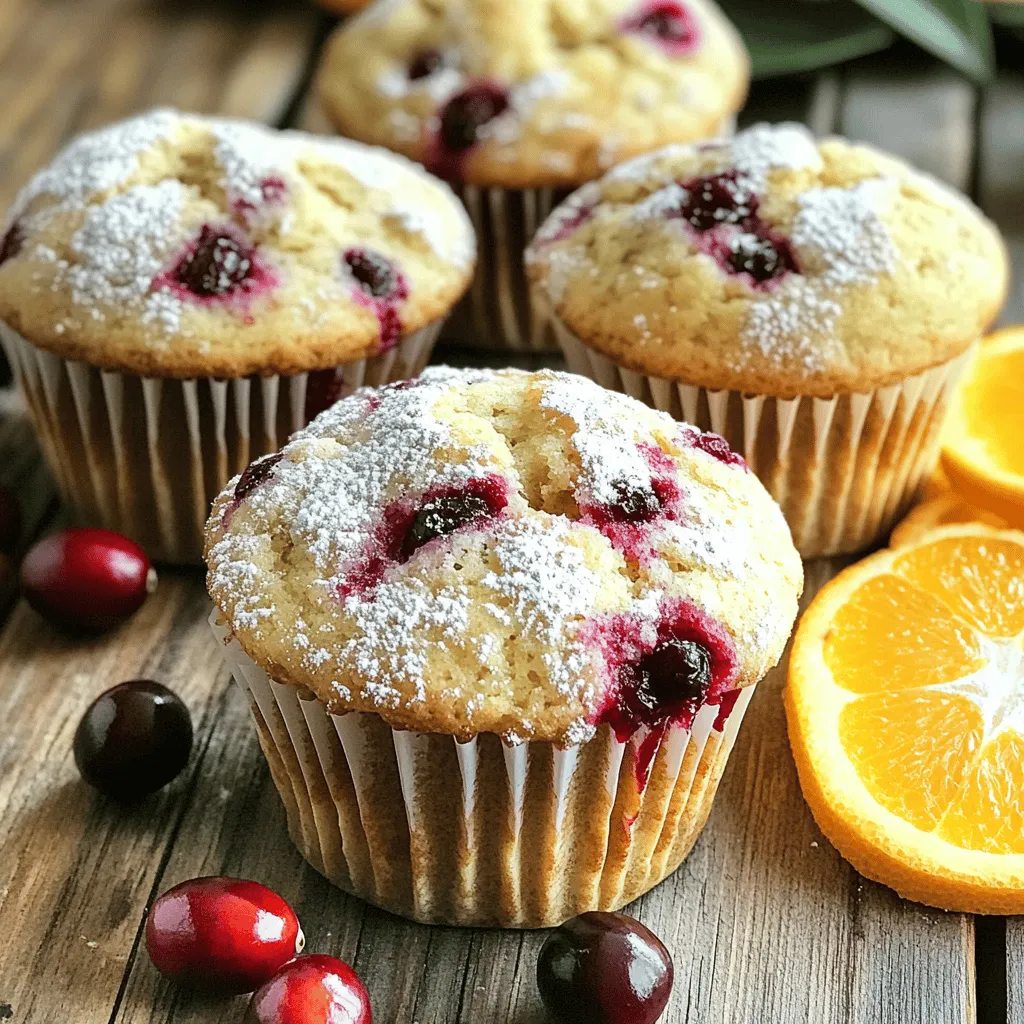
Start your morning right with my Cranberry Orange Breakfast Muffins! These tasty treats are easy to make and packed with
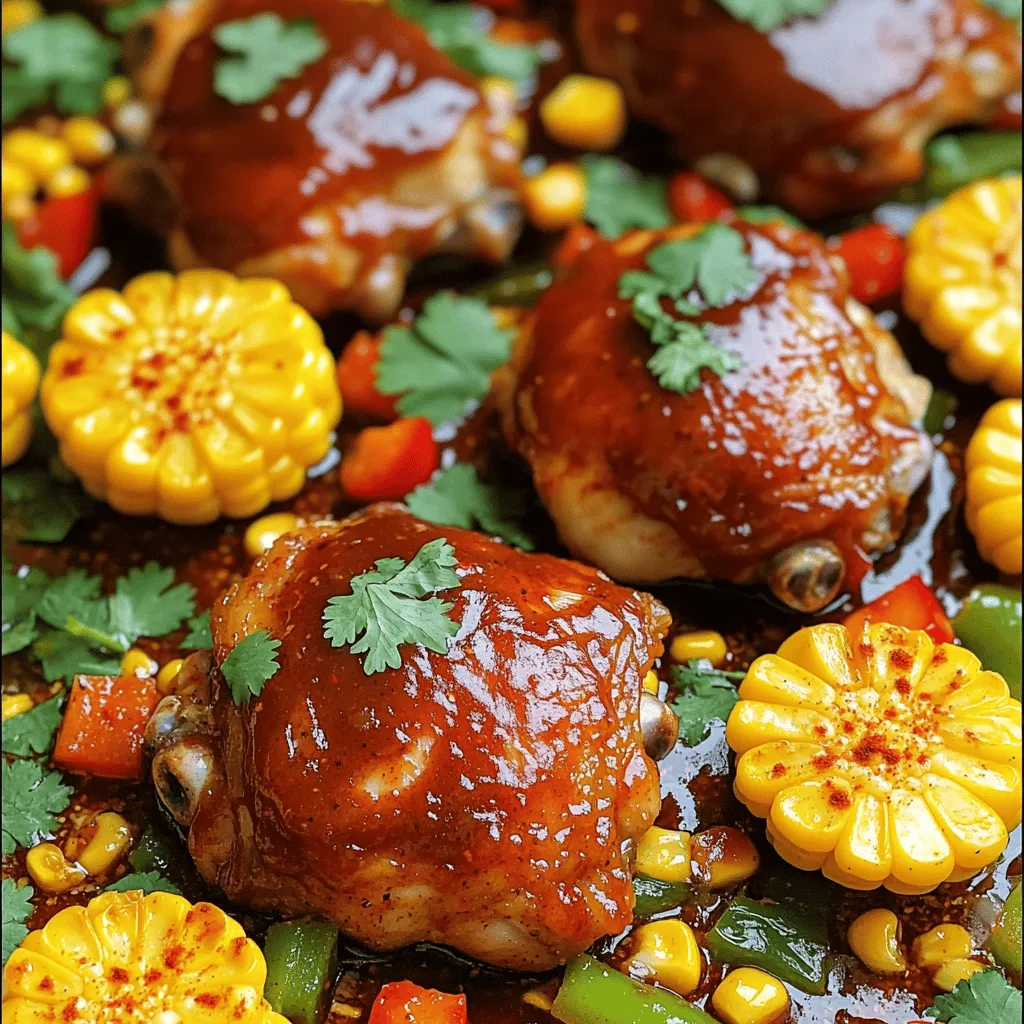
Looking for a quick and tasty dinner idea? The BBQ Chicken and Corn Sheet Pan is a must-try! This one-pan

Welcome to the world of Creamy Tuscan White Bean Soup! This warm, savory dish is not just a delight for
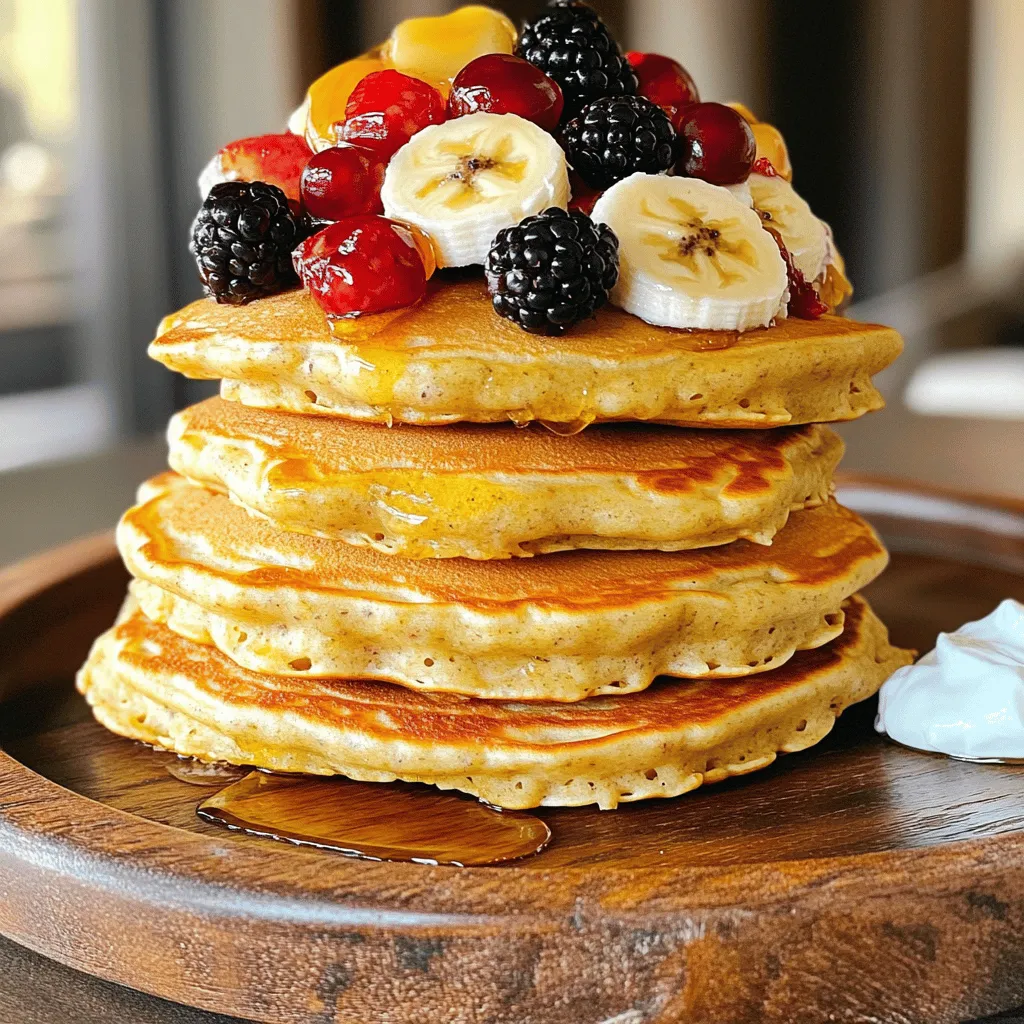
Looking for a tasty and healthy meal? You’re in the right place! Cottage Cheese Protein Pancakes are not only packed

Get ready for a tasty twist on fall flavors! My Apple Cider Doughnut Bundt Cake combines warm spices and fresh
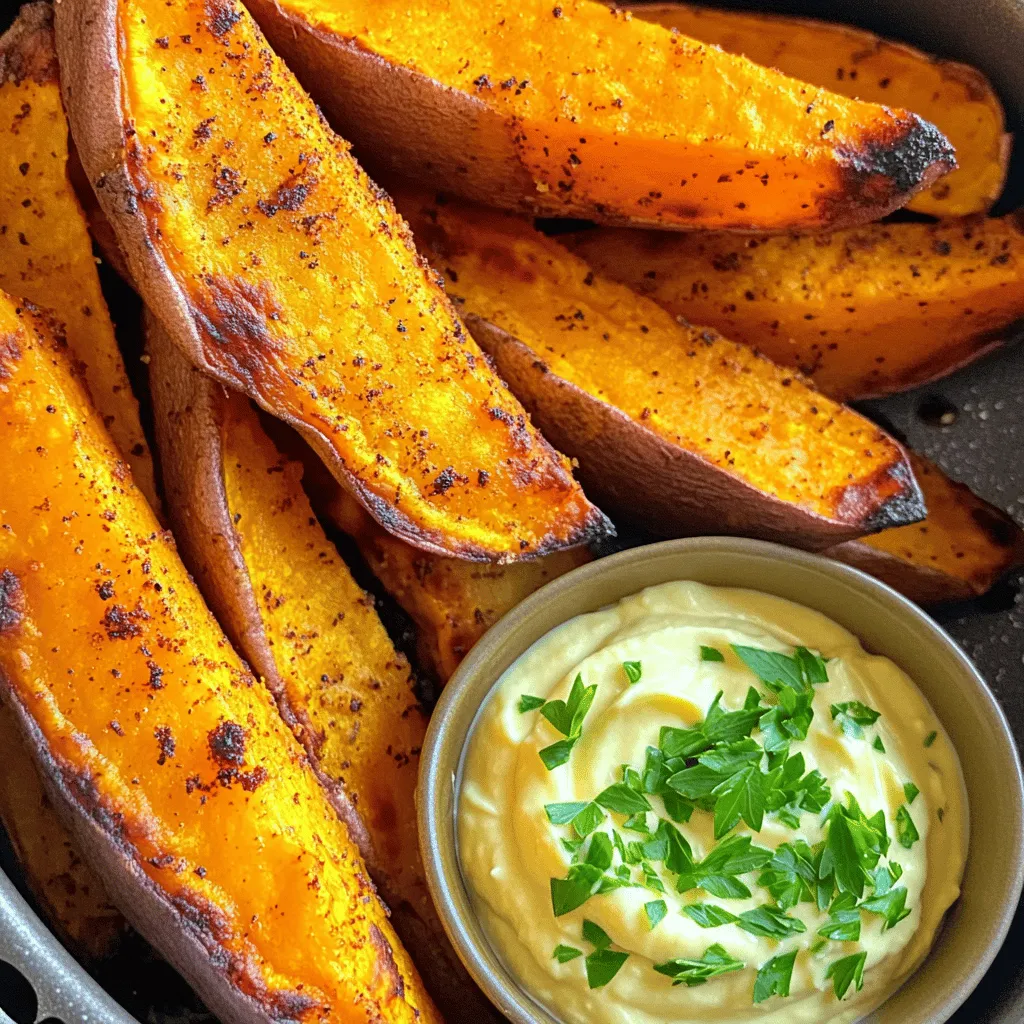
Bite into the perfect balance of crispy and creamy with my air fryer sweet potato wedges! These golden delights pair
