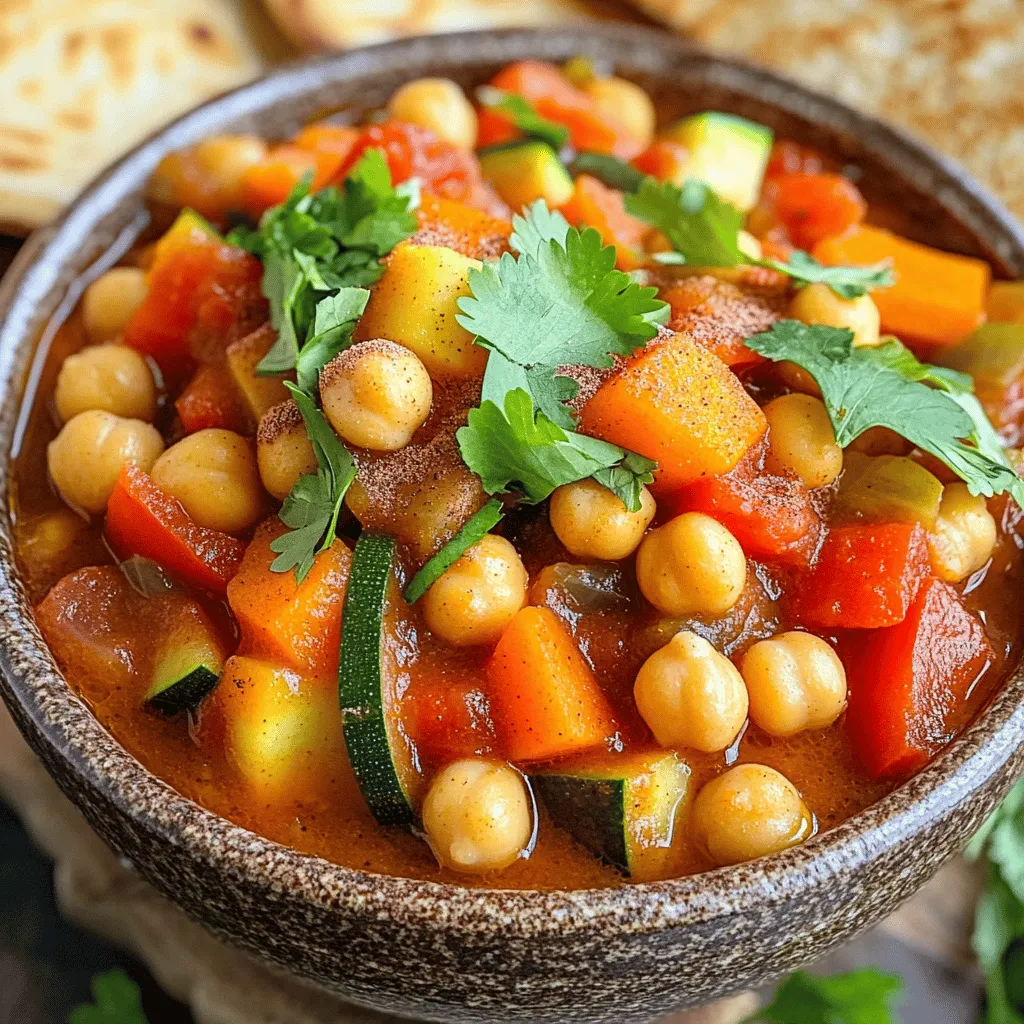
Slow Cooker Moroccan Chickpea Stew Flavorful Delight
Welcome to a journey of flavor with my Slow Cooker Moroccan Chickpea Stew! This dish brings warmth and spice right

Welcome to a journey of flavor with my Slow Cooker Moroccan Chickpea Stew! This dish brings warmth and spice right

Looking for a quick, healthy snack? Try these No Bake Peanut Butter Protein Bars! Packed with energy and easy to

Are you ready for a sweet and simple treat? Brown butter pecan blondies are the perfect blend of rich flavor
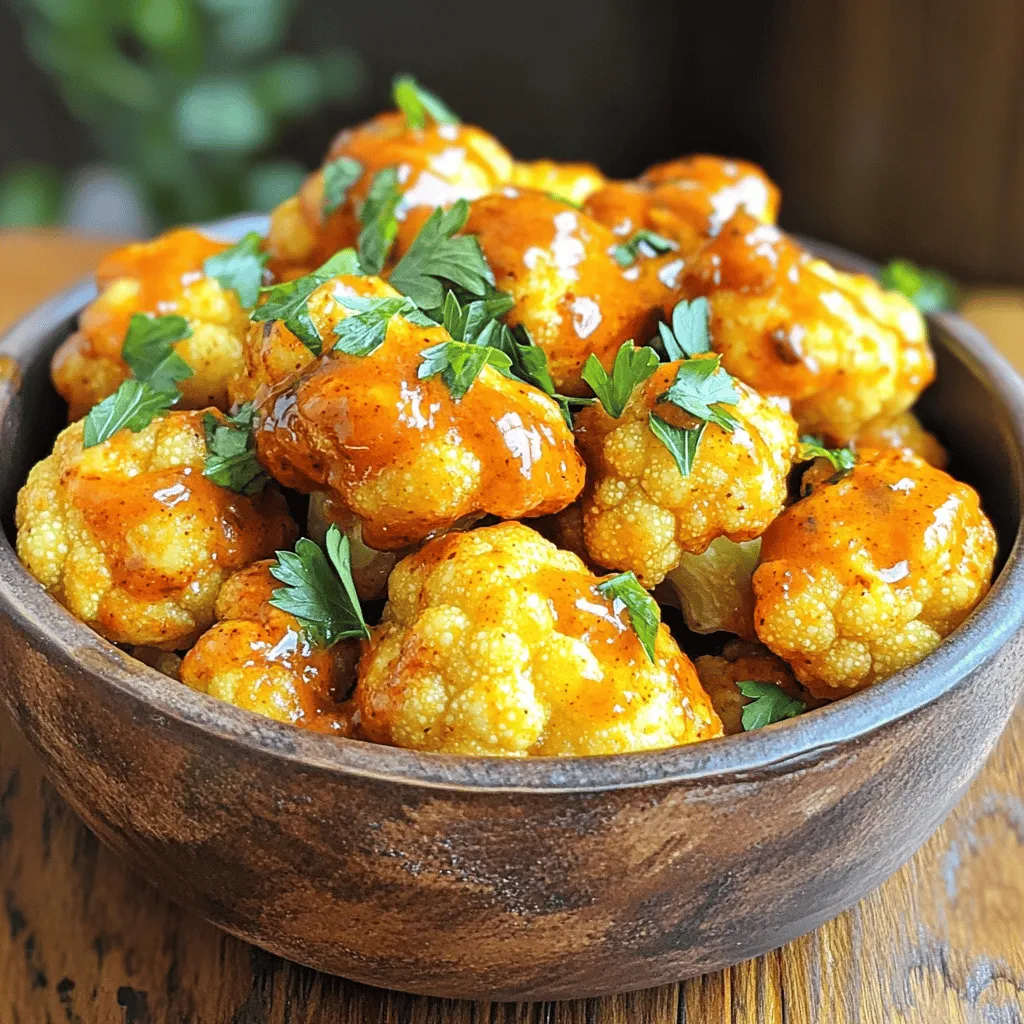
Are you ready to elevate your snack game? These Air Fryer Buffalo Cauliflower Bites are the perfect blend of crispy
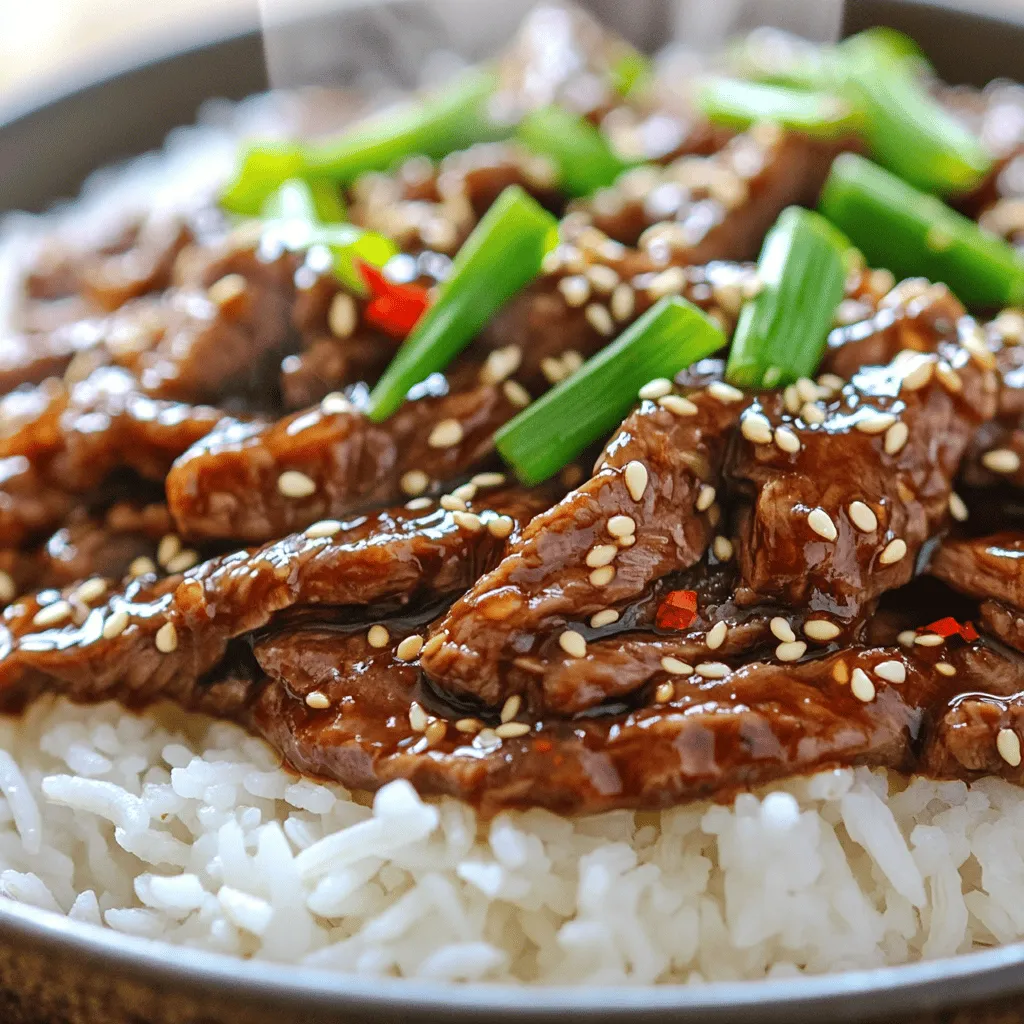
Ready for a mouthwatering dish that beats takeout? Get ready to make Mongolian Beef that’s quick, tasty, and sure to

Are you ready to whip up a quick, tasty treat? These No-Bake Choco Peanut Butter Oat Bars are both easy
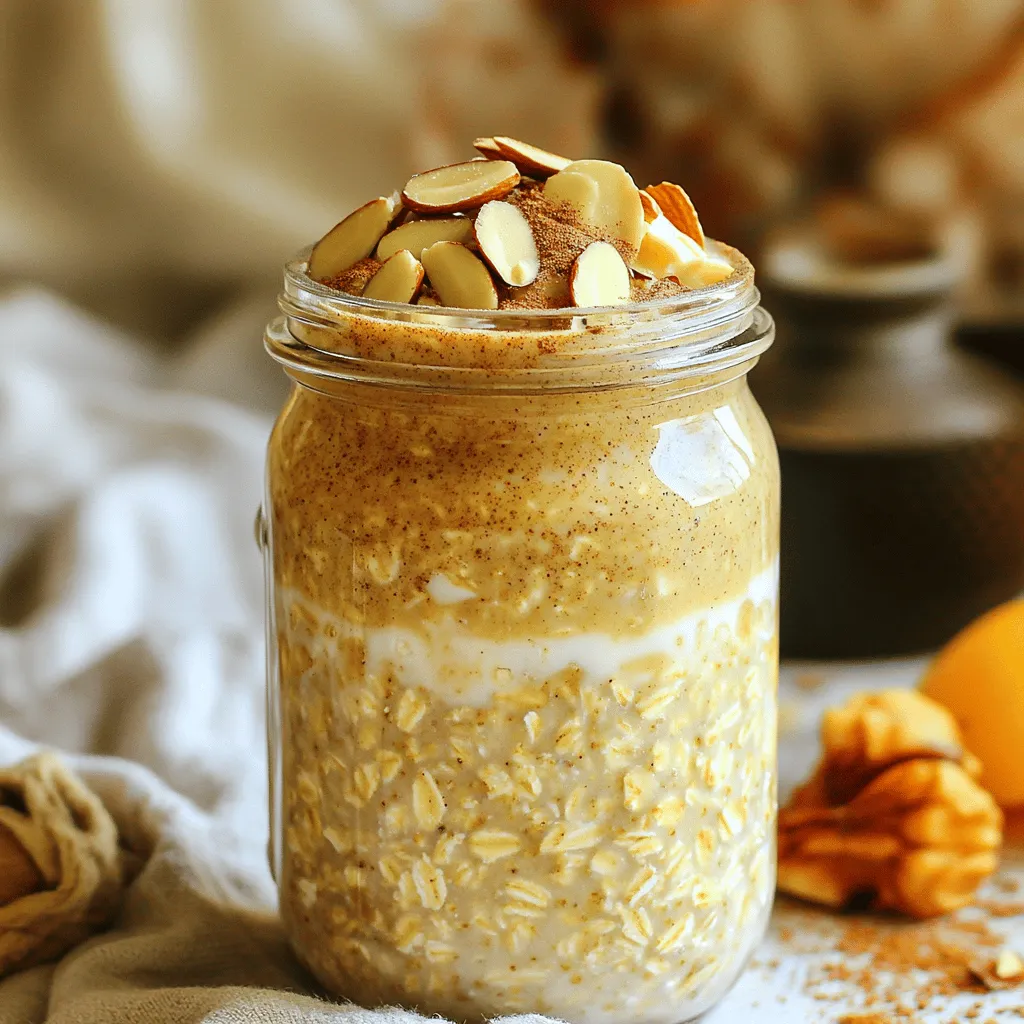
Start your day with a warm hug in a bowl! Chai Latte Overnight Oats are an easy and nutritious way
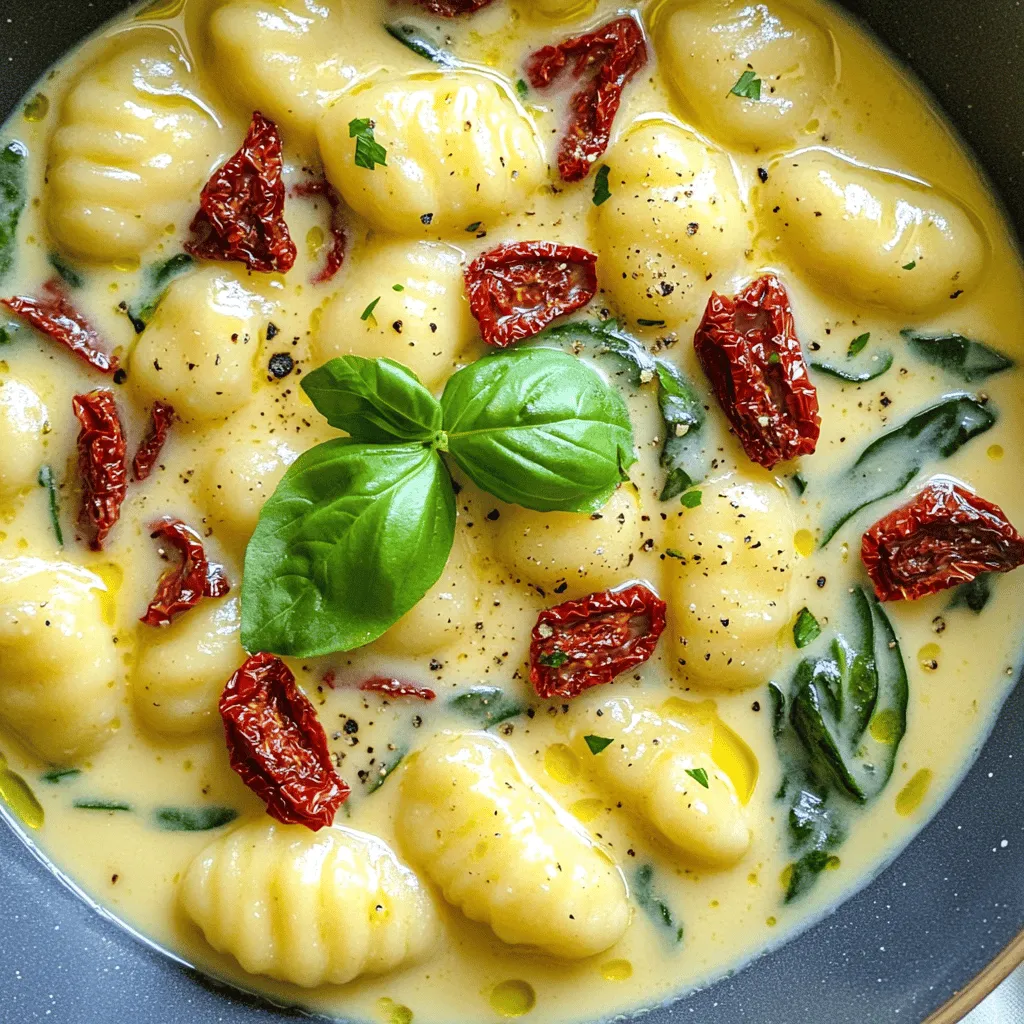
Looking for a cozy dish that’s easy to make yet bursting with flavor? Look no further! My Creamy Sun-Dried Tomato

When it comes to hearty meals, nothing beats a rich, flavorful beef stew. This dish warms the soul and fills
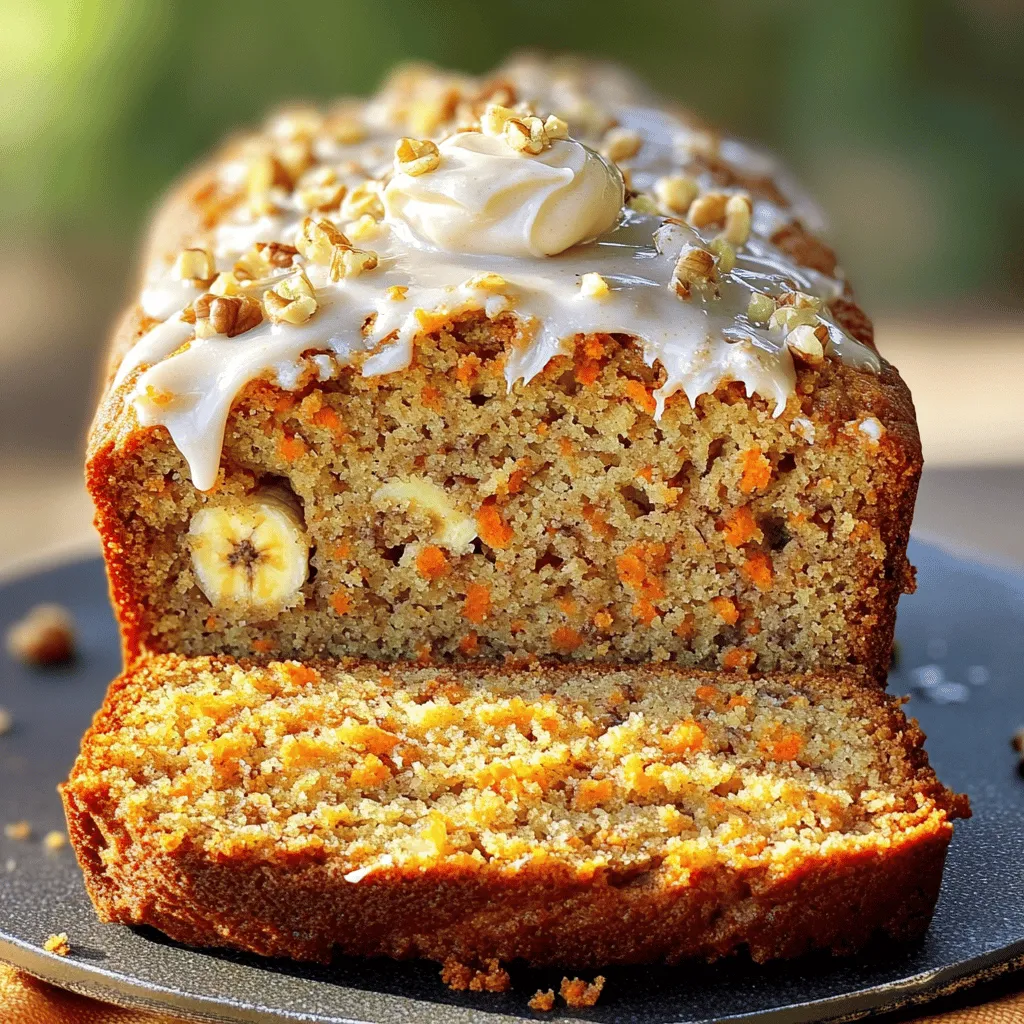
Get ready to delight your taste buds with a tempting twist on two classics: Carrot Cake Banana Bread! This flavorful
