
Slow Cooker Pulled Jackfruit Sliders Flavor Explosion
If you’re seeking a hearty and plant-based meal that bursts with taste, you’ll love my Slow Cooker Pulled Jackfruit Sliders.

If you’re seeking a hearty and plant-based meal that bursts with taste, you’ll love my Slow Cooker Pulled Jackfruit Sliders.
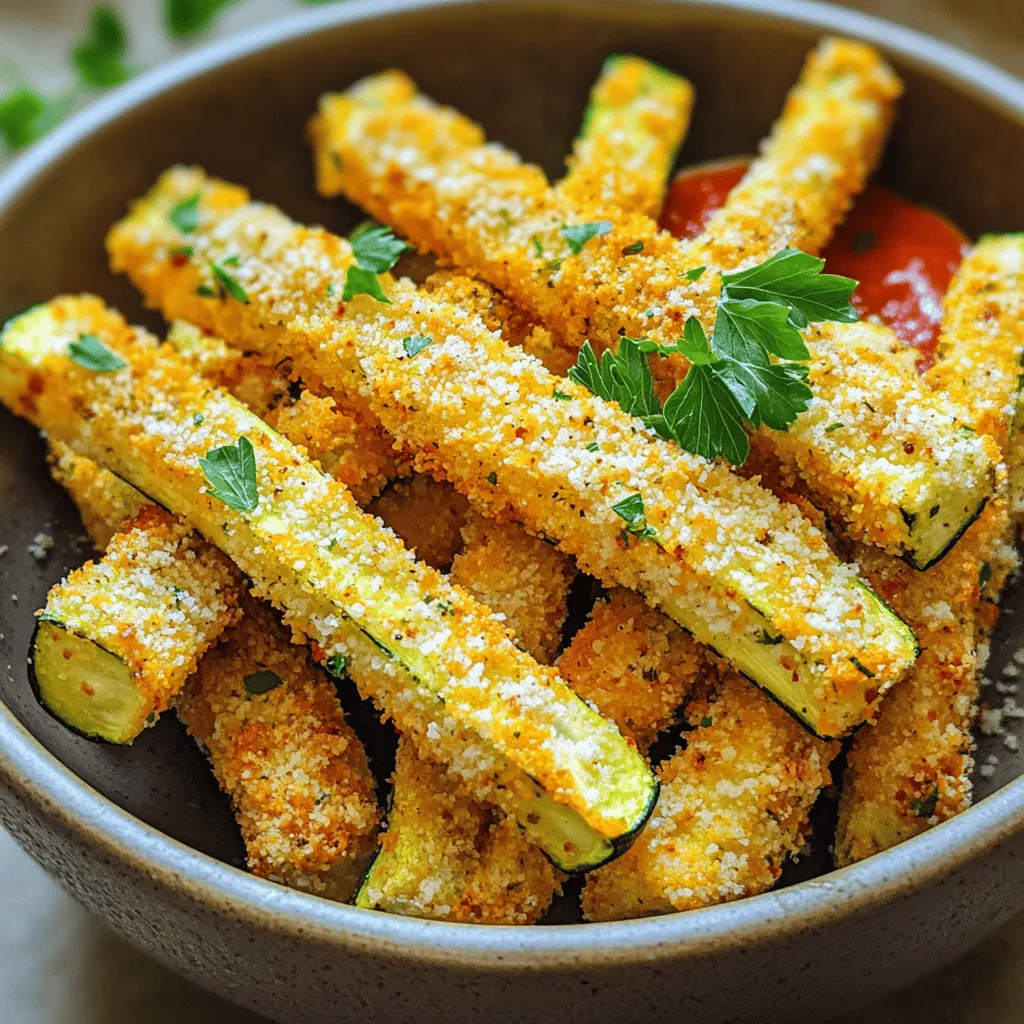
If you’re searching for a crispy, tasty snack, look no further! Air Fryer Garlic Parmesan Zucchini Fries are the perfect

Are you ready to enjoy a delicious dinner in no time? This Creamy Sun Dried Tomato Basil Pasta is quick,

Craving a delicious treat that’s easy to make? You’re in the right place! These Apple Cinnamon Crumble Muffins are perfect

If you’re looking for a quick, delicious meal that packs a punch, you’ve come to the right place! Sheet Pan

Get ready to delight your taste buds with my Spicy Honey Salmon Rice Bowls! This easy meal is all about

If you’re craving a dessert that’s both tasty and healthy, you’re in for a treat! Cottage cheese chocolate mousse cups

Craving a warm and hearty dish? You’re in the right place! My Creamy Cheddar Garlic Potato Soup is the ultimate

Are you ready for a cozy meal that warms you to the core? My Slow Cooker Creamy Tuscan Bean Stew

Looking for a simple yet delicious dinner idea? Look no further! In this post, I’ll show you how to create
