Apple Cinnamon Chia Overnight Oats Rich and Healthy Dish
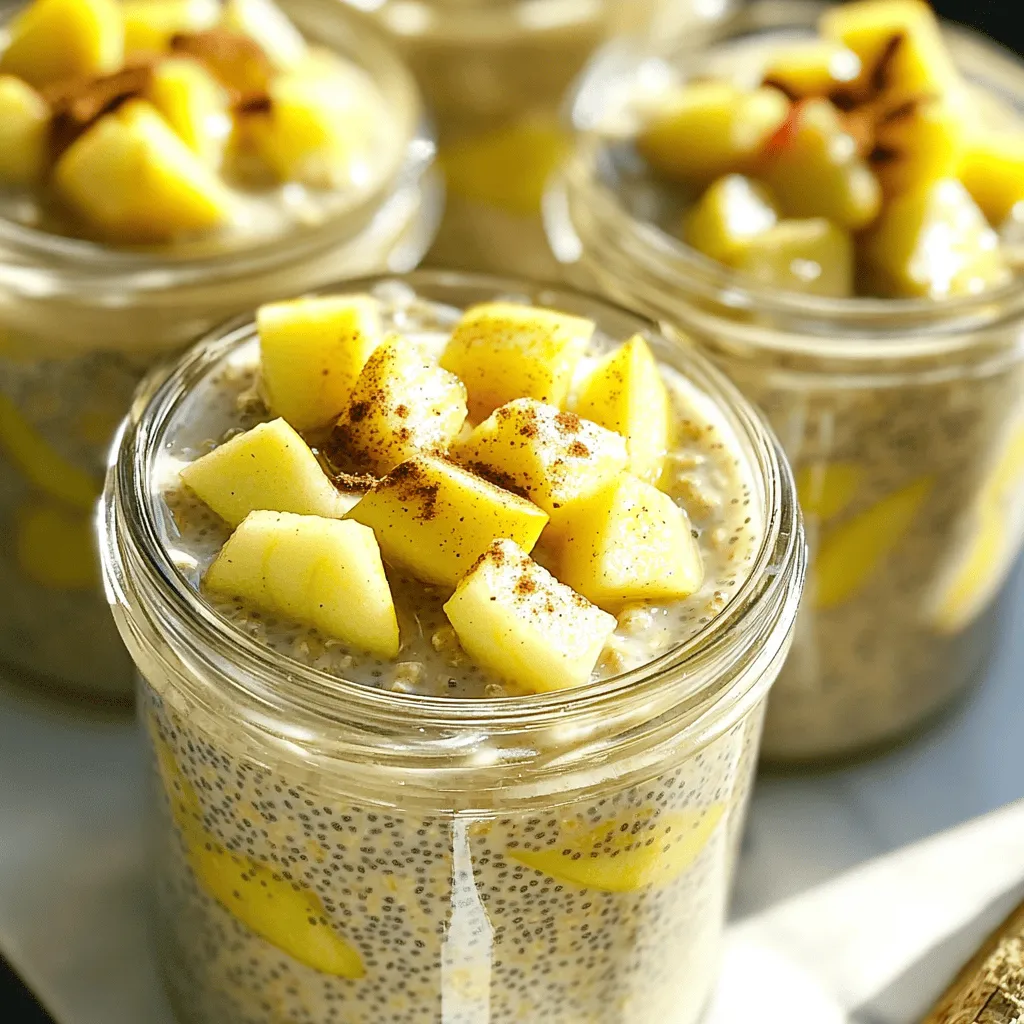
Are you ready to start your day with a rich and healthy breakfast? Apple Cinnamon Chia Overnight Oats are a

Are you ready to start your day with a rich and healthy breakfast? Apple Cinnamon Chia Overnight Oats are a
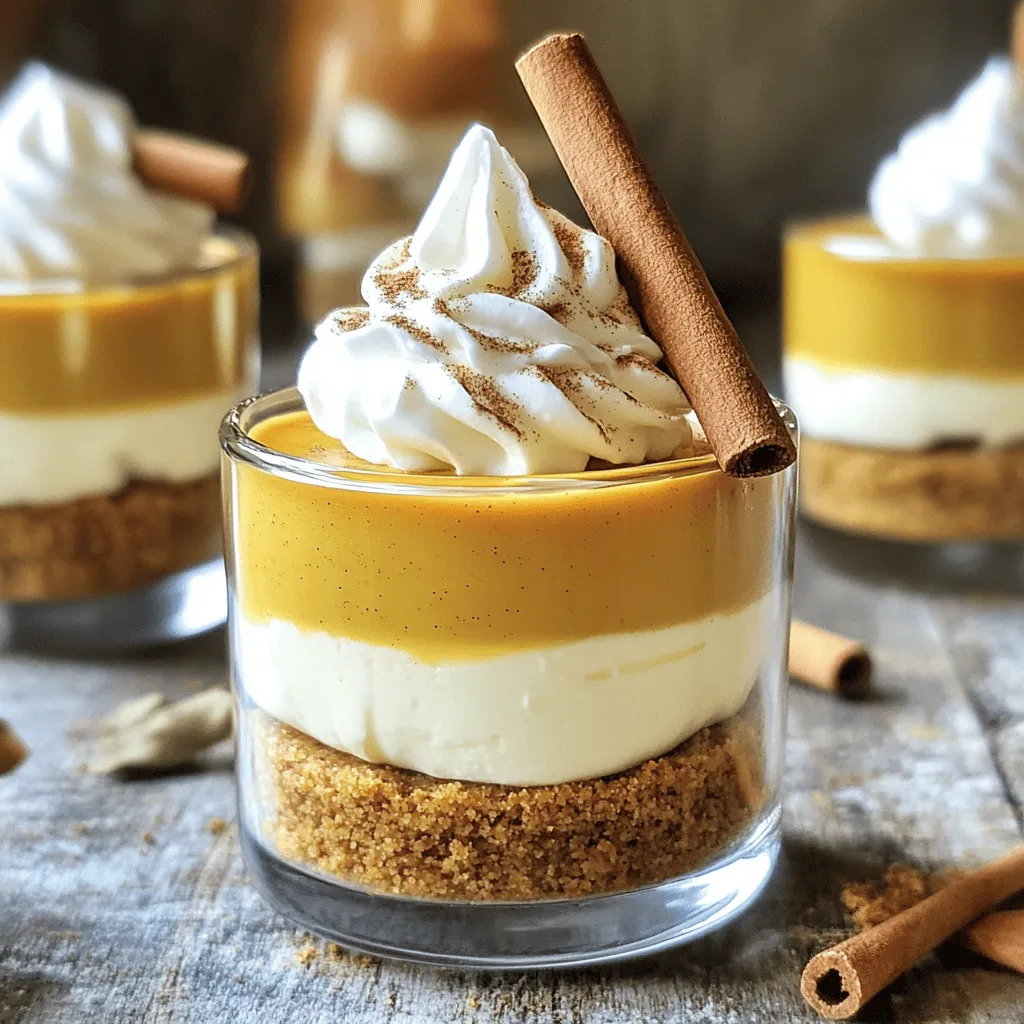
Are you ready for a dessert that’s simple, quick, and full of fall flavor? Let’s dive into these No-Bake Pumpkin
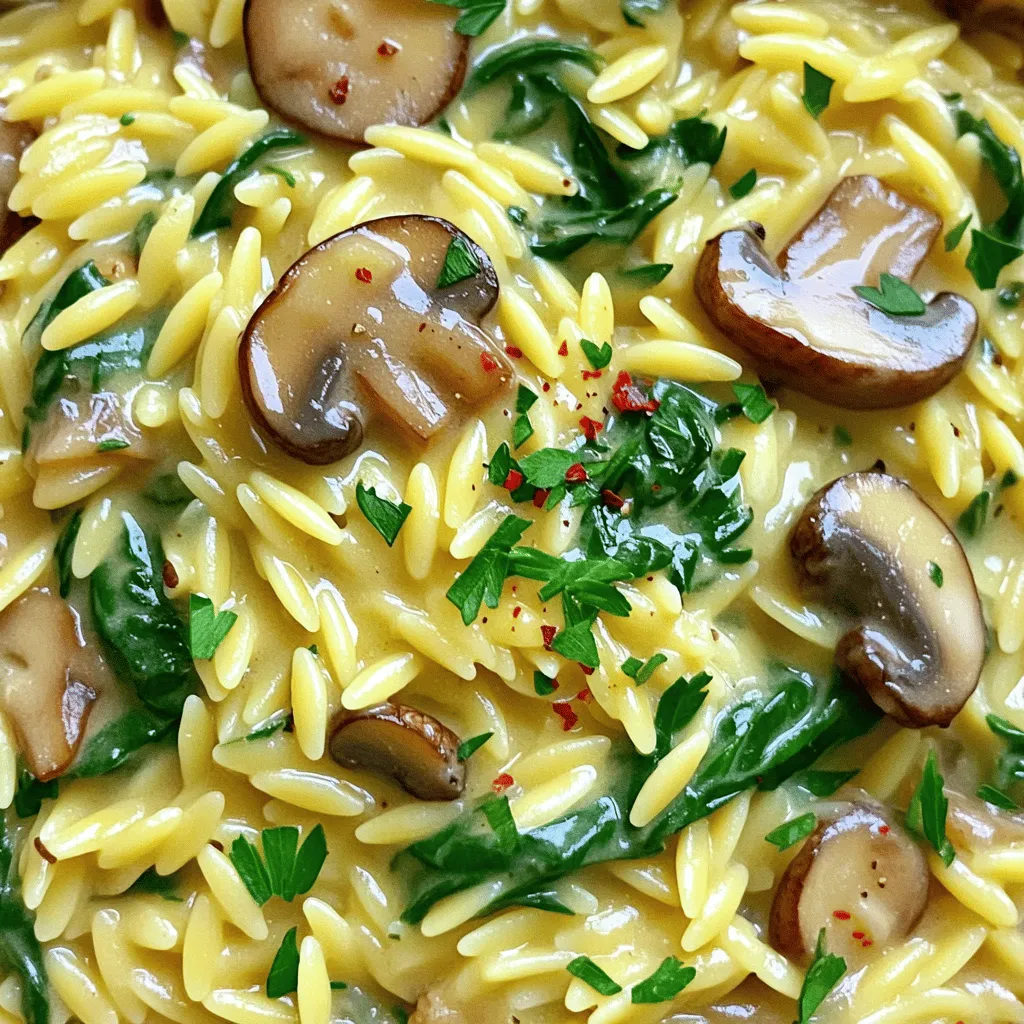
Looking for a quick, tasty dinner? Try my Creamy Mushroom Spinach Orzo! This dish bursts with flavor, making it a
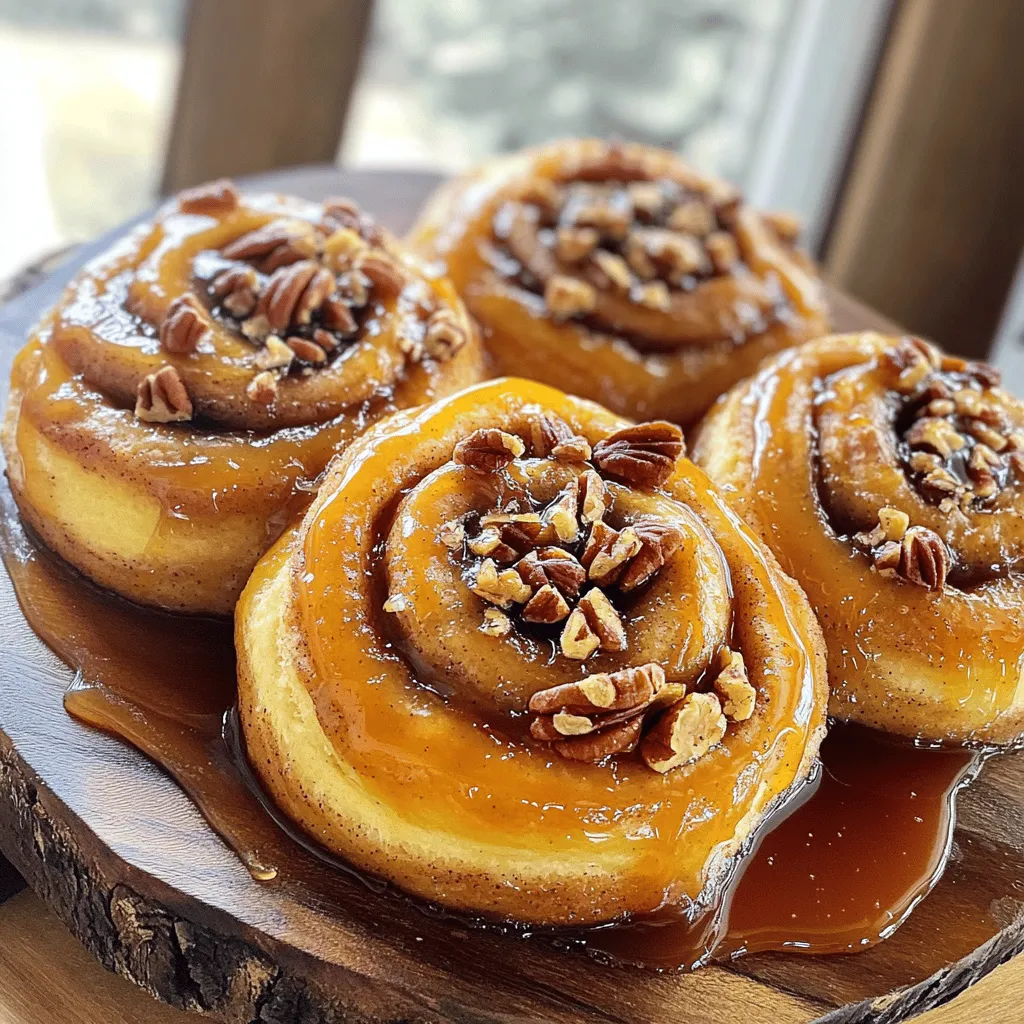
Are you ready to wake up to something truly amazing? Caramel Pecan Sticky Buns are the perfect way to start
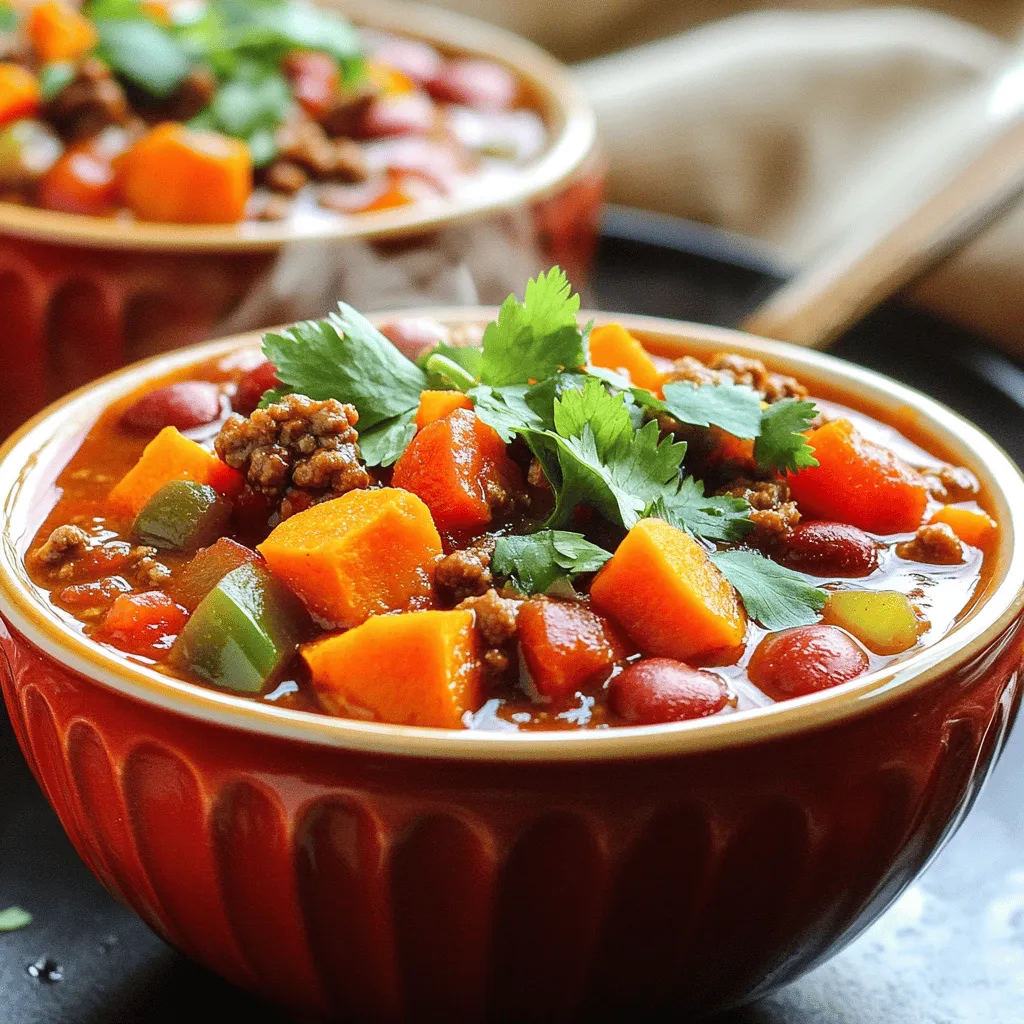
Get ready to delight your taste buds with my Minute Beef Sweet Potato Chili! This easy and flavorful dish combines
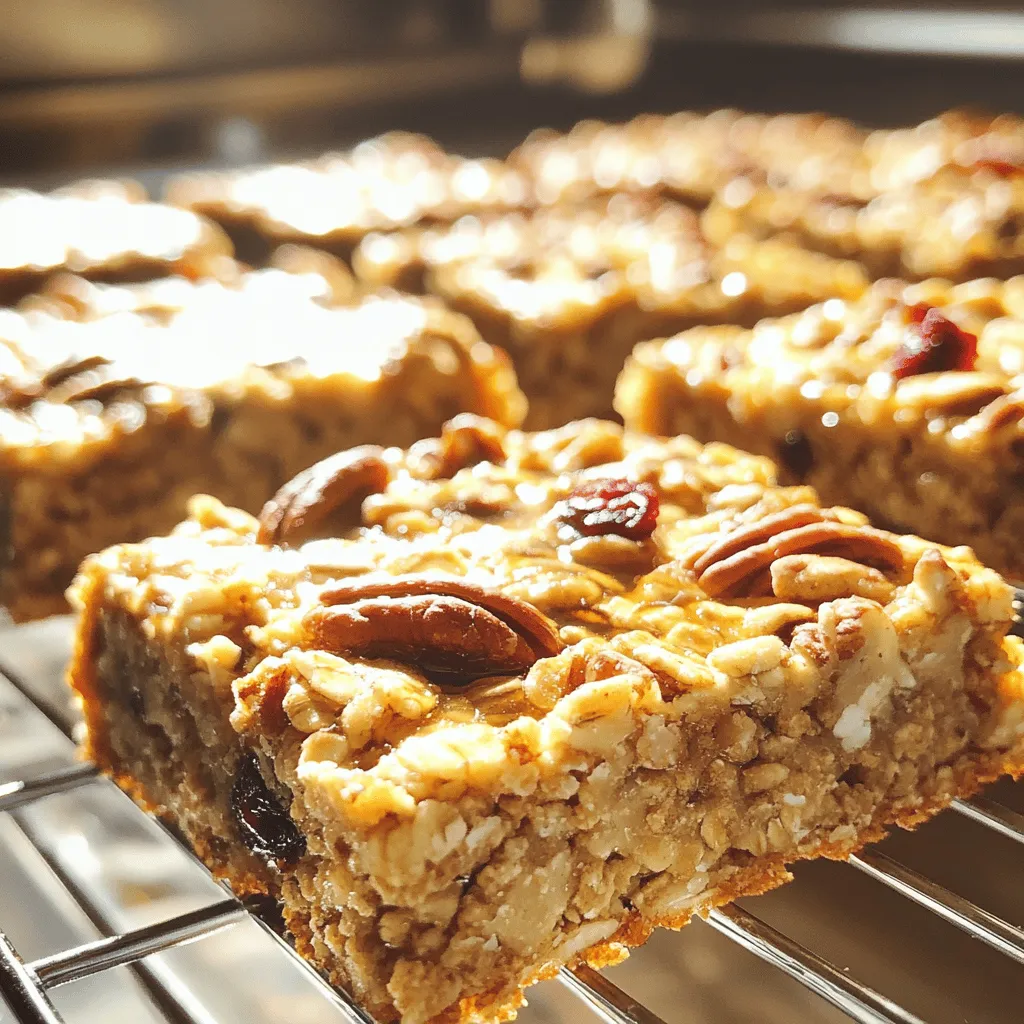
Looking for a tasty and simple snack? You’re in the right place! Maple Pecan Baked Oatmeal Bars are easy to
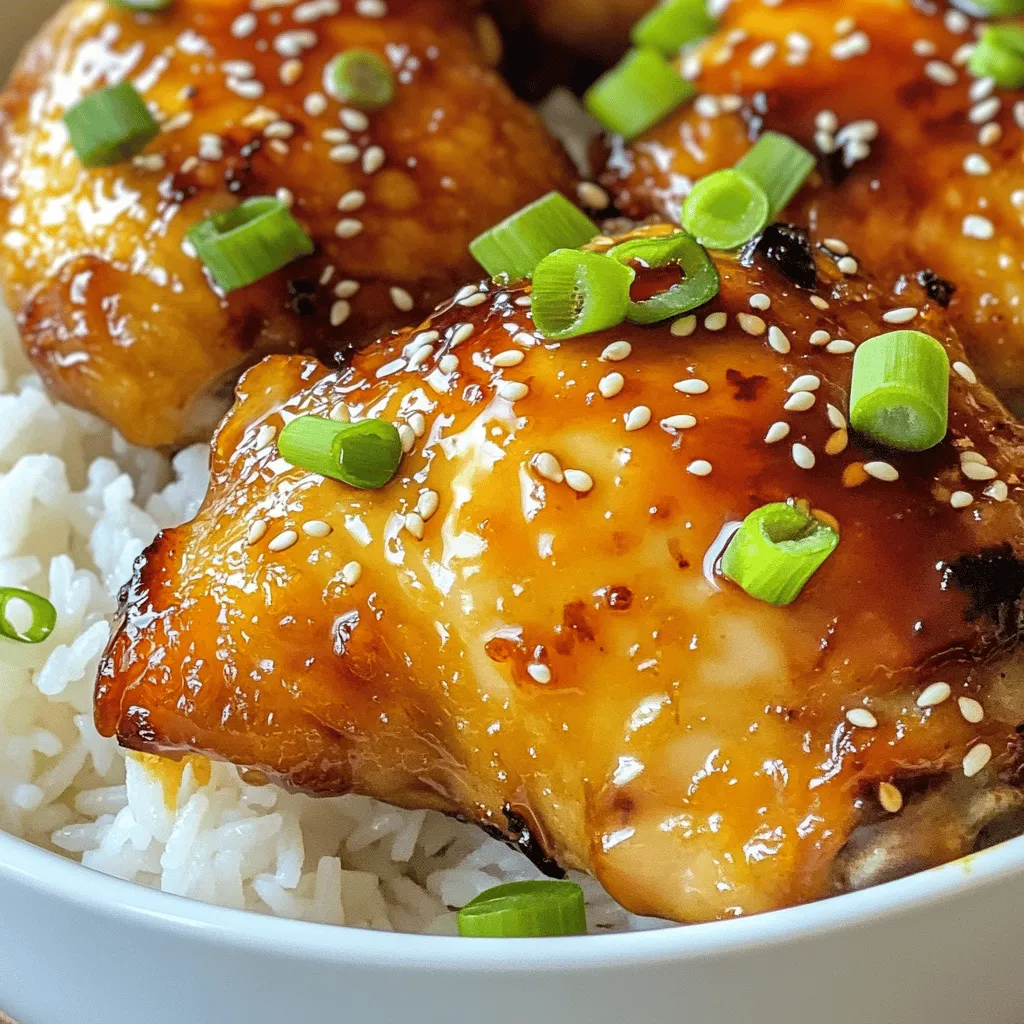
Looking for a quick and tasty dinner idea? Air Fryer Teriyaki Chicken Thighs are here to save the day! These
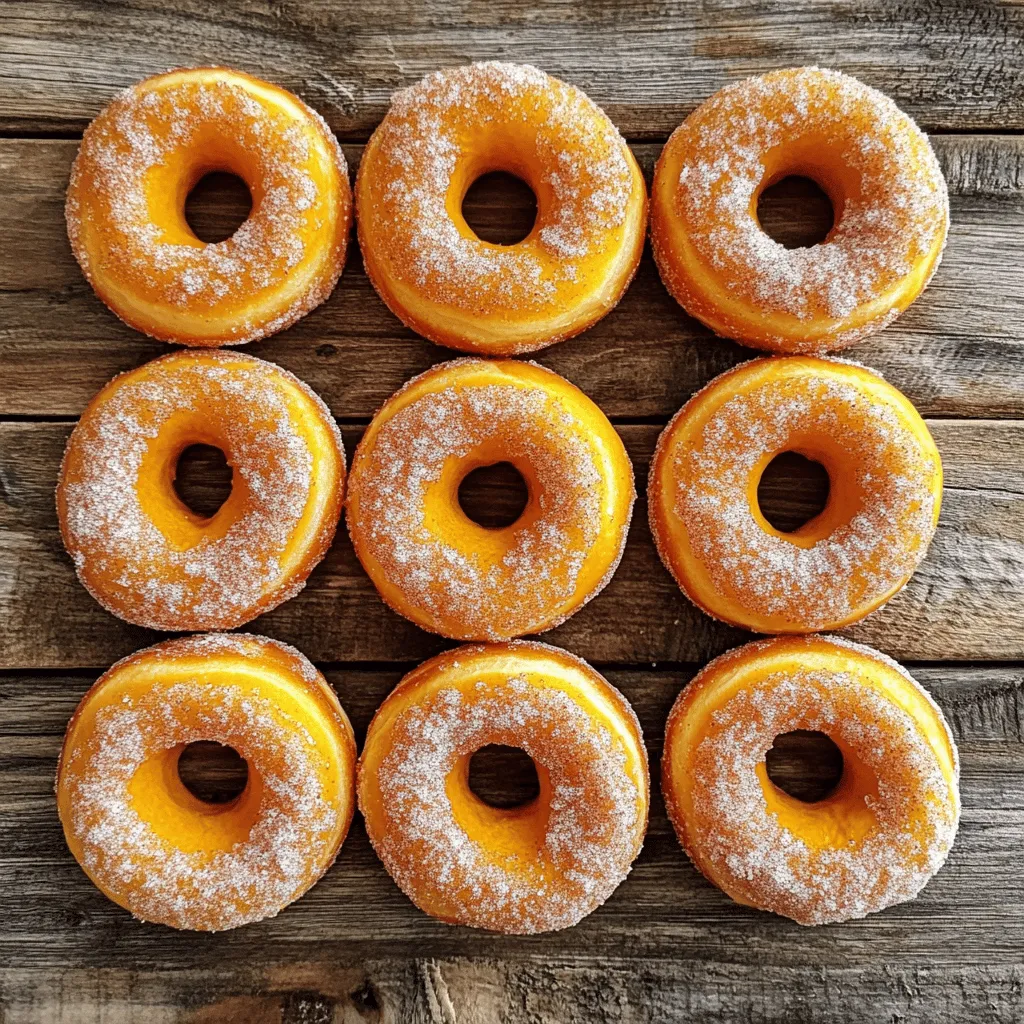
Get ready to indulge in the warm, cozy flavors of fall with my easy Cinnamon Sugar Pumpkin Donuts! These delicious

Get ready to zap some holiday cheer into your kitchen with my Grinch Cake recipe! This fun and festive treat
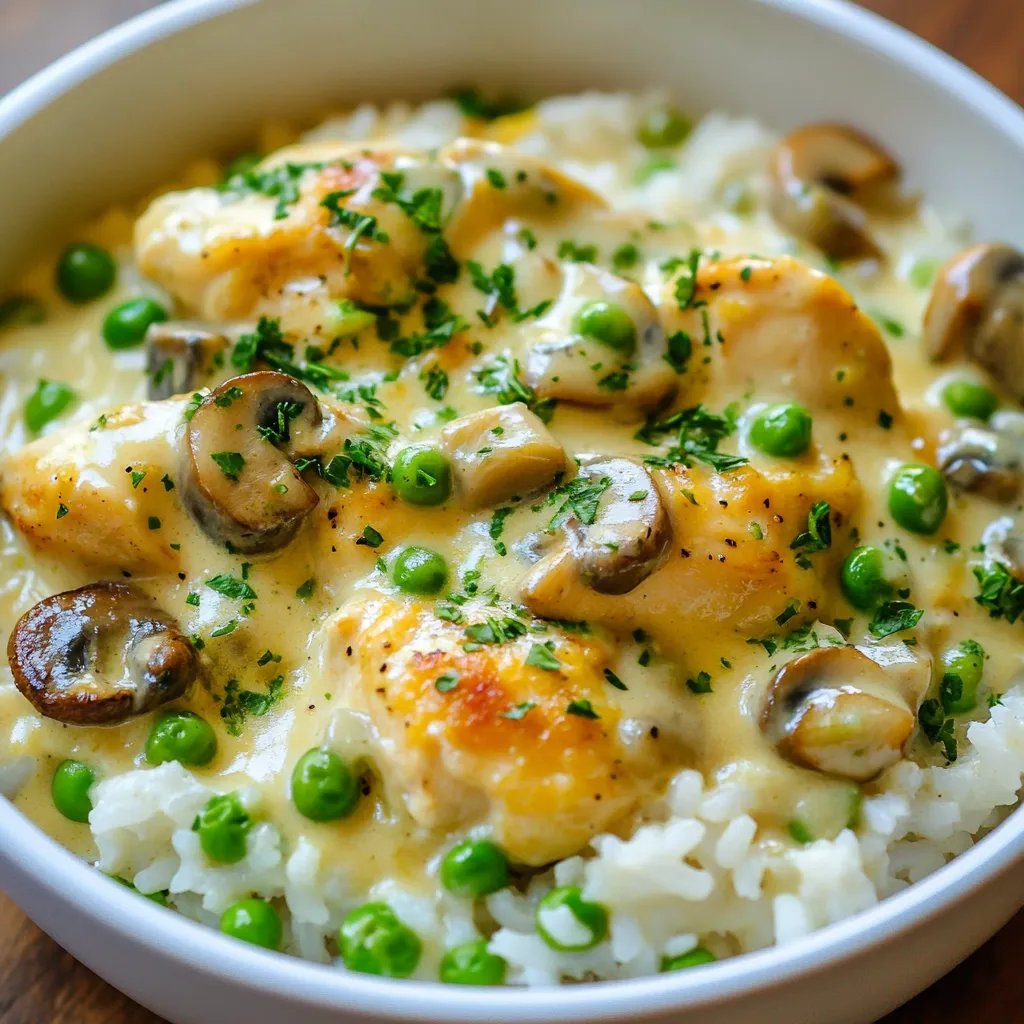
If you’re seeking a cozy, satisfying meal, look no further! Creamy Smothered Chicken and Rice is a dinner choice that
