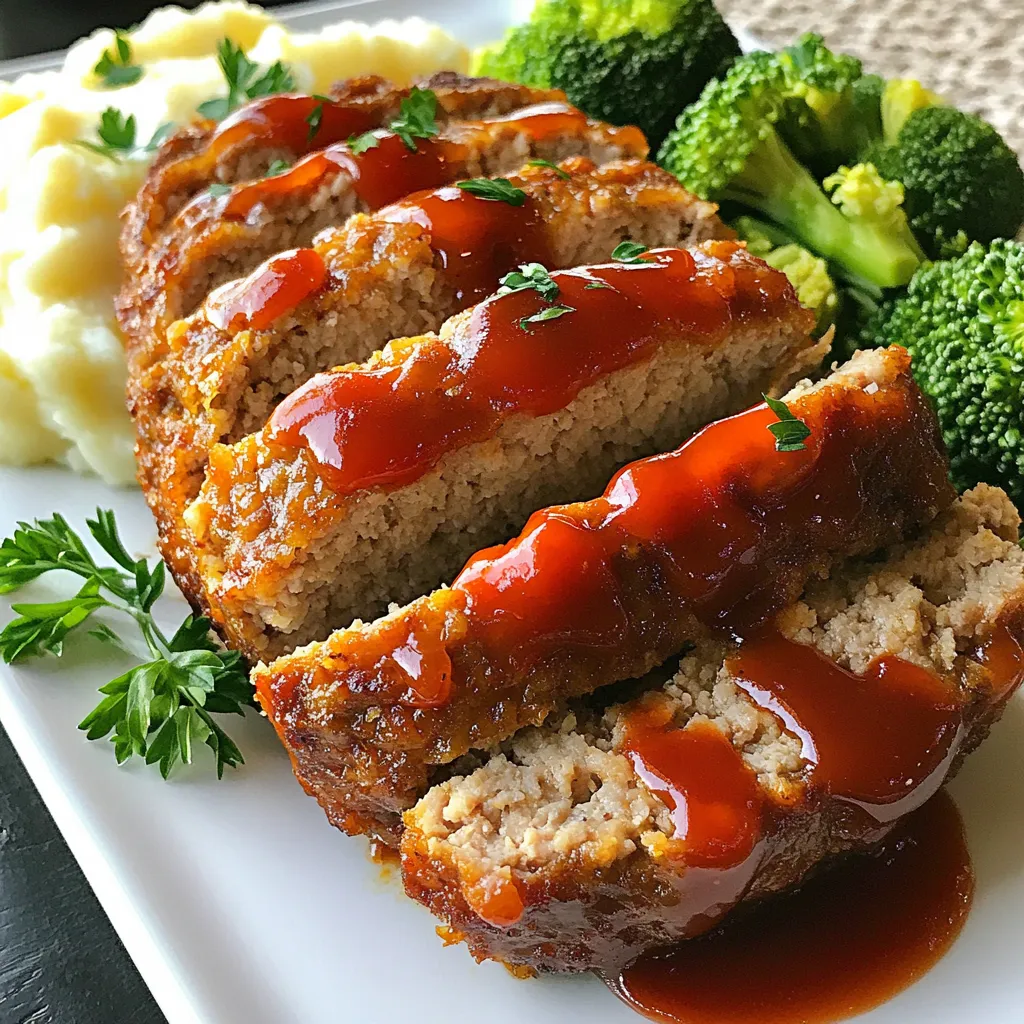
Ground Chicken Meatloaf Savory and Simple Recipe
If you’re looking for a delicious and healthy twist on a classic dish, you’re in the right place. Ground chicken

If you’re looking for a delicious and healthy twist on a classic dish, you’re in the right place. Ground chicken

Welcome to your new favorite recipe: Cheesy Garlic Pull Apart Herb Bread! This soft and cheesy delight will soon become

If you love the cozy taste of pumpkin spice lattes, but want a healthier twist, you’re in the right place!

Craving a game-day snack that’s both simple and packed with flavor? Look no further! My Air Fryer Sweet and Spicy

Warm up with my Spiced Butternut Squash Lentil Soup Comfort Bowl! This cozy dish combines sweet butternut squash and hearty

Craving a sweet treat that’s easy to make and oh-so-delicious? You’re in the right place! Today, I’ll show you how

If you’re craving a warm hug in a bowl, look no further than Thai Coconut Chicken Soup. This dish combines

If you’re craving something sweet and simple, these Nutella brownie bites are for you! With just a few easy ingredients,
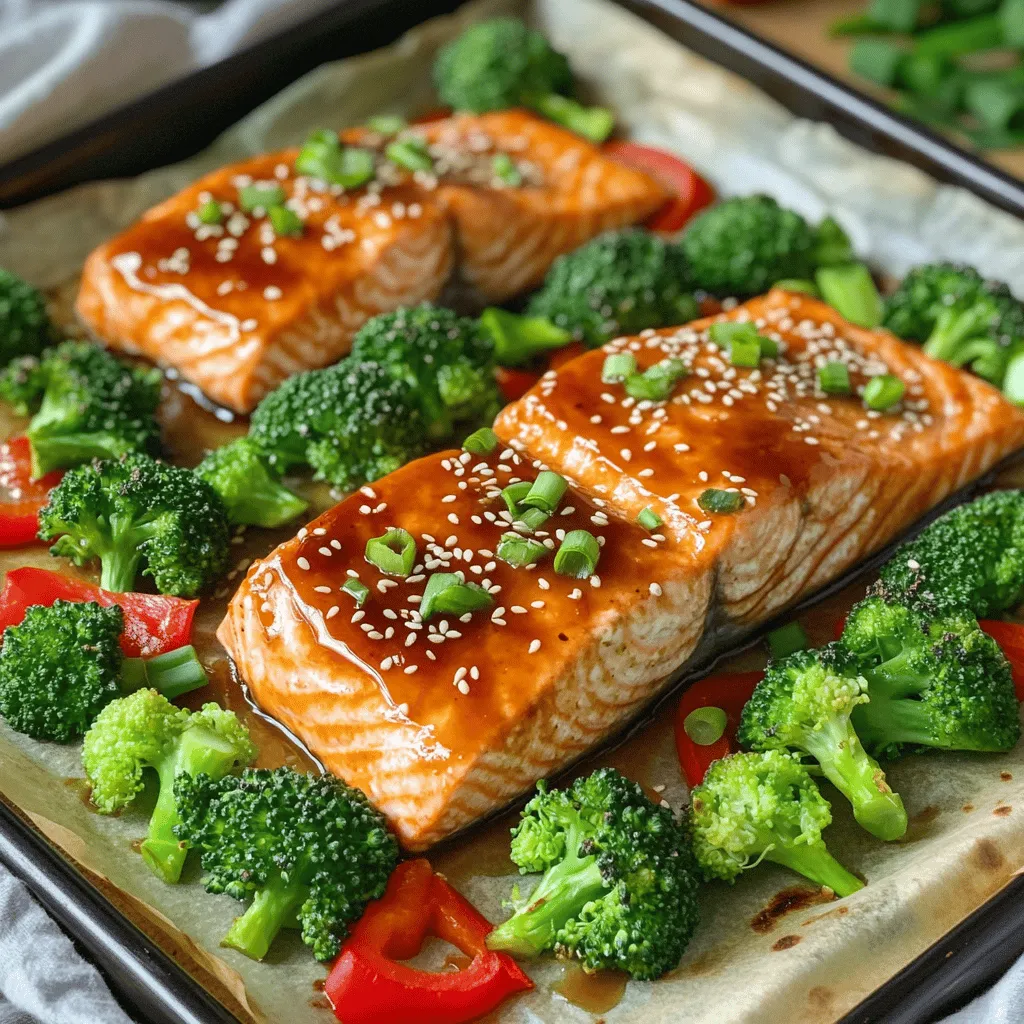
Are you ready to elevate your dinner game? This Teriyaki Salmon Broccoli Sheet Pan recipe combines rich salmon, crisp broccoli,

Get ready to warm up your kitchen with the cozy flavors of fall! In this post, I’ll guide you through
