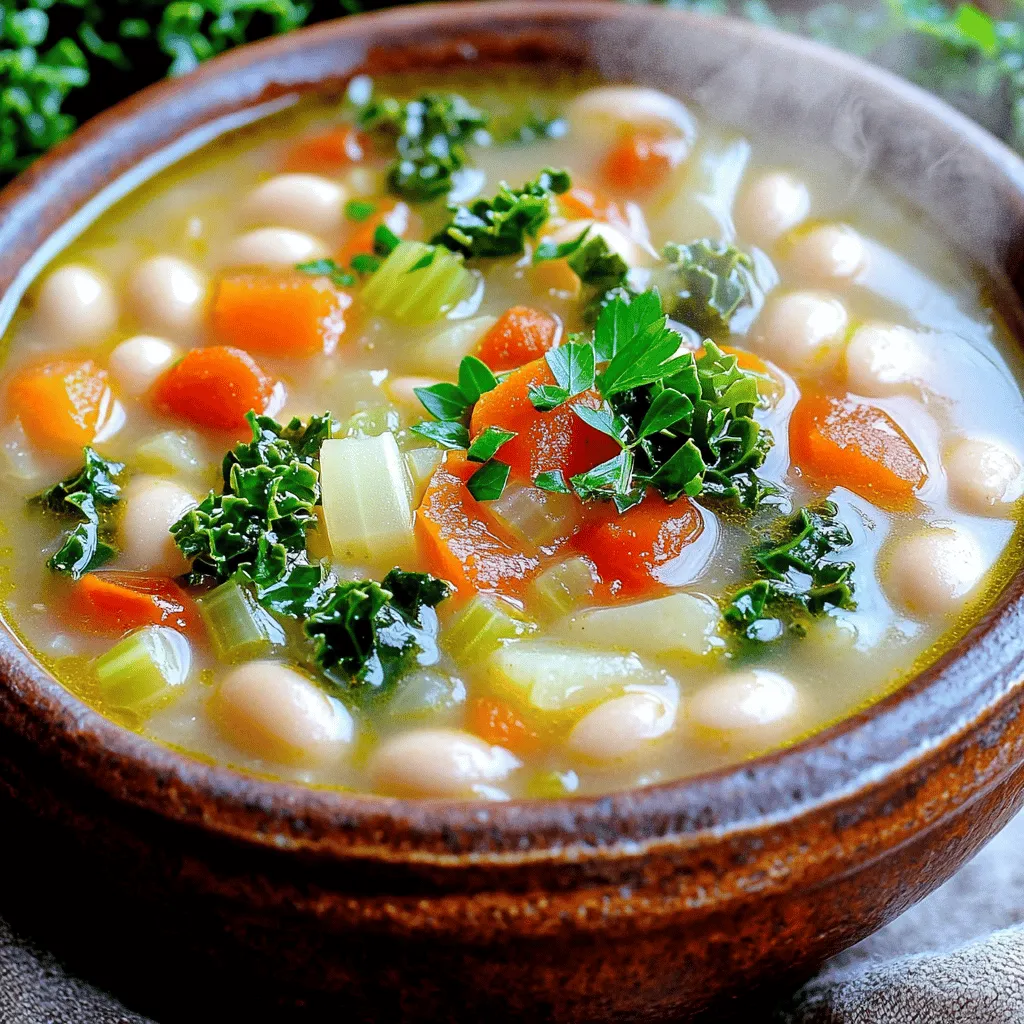
Slow Cooker Tuscan White Bean Soup Comfort Meal
Are you ready to warm up with a plate of comfort? This Slow Cooker Tuscan White Bean Soup is a

Are you ready to warm up with a plate of comfort? This Slow Cooker Tuscan White Bean Soup is a
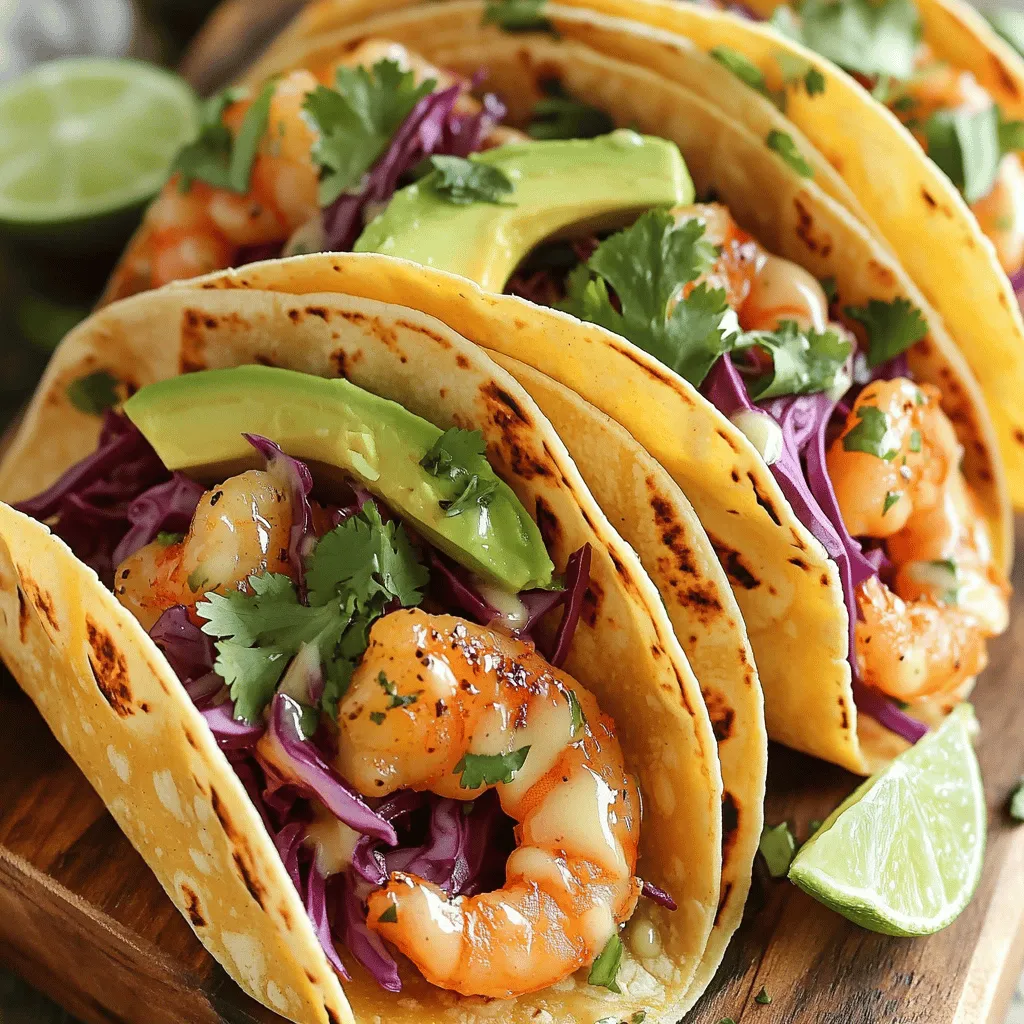
Get ready to tantalize your taste buds with Air Fryer Garlic Butter Shrimp Tacos! This dish combines juicy shrimp with

Dive into the vibrant world of Mediterranean flavors with my Chickpea Feta Salad! This fresh and zesty dish is a
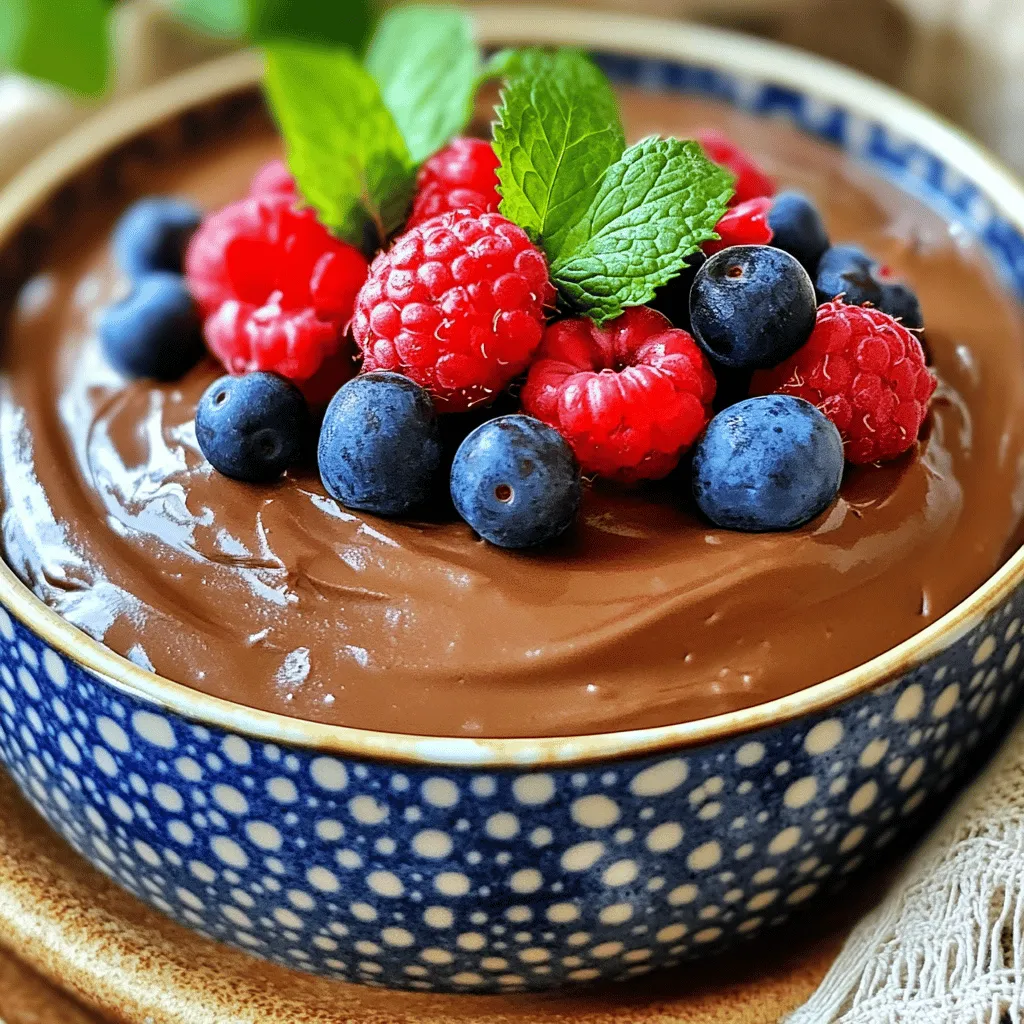
If you crave a rich and creamy dessert that’s also high in protein, you’re in for a treat! My High
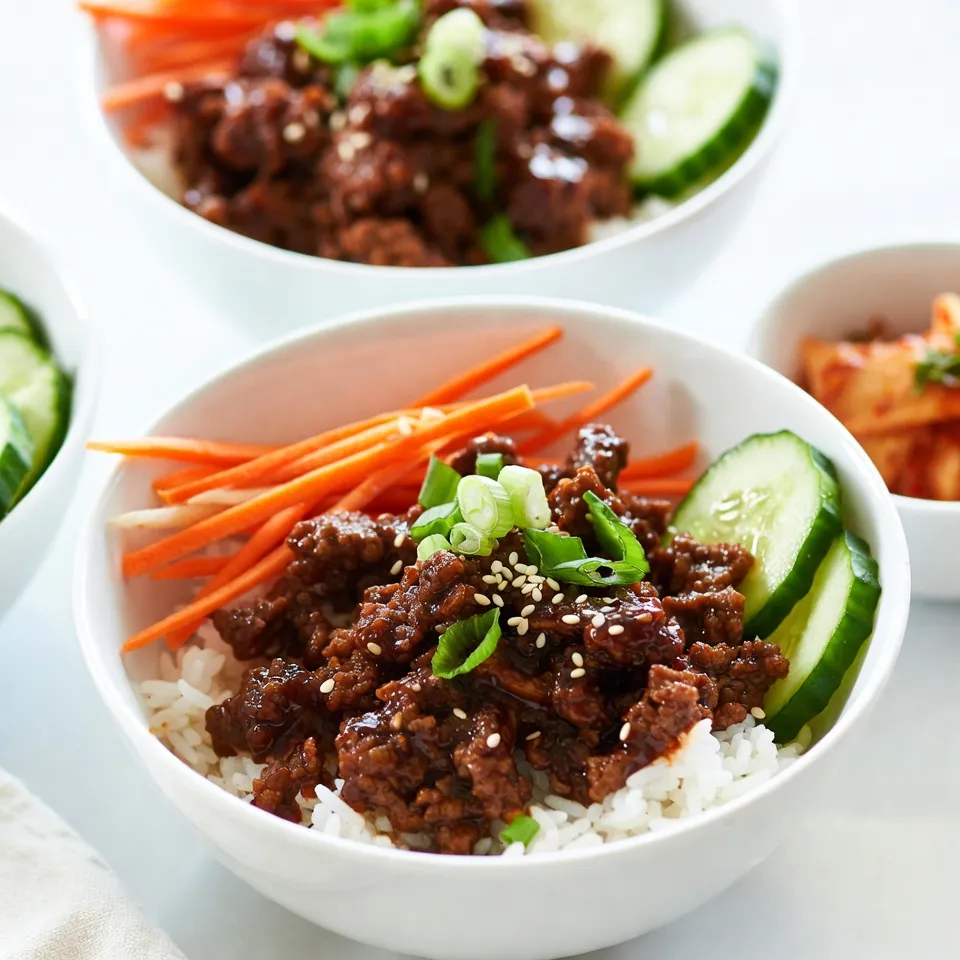
Looking for a quick and tasty meal? Korean Ground Beef Bowls are the perfect solution! This dish combines savory flavors
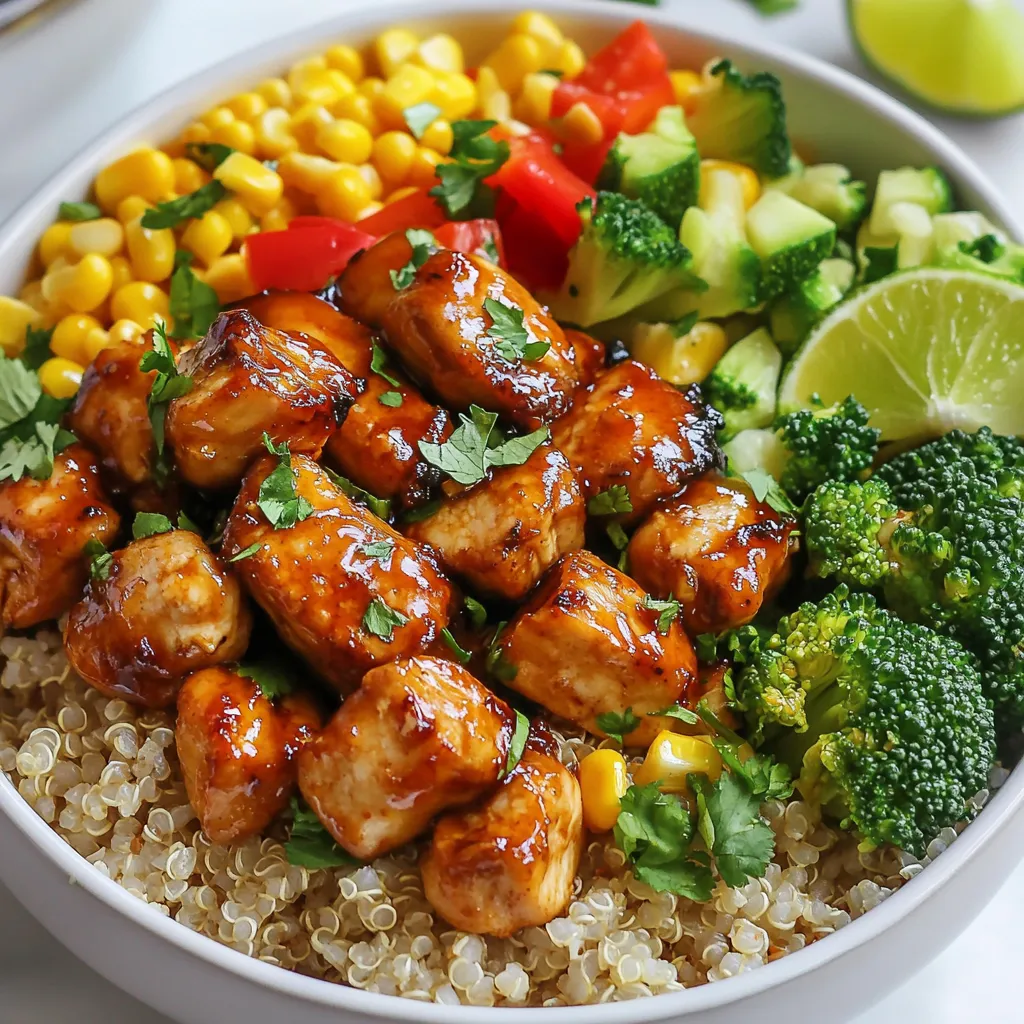
Get ready to elevate your meal prep game with my Hot Honey Chicken Meal Prep Bowls! These savory and easy
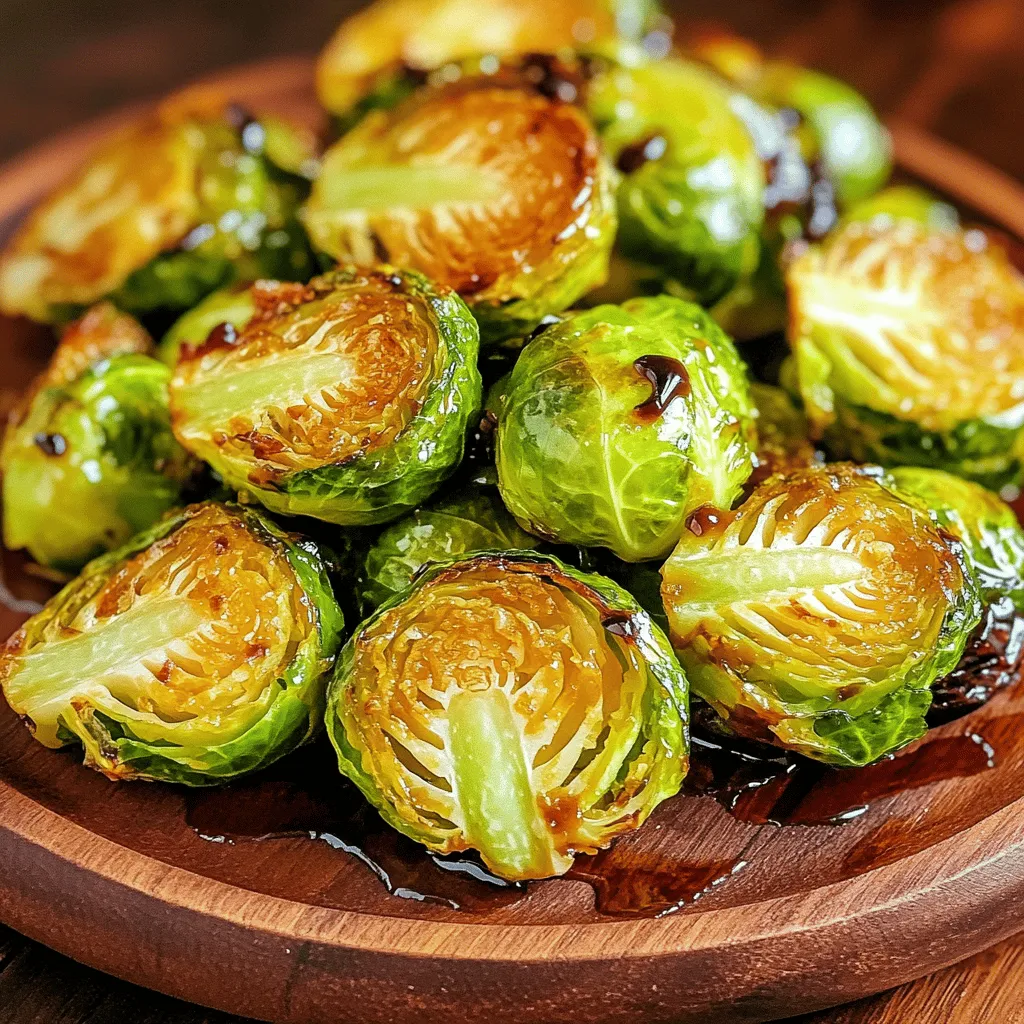
Are you ready to transform Brussels sprouts into a delicious side dish? In this blog, I’ll show you how to
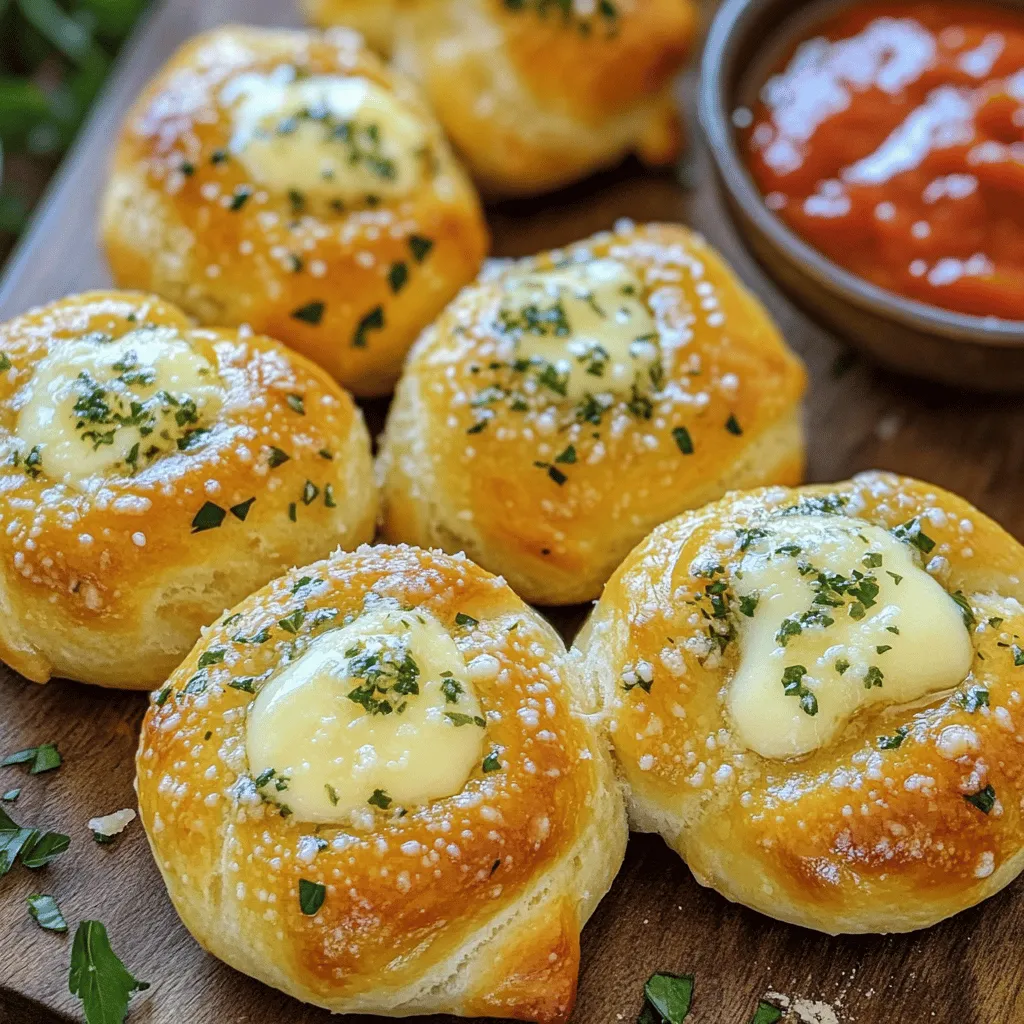
If you’re craving a snack that’s ooey-gooey and full of flavor, you’ve found it! Cheesy Herbed Garlic Knots are the

Craving a sweet treat without turning on the oven? Look no further! In this post, I’ll show you how to
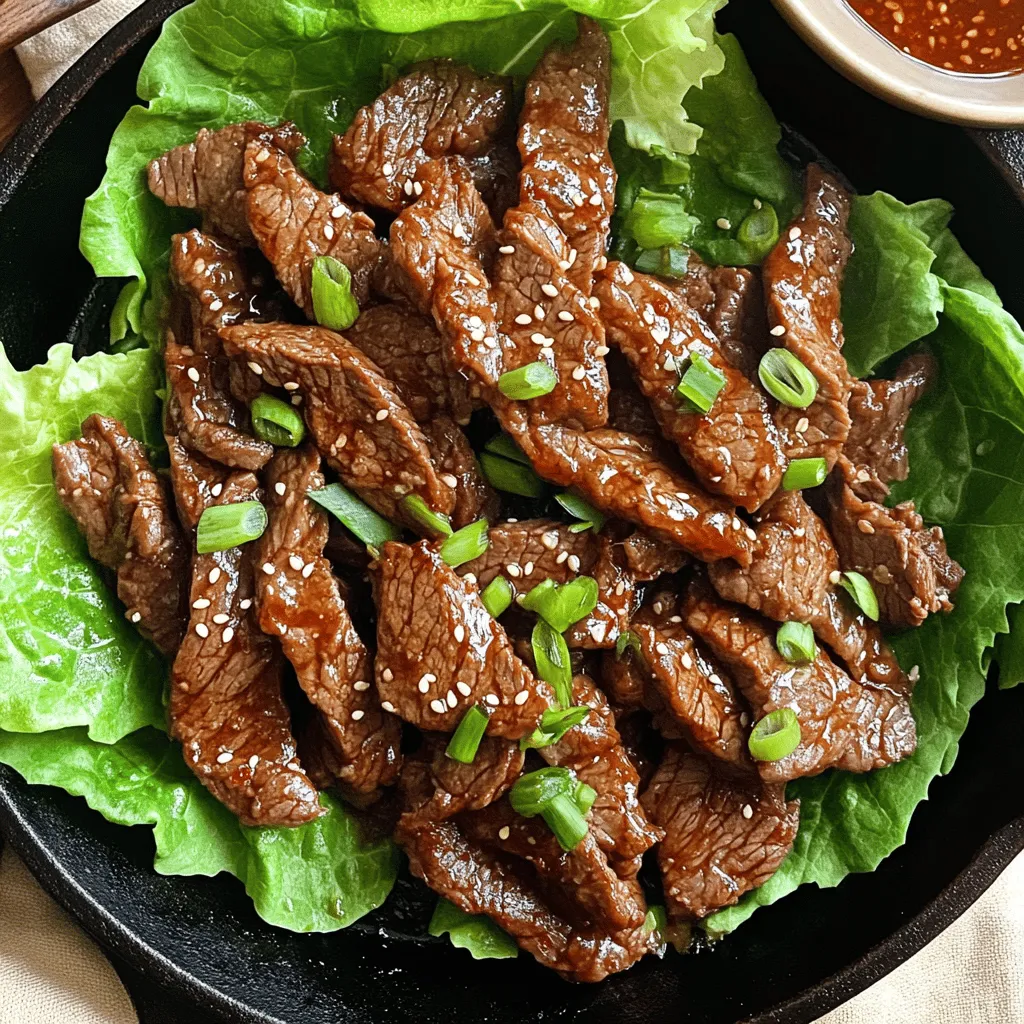
Are you ready to spice up your dinner routine? This Spicy Korean Beef Bulgogi recipe is not only tasty but
