
Raspberry Almond Snowball Cookies Sweet and Soft Treat
Get ready to delight your taste buds with Raspberry Almond Snowball Cookies! These sweet and soft treats offer the perfect

Get ready to delight your taste buds with Raspberry Almond Snowball Cookies! These sweet and soft treats offer the perfect
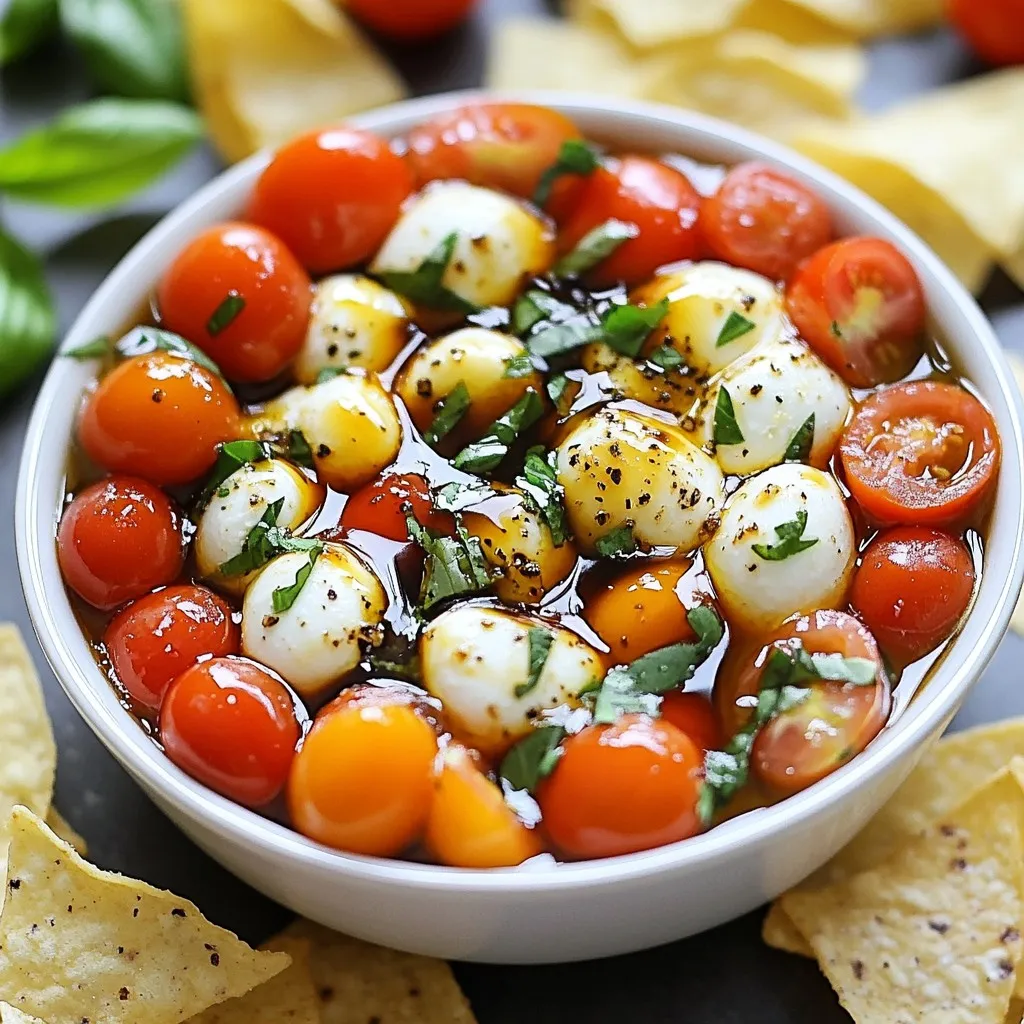
If you love fresh flavors, my Easy Caprese Dip is for you! This simple dish combines creamy cheese, juicy tomatoes,
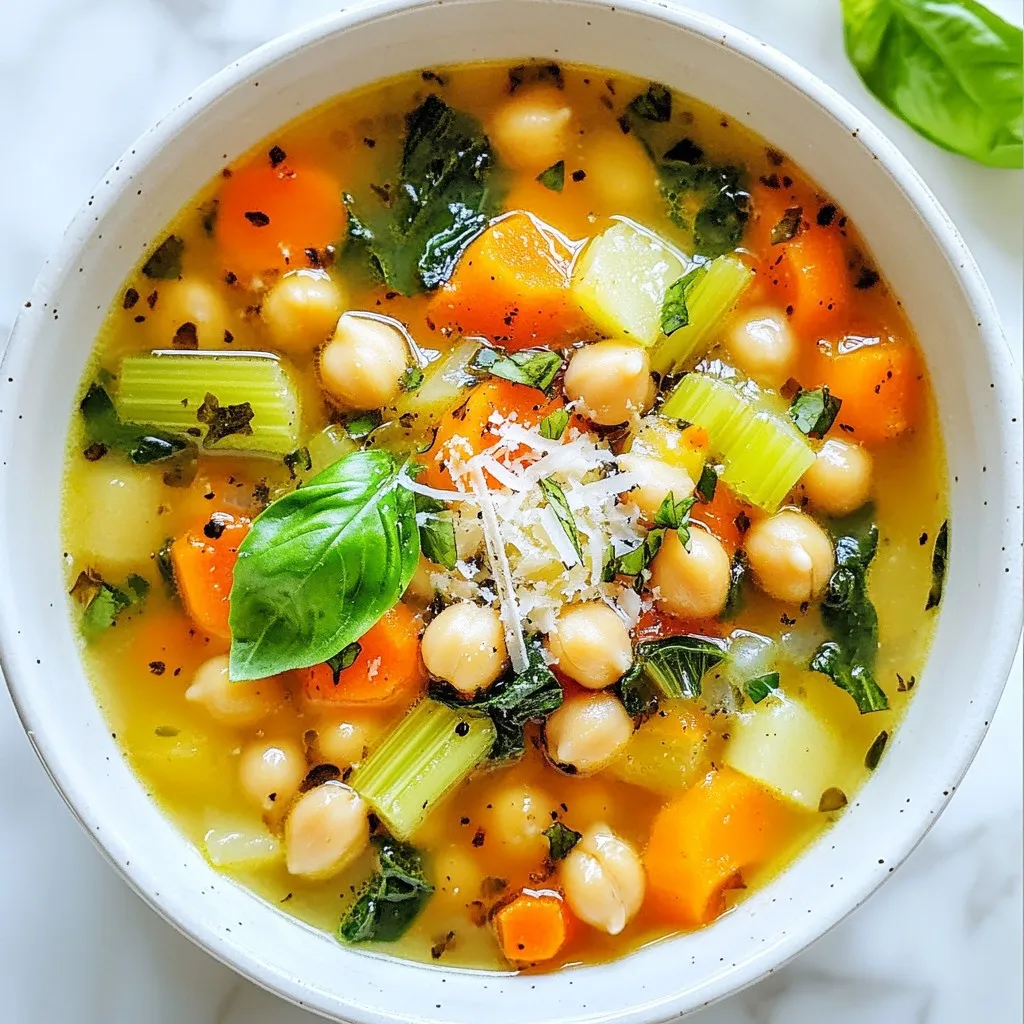
If you’re looking for a warm, healing dish that’s easy to make, you’ve found it! Italian Penicillin Soup is a
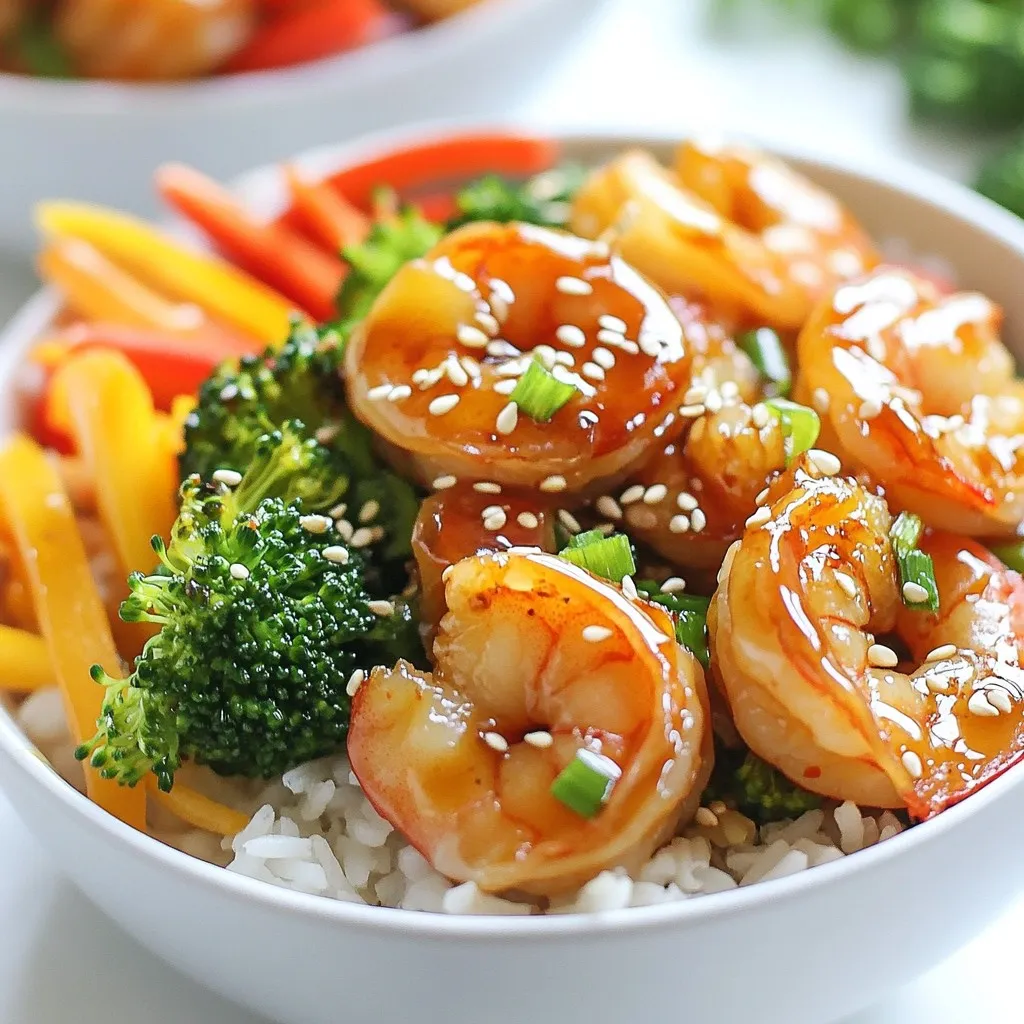
Looking for a quick and tasty meal? Honey Garlic Shrimp Bowls are your answer! This easy recipe mixes fresh shrimp,
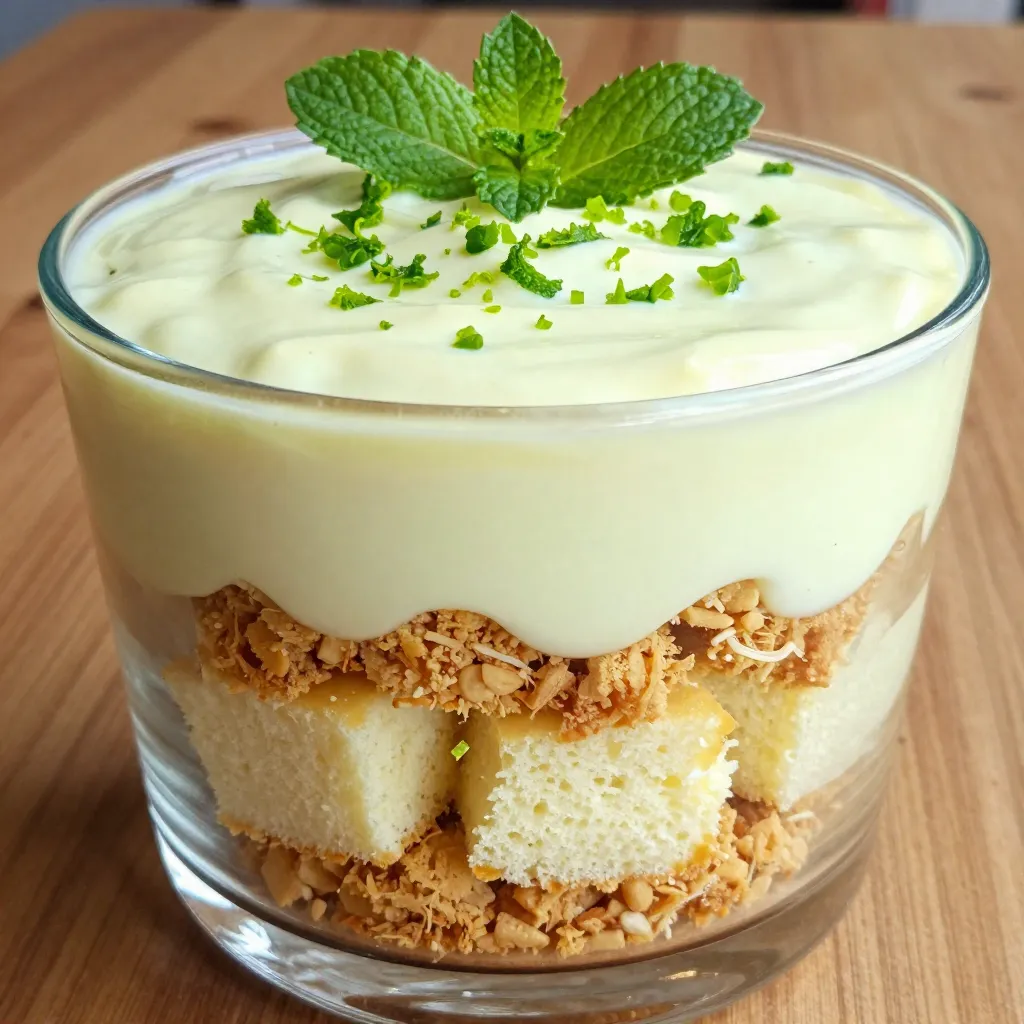
If you’re craving a refreshing dessert that screams summer, look no further than my Triple Layer Key Lime Trifle. This
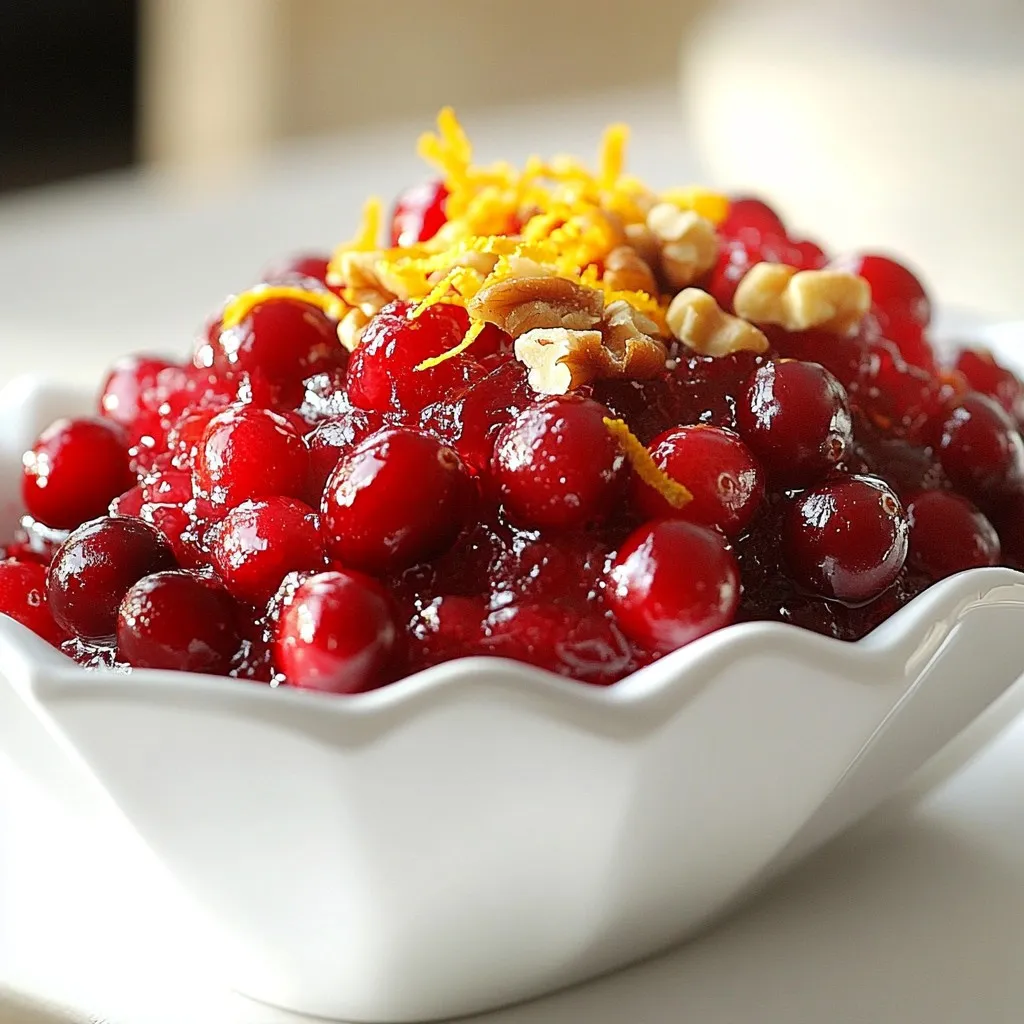
Are you ready to elevate your holiday meals with a fresh twist? My Fresh Cranberry Sauce recipe delivers sweet and

Are you ready to dive into the world of comforting flavors? Silk-smooth Chinese congee is the perfect dish for any
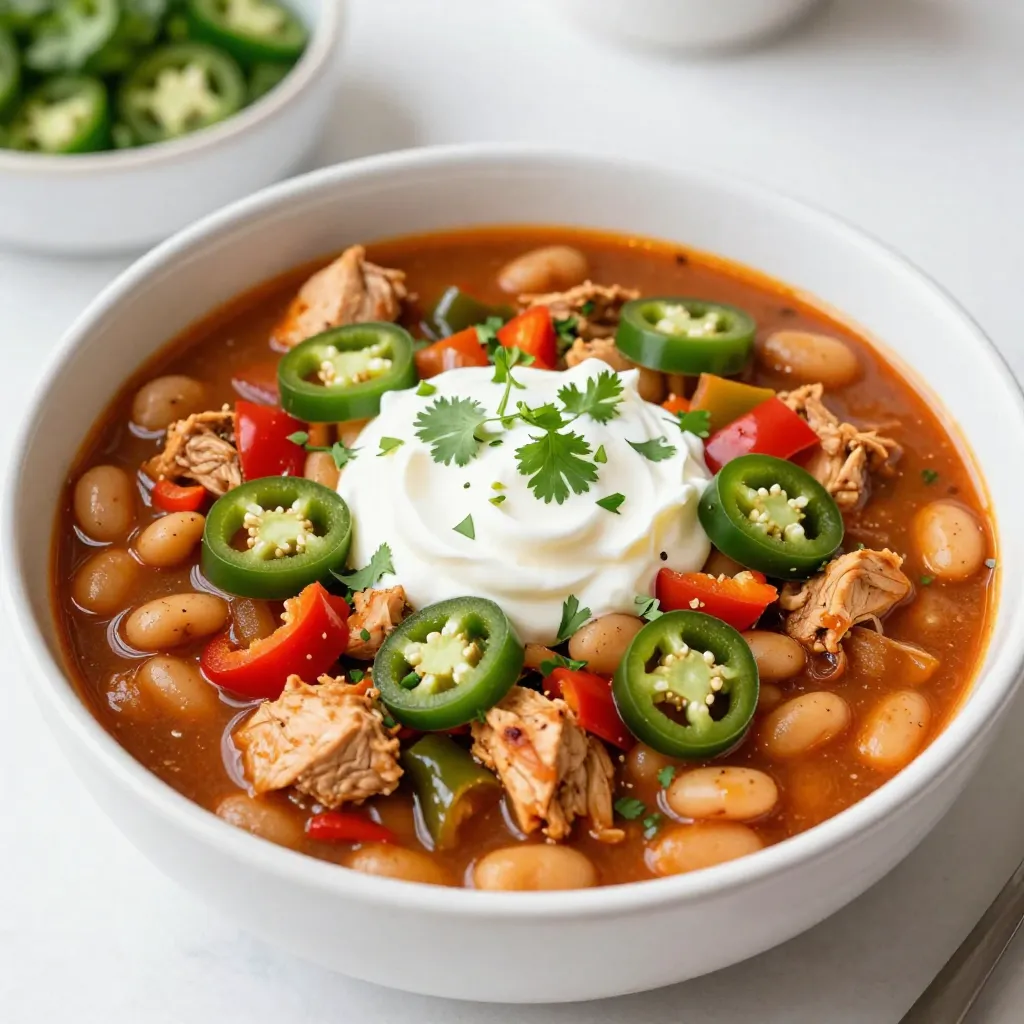
Looking to spice up your dinner routine? Dive into this Cajun White Chicken Chili recipe that combines savory flavors with
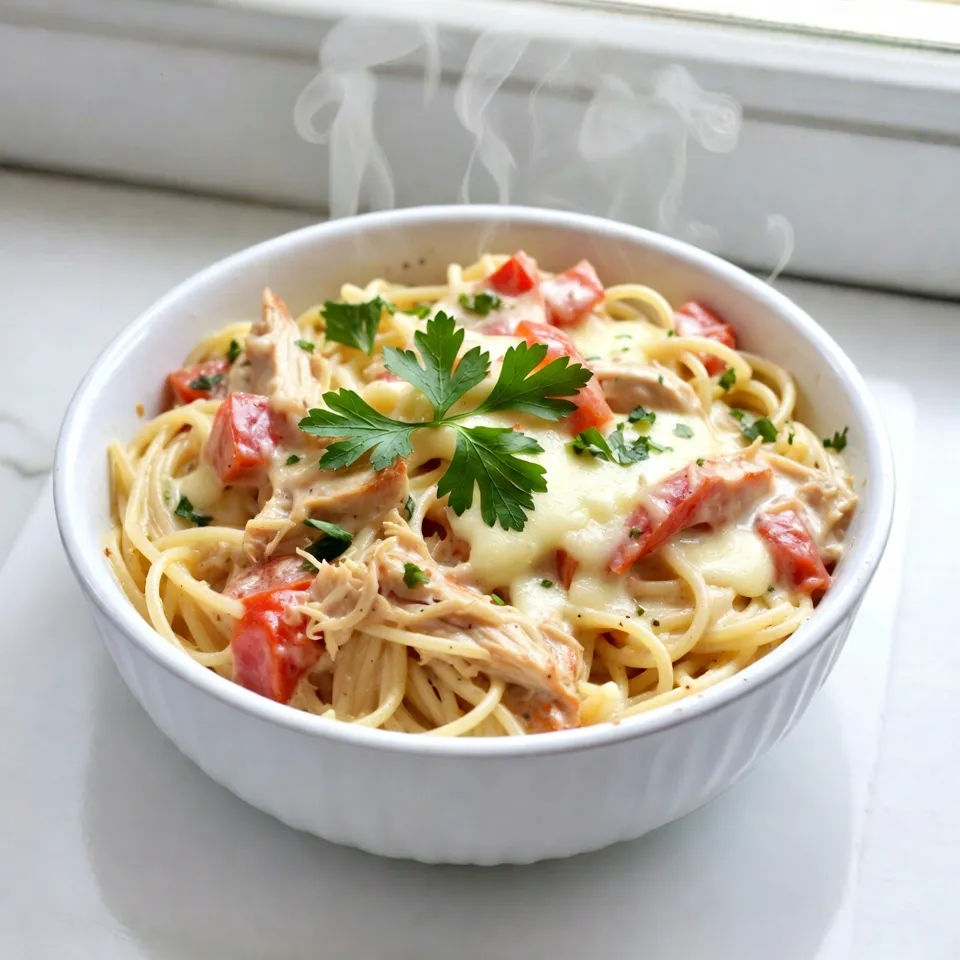
Looking for a simple and tasty dish that’s sure to please? Let me introduce you to Cream Cheese Spaghetti Casserole!
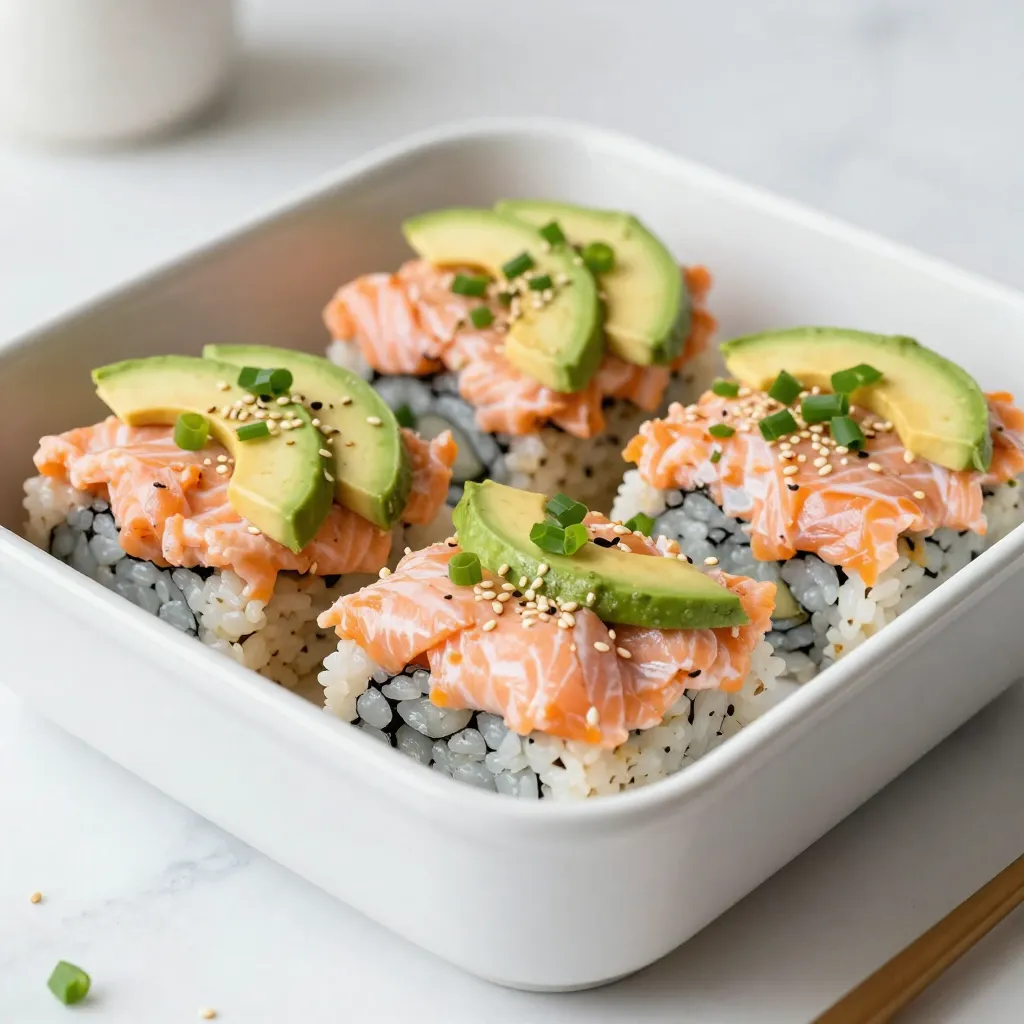
If you love sushi but crave an easy, baked twist, you’re in for a treat! This Spicy Salmon Sushi Bake
