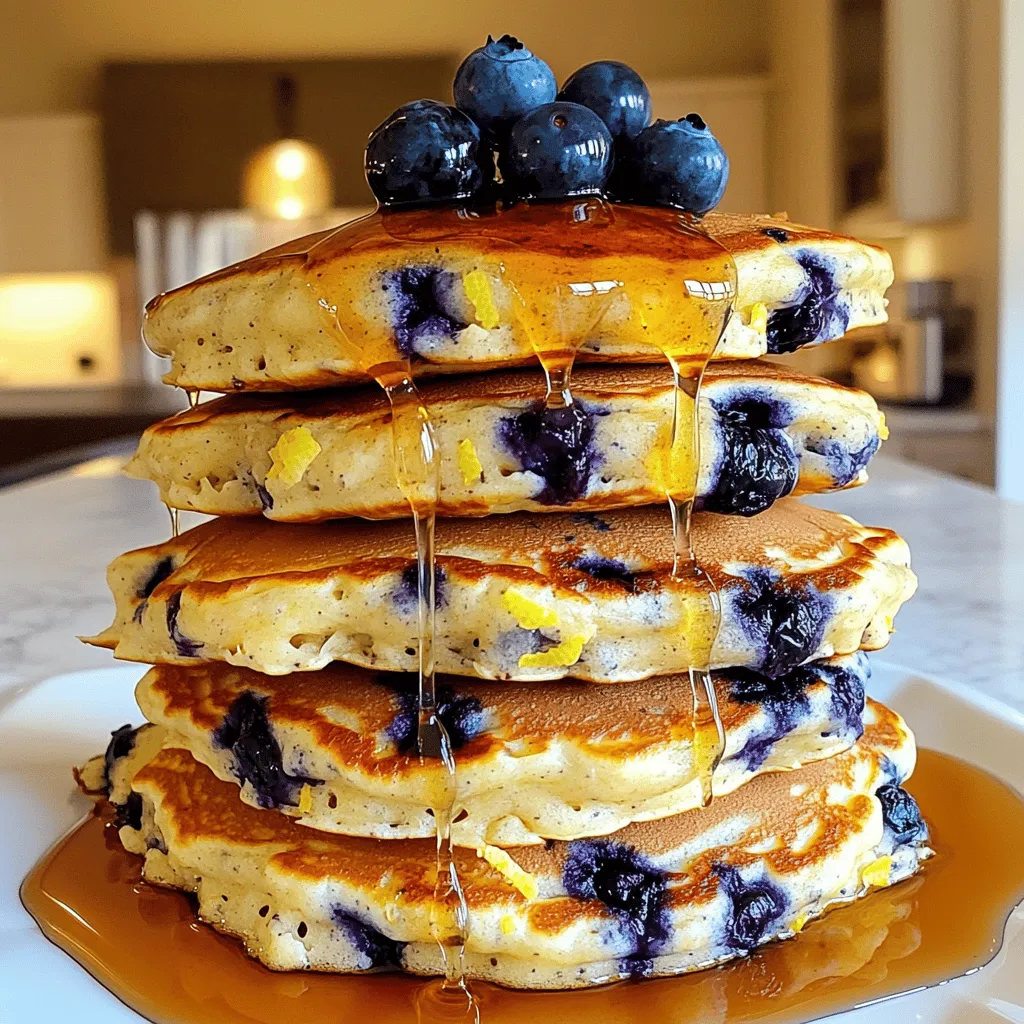
Fluffy Blueberry Lemon Ricotta Pancakes Delight
Get ready to elevate your breakfast game with Fluffy Blueberry Lemon Ricotta Pancakes! These pancakes combine rich ricotta, zesty lemon,

Get ready to elevate your breakfast game with Fluffy Blueberry Lemon Ricotta Pancakes! These pancakes combine rich ricotta, zesty lemon,
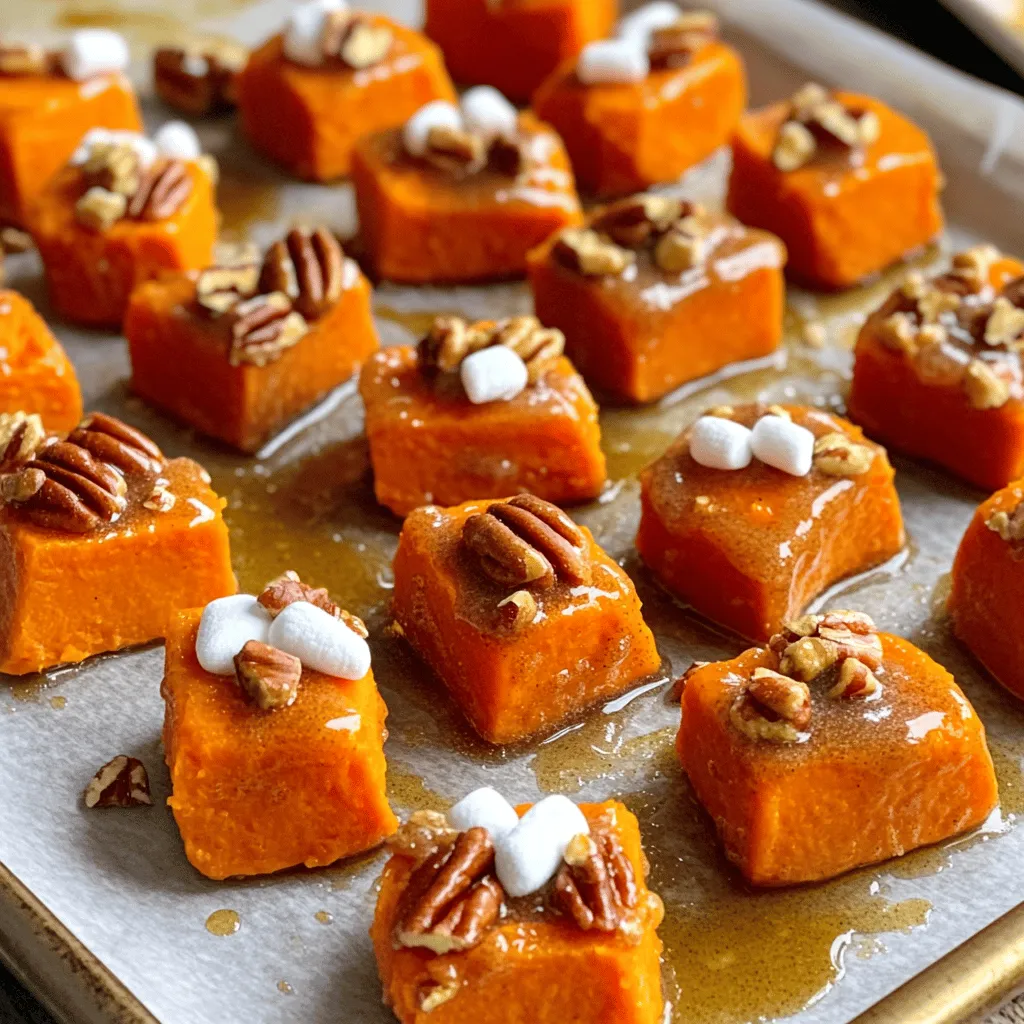
Looking for a tasty and simple snack? Brown Sugar Sweet Potato Bites are your answer! With their sweet, caramelized flavor
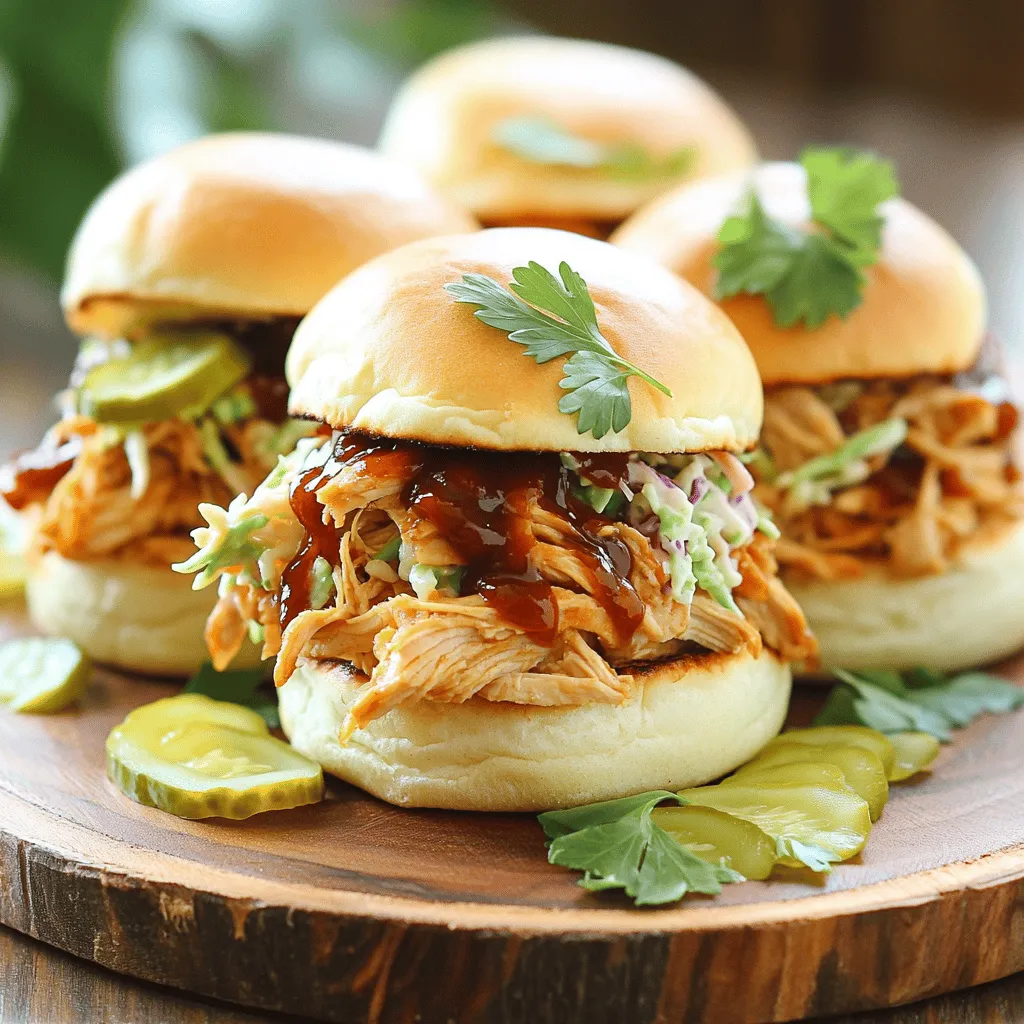
If you’re looking for a simple and tasty meal, you’ve landed in the right spot! These Slow Cooker BBQ Chicken
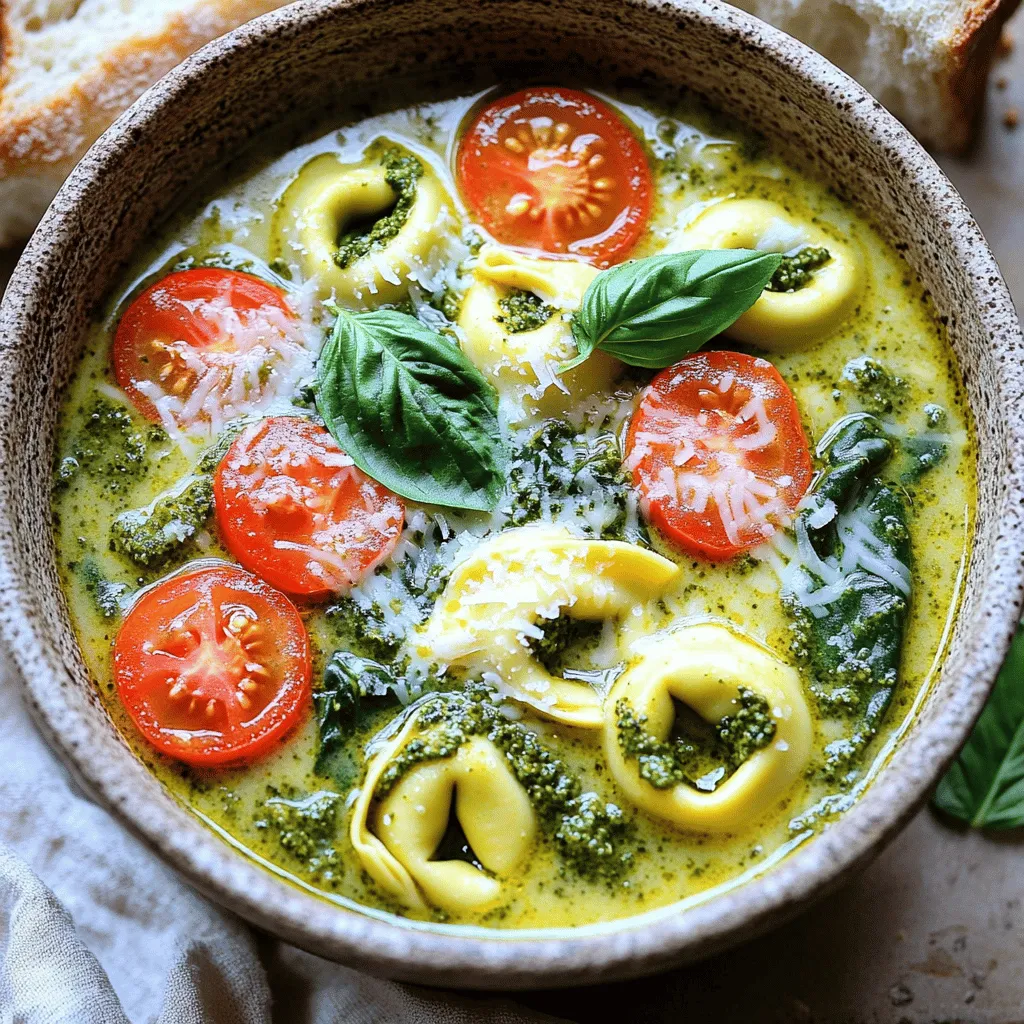
Are you ready to whip up a cozy meal? This Creamy Pesto Tortellini Soup is both hearty and simple to
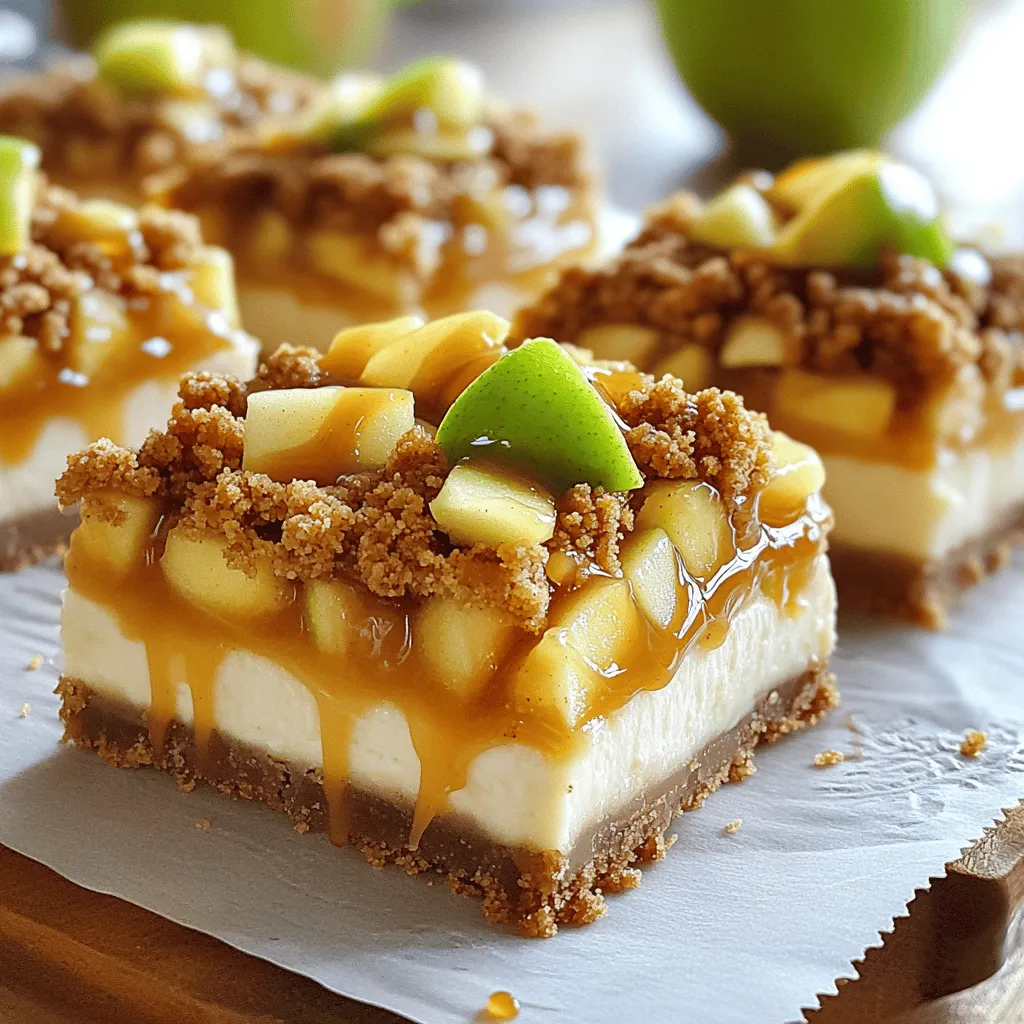
Get ready for a sweet adventure with my Caramel Apple Streusel Cheesecake Bars! This delightful treat combines creamy cheesecake, tender
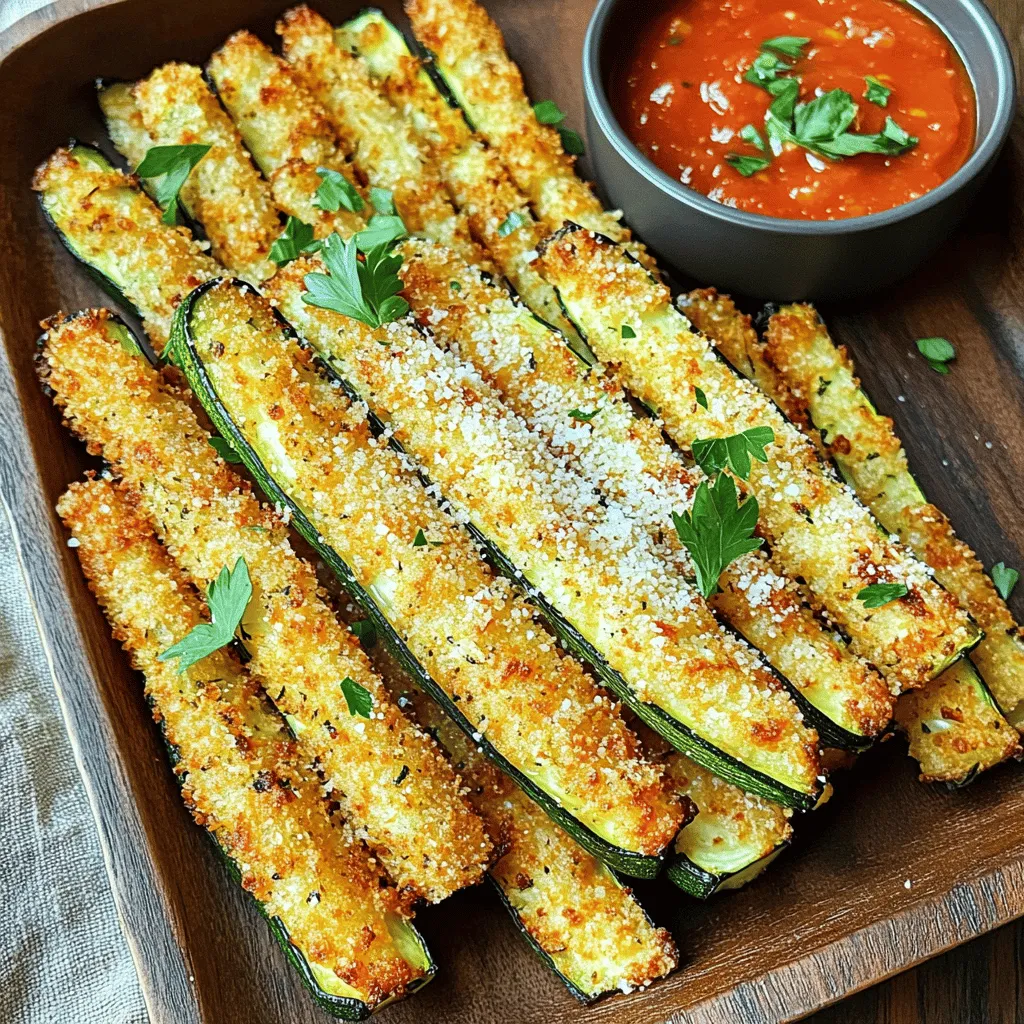
Are you craving a crispy, tasty snack that’s also healthy? Look no further! My Air Fryer Parmesan Zucchini Fries are
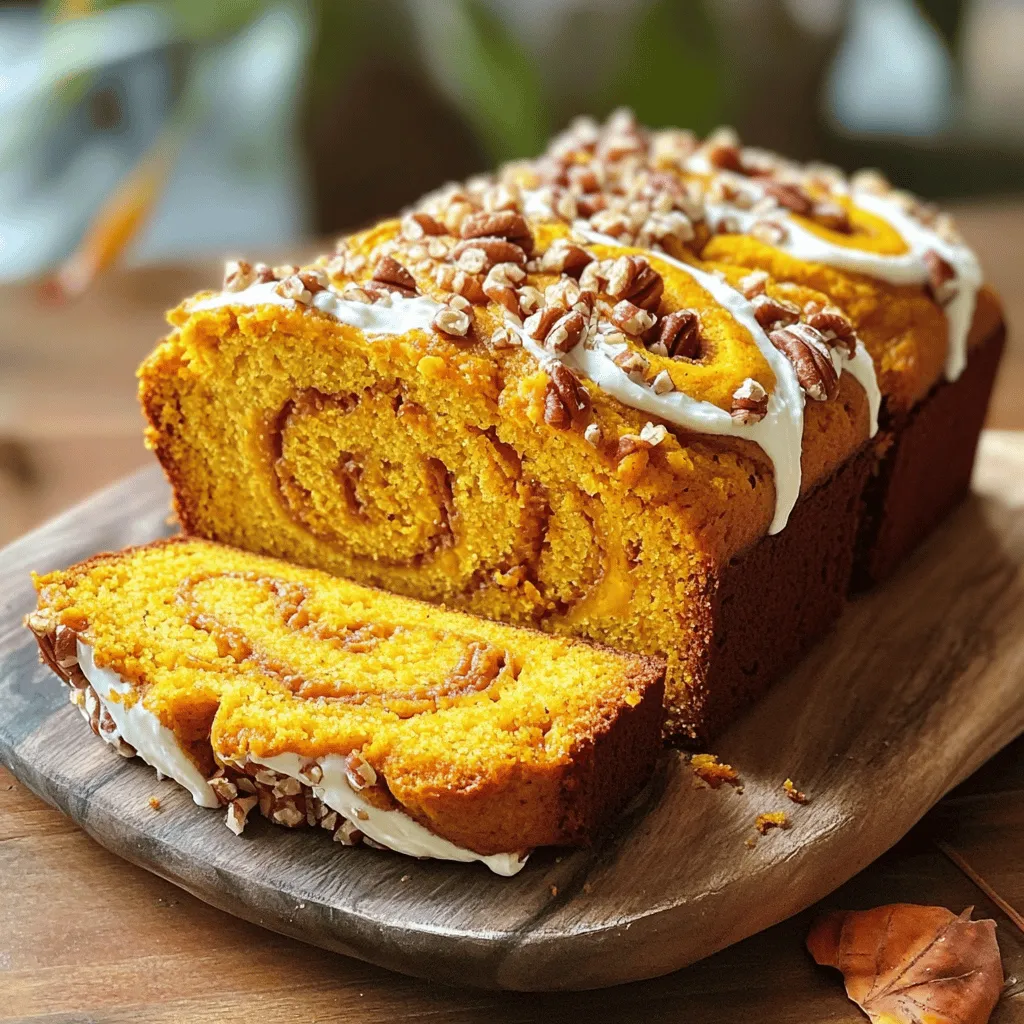
Are you ready for a cozy treat that screams fall? This Pumpkin Cream Cheese Swirl Bread combines rich pumpkin flavor
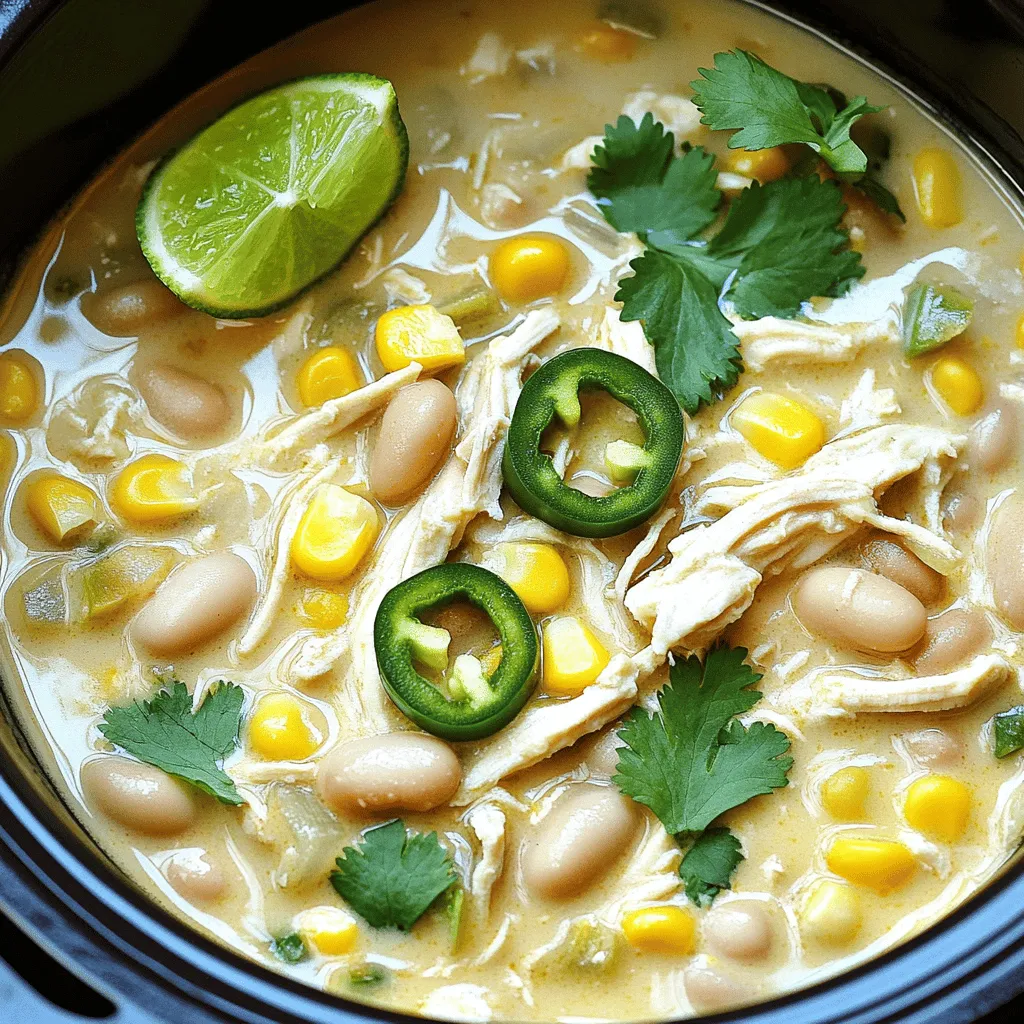
Ready for a warm, comforting meal? My Slow Cooker Creamy White Chicken Chili is simple and delicious. You’ll blend tender
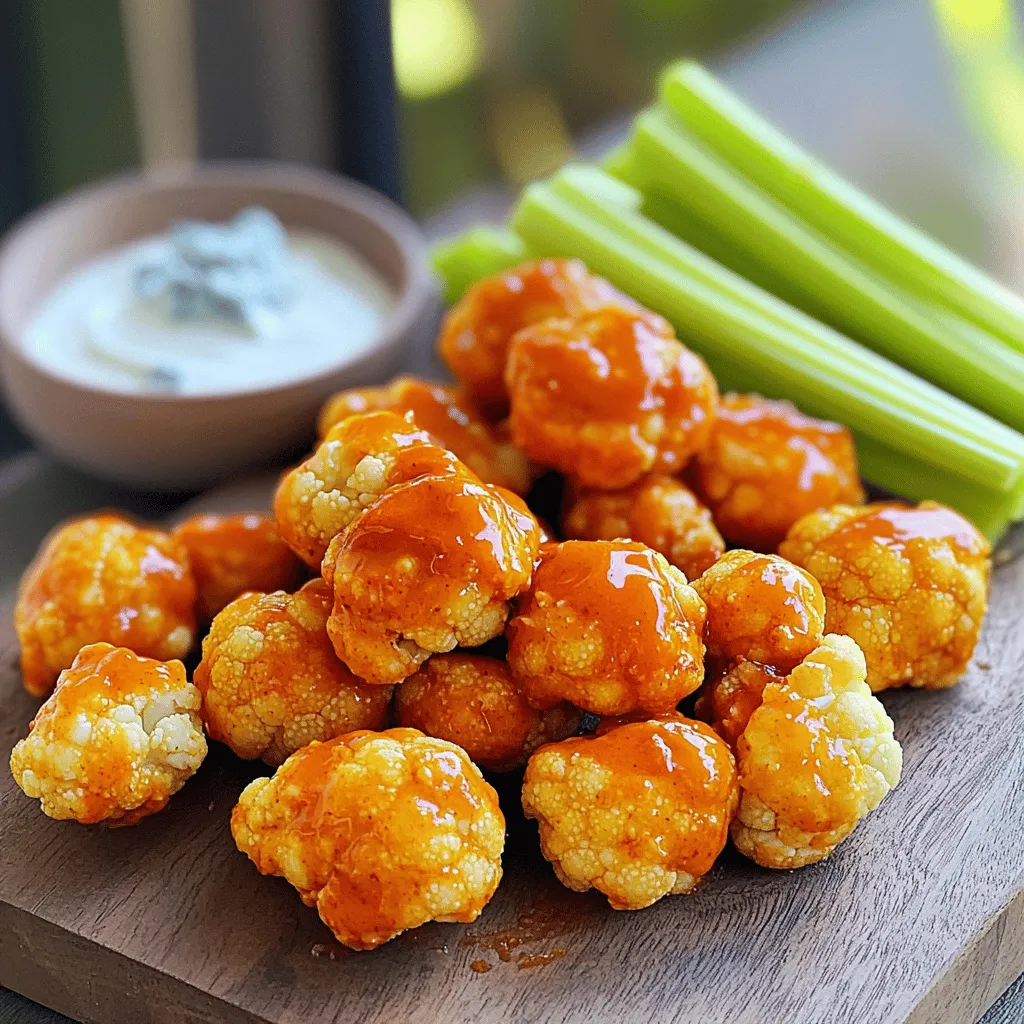
Are you ready to spice up your snack game? Air Fryer Buffalo Cauliflower Bites are the perfect blend of crispy
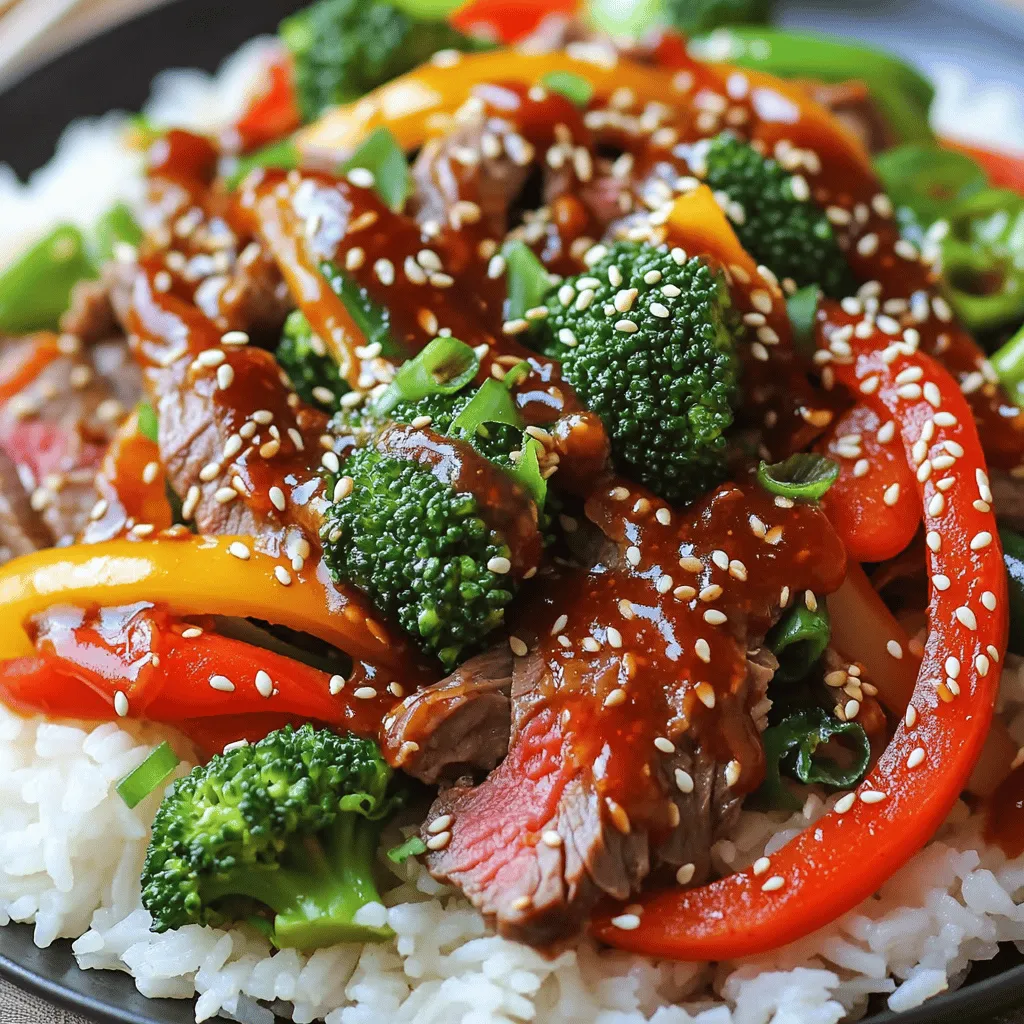
Looking for a speedy dinner that’s packed with flavor? You’ll love this Minute Spicy Gochujang Beef Stir-Fry recipe! It takes
