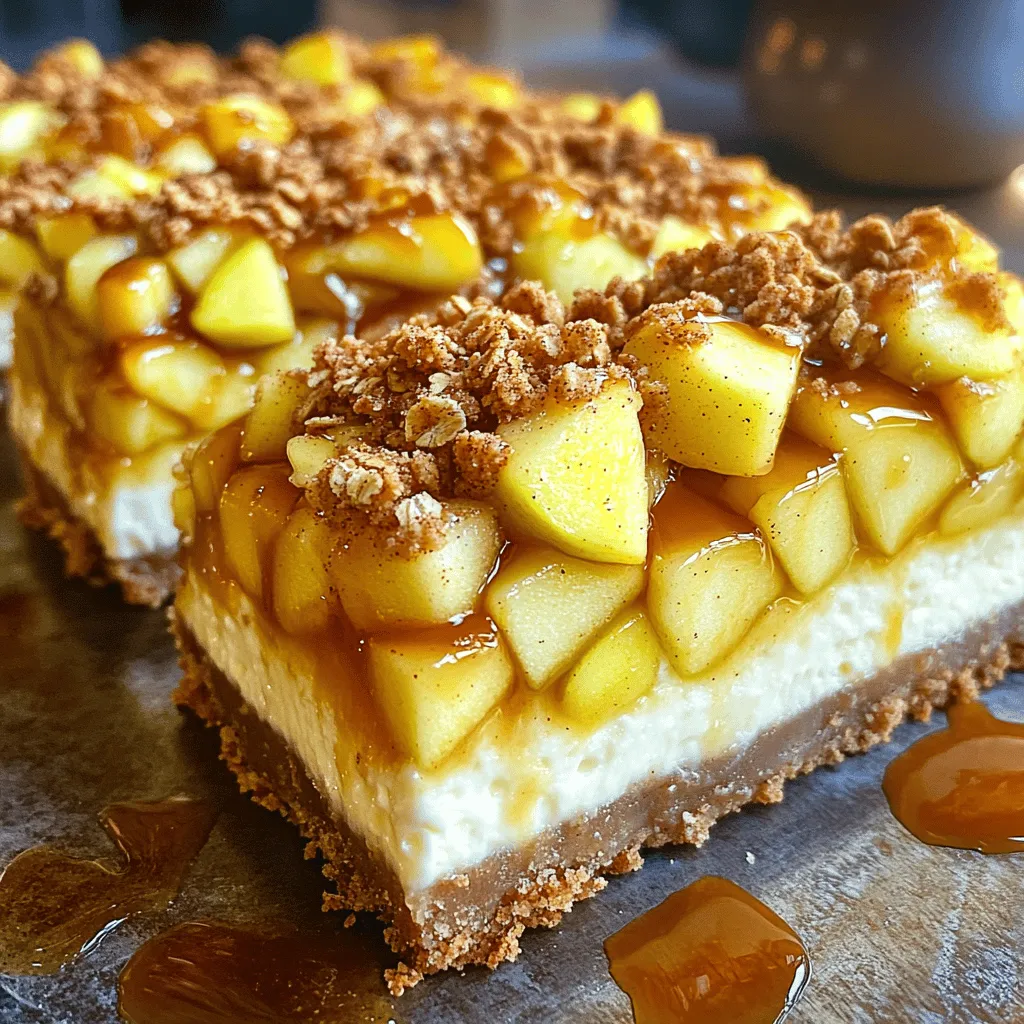
Caramel Apple Crisp Cheesecake Bars Delightful Treat
Are you ready to indulge in a dessert that blends creamy cheesecake, sweet apples, and a crunchy topping? These Caramel

Are you ready to indulge in a dessert that blends creamy cheesecake, sweet apples, and a crunchy topping? These Caramel
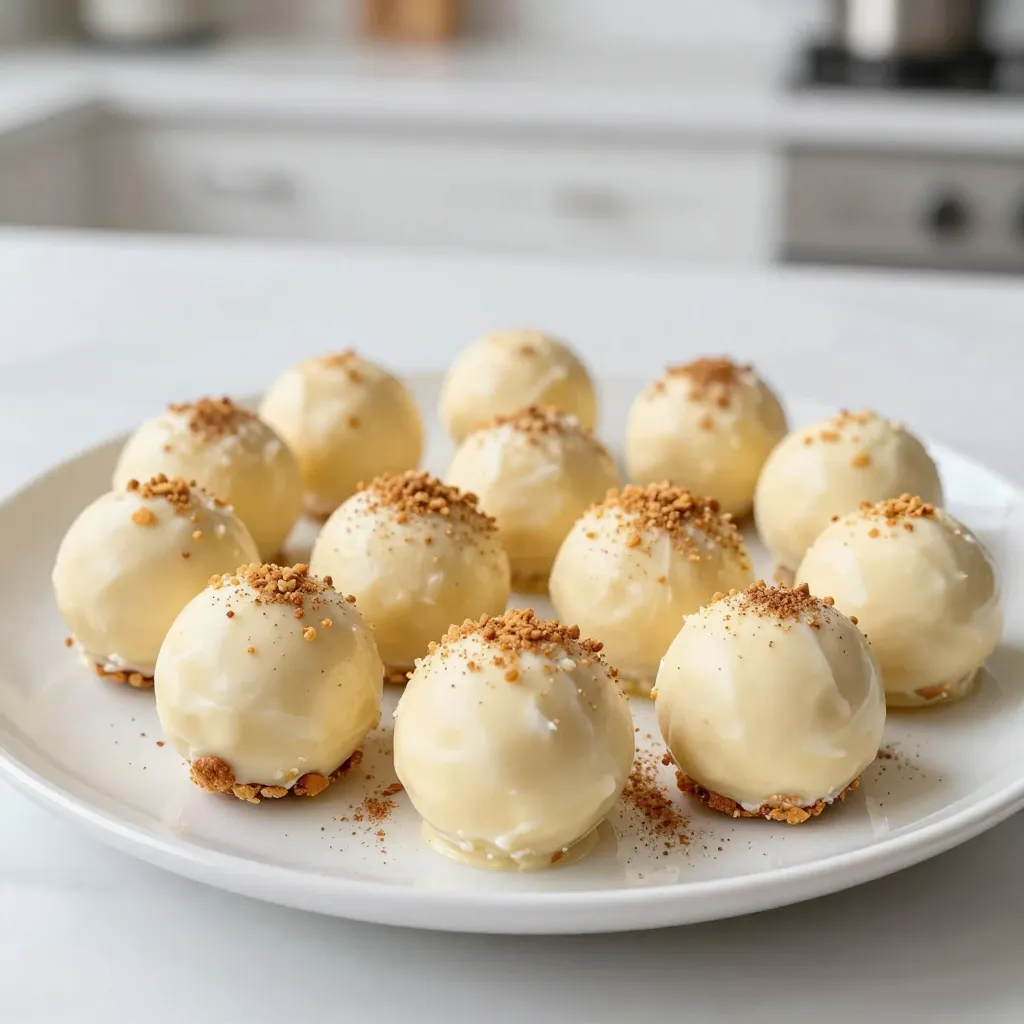
Are you ready to indulge in a delightful treat this holiday season? Today, I’m sharing my easy eggnog truffles recipe
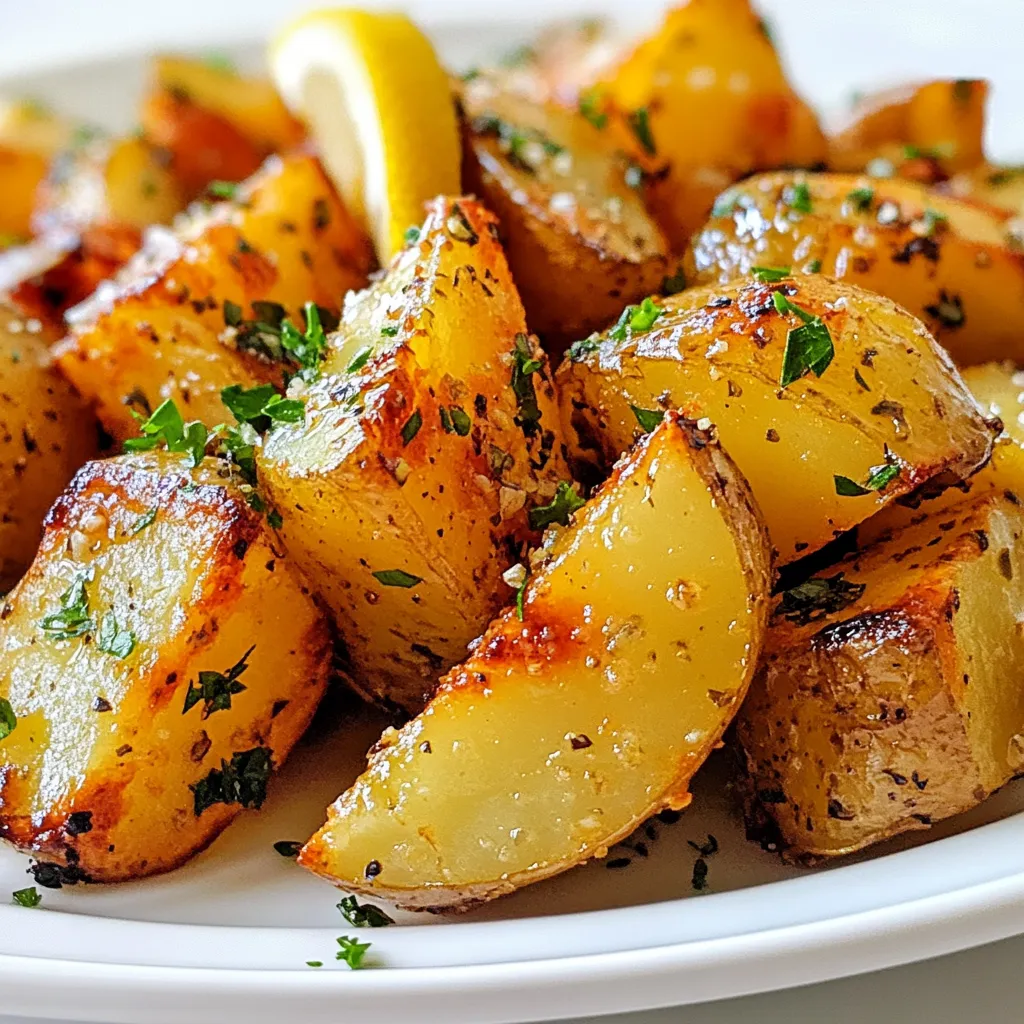
Looking for a side dish that’s bursting with flavor? You’ll love my Crispy Greek Lemon Potatoes! These golden wedges combine
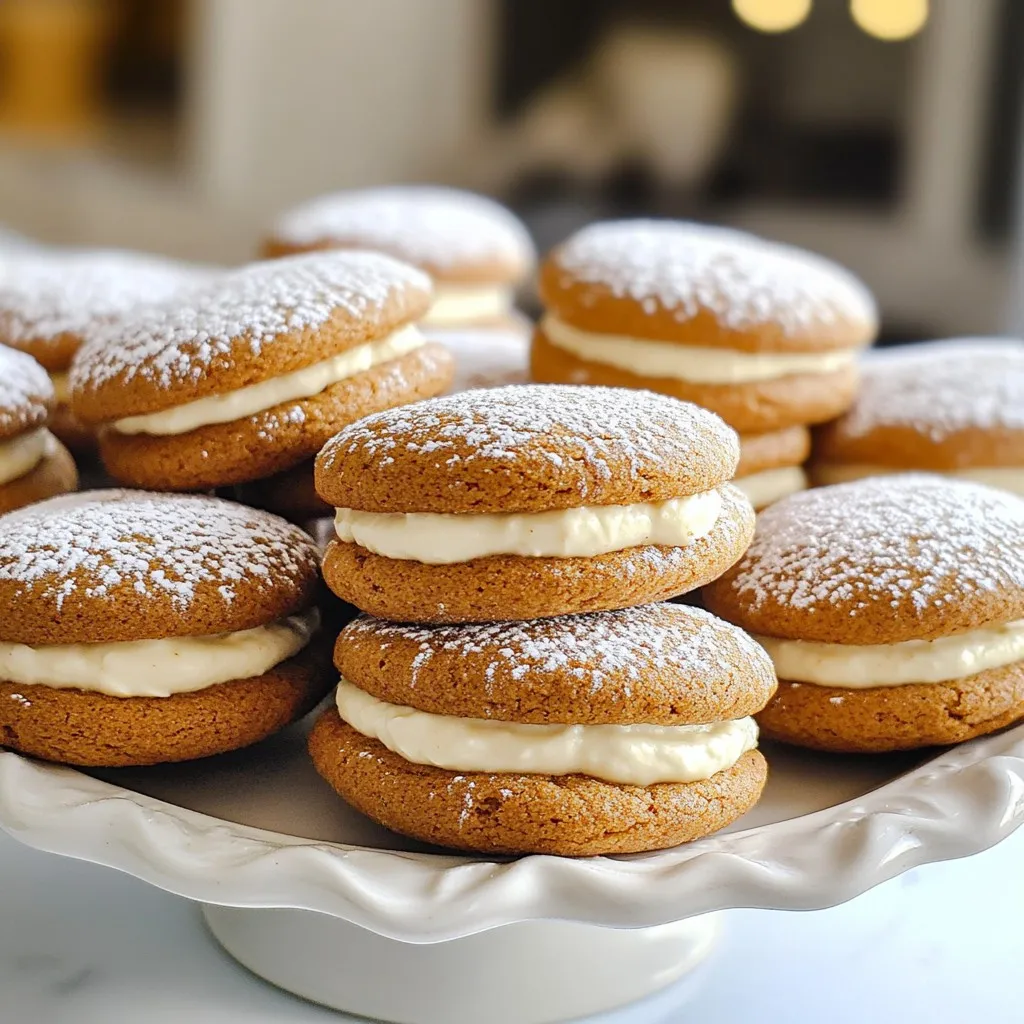
If you’re looking for a festive treat that will impress everyone, Gingerbread Whoopie Pies are it! These soft and chewy

Looking for a meal that’s both simple and bursting with flavor? Slow Cooker Tuscan Chicken offers just that! This dish
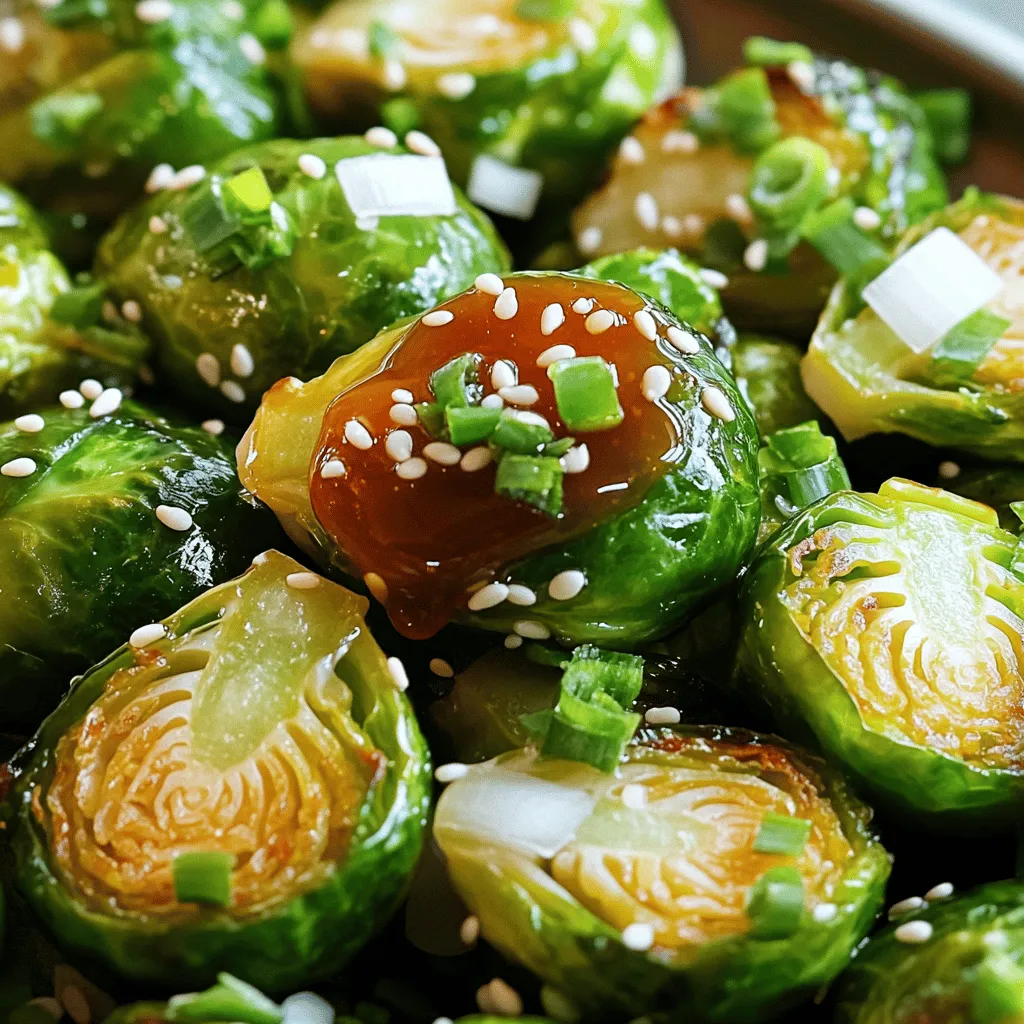
Looking for a vibrant side dish that combines sweet and spicy? Honey Sriracha Brussels Sprouts are the perfect answer! This
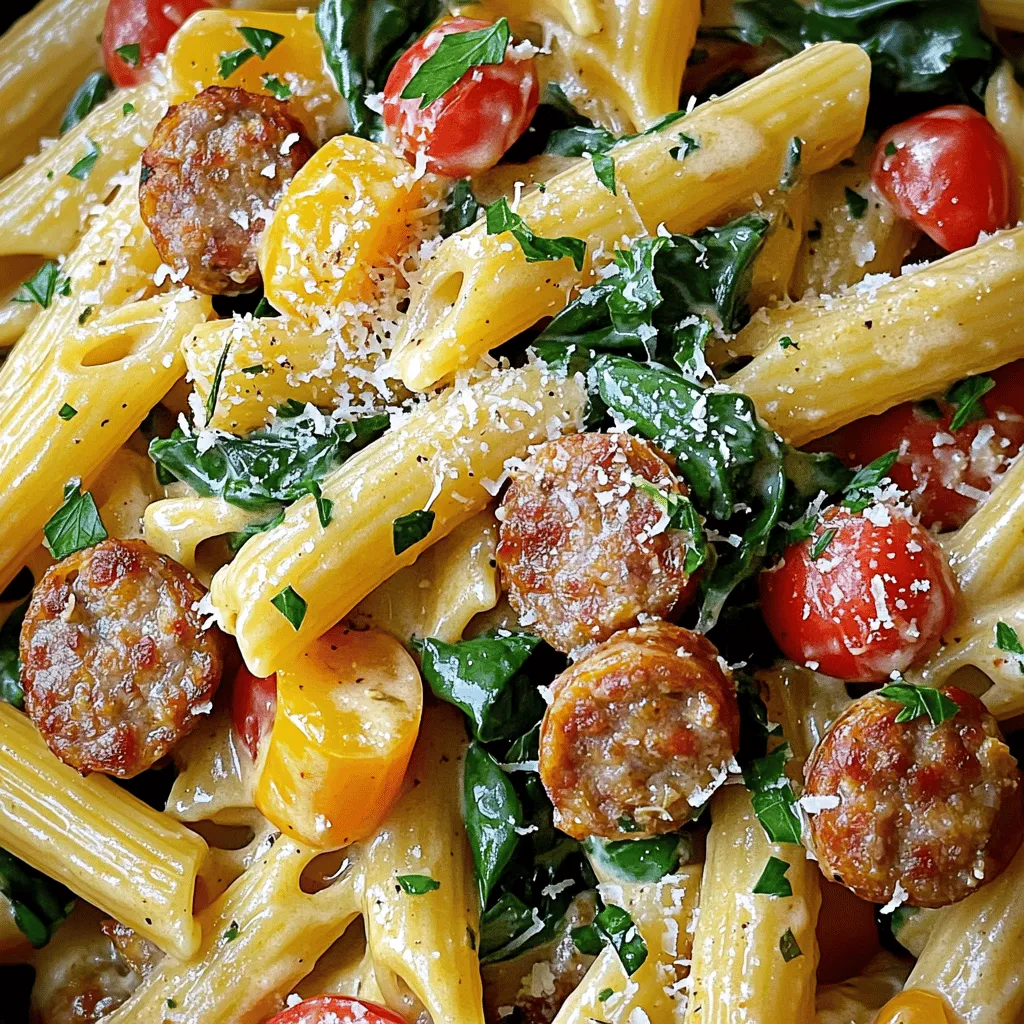
Looking for a quick, delicious dinner? Try my Creamy Cajun Sausage One Pot Pasta! This dish marries bold Cajun flavors
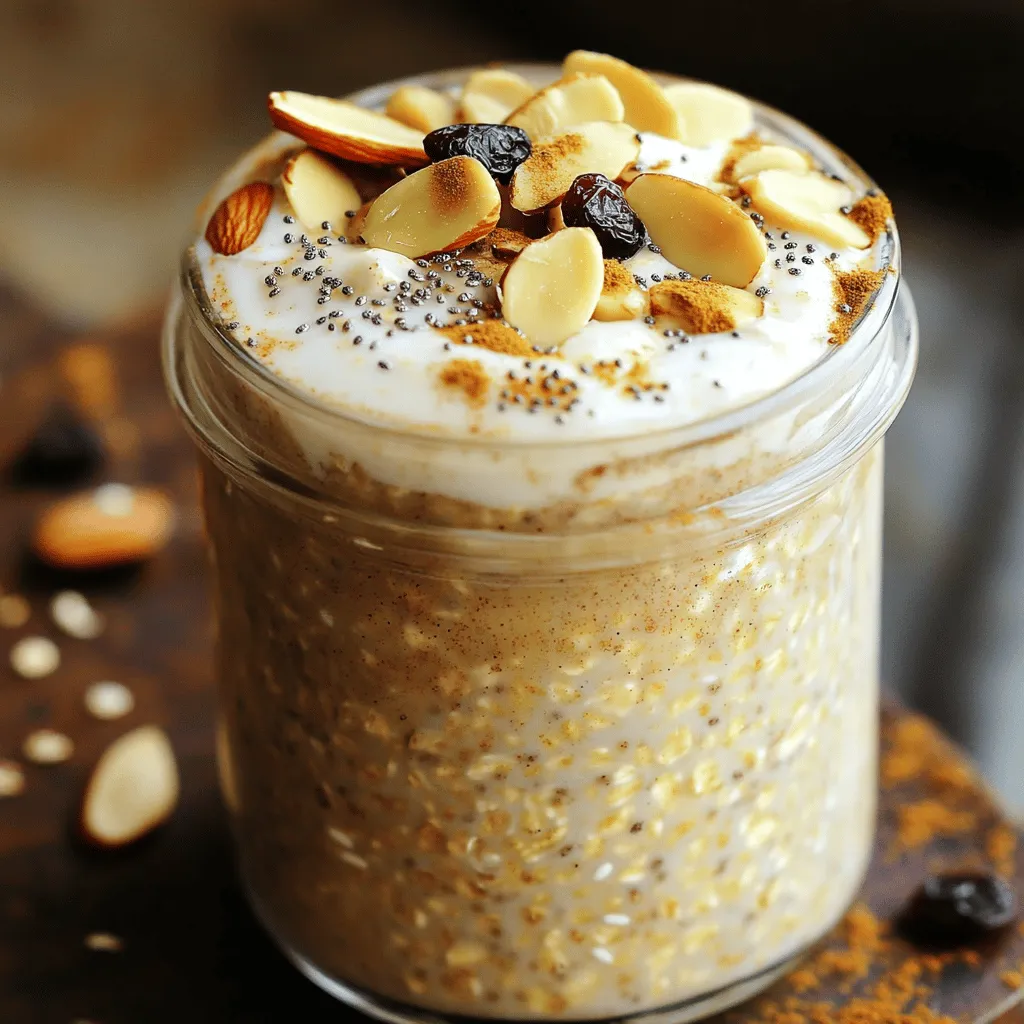
Start your morning off right with Chai Latte Overnight Oats! This easy recipe combines the warm flavors of chai tea

Craving takeout but want to whip up something delicious at home? I’ve got just the thing! This Sweet Chili Chicken
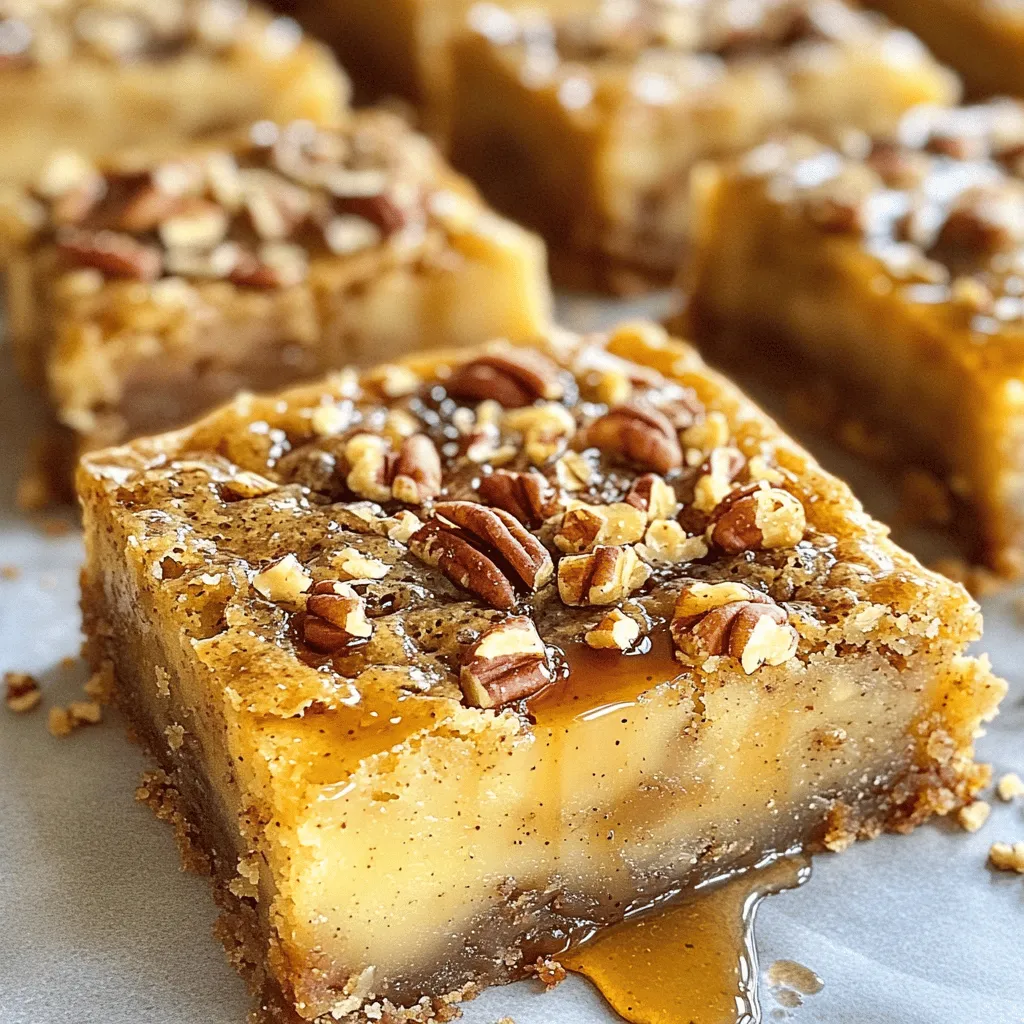
Craving a sweet treat that hits all the right notes? Let me introduce you to Brown Butter Maple Pecan Blondies!
