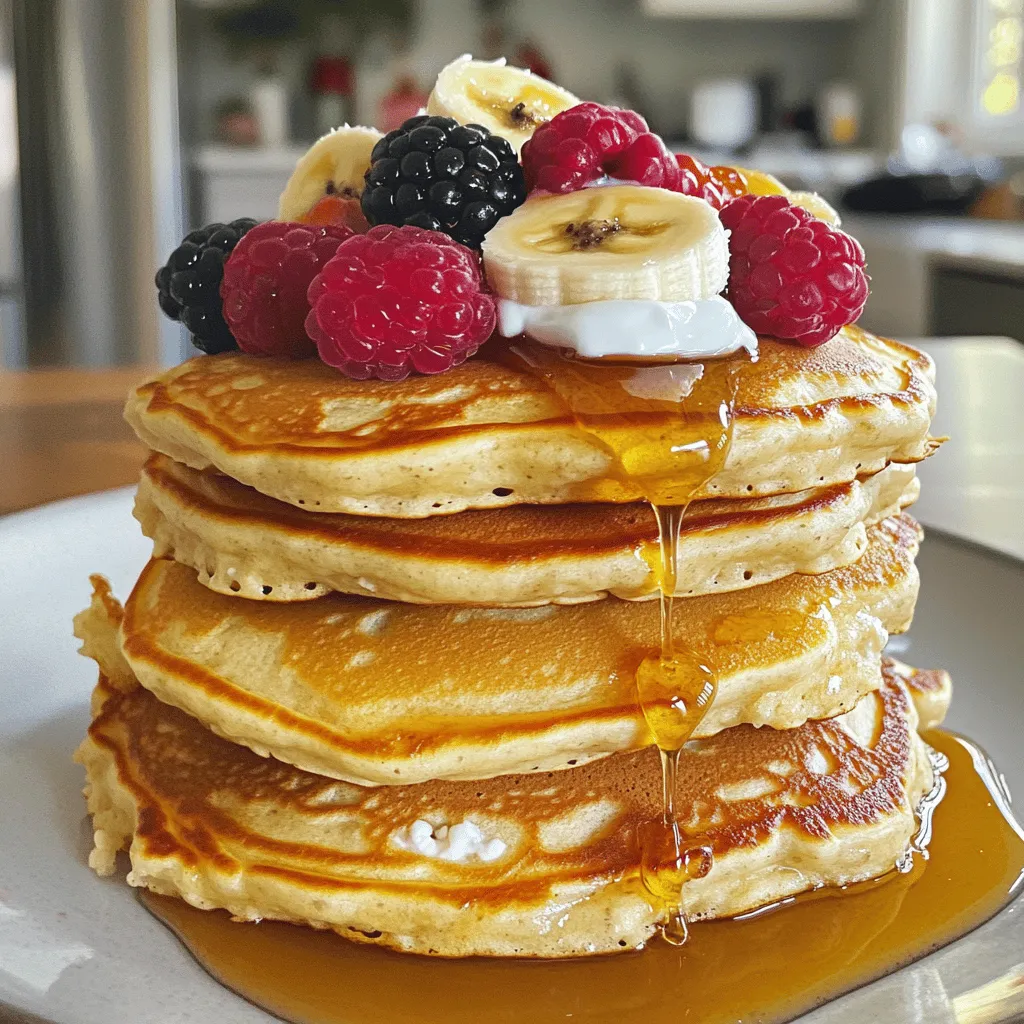
Protein Cottage Cheese Pancakes Simple and Tasty Dish
Looking for a quick, healthy breakfast that tastes great? My Protein Cottage Cheese Pancakes are just what you need. They

Looking for a quick, healthy breakfast that tastes great? My Protein Cottage Cheese Pancakes are just what you need. They
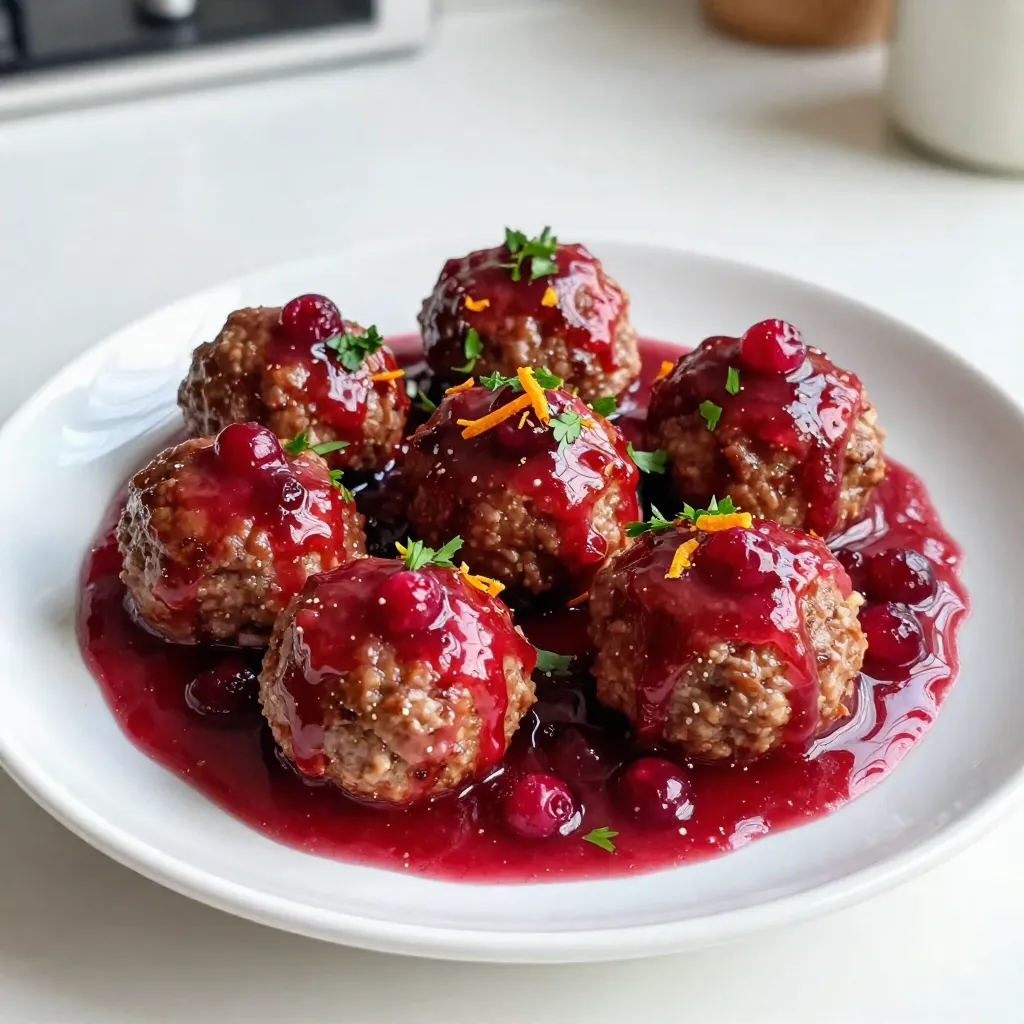
Ready to wow your guests this holiday season? My Christmas Cranberry Meatballs bring festive flavor to any table! With juicy
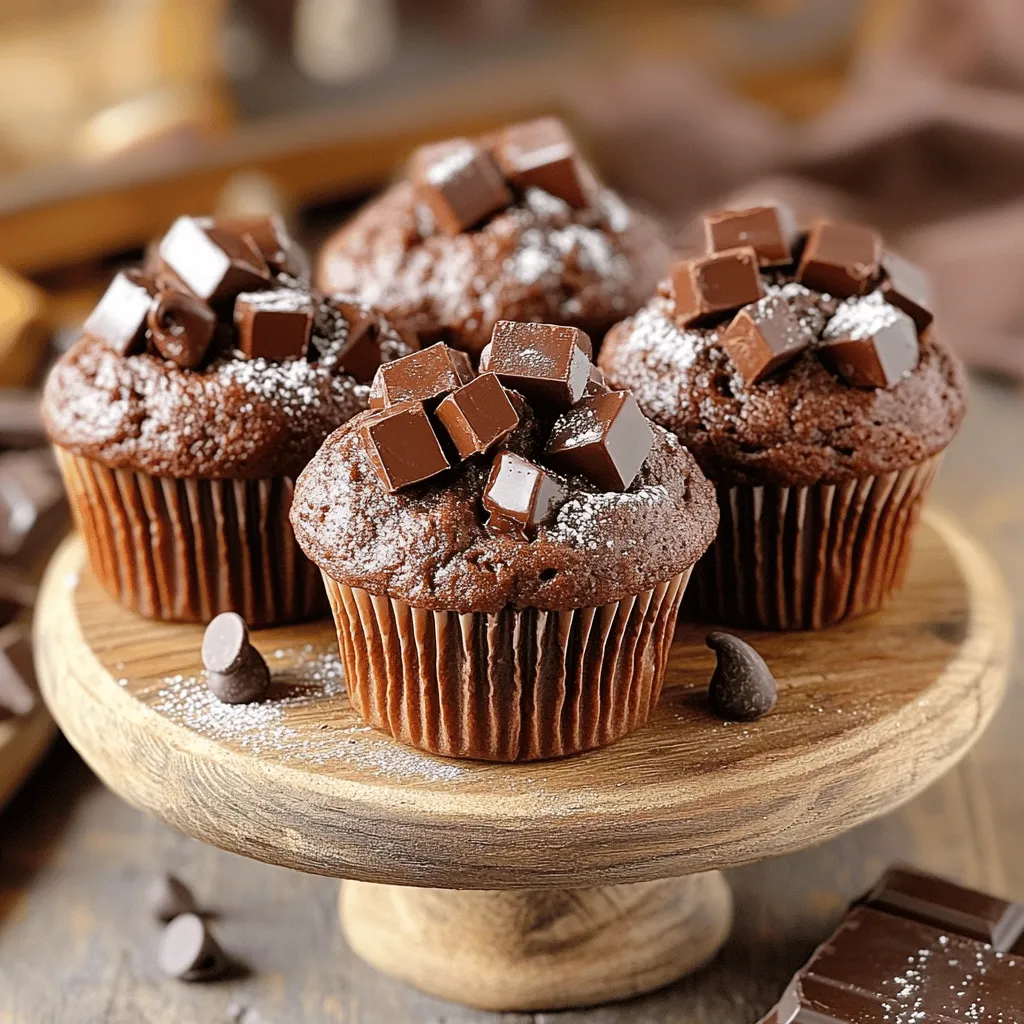
Craving a sweet treat that rivals your favorite bakery? Look no further! These Bakery-Style Double Chocolate Muffins are easy to
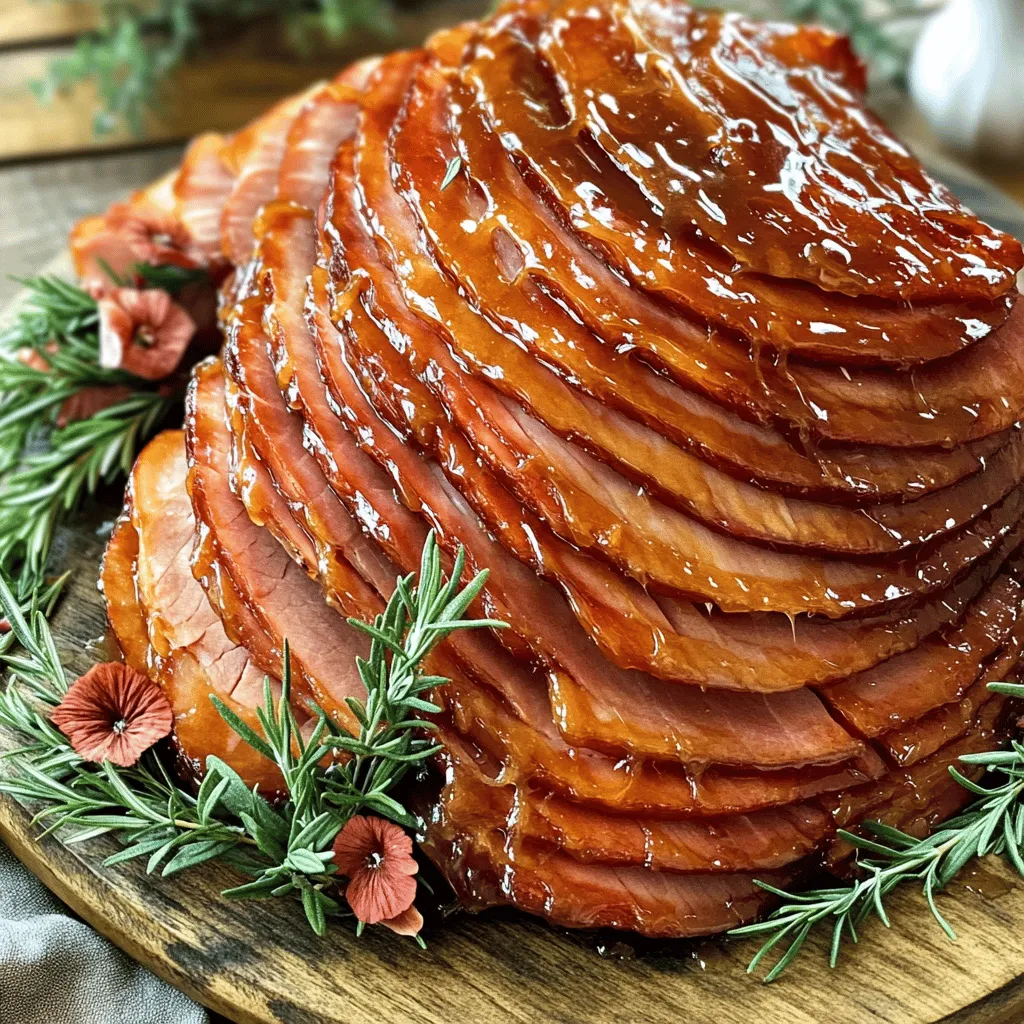
Looking for a show-stopping dish that’s easy to make? Try my Slow Cooker Maple Brown Sugar Ham! This sweet and
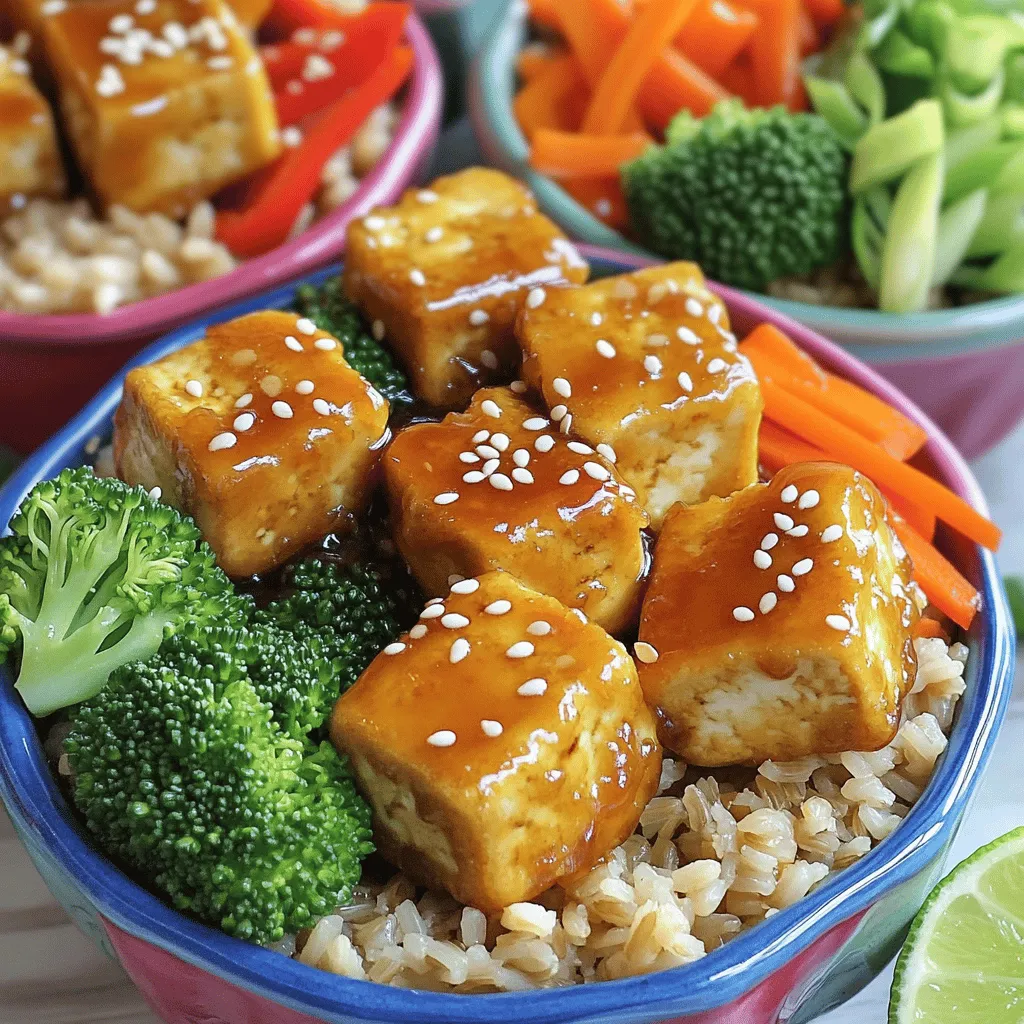
Are you ready to elevate your dinner game? My Crispy Honey Garlic Tofu Bowls are a flavorful delight that will
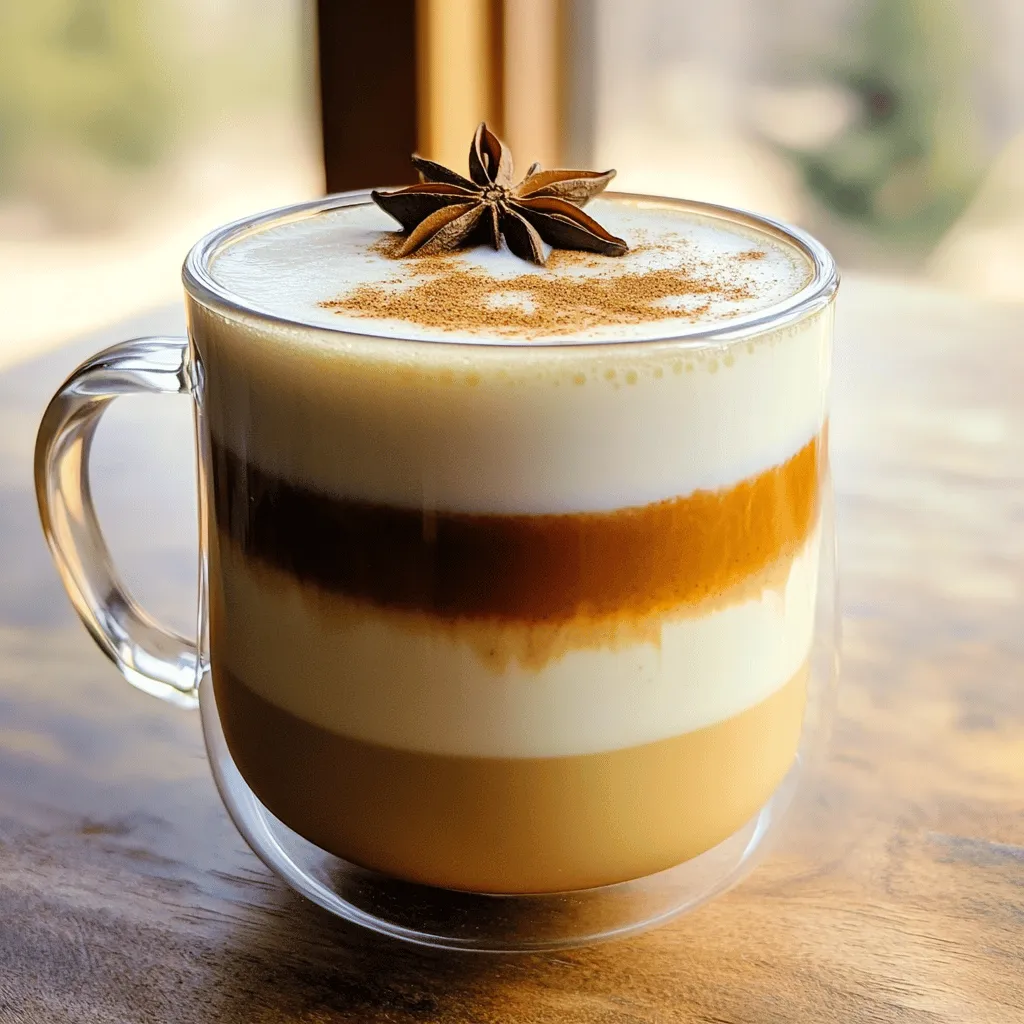
There’s nothing like a warm chai latte on a chilly day, right? This Cozy Spiced Chai Latte Copycat recipe captures
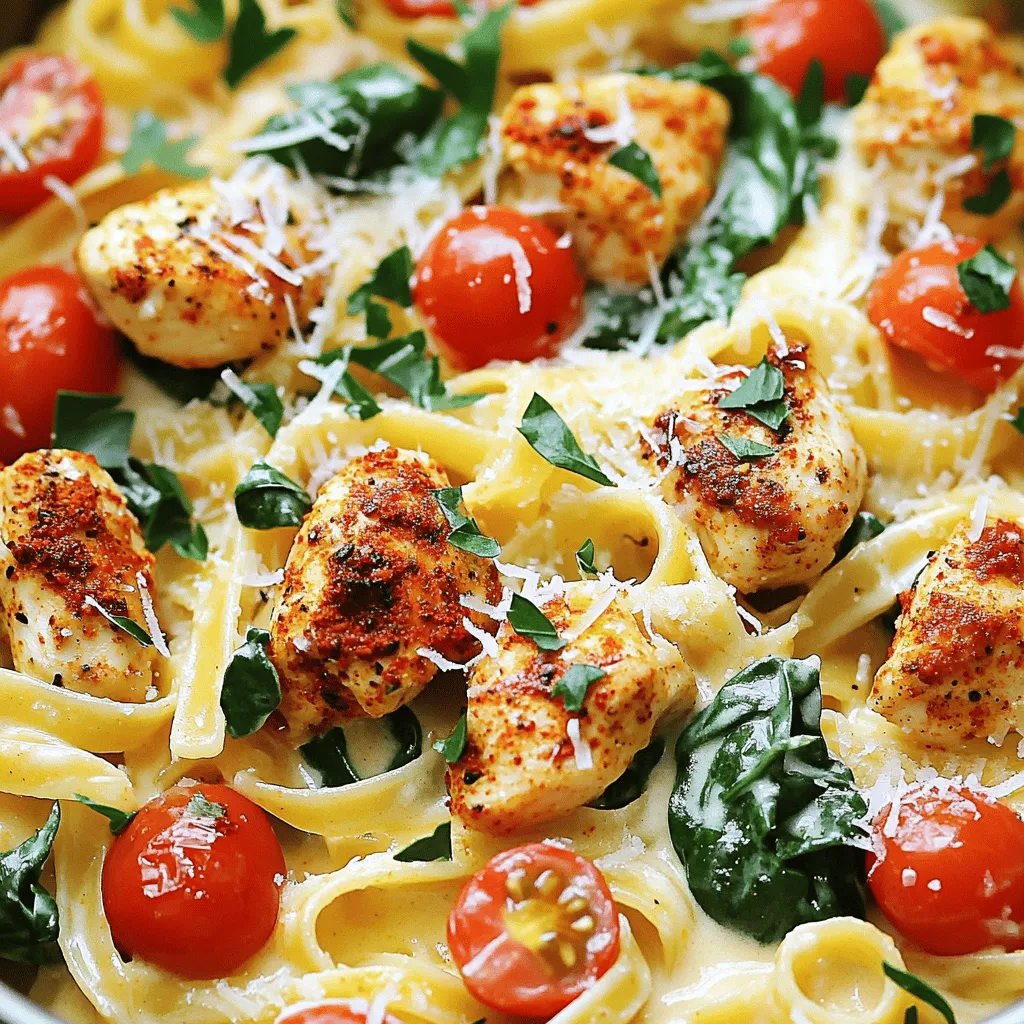
Looking for a quick and tasty dinner idea? You’ve found it! My One-Pot Cajun Chicken Alfredo is easy to make
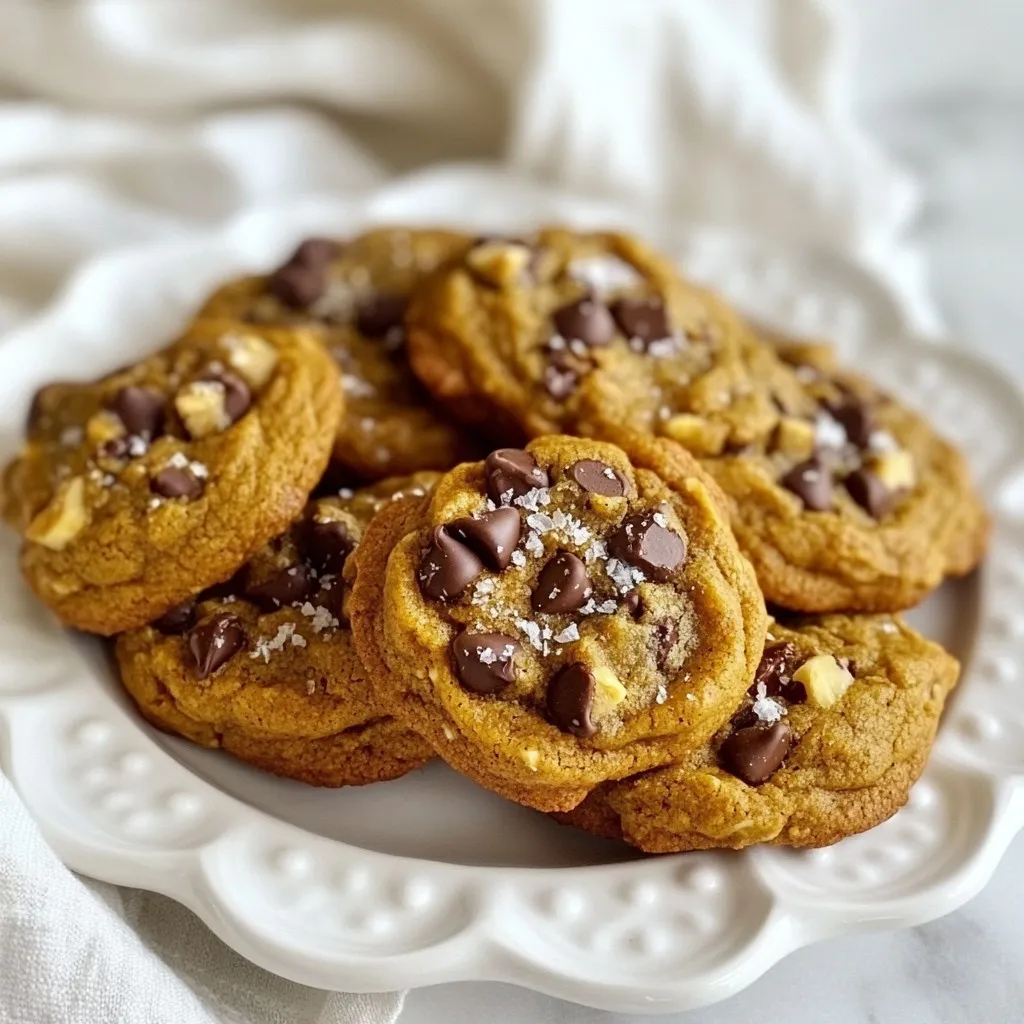
Welcome to my kitchen, where rich flavors meet cozy spices! Today, I’m sharing my favorite recipe: Brown Butter Pumpkin Chocolate
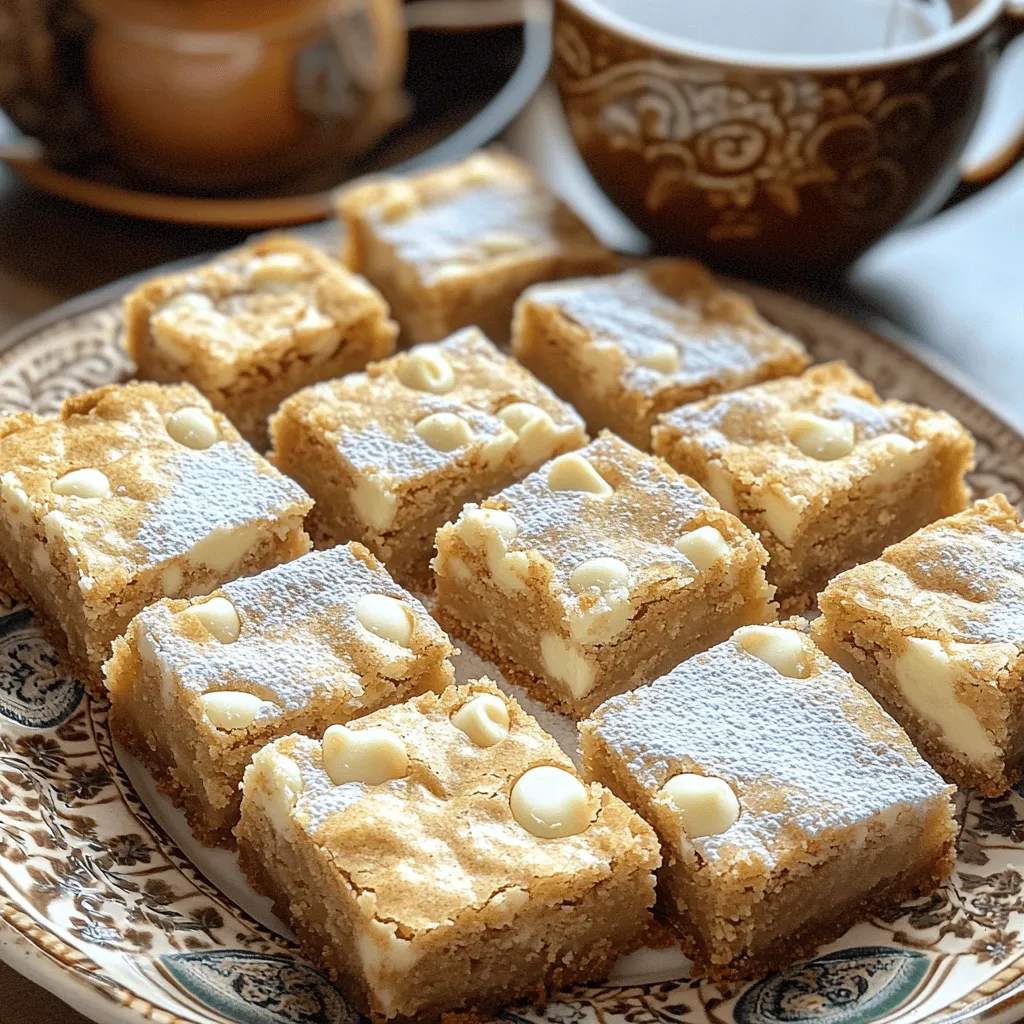
Craving a sweet treat with a cozy twist? You’re in for a real delight with these Chai-Spiced White Chocolate Blondies!
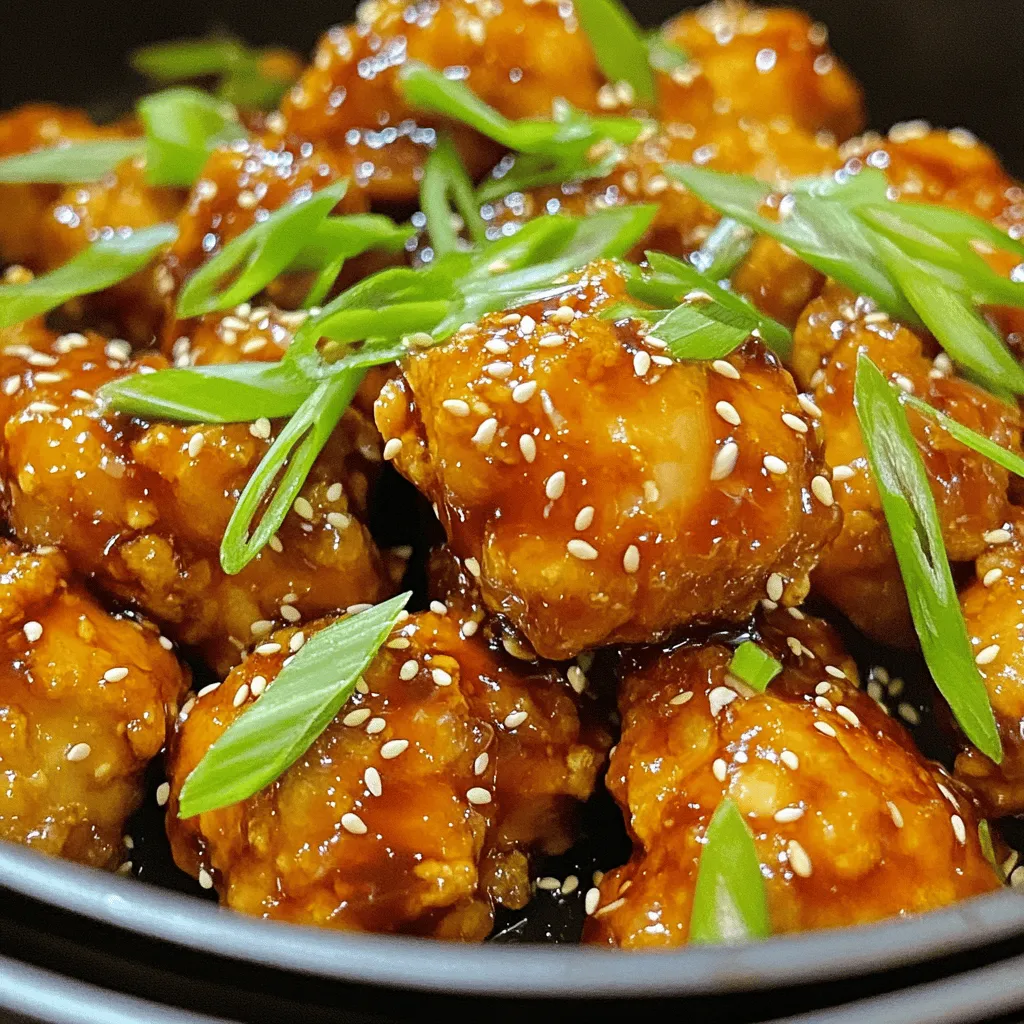
Get ready to savor the flavors of Air Fryer Sticky Teriyaki Chicken Bites! This recipe is simple yet packed with
