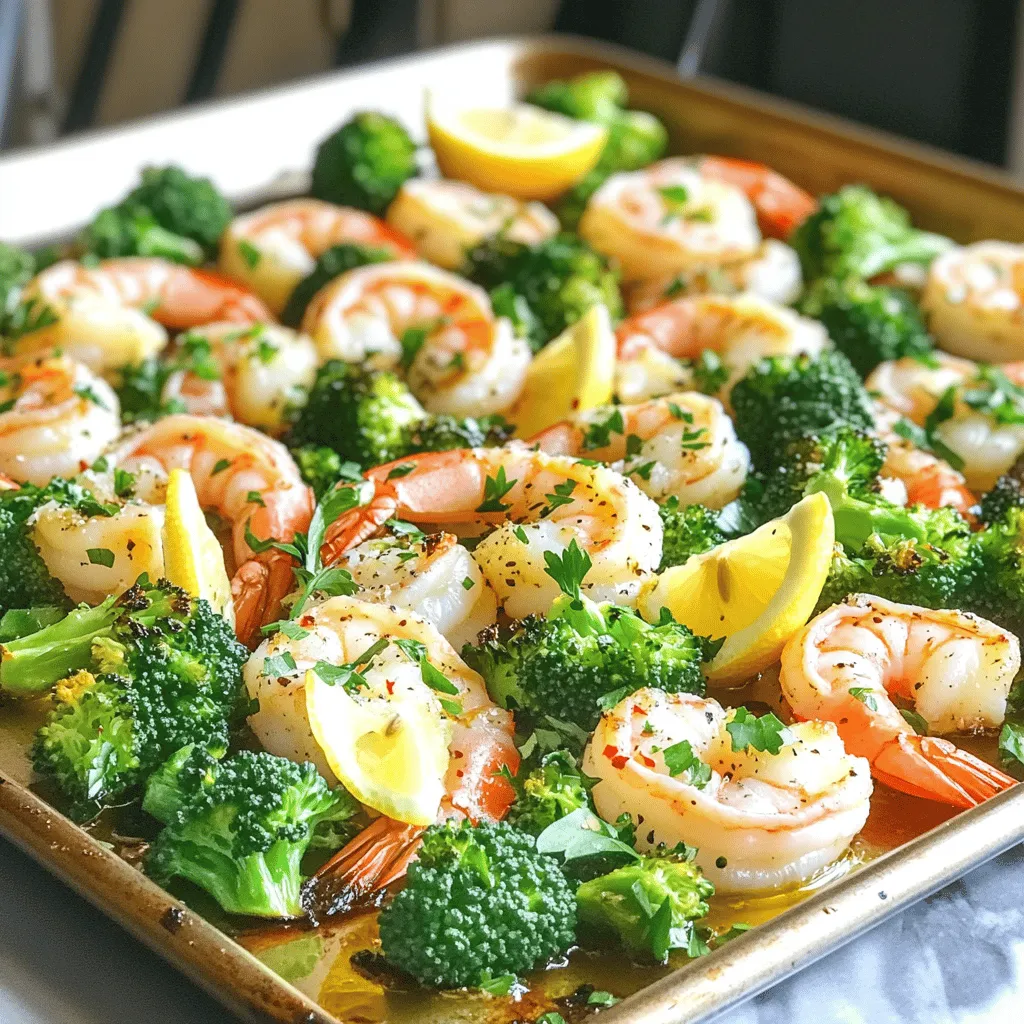
Sheet-Pan Lemon Garlic Shrimp with Broccoli Delight
Looking for a quick, delicious meal that impresses? My Sheet-Pan Lemon Garlic Shrimp with Broccoli is your answer! With just

Looking for a quick, delicious meal that impresses? My Sheet-Pan Lemon Garlic Shrimp with Broccoli is your answer! With just
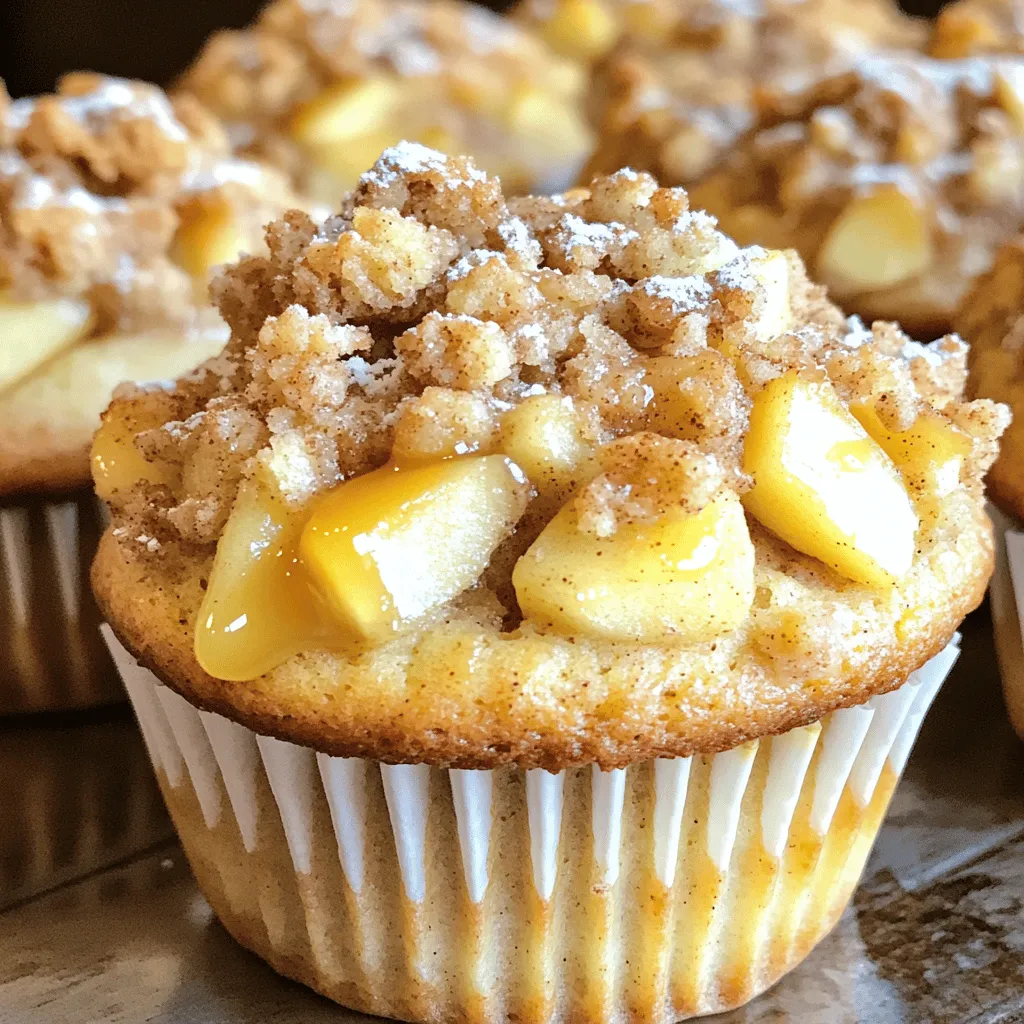
Are you ready to bake bakery-style cinnamon streusel apple muffins that wow? These moist, fluffy muffins are packed with sweet
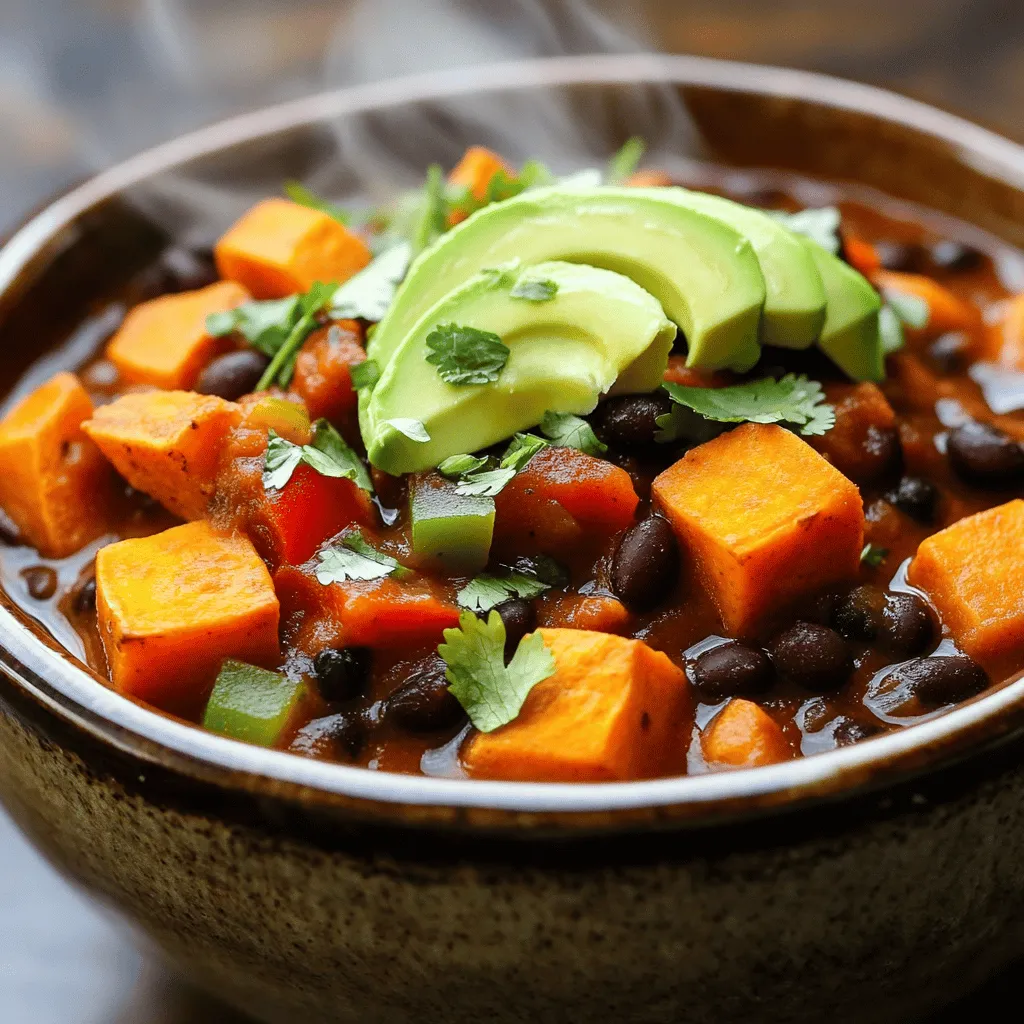
Are you ready for a warm, hearty meal? My Slow Cooker Sweet Potato and Black Bean Chili packs flavor and
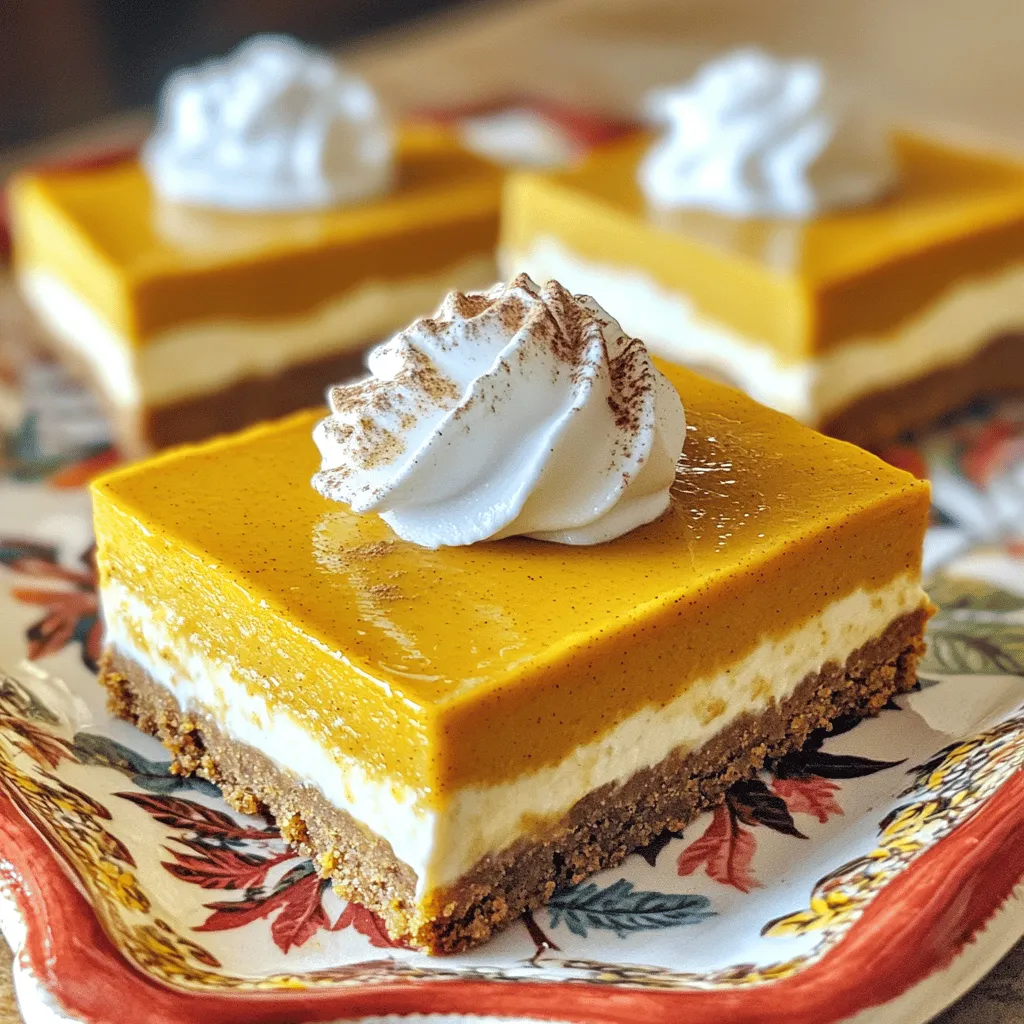
Craving something simple yet delicious? These No-Bake Pumpkin Cheesecake Bars with Gingersnap Crust are your answer! With rich pumpkin flavor
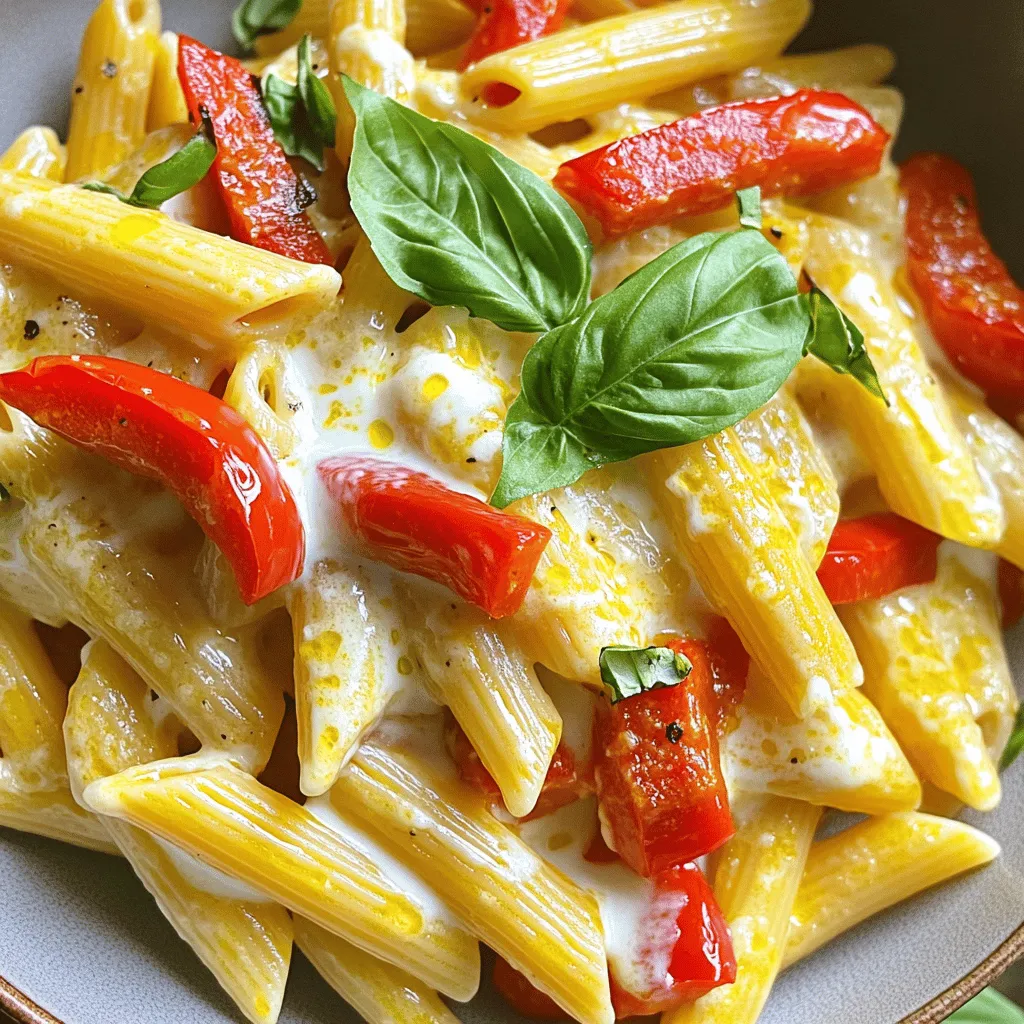
Craving a quick yet delicious meal? This Creamy Roasted Red Pepper Pasta can be your new go-to dish! With just
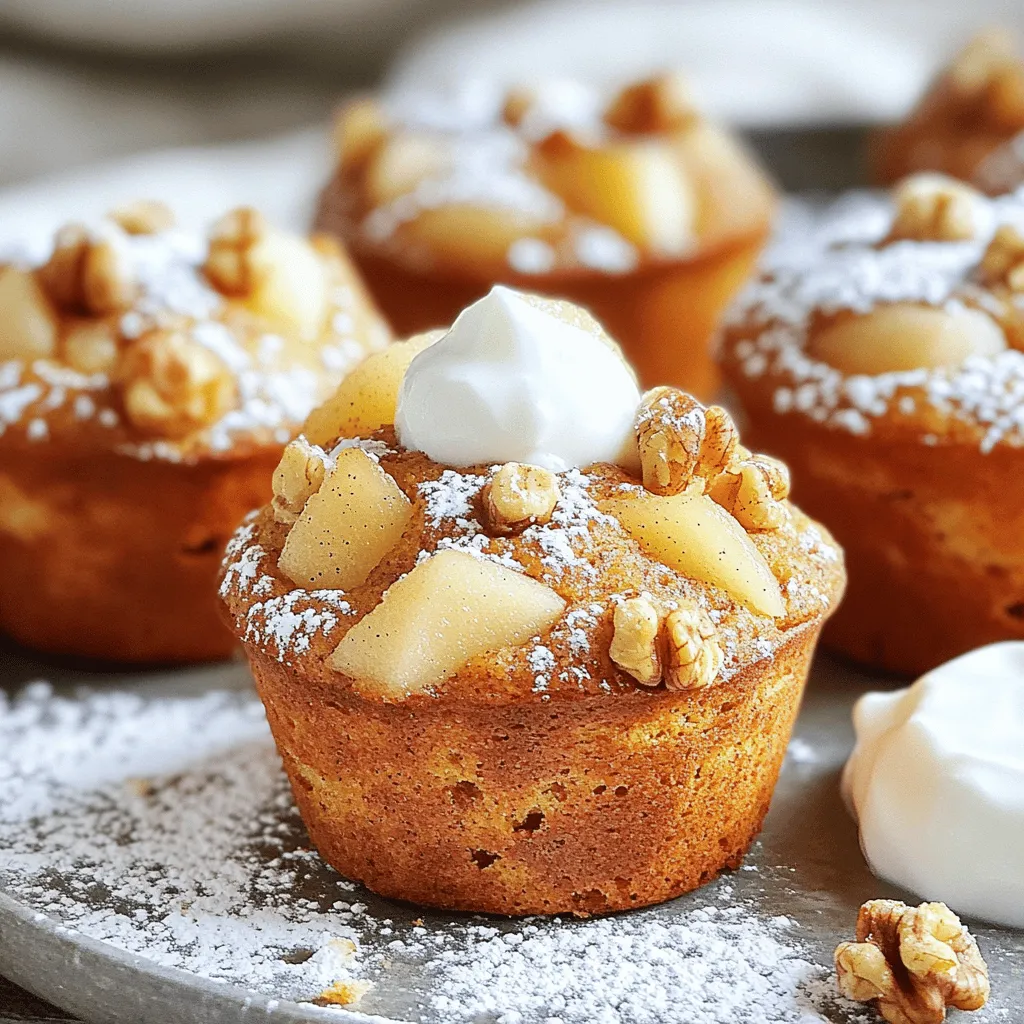
If you’re looking for a delicious start to your day, try my Spiced Pear and Walnut Breakfast Muffins! This recipe
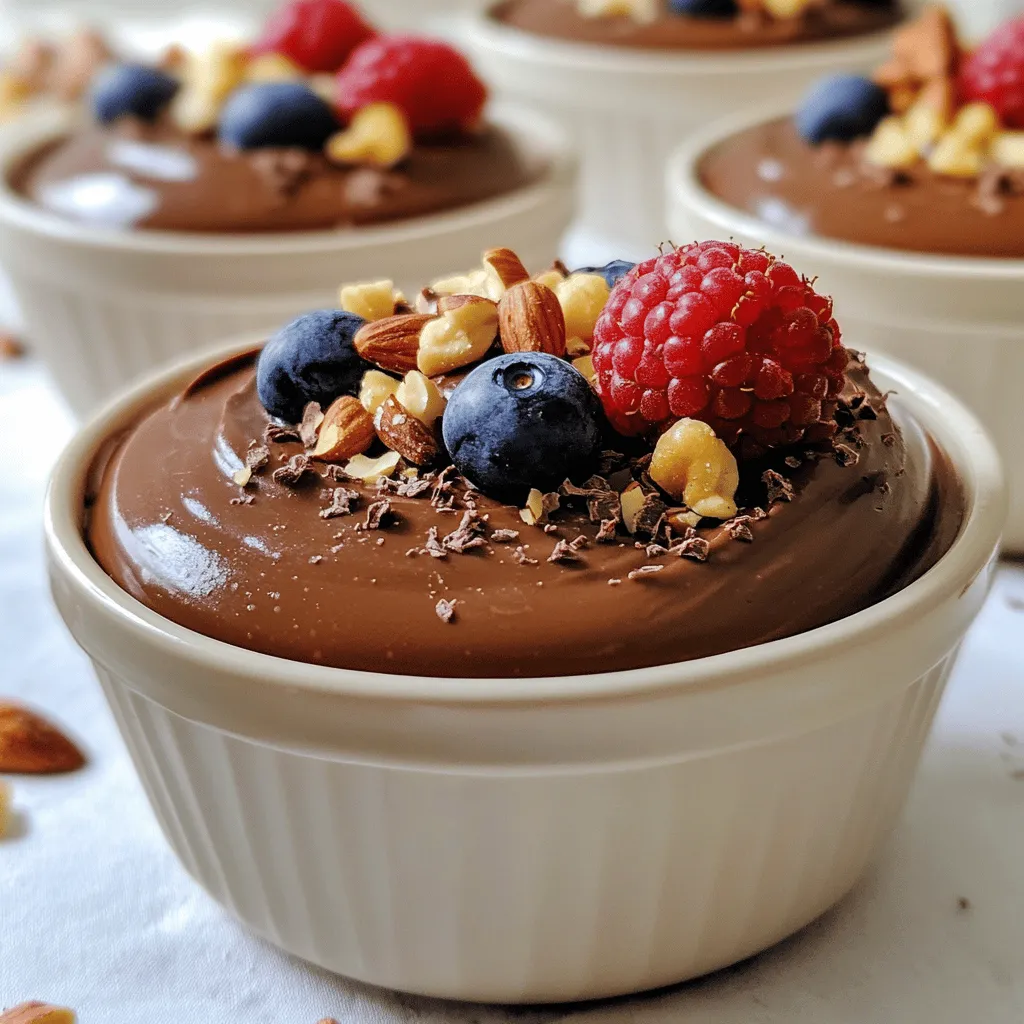
Are you ready to indulge in a delicious treat that’s good for you? My High-Protein Cottage Cheese Chocolate Mousse brings
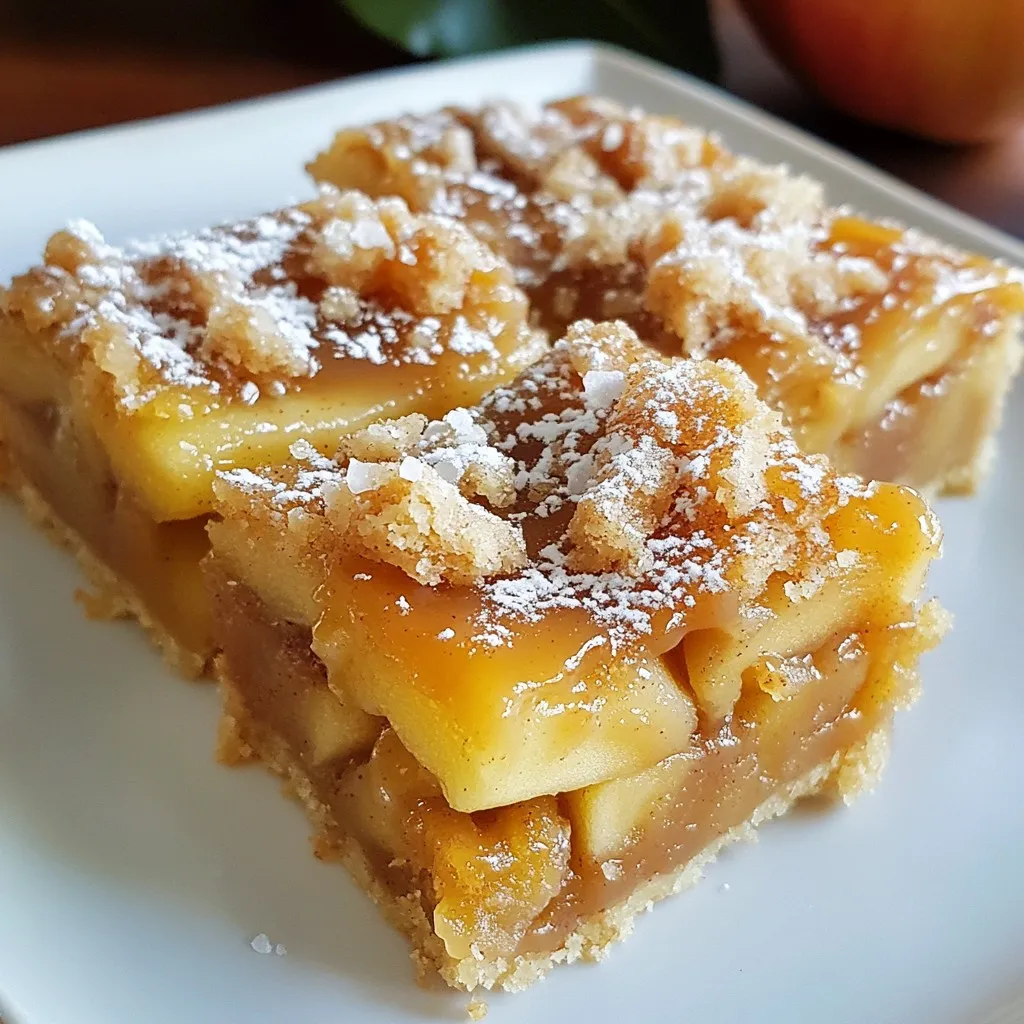
If you’re craving a dessert that balances sweet and salty, you’ve found it! My Salted Caramel Apple Bars are your
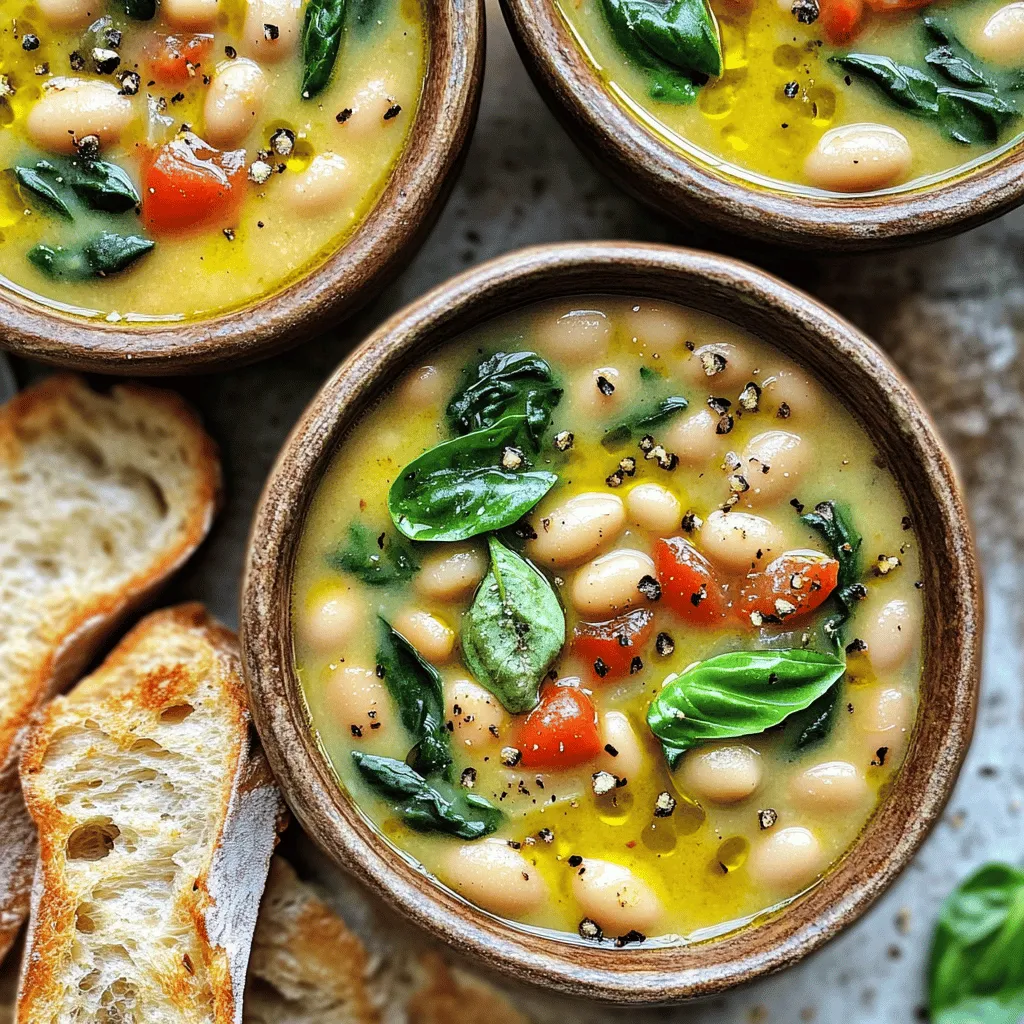
Looking for a hearty, delicious soup that cooks itself? Let me introduce you to my Creamy Tuscan White Bean Soup!
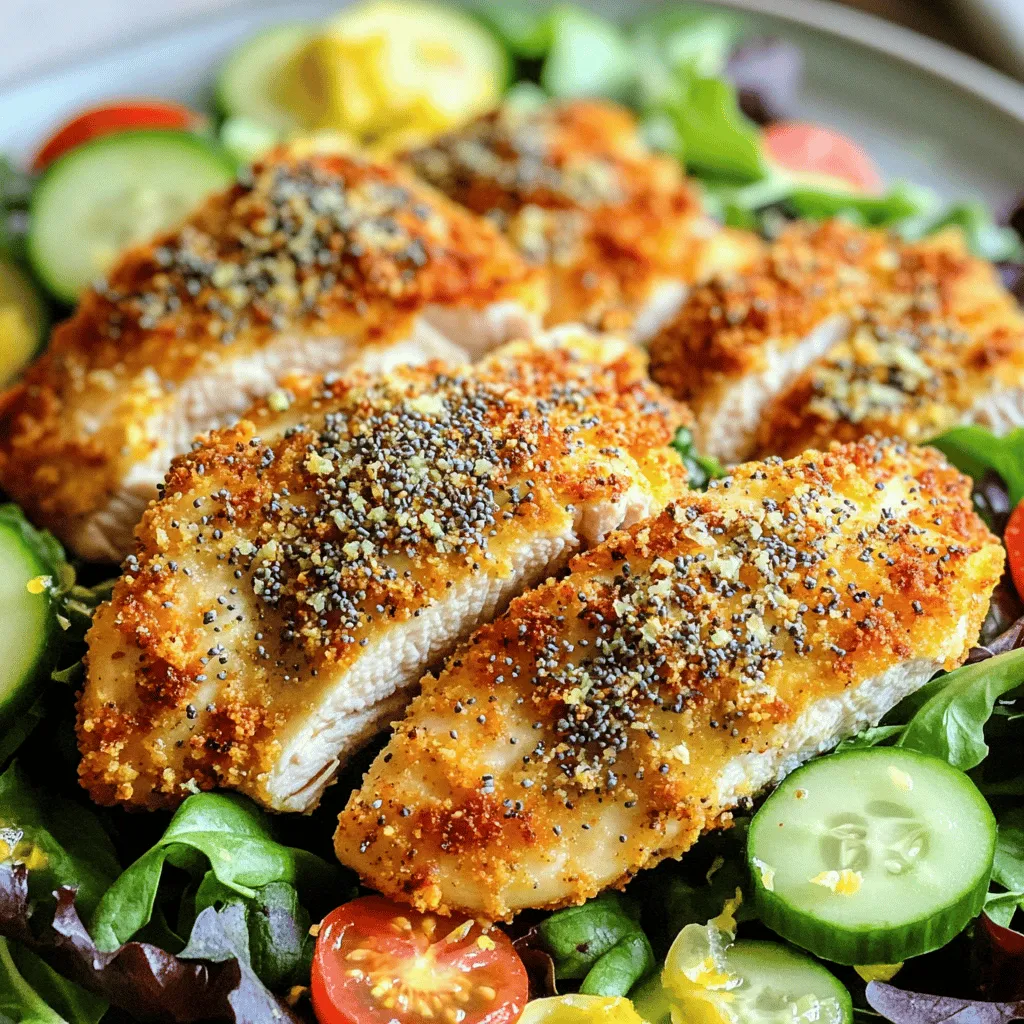
Looking to spice up your dinner routine? Try my Air Fryer Everything Bagel Chicken! With crispy, crunchy bits of everything
