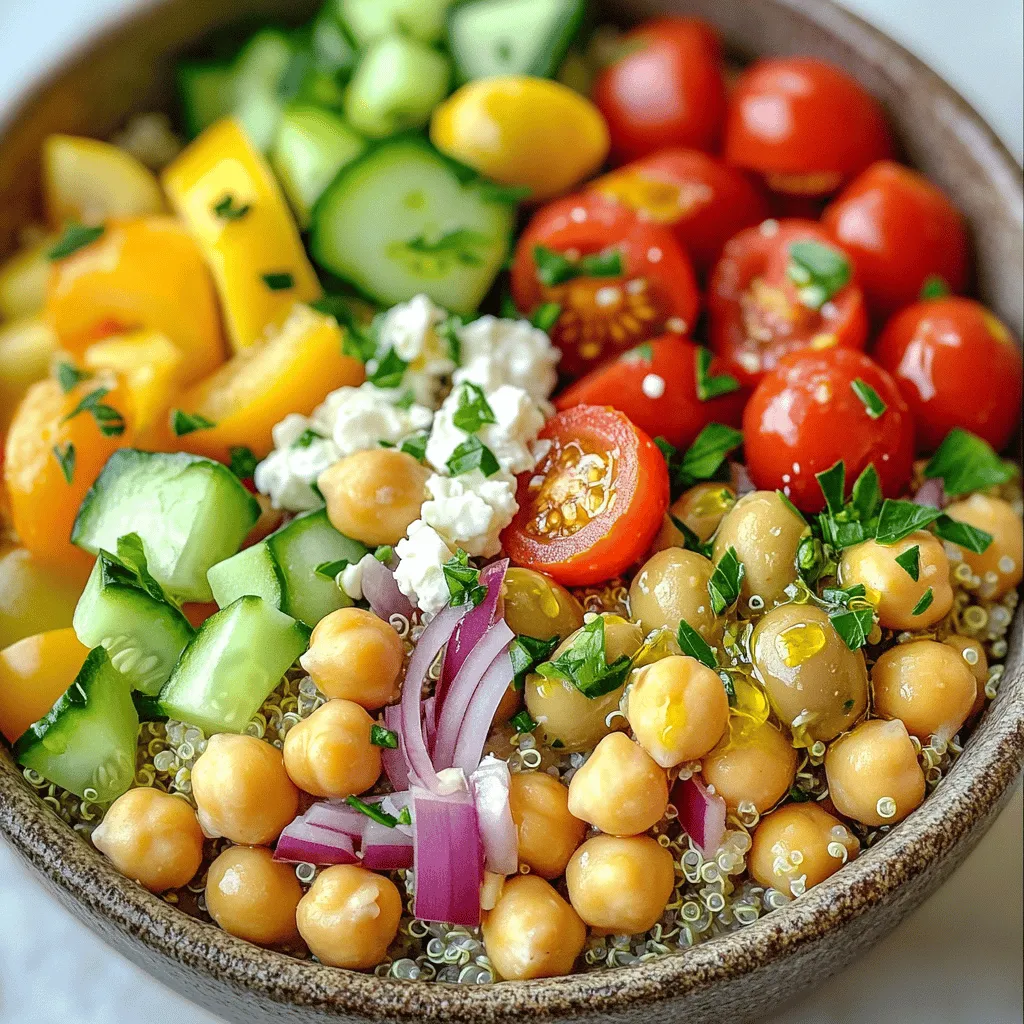
Mediterranean Chickpea Quinoa Bowls Flavorful Meal
Looking for a meal that’s as tasty as it is healthy? Mediterranean Chickpea Quinoa Bowls are your answer! Packed with

Looking for a meal that’s as tasty as it is healthy? Mediterranean Chickpea Quinoa Bowls are your answer! Packed with
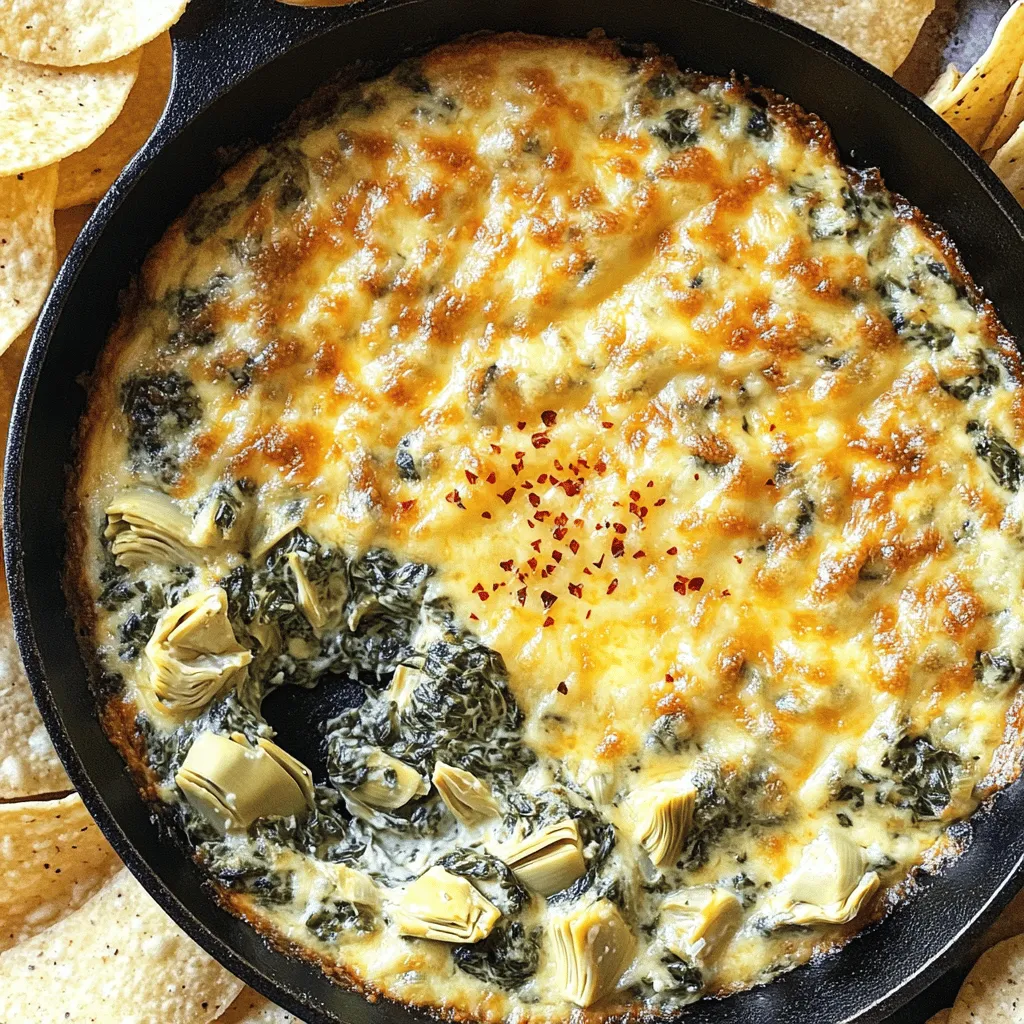
Looking for a tasty dip that’s easy to make? You’ve found it! My Skillet Spinach Artichoke Dip combines fresh veggies
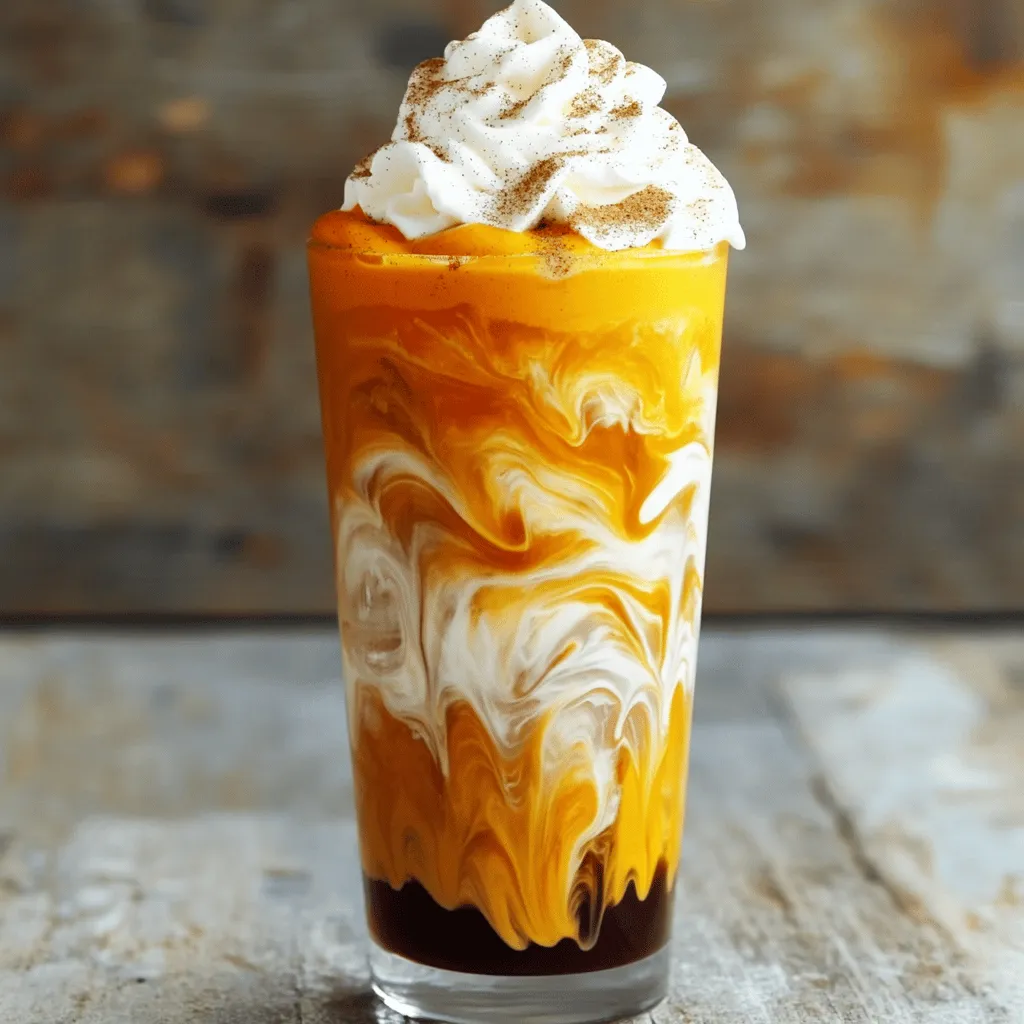
Craving a taste of fall? You can easily make a Homemade Pumpkin Cream Cold Brew right at home! This creamy,
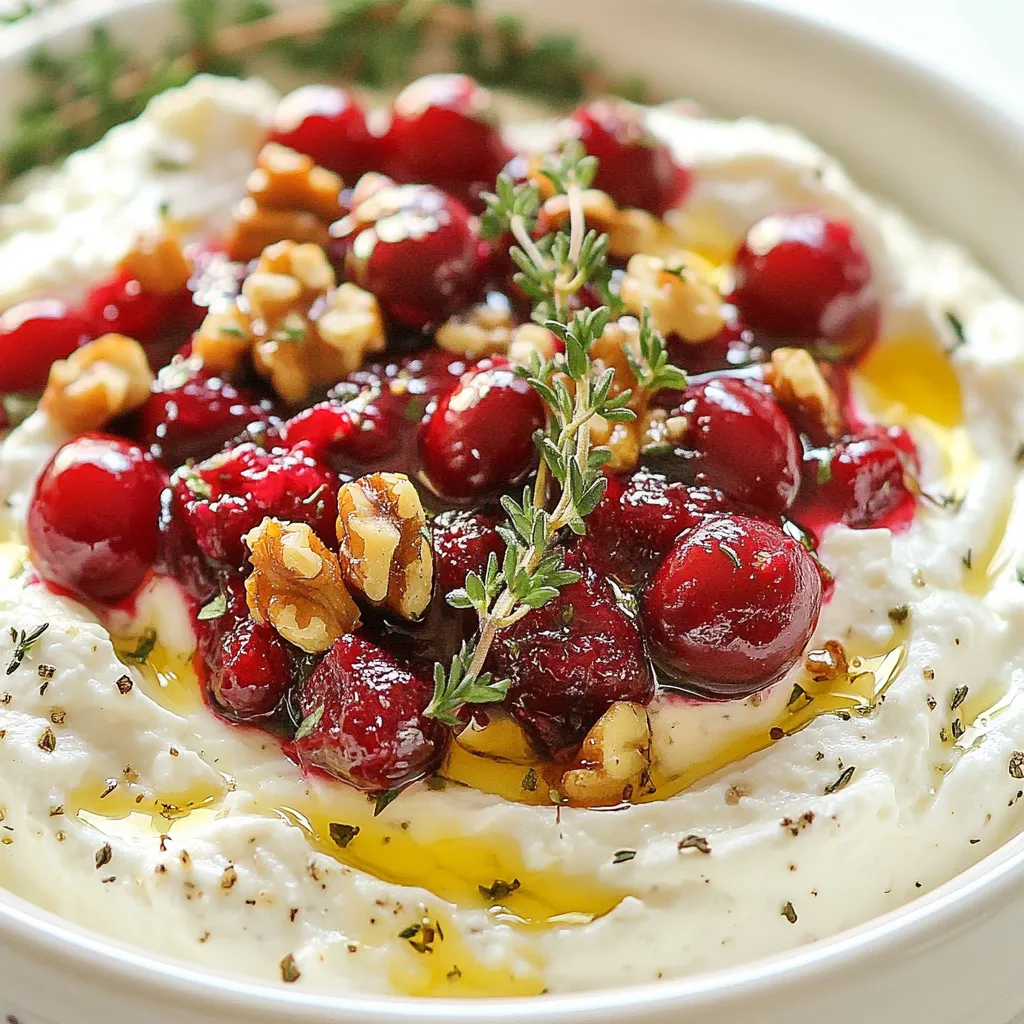
Get ready to impress your guests with a delightful snack: Cranberry Whipped Feta Dip! This creamy and tangy dip is

Craving that signature sweet and tangy flavor of Panda Express Orange Chicken? You’re in the right place! This easy copycat

Looking for a treat that combines chocolate, coffee, and banana? You’ve found it! This Chocolate Espresso Banana Bread is both
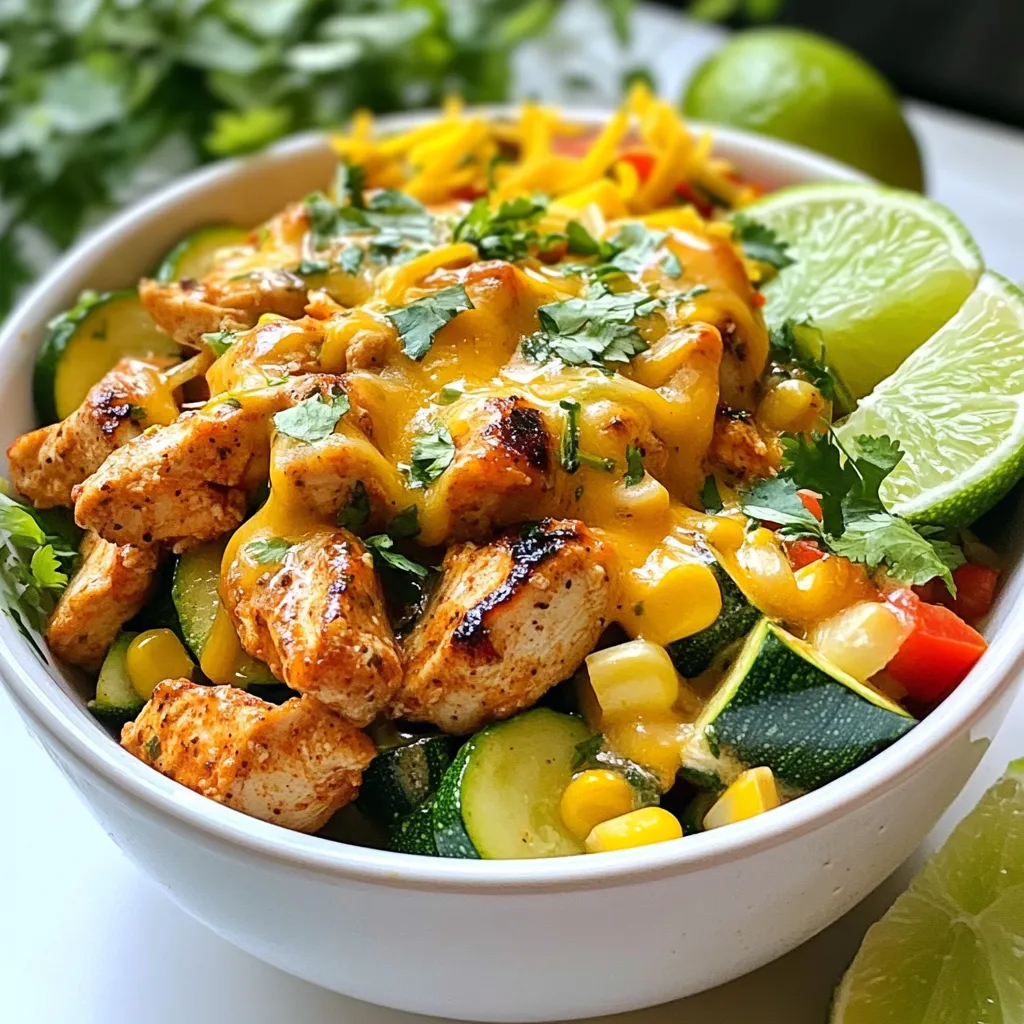
Craving a vibrant meal that bursts with flavor? Look no further! This Tex Mex Chicken and Zucchini recipe blends juicy
If you’re craving a dish that’s both healthy and bursting with flavor, you’ve come to the right place! Join me

Looking for a sweet treat that’s easy to make? Try my No Bake Peppermint Cheesecake Bites! These little delights combine
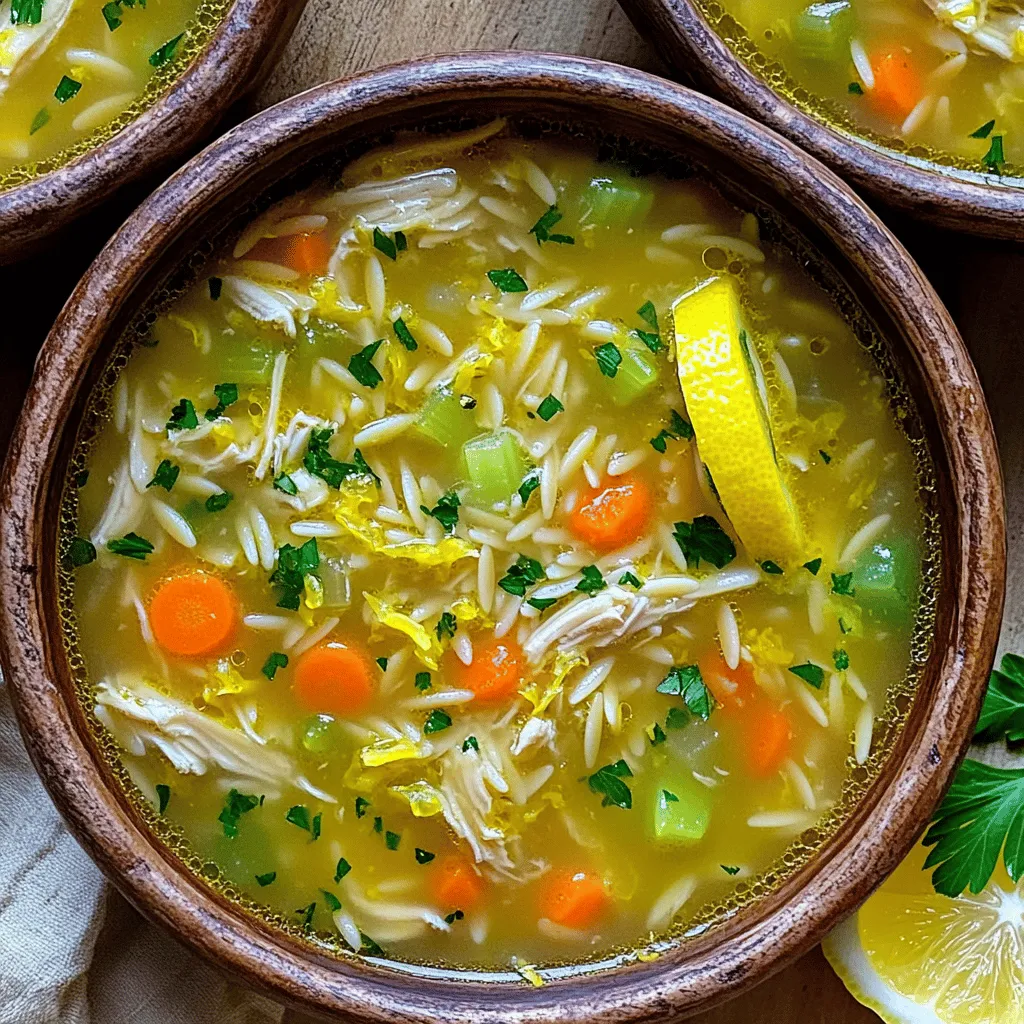
If you’re craving a warm, comforting soup that bursts with flavor, you’re in the right place. Greek Lemon Chicken Soup
