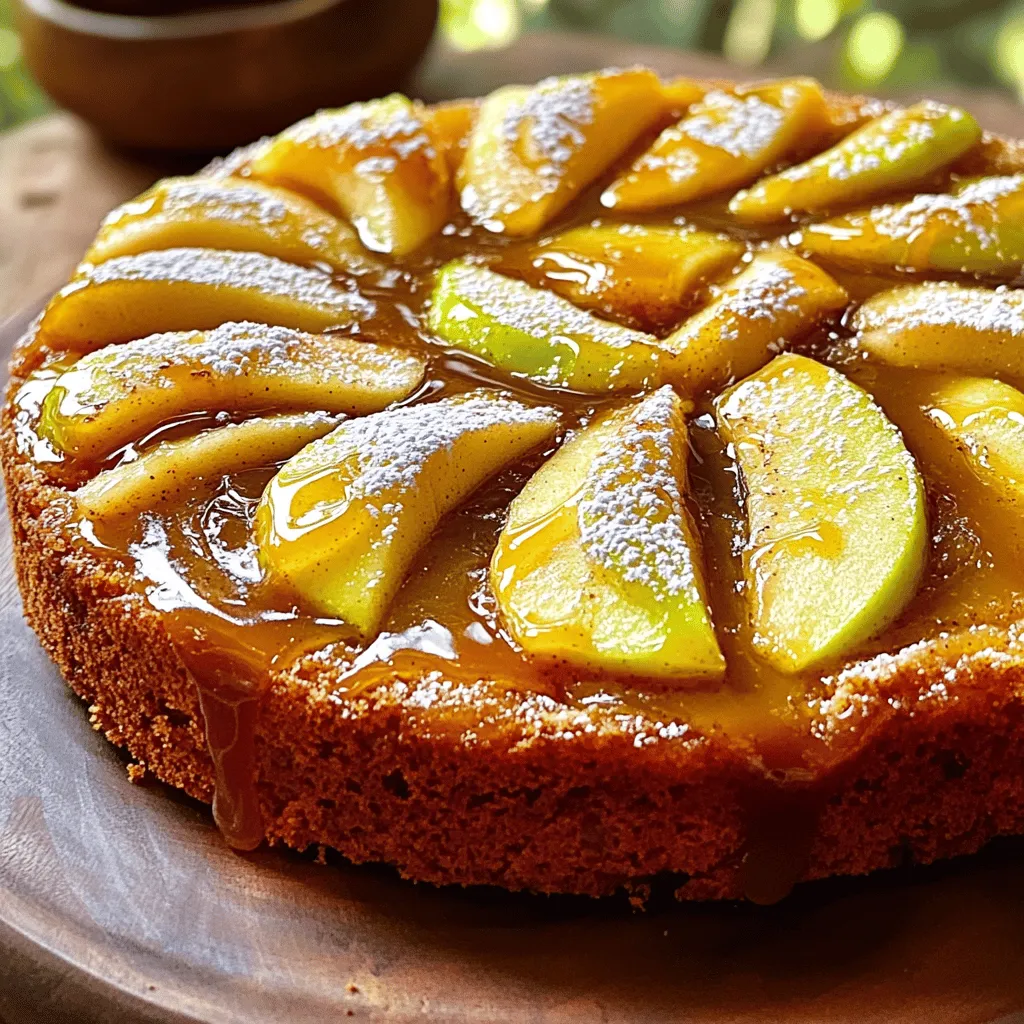
Caramel Apple Upside-Down Cake Irresistible and Sweet
If you’re craving a sweet treat that will impress everyone, look no further! This Caramel Apple Upside-Down Cake combines juicy

If you’re craving a sweet treat that will impress everyone, look no further! This Caramel Apple Upside-Down Cake combines juicy
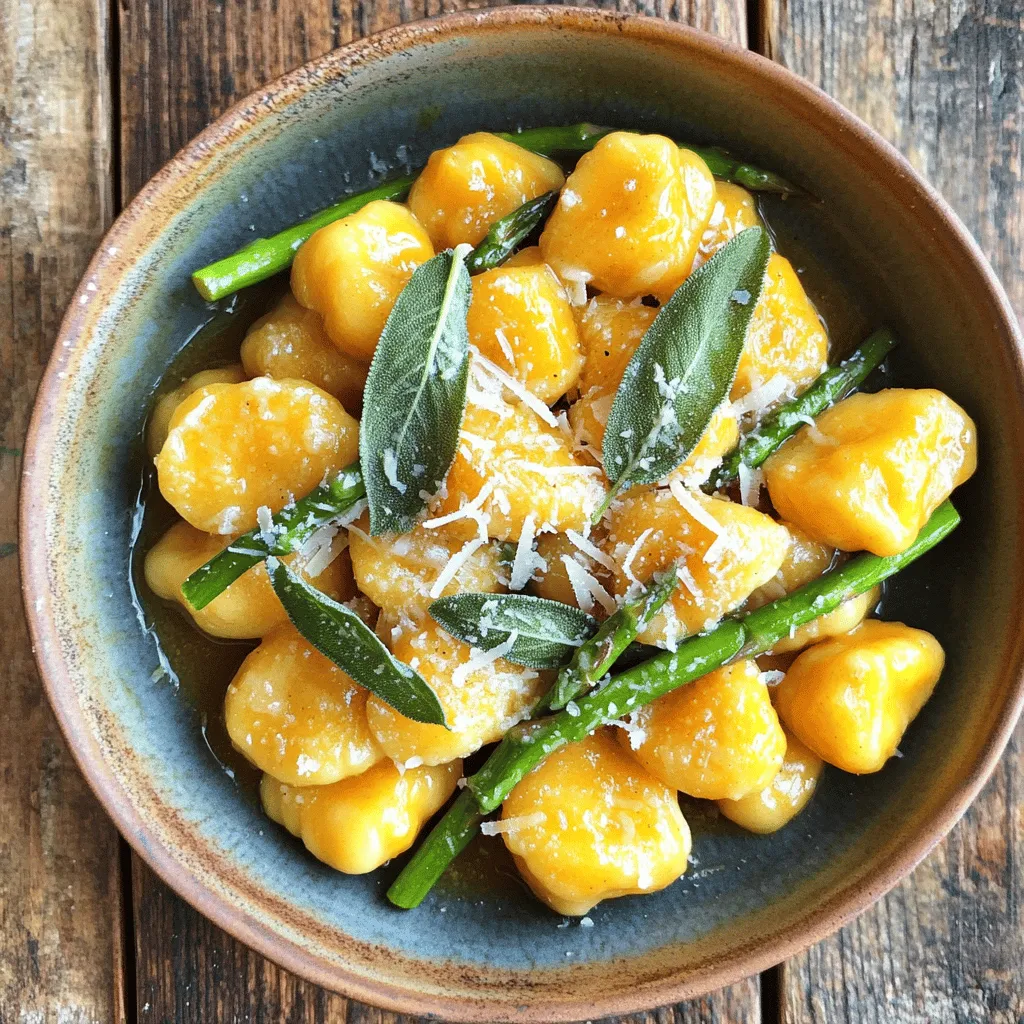
Warm up your kitchen with my Cozy Butternut Squash Gnocchi with Brown Butter Sage. This dish combines sweet butternut squash,
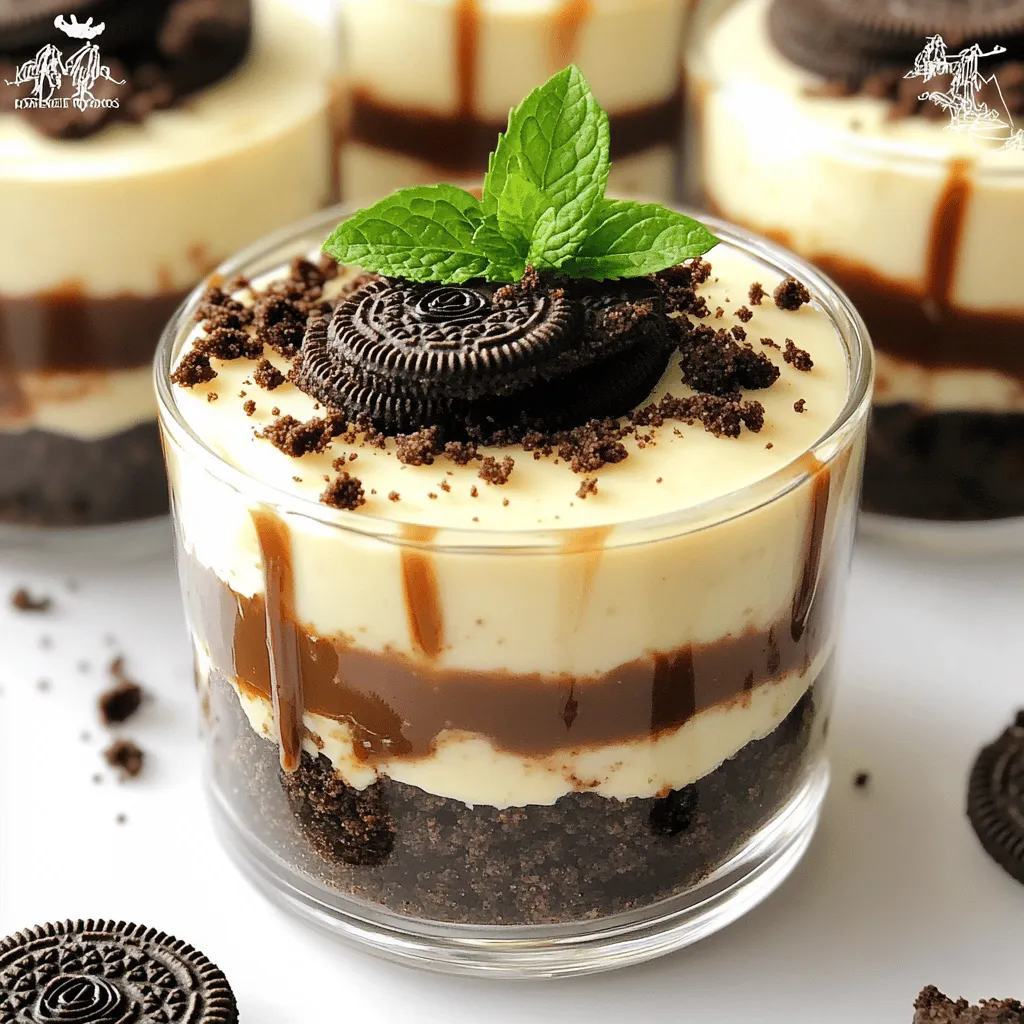
Are you ready to indulge in a sweet and creamy delight? These No-Bake Oreo Cheesecake Cups are quick to whip
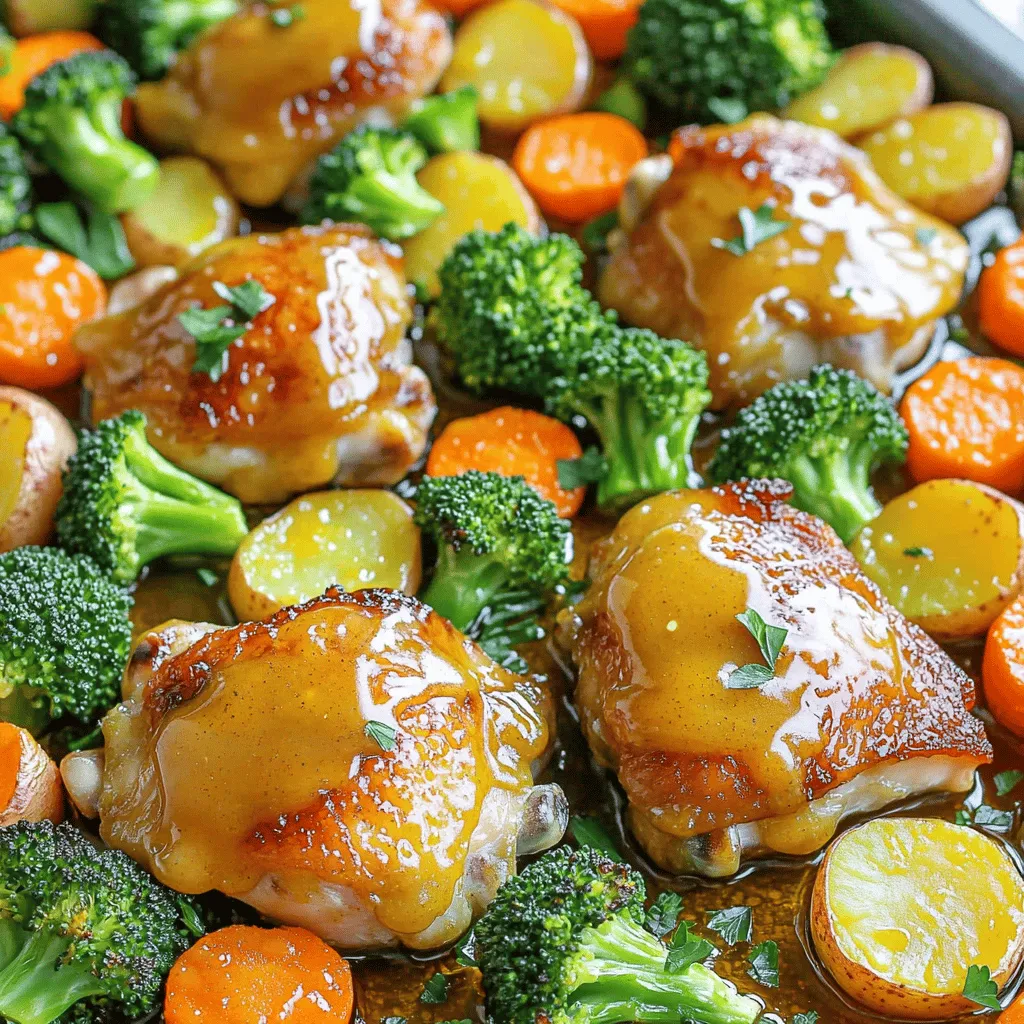
Looking for a simple, tasty dinner idea? My Sheet-Pan Honey Mustard Chicken and Veggies Delight is here to impress! This
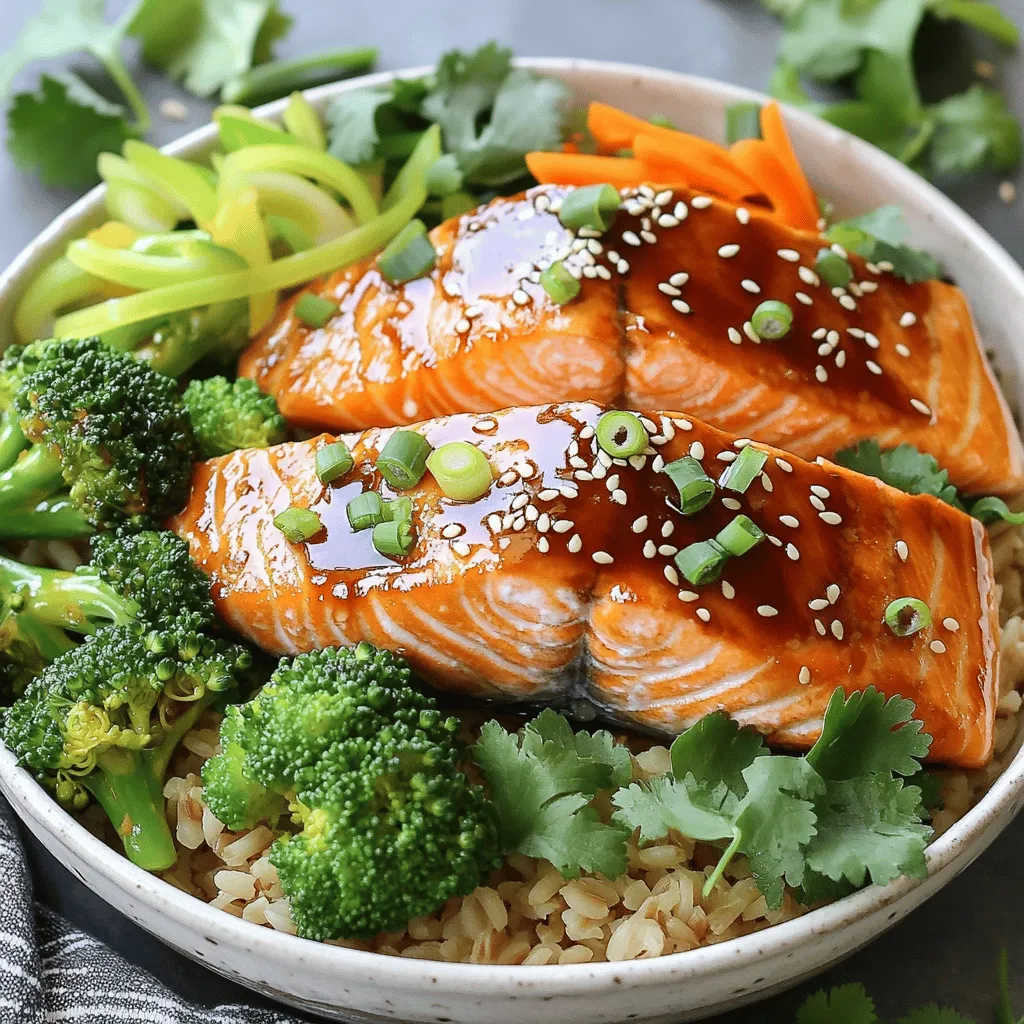
If you’re looking for a quick, delicious meal, you’ll love my Minute High-Protein Teriyaki Salmon Bowls! This dish is packed
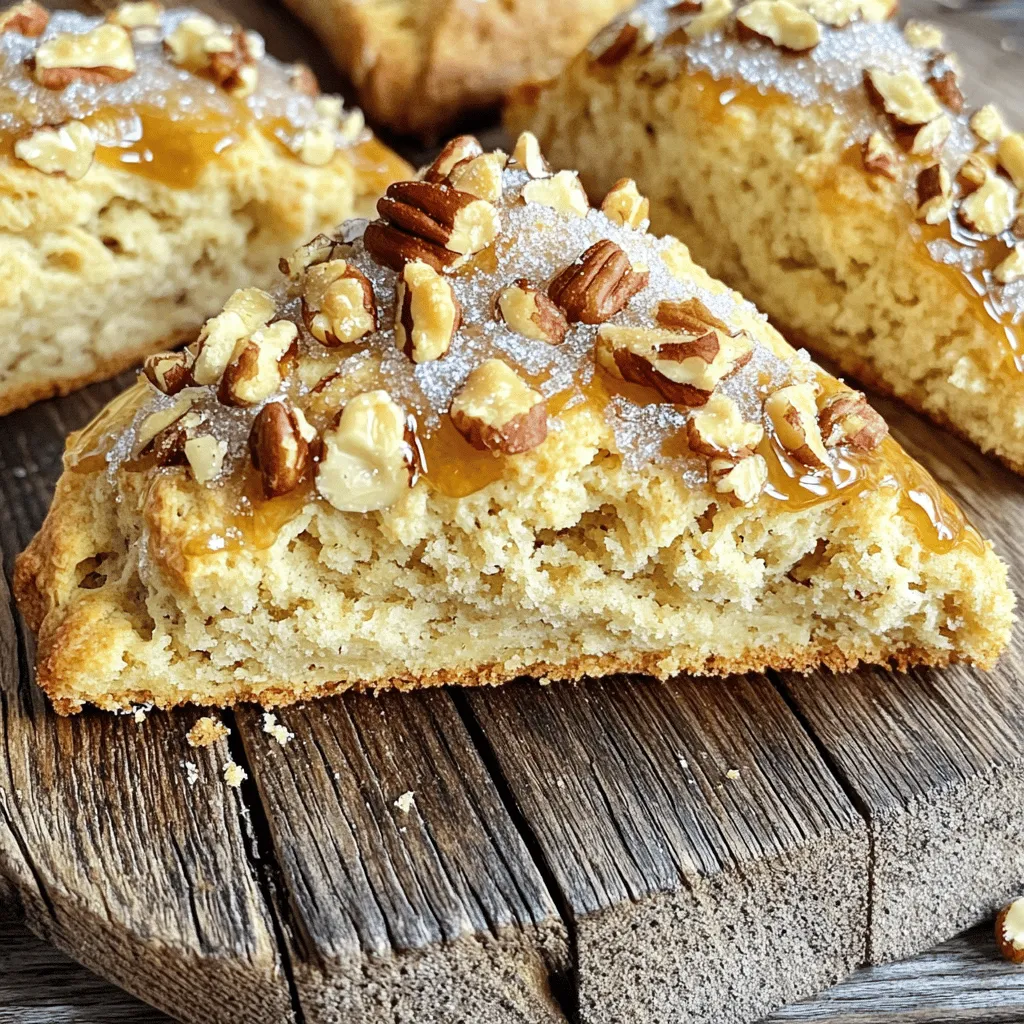
If you’re craving a sweet, flaky treat that tastes like it came straight from a bakery, you’re in the right

Craving a dish that packs a punch? Let’s dive into my Slow Cooker Chipotle Beef Enchiladas! This rich and flavorful

Craving a fun twist on a classic dish? Try my Spaghetti Garlic Bread Bowls! You won’t just taste the delicious

Busy nights can be a real challenge when it comes to dinner. You want something tasty and quick. That’s where
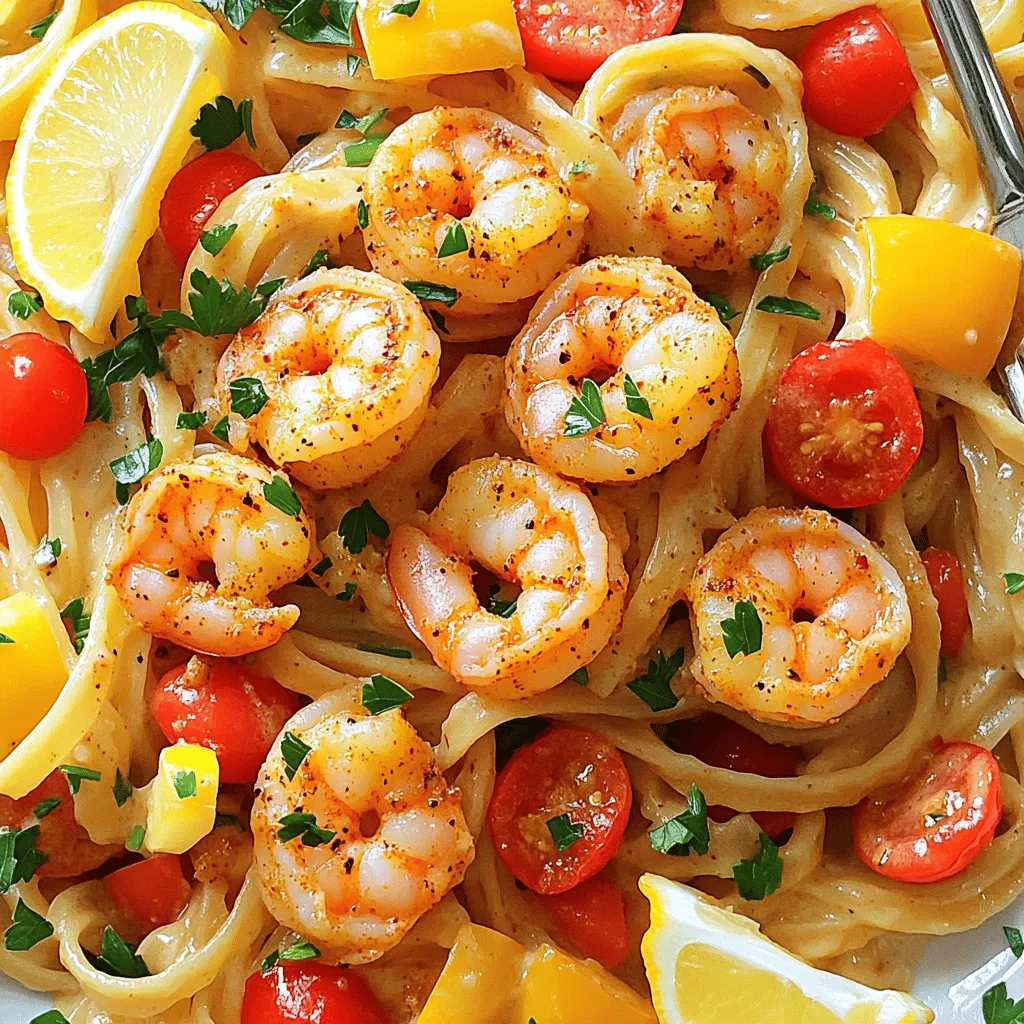
Craving a quick and tasty dinner? Minute Cajun Shrimp Pasta is your answer! This dish packs a punch with bold
