
Pumpkin Chocolate Chip Muffins Delightfully Simple Recipe
Are you ready to bake something delicious? My Pumpkin Chocolate Chip Muffins recipe is simple and fun! With easy steps

Are you ready to bake something delicious? My Pumpkin Chocolate Chip Muffins recipe is simple and fun! With easy steps
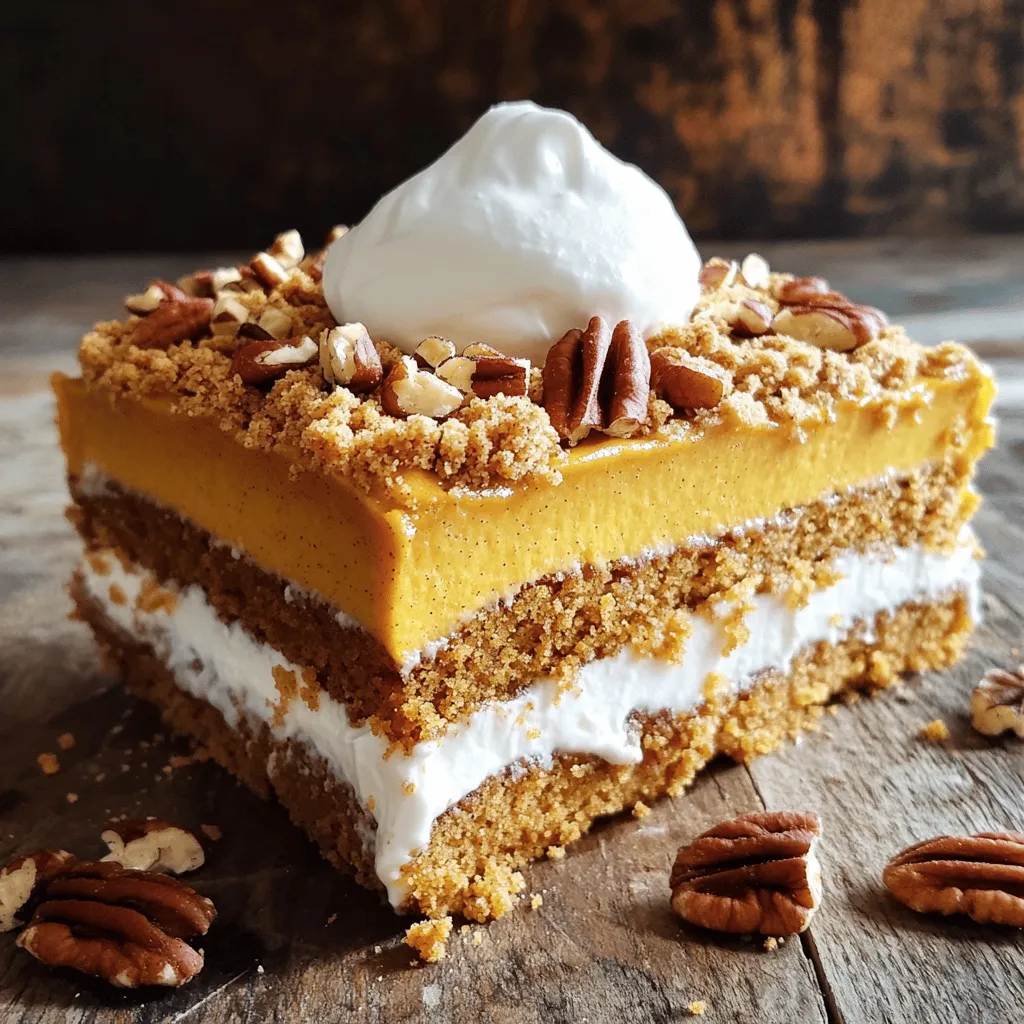
Autumn is here, and that means it’s time for Pumpkin Crunch Cake! This irresistible dessert mixes creamy pumpkin with a
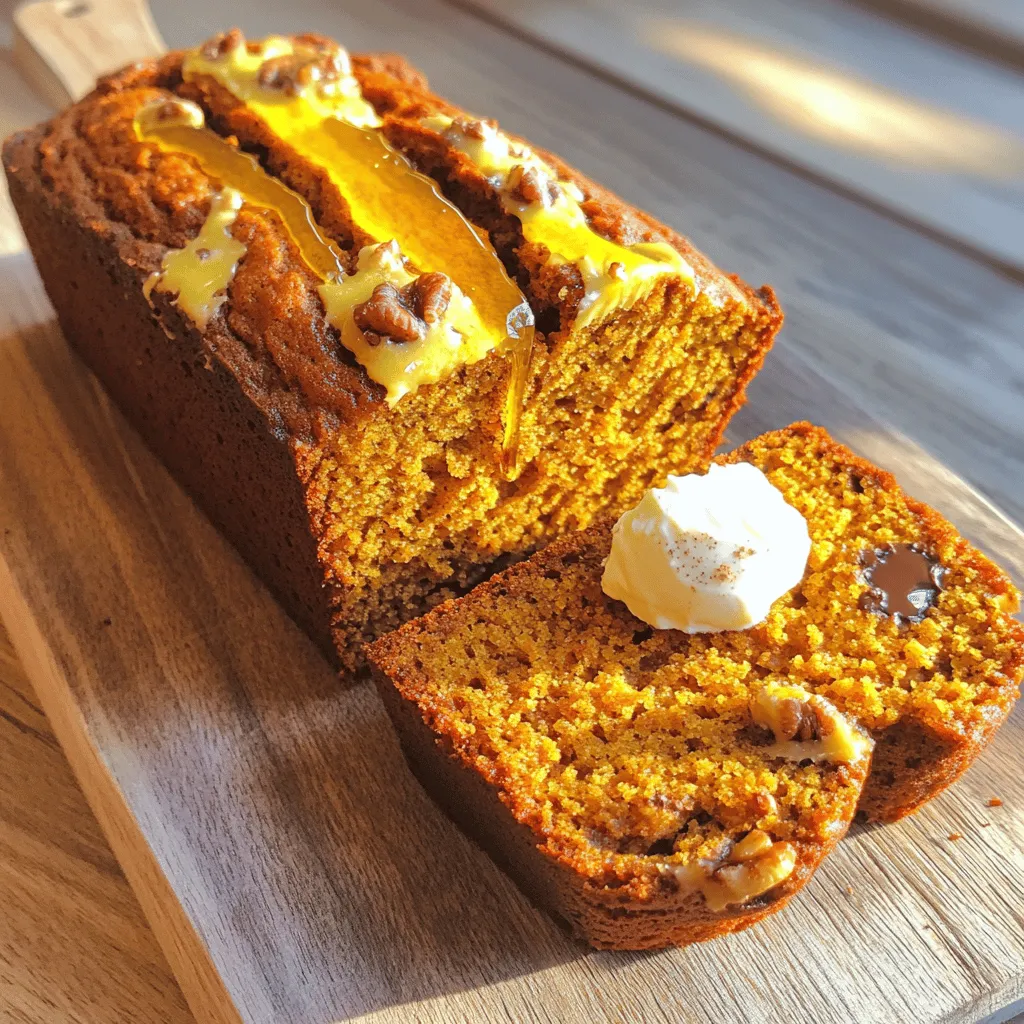
Are you ready to bake the best moist pumpkin bread ever? This simple and flavorful recipe will delight your taste

Are you ready to treat your taste buds? Honey Butter Cornbread Poppers are easy to make and deliciously sweet. These
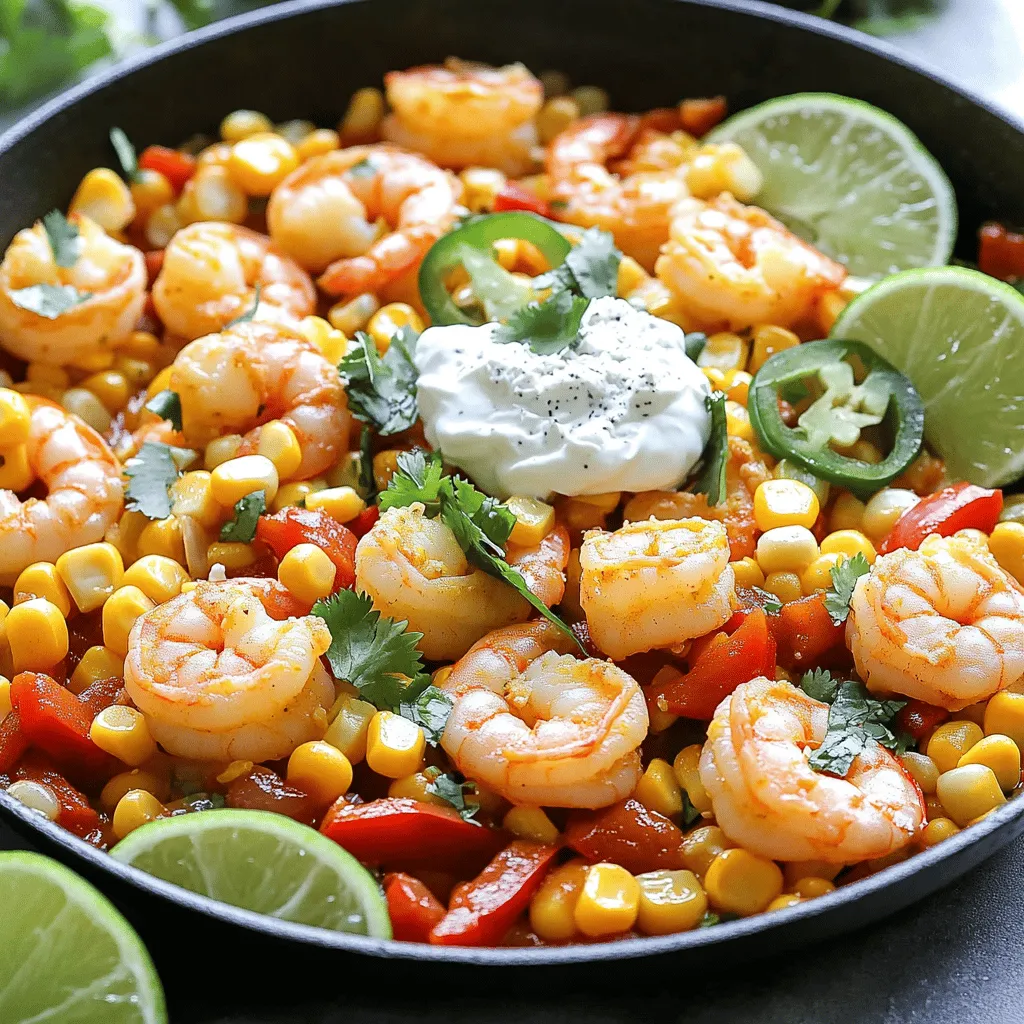
Get ready to savor a burst of flavor with my Zesty Mexican Street Corn Shrimp Skillet Delight! This dish combines
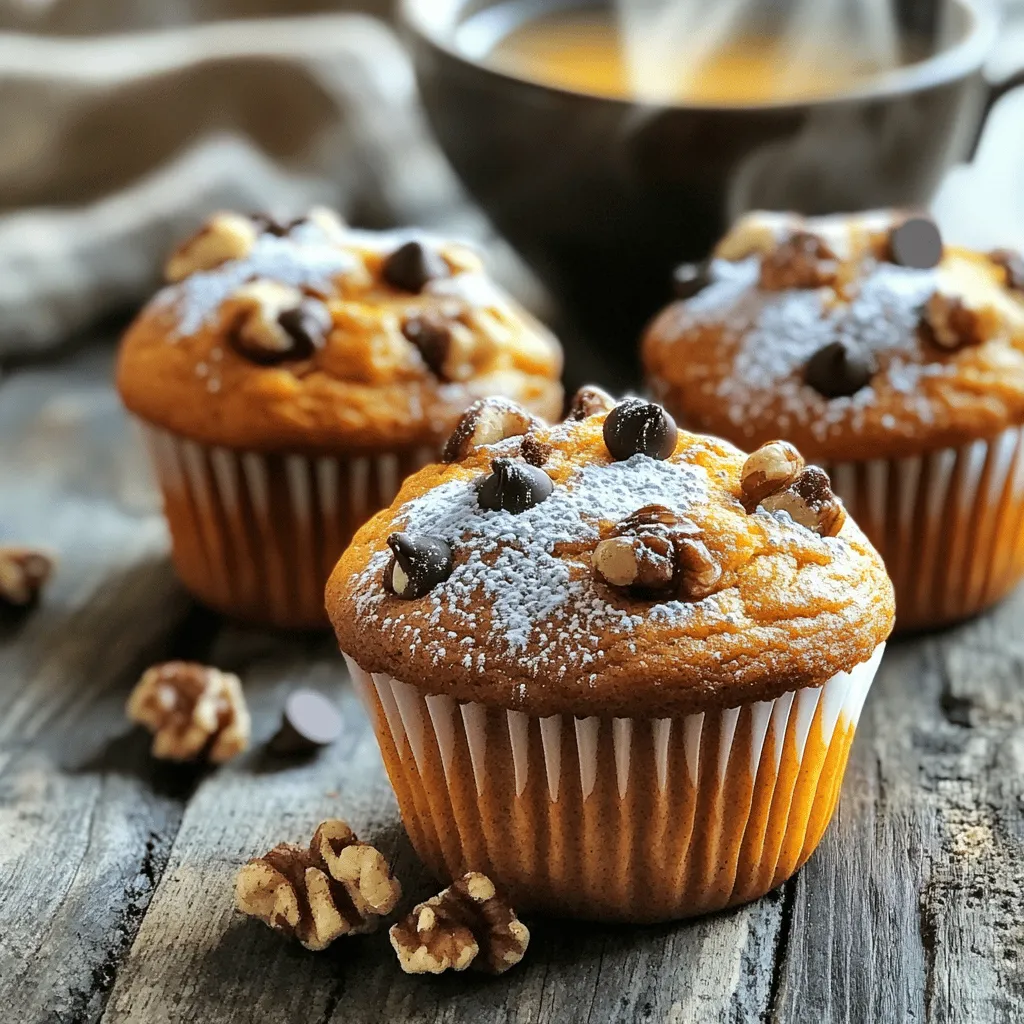
Are you craving a warm treat that’s easy to make? Look no further! My Easy Pumpkin Muffins are quick, simple,
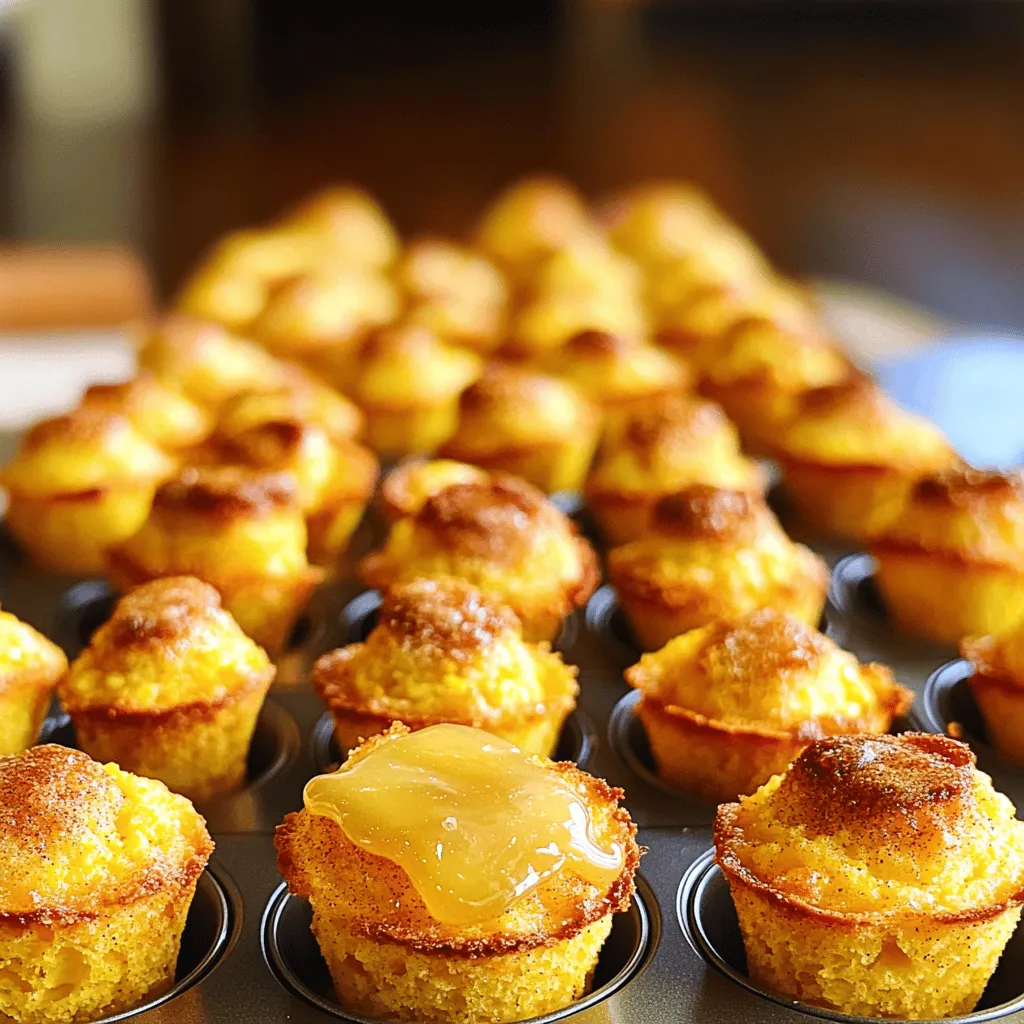
Welcome to a delicious journey! Today, we’ll dive into making Southern Honey Butter Cornbread Poppers that are not just tasty
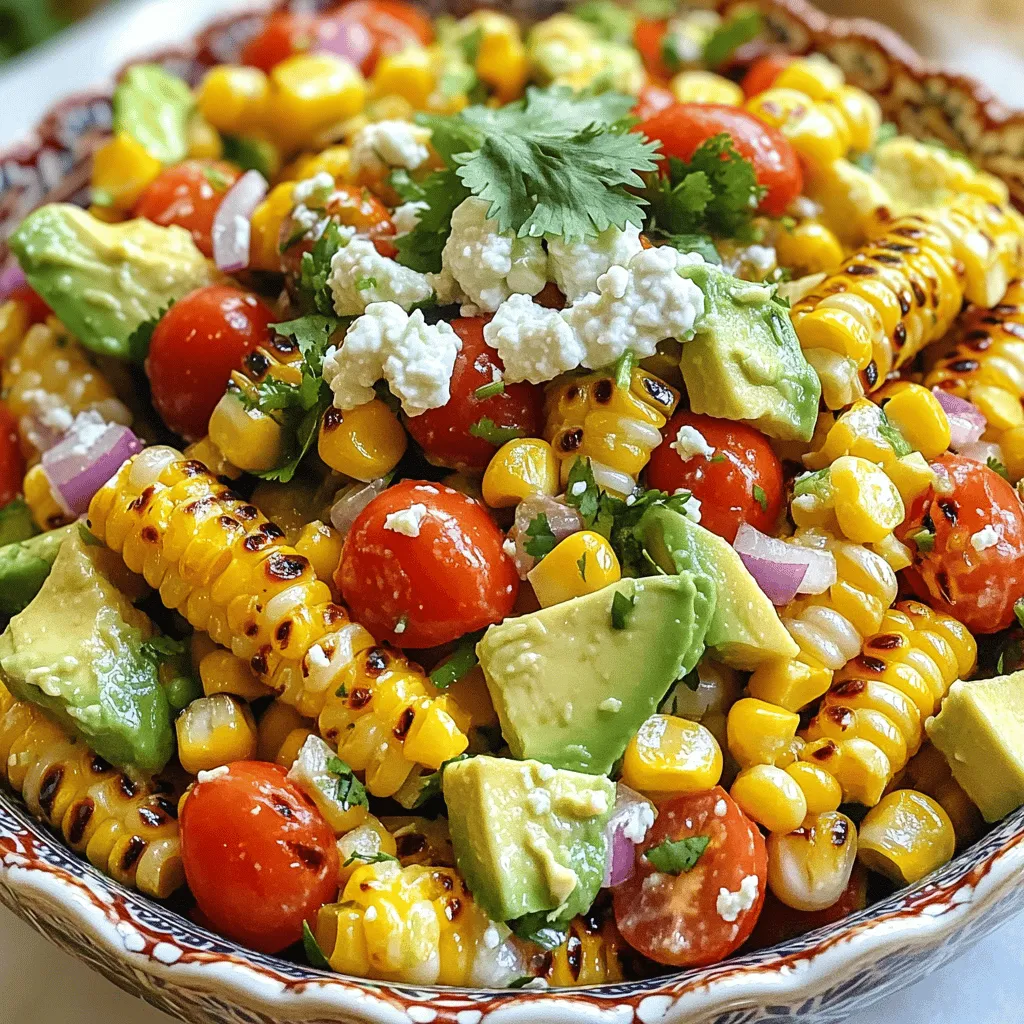
If you love bold flavors and fresh ingredients, this Savory Mexican Street Corn Salad is for you! Packed with sweet

If you’re craving a sweet treat that captures the essence of fall, you’ve come to the right place. This Pumpkin
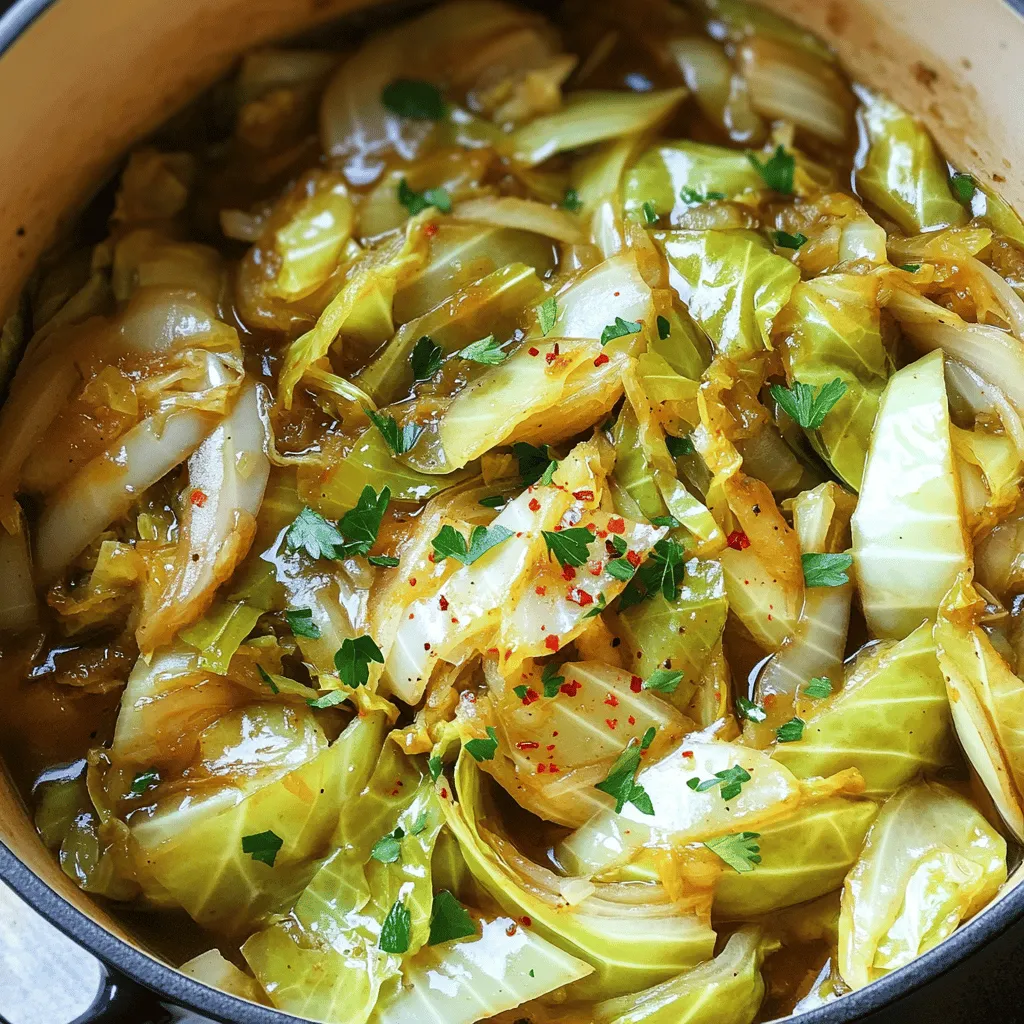
Looking for a tasty and easy dish that can spice up your meals? Sweet and sour braised cabbage delivers on
