Simple Weeknight Bolognese Quick and Flavorful Recipe
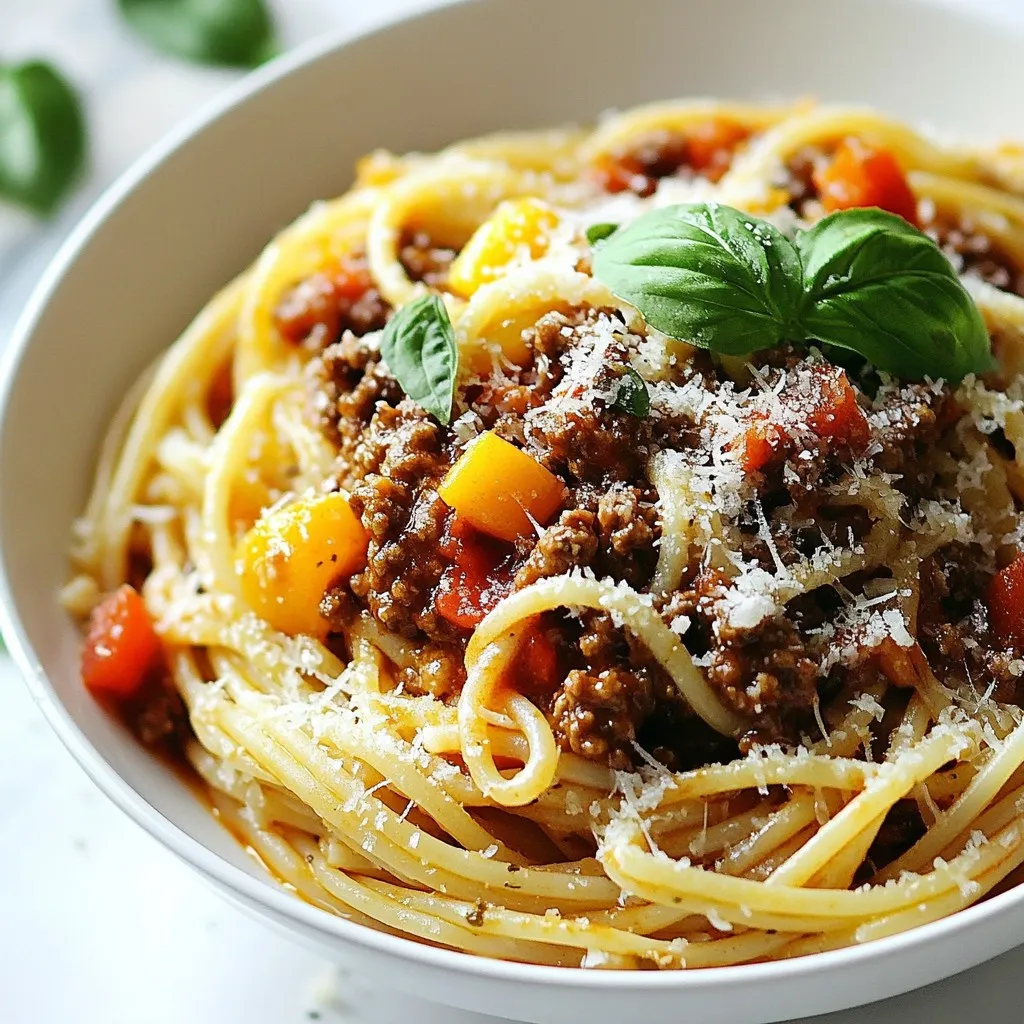
Looking for a quick yet tasty dinner option? My Simple Weeknight Bolognese is just what you need! This recipe brings

Looking for a quick yet tasty dinner option? My Simple Weeknight Bolognese is just what you need! This recipe brings
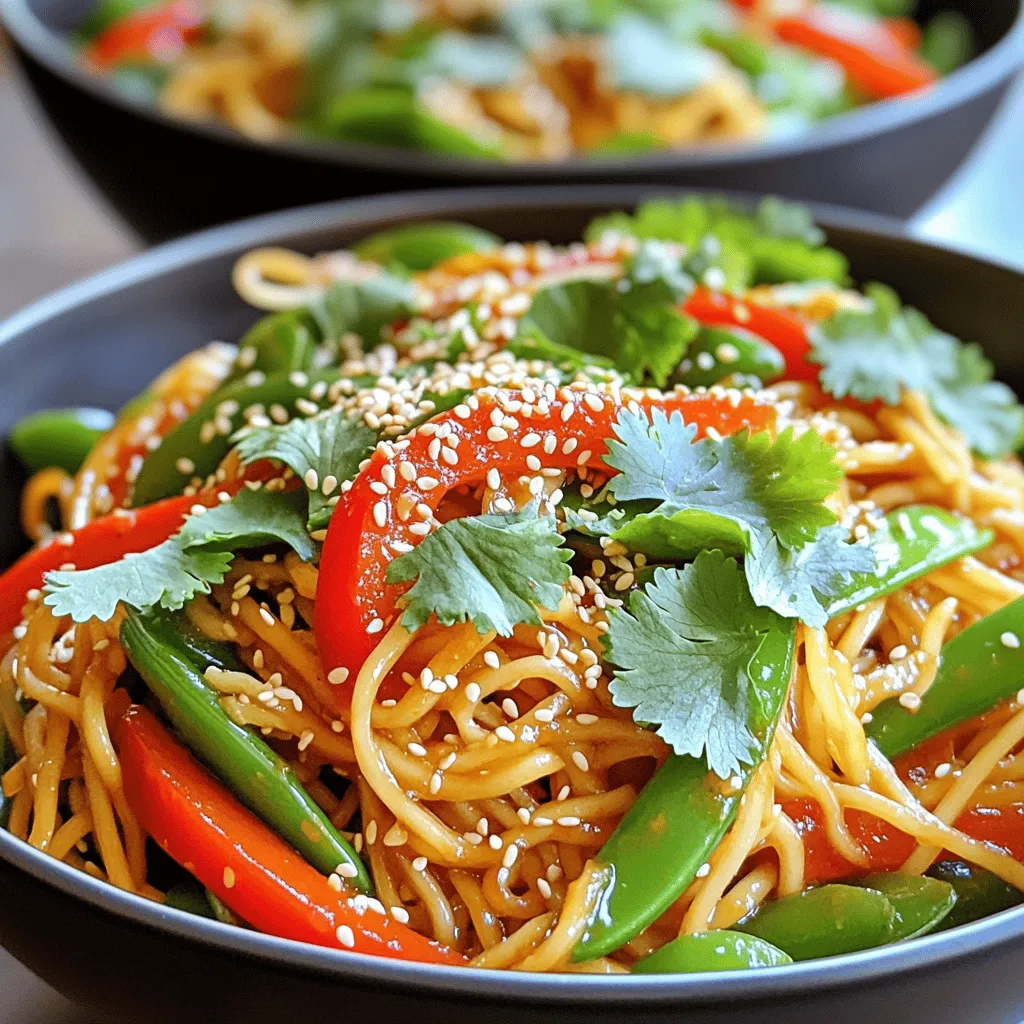
Are you ready for an easy dinner that packs a punch? My Savory Sesame Chili Crisp Noodles are quick to
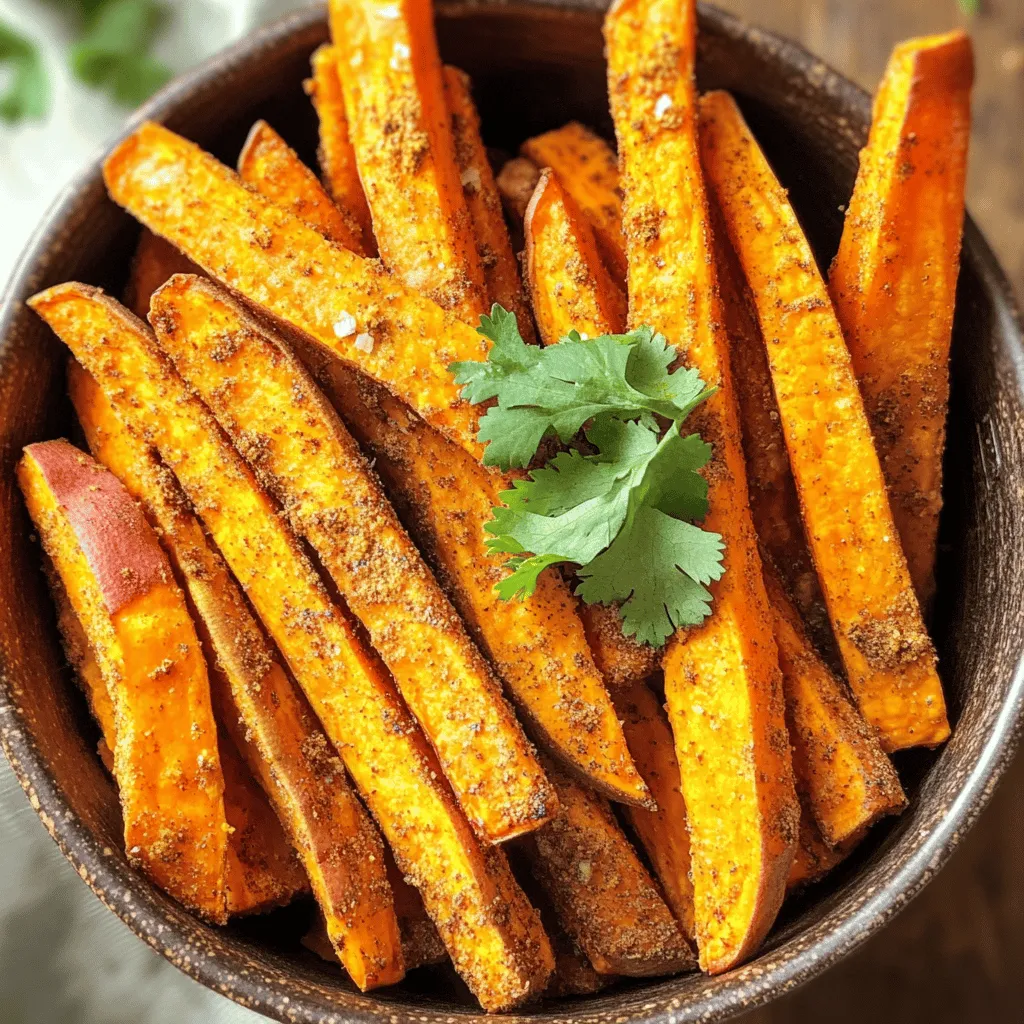
Looking for a tasty snack that’s also healthy? I’ve got just the thing! Air fryer sweet potato fries are crispy,
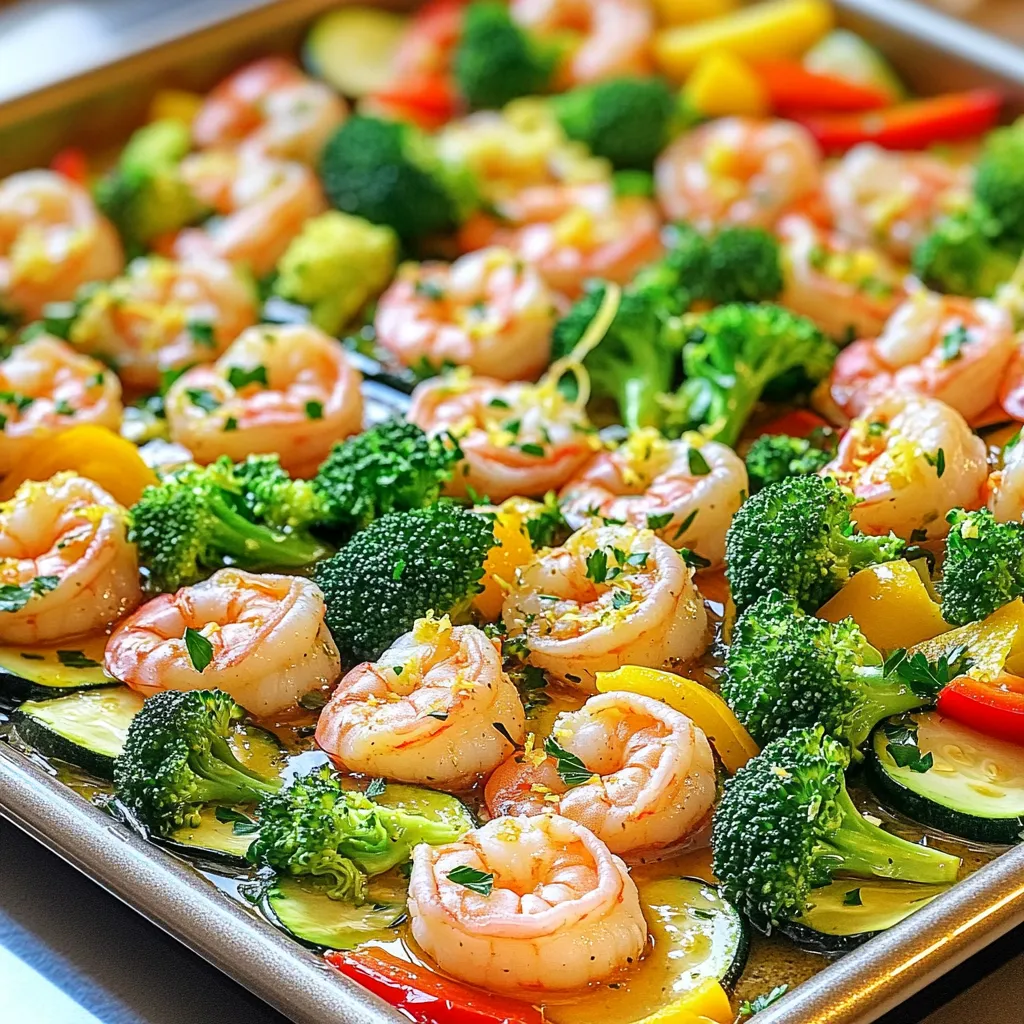
Looking for a quick, healthy meal that bursts with flavor? You’ve found it! My Savory Sheet-Pan Lemon Garlic Shrimp &
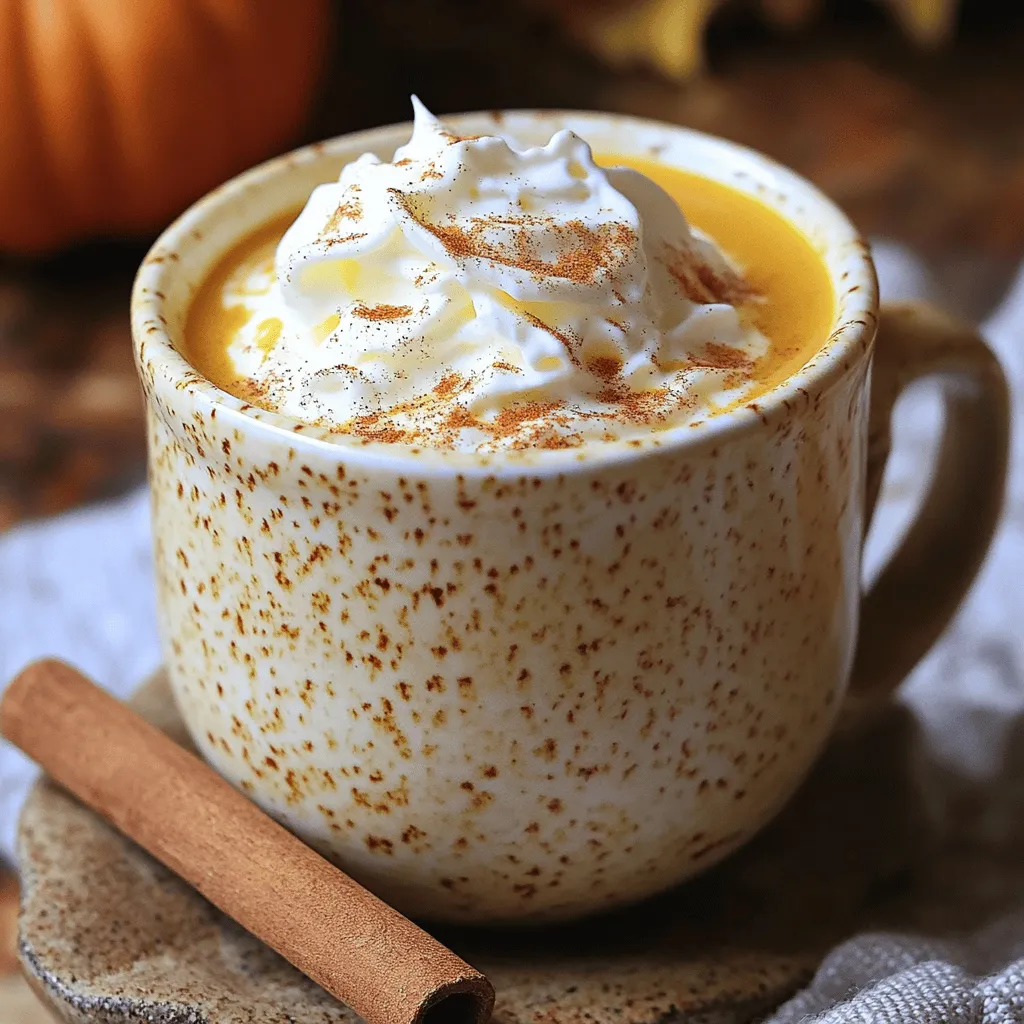
Fall is here, and that means it’s time for pumpkin chai lattes! This cozy drink wraps you in warm spices

Looking for a delicious way to boost your protein intake? You’ll love these High-Protein Cottage Cheese Pancakes! Packed with wholesome
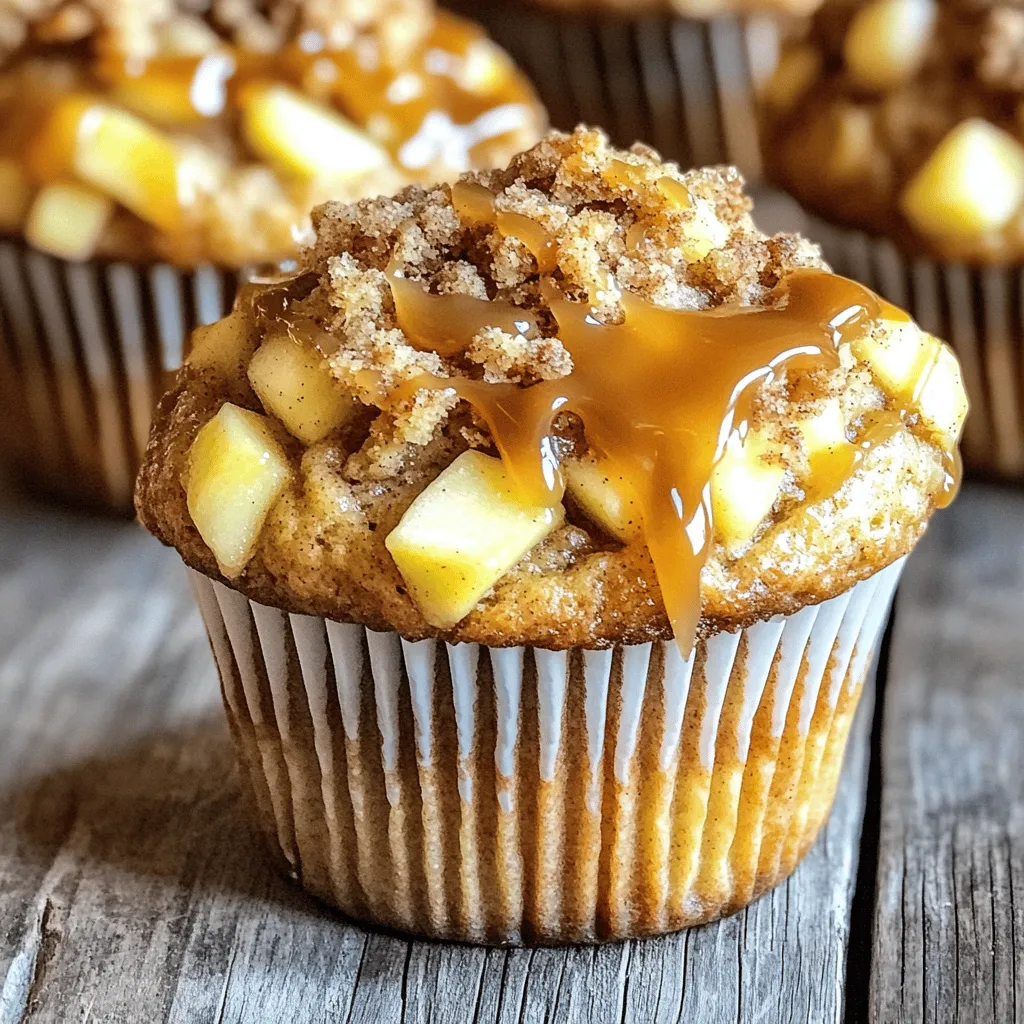
Warm, buttery, and sprinkled with cinnamon, Caramel Apple Streusel Muffins are a delight! You’ll love how simple they are to
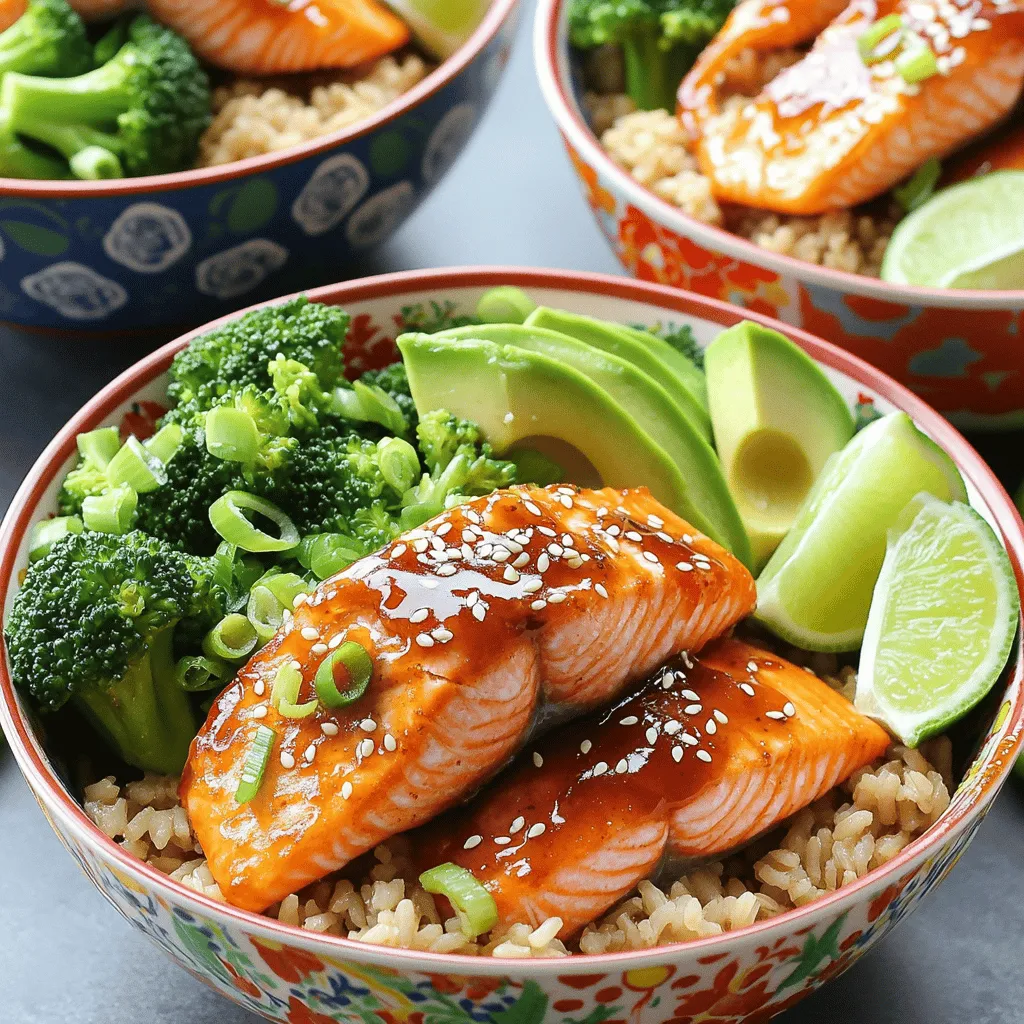
Are you ready to elevate your dinner game? Air Fryer Honey Sriracha Salmon Bowls are packed with flavor and easy

Are you ready to indulge in a sweet treat that combines two favorites: cheesecake and cookies? My Salted Caramel Cheesecake

If you’re seeking a comforting dish that warms both the body and soul, look no further. My Chicken Sweet Potato
