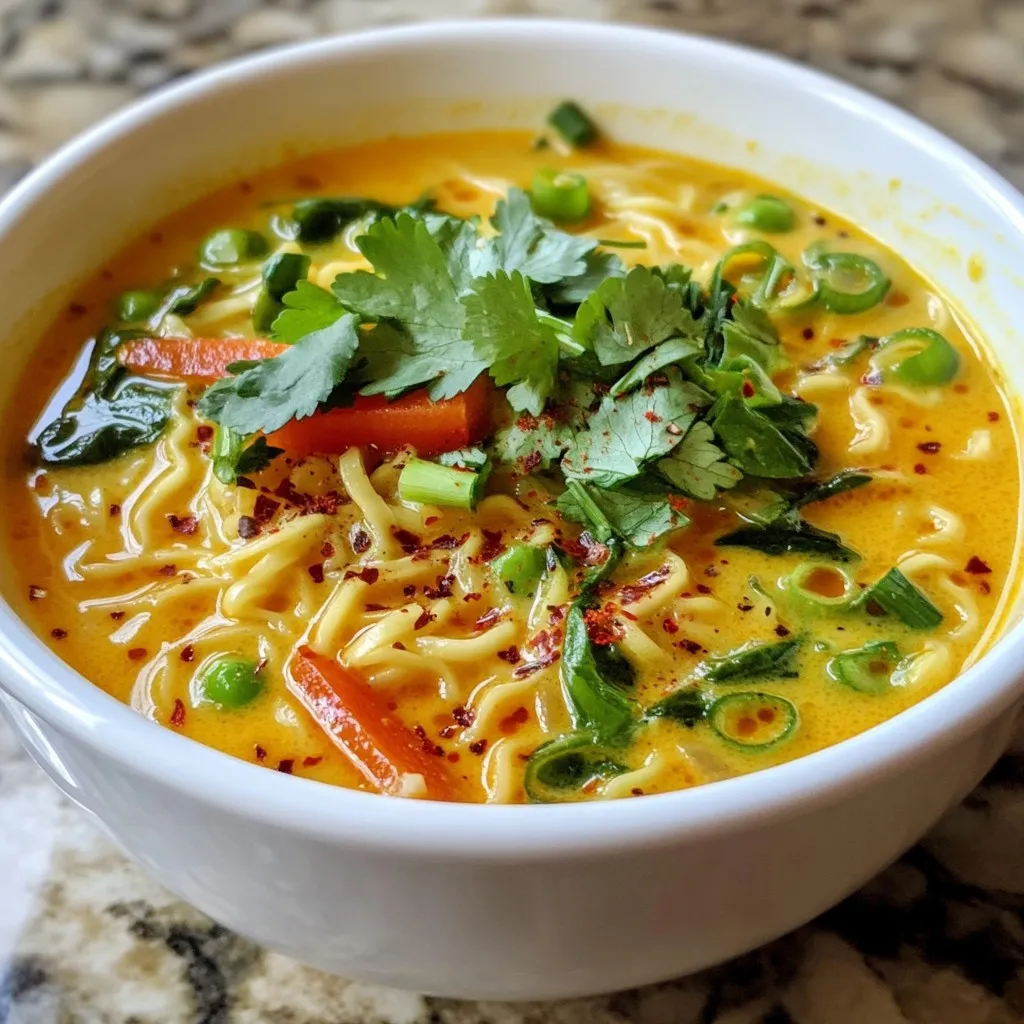
Spicy Coconut Curry Ramen Flavorful and Simple Meal
Are you ready to spice up your dinner routine? This Spicy Coconut Curry Ramen is simple yet bursting with flavor!

Are you ready to spice up your dinner routine? This Spicy Coconut Curry Ramen is simple yet bursting with flavor!
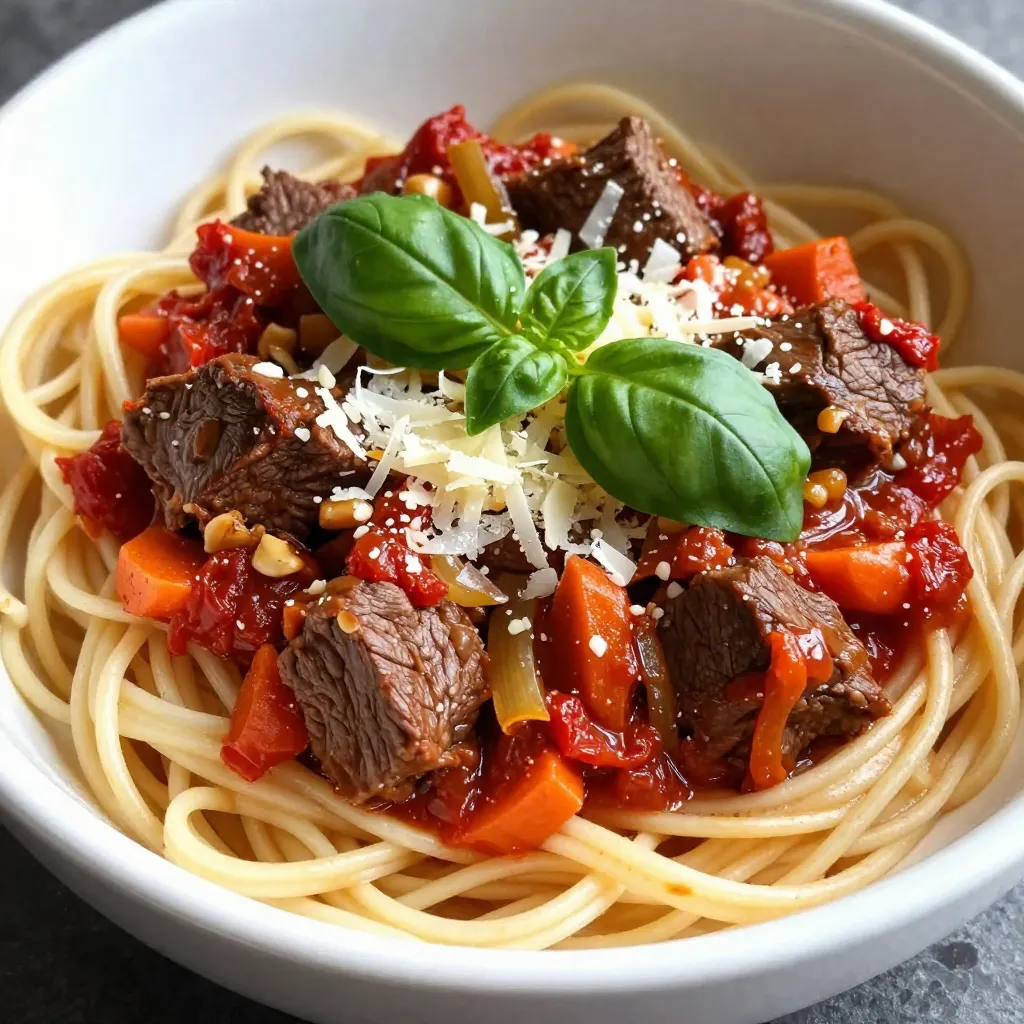
Are you ready to savor a warm bowl of Slow Cooker Beef Ragu? This hearty dish is simple to make

If you’re craving a meal bursting with flavor, look no further than Chicken Tikka Masala! This recipe is easy to

Get ready to indulge in a sweet and tangy treat with my White Chocolate Lemon Raspberry Cookies! These cookies offer
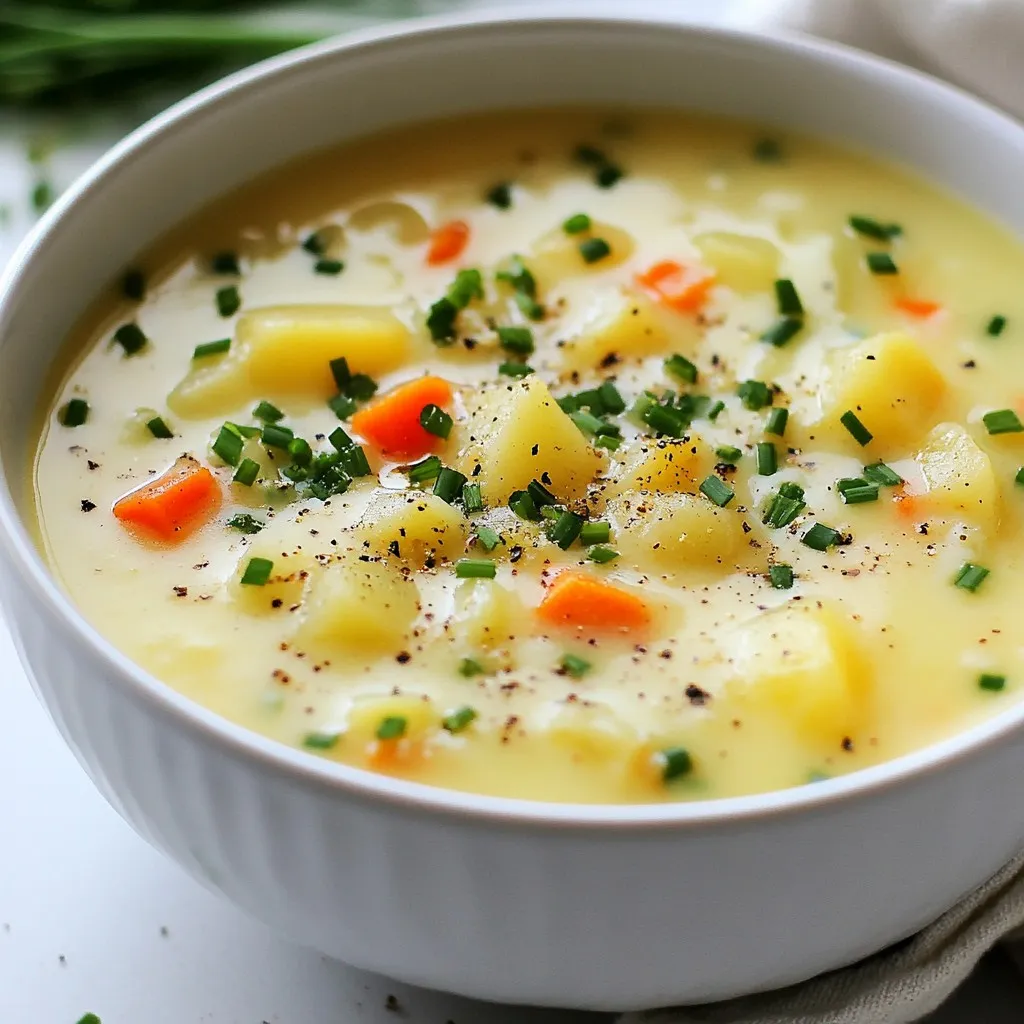
Are you ready to warm your heart and soul with a bowl of Classic German Potato Soup? This hearty dish
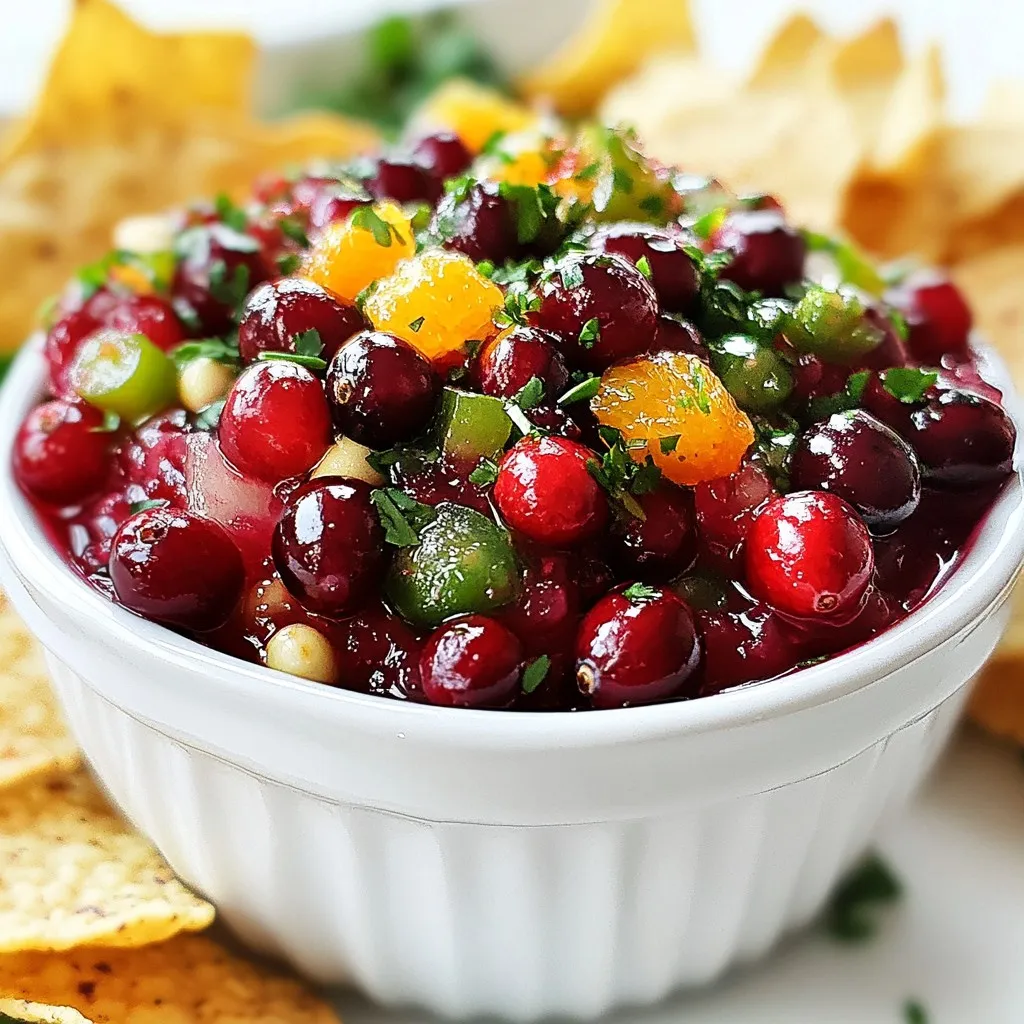
Are you ready to add a burst of flavor to your meals? I’m excited to share my Tangy Cranberry Salsa

If you love desserts that blend sweet and tangy flavors, you’re in for a treat! My Cranberry Cream Cheese Crumb
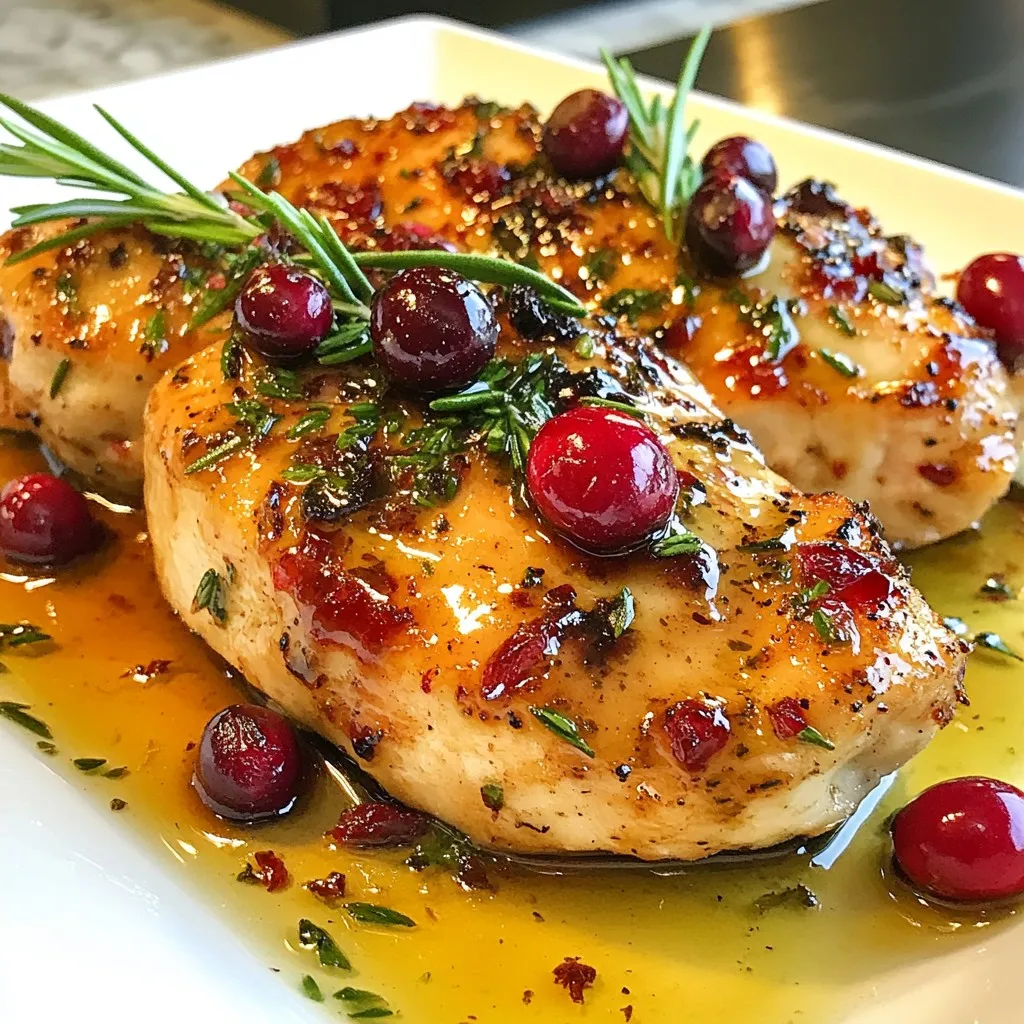
Looking for a tasty and easy dinner idea? Cranberry Orange Glazed Chicken is your answer! This dish combines the sweet

Craving a warm, hearty dish that’s packed with flavor? Look no further! My French Onion Beef and Rice Casserole is
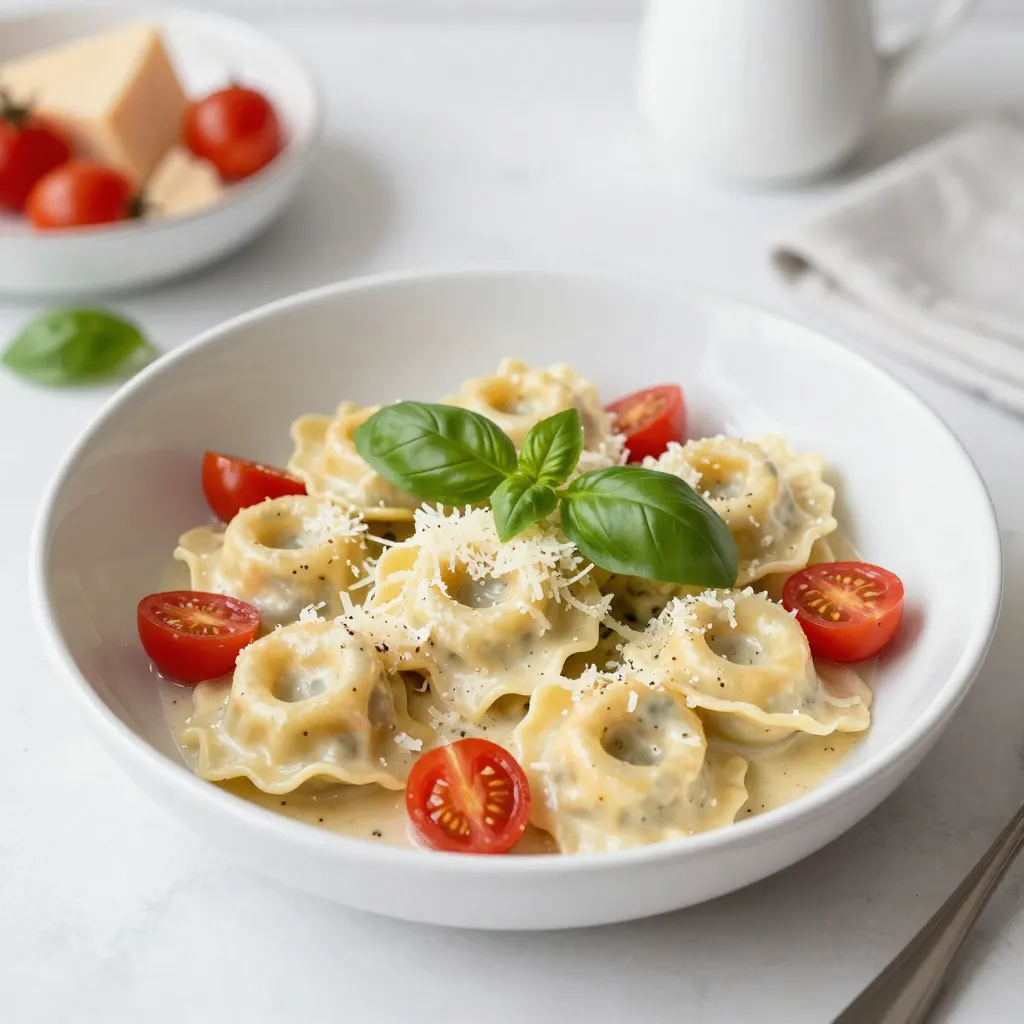
Are you ready to impress with a dish that’s sure to win hearts? Marry Me Tortellini is a creamy delight
