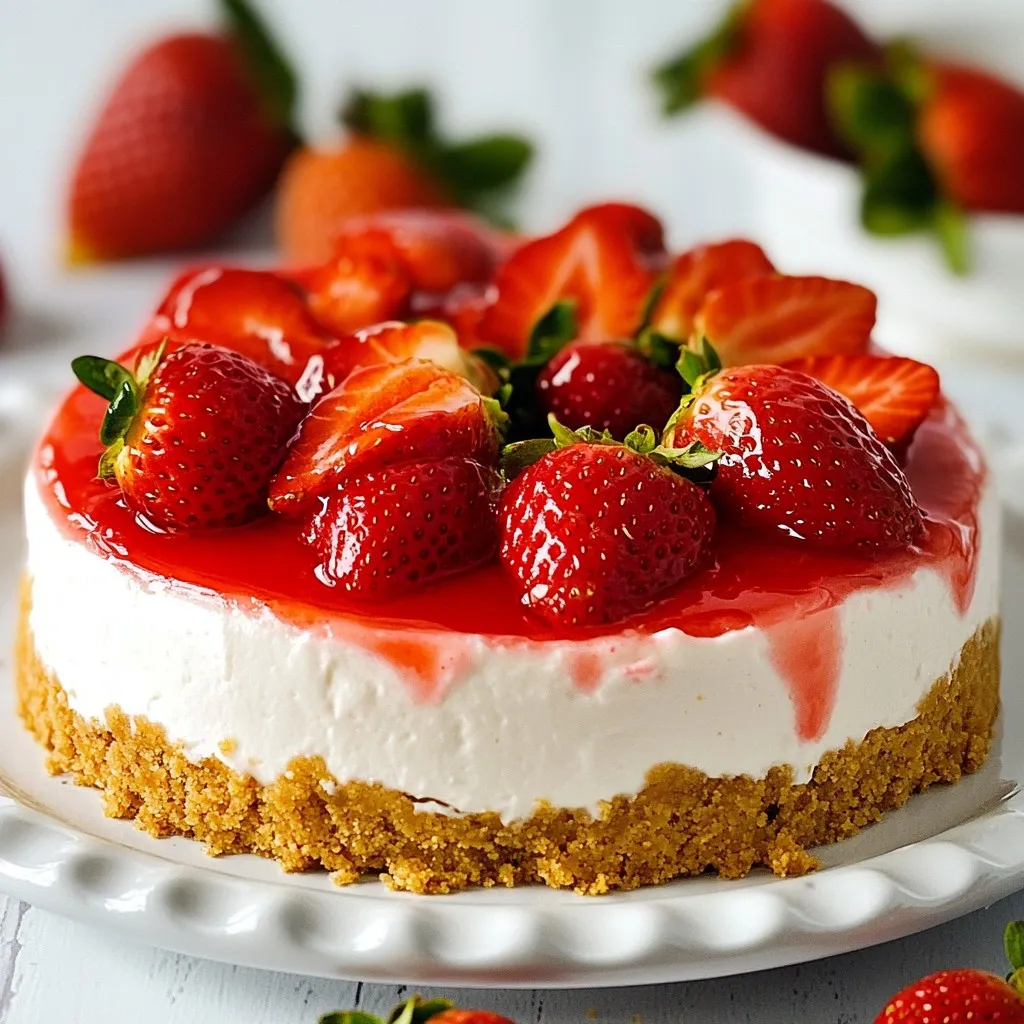
No-Bake Strawberry Cheesecake Simple and Sweet Delight
If you crave something sweet and easy, this No-Bake Strawberry Cheesecake is for you! With smooth cream cheese, fresh strawberries,

If you crave something sweet and easy, this No-Bake Strawberry Cheesecake is for you! With smooth cream cheese, fresh strawberries,

If you crave a warm, tasty meal without the carbs, I’ve got you covered. My Low Carb Chicken Tortilla Soup

Looking for a fun and tasty dish for your next party? These Savory Buffalo Chicken Dip Roll-Ups are the perfect

If you crave rich, flavorful tacos, this Slow Cooker Birria Tacos recipe is for you! With just a few simple

Are you ready to enjoy a warm and tasty meal without the hassle? My Slow Cooker Chicken Korma is packed
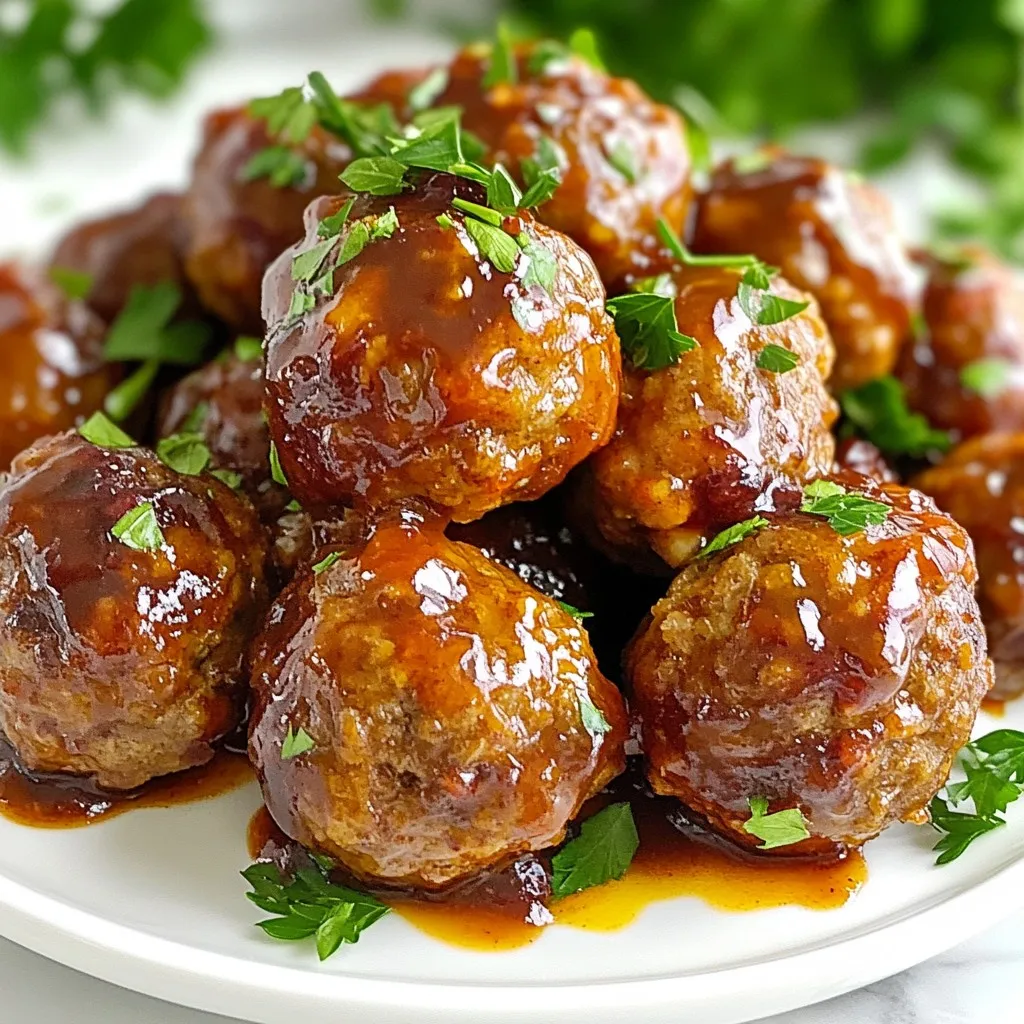
Looking for a festive dish that wows your guests? Look no further! My Holiday Cranberry Meatballs are juicy and packed
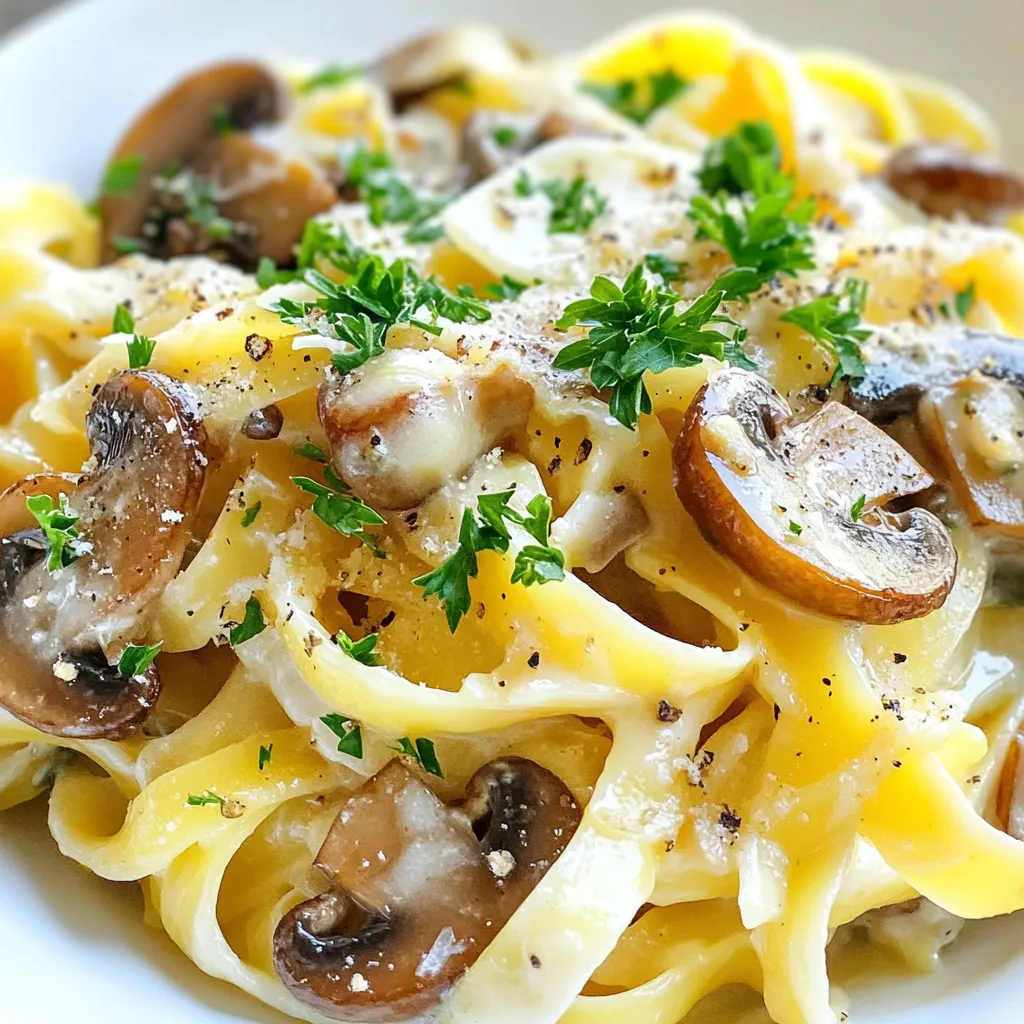
Craving a cozy, rich dish that warms both heart and belly? Look no further than my Caramelized Leek Mushroom Gruyere
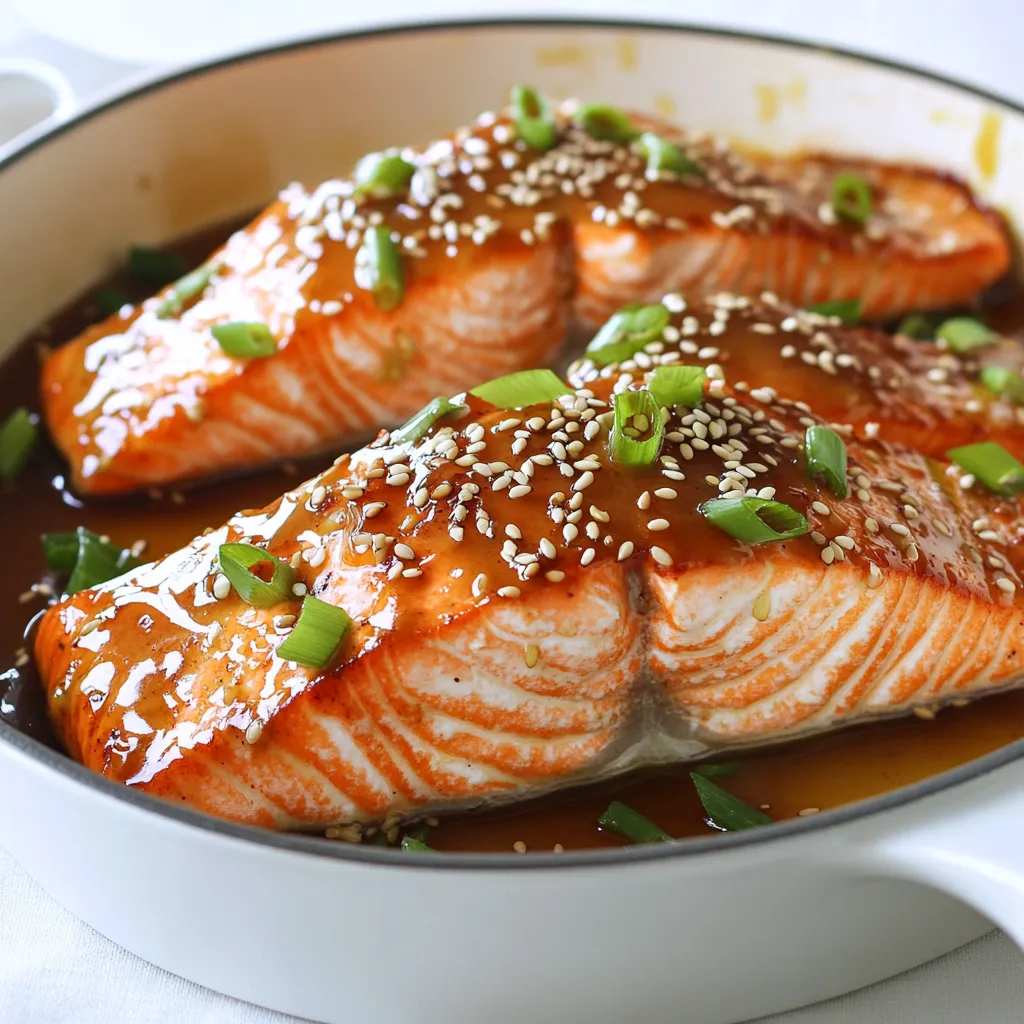
Are you ready to make a meal that’s both tasty and easy? This Honey Garlic Salmon recipe is perfect for
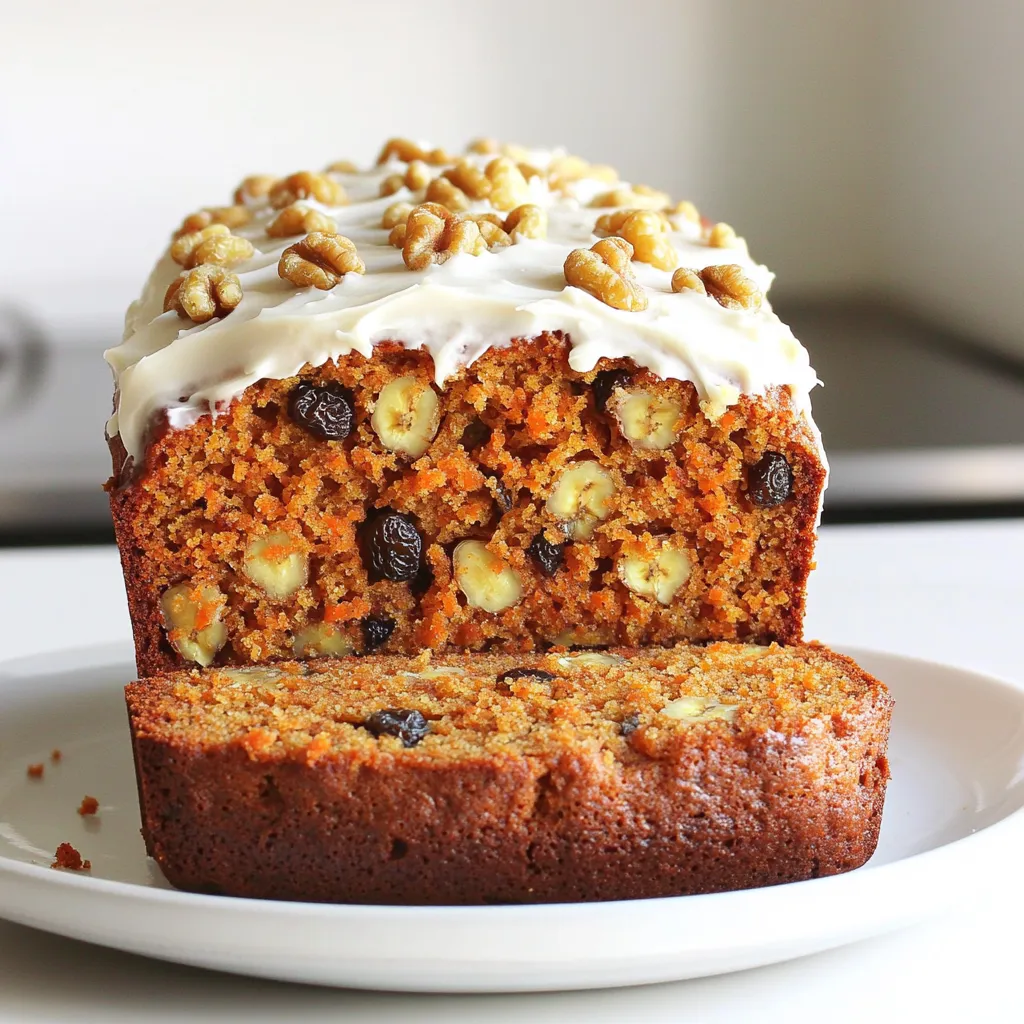
If you love the moist sweetness of carrot cake and the comfort of banana bread, you’re in for a treat.

Craving a comforting dish that’s easy to make? Look no further! In this blog post, I’ll show you how to
