
Alfredo Spaghetti Bake Tasty and Hearty Comfort Dish
Are you ready to dig into a dish that warms your heart? My Alfredo Spaghetti Bake is the perfect blend

Are you ready to dig into a dish that warms your heart? My Alfredo Spaghetti Bake is the perfect blend
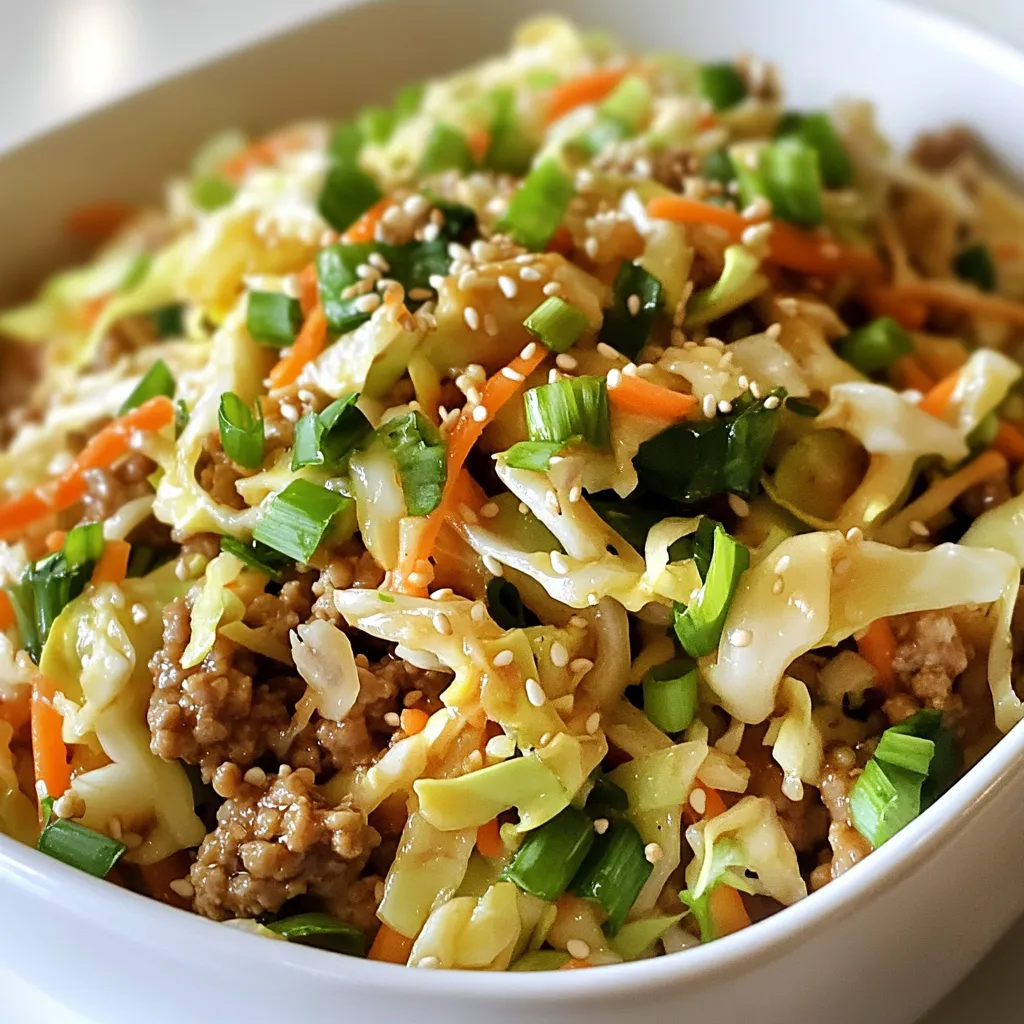
Looking for a quick and tasty dinner? Egg Roll in a Bowl is your answer! This dish combines all the
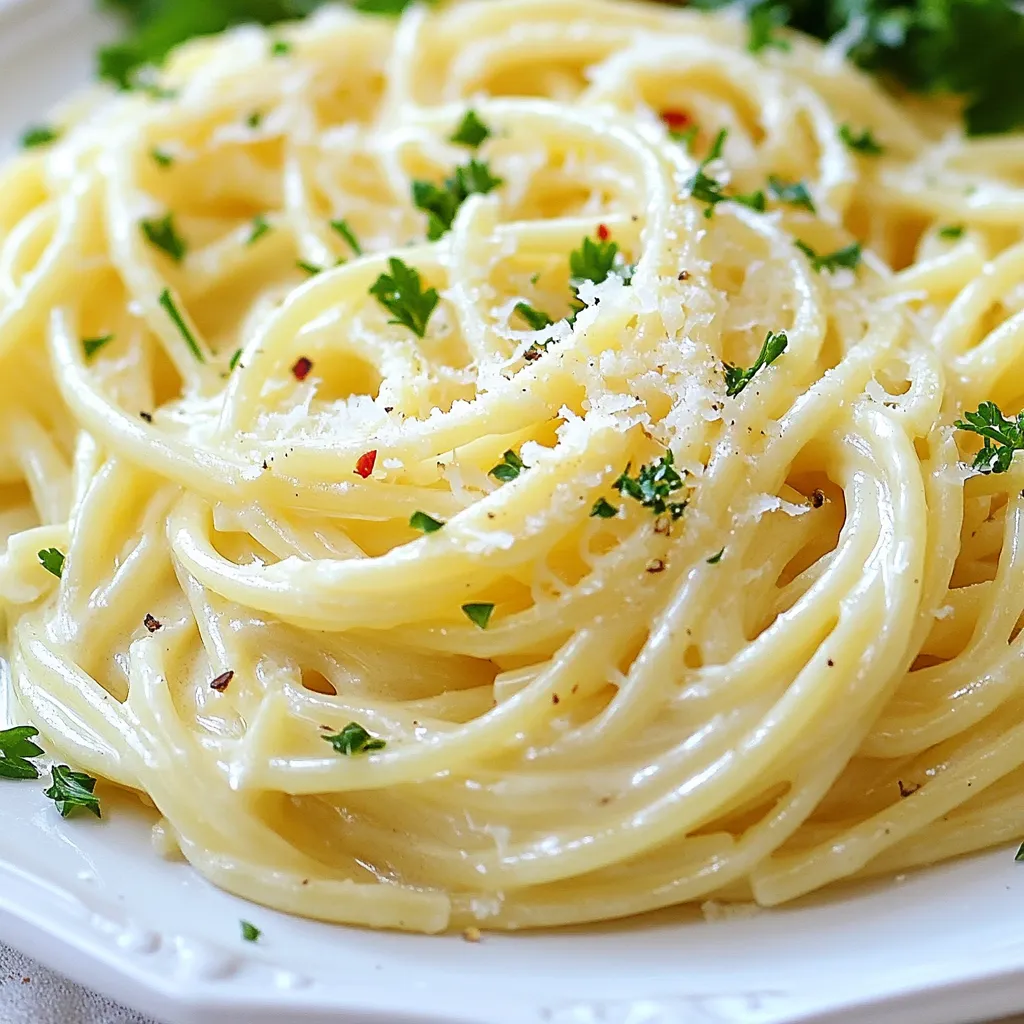
Are you craving a creamy, delicious pasta dish that you can whip up in no time? In this blog post,

If you love sweet treats with a twist, you’ll adore Chai Spice Snickerdoodle Blondies! These blondies bring together warm chai
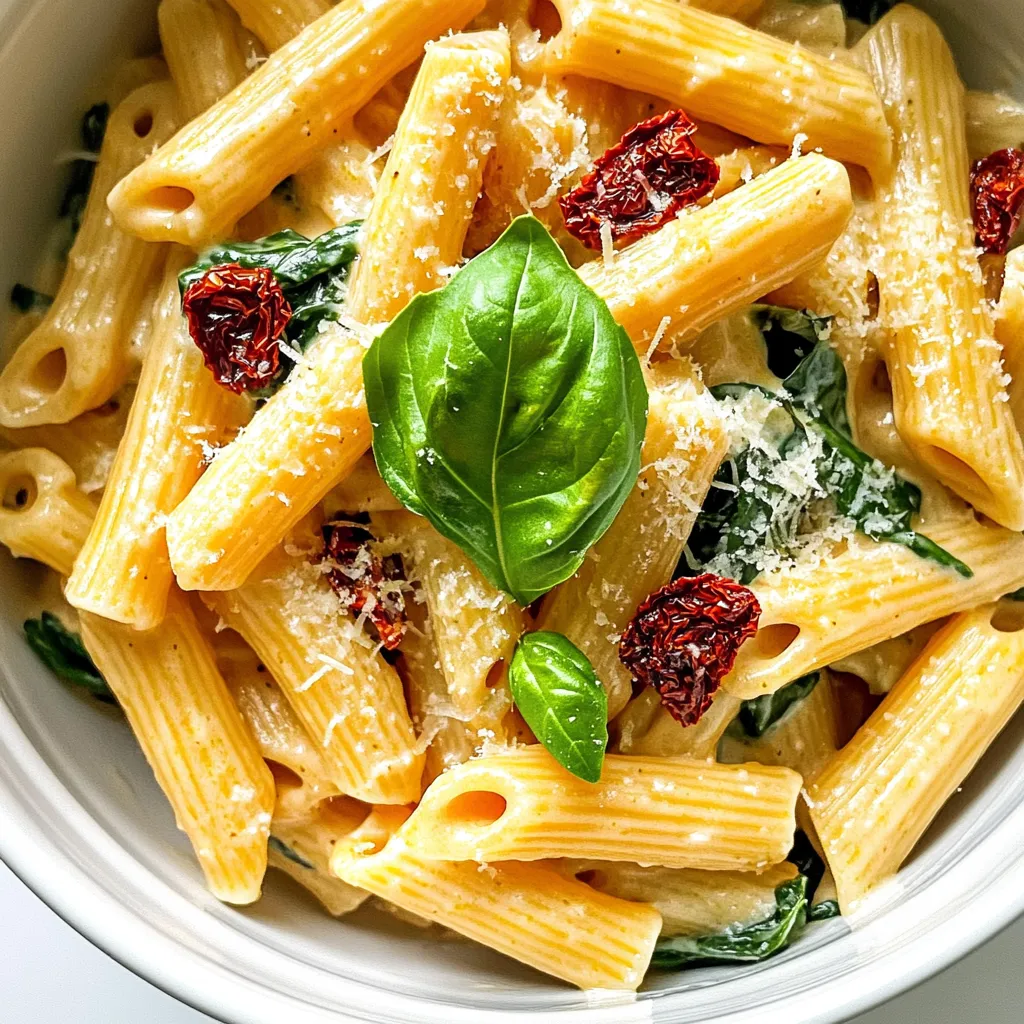
Looking for a quick and tasty dinner? This Creamy One Pot Sun Dried Tomato Pasta is for you! In just
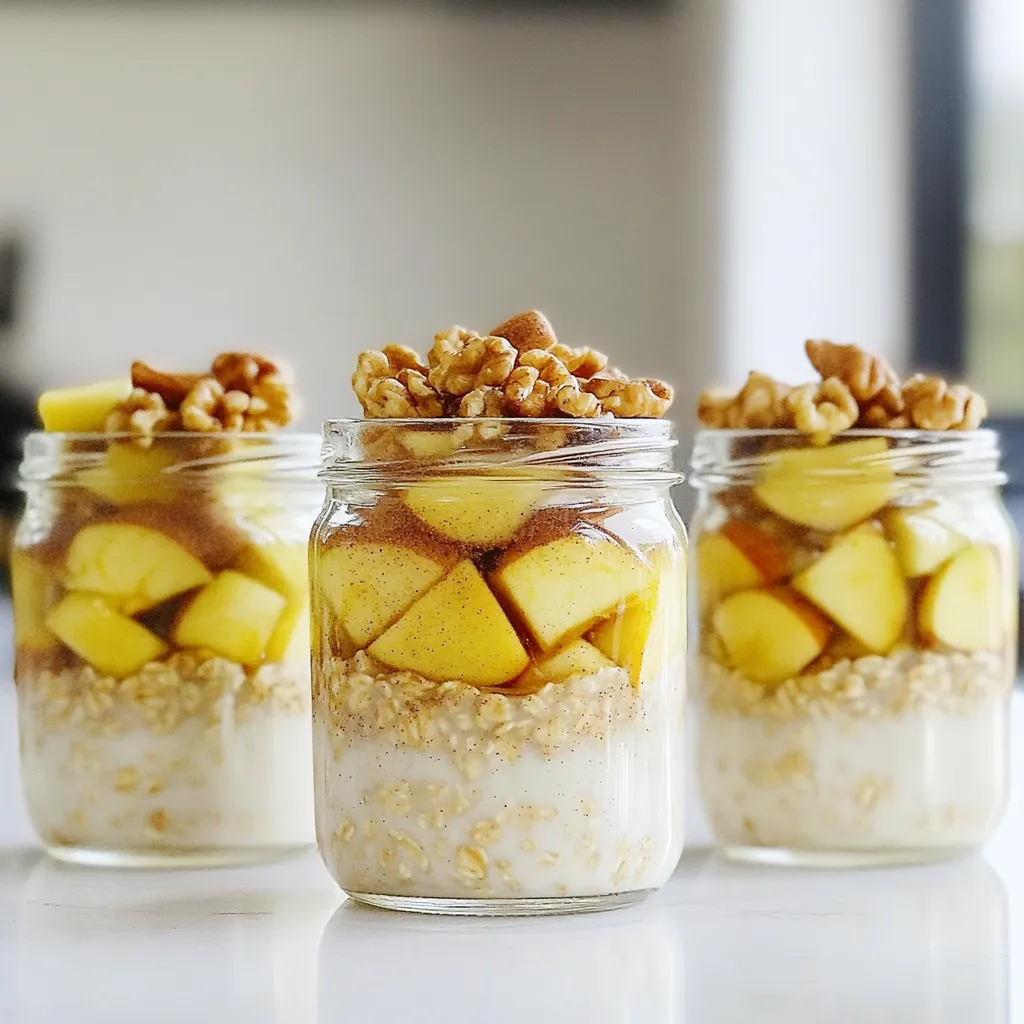
Are you craving a delicious and healthy breakfast that’s quick and easy? I’ve got just the thing for you: Satisfying

Looking for a fun and tasty way to spice up your dinner? Try my Crispy Buffalo Cauliflower Tacos! These tacos

Craving a sweet treat that’s easy to make? These No Bake Pumpkin Cheesecake Cups are here to save the day!
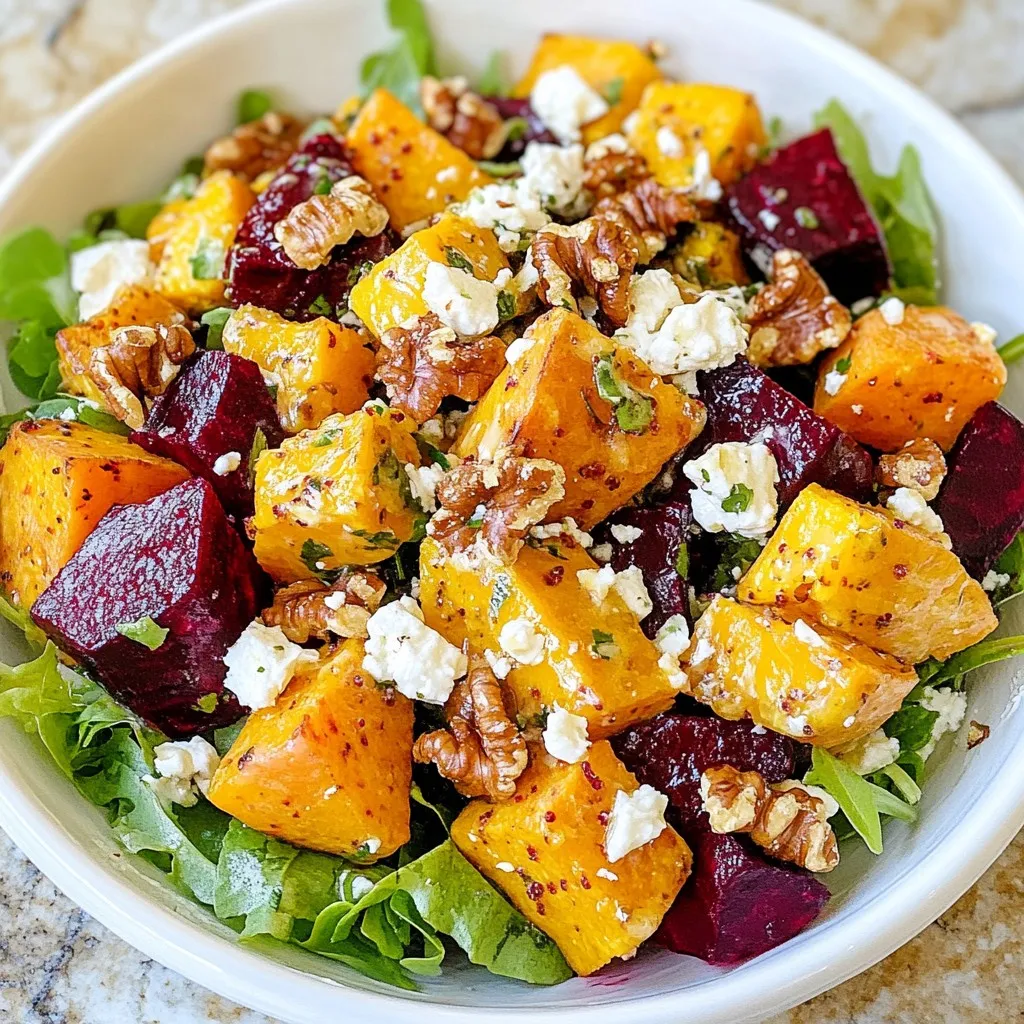
Are you ready to brighten your plate with a delicious Roasted Beet & Sweet Potato Salad? This vibrant salad is
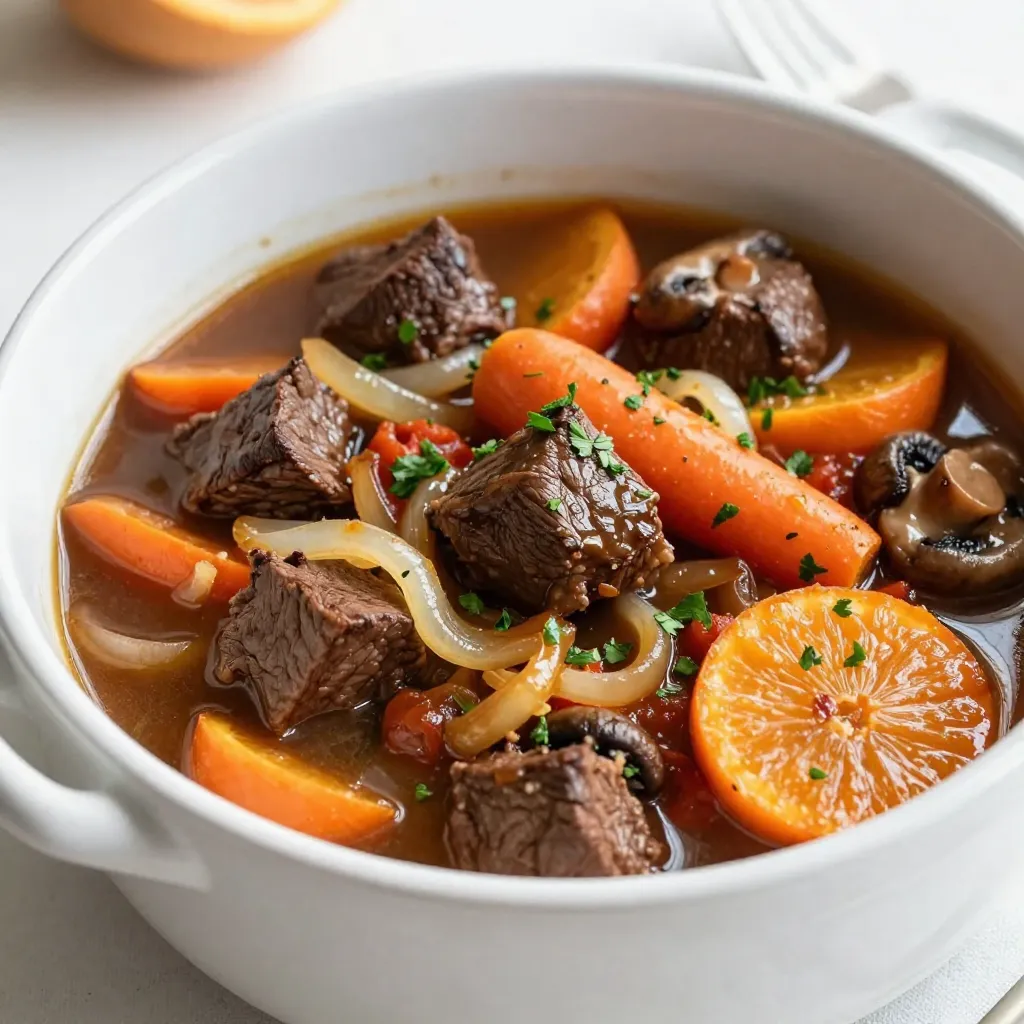
Looking for a warm, hearty meal that practically cooks itself? Slow Cooker Beef Bourguignon is your answer! This classic French
