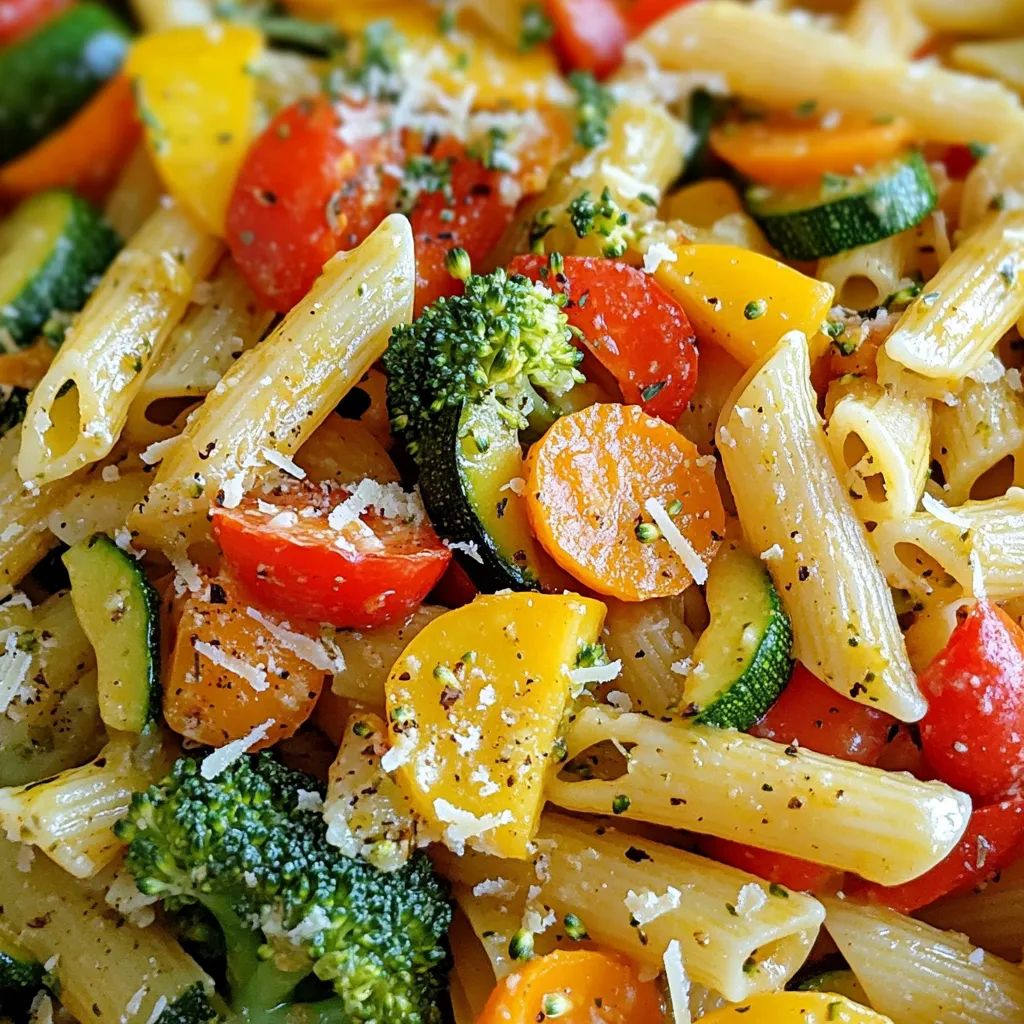
Roasted Vegetable Pasta Primavera Fresh and Tasty Dish
Looking for a fresh and tasty dish? Roasted Vegetable Pasta Primavera combines colorful veggies with your favorite pasta. It’s quick

Looking for a fresh and tasty dish? Roasted Vegetable Pasta Primavera combines colorful veggies with your favorite pasta. It’s quick
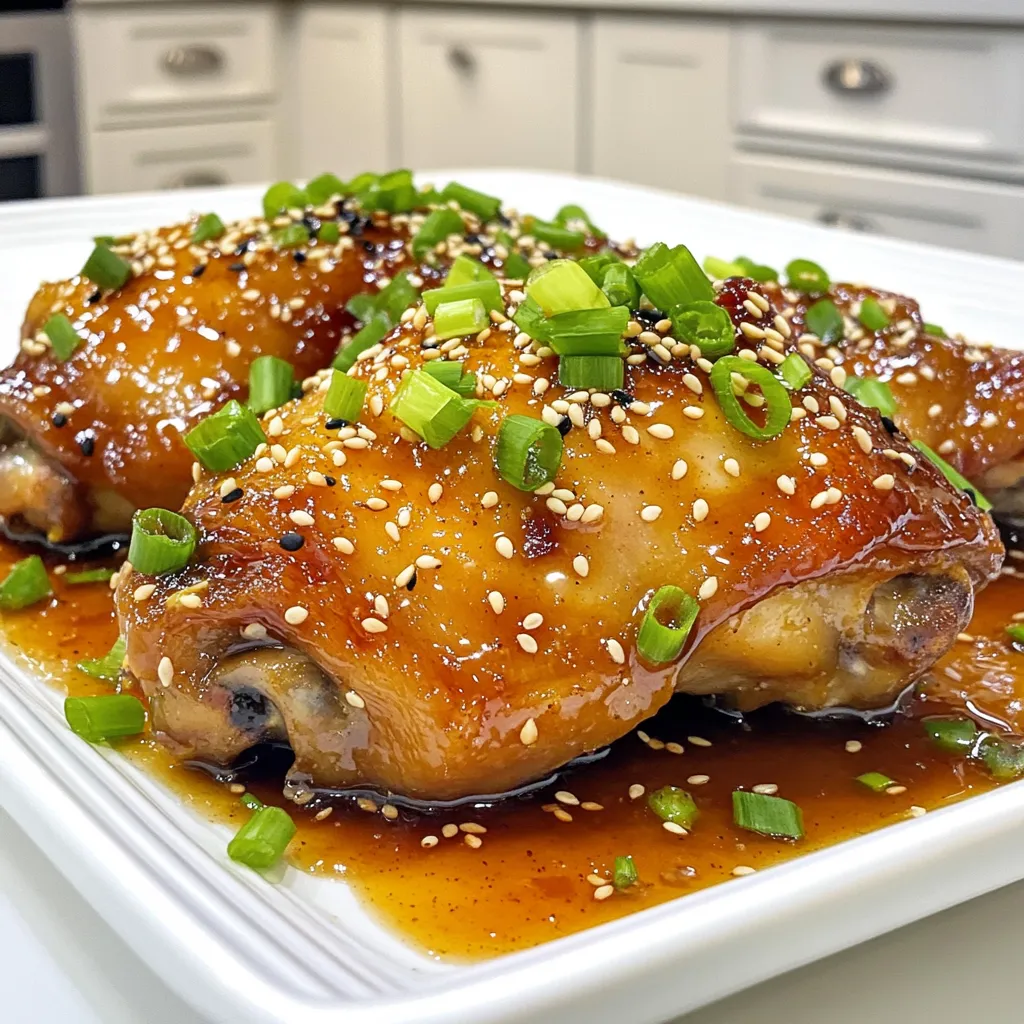
Get ready to elevate your dinner game with Sticky Sesame Ginger Chicken Thighs! This easy recipe packs a punch of
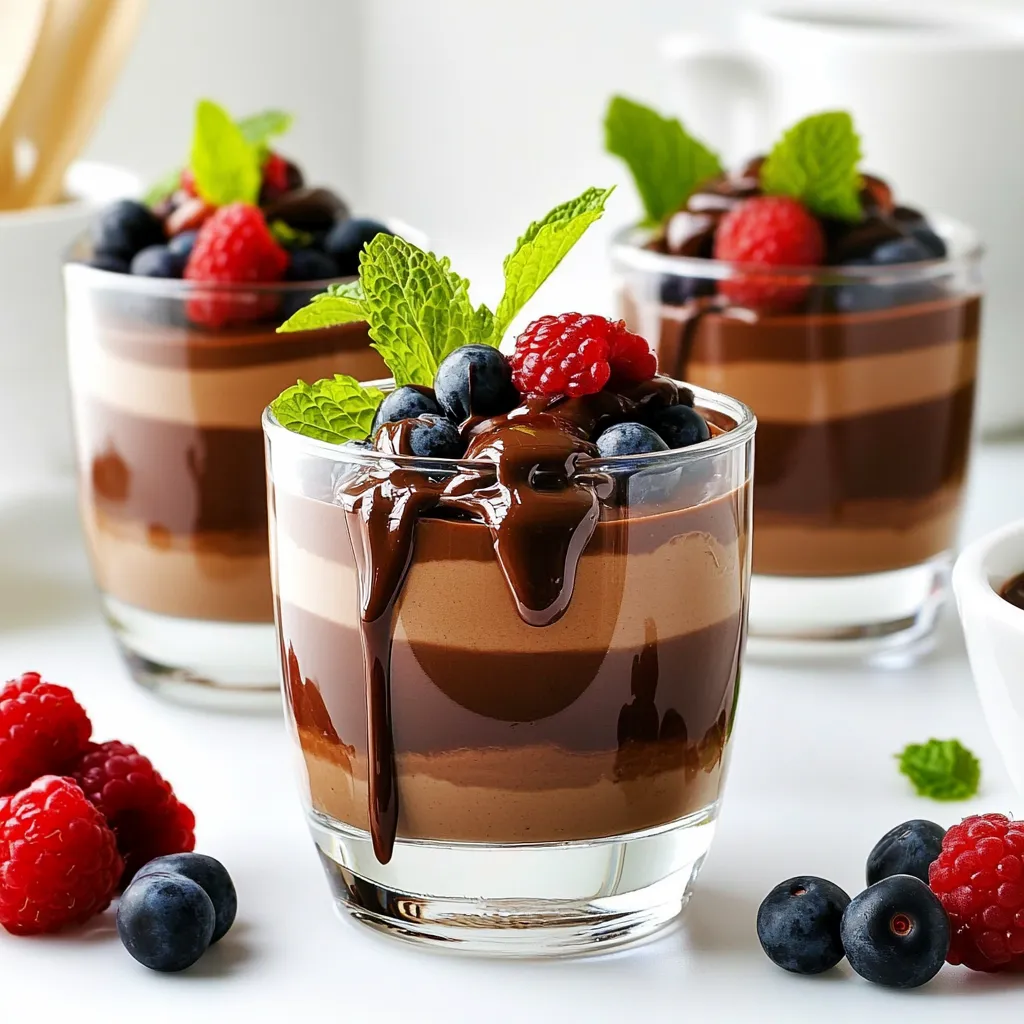
Are you ready for a dessert that’s both tasty and packed with protein? Let me introduce you to my Protein
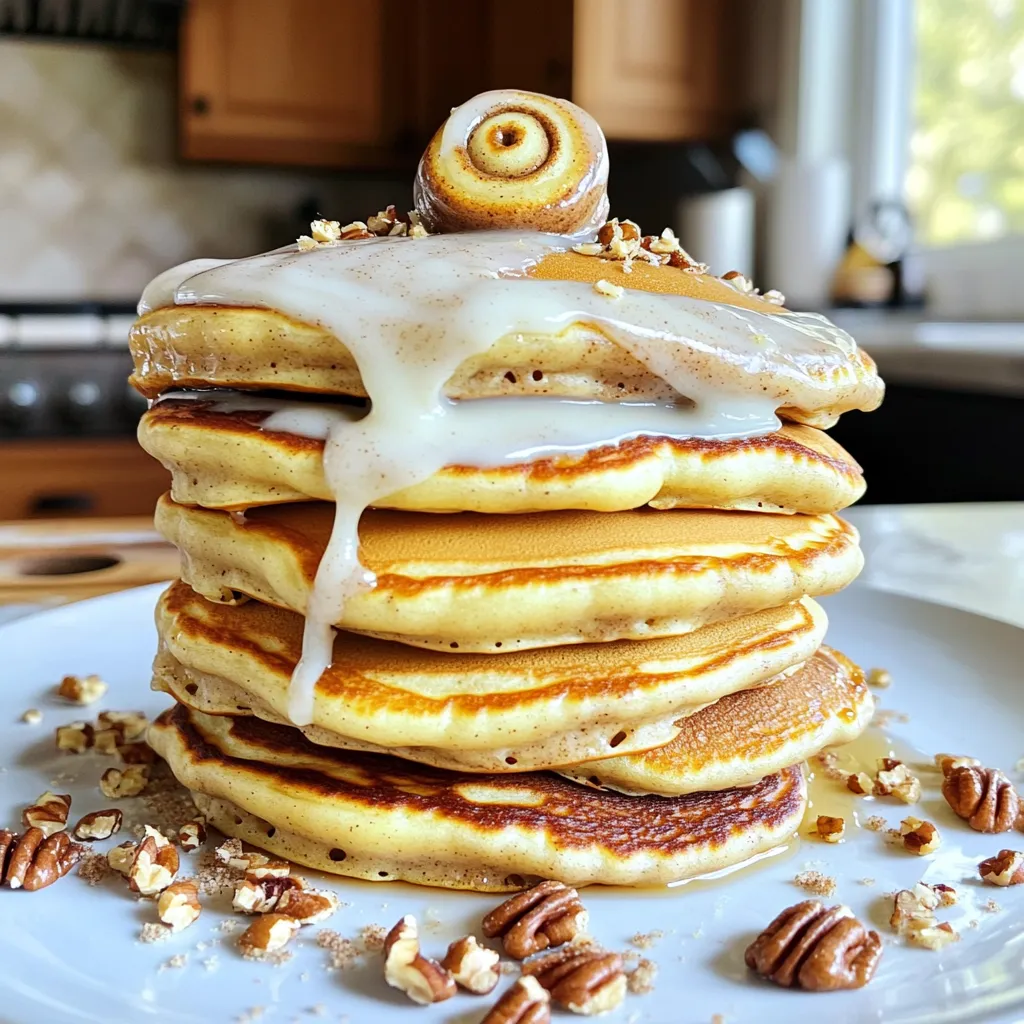
Are you ready to flip your breakfast routine? Cinnamon Roll Pancakes are the perfect blend of fluffy pancakes and sweet
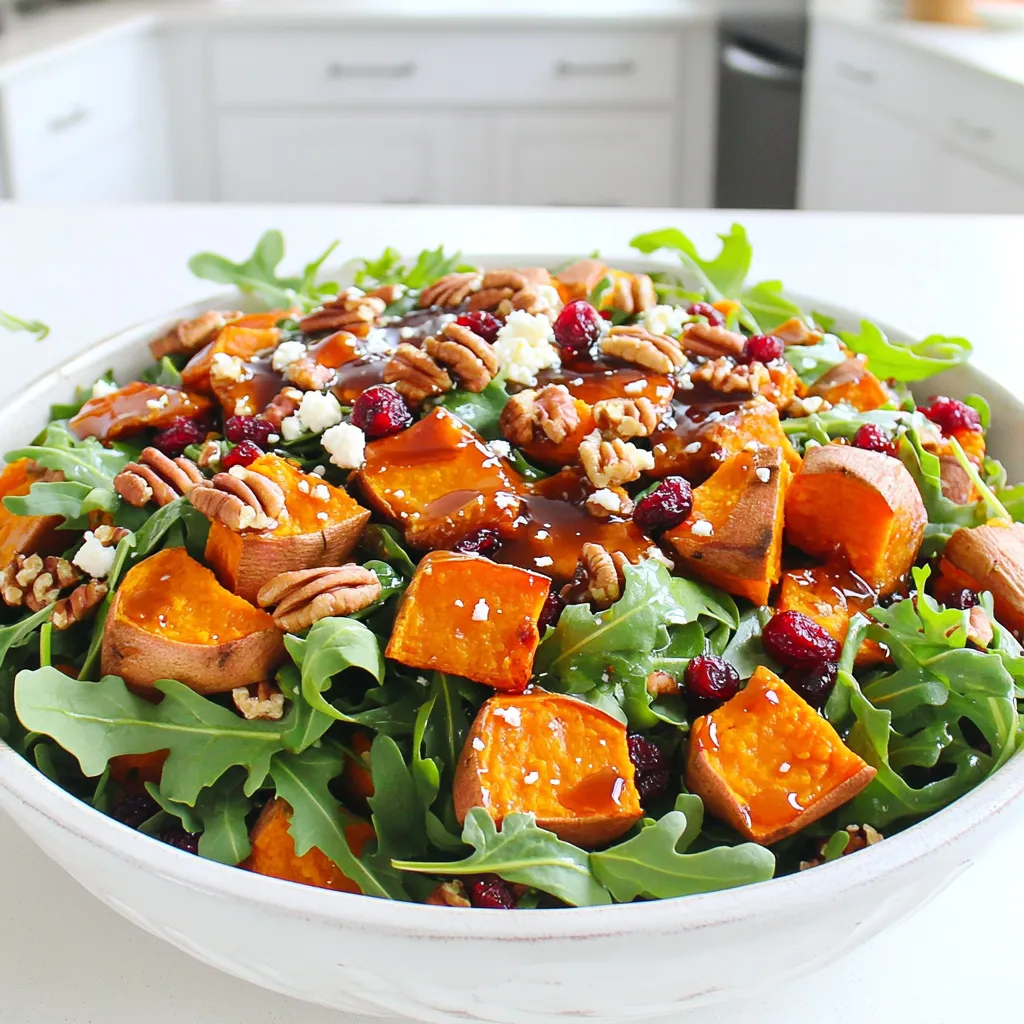
Looking for a fresh twist on your salad? Try my Maple Glazed Sweet Potato Salad! It blends sweet potatoes, greens,
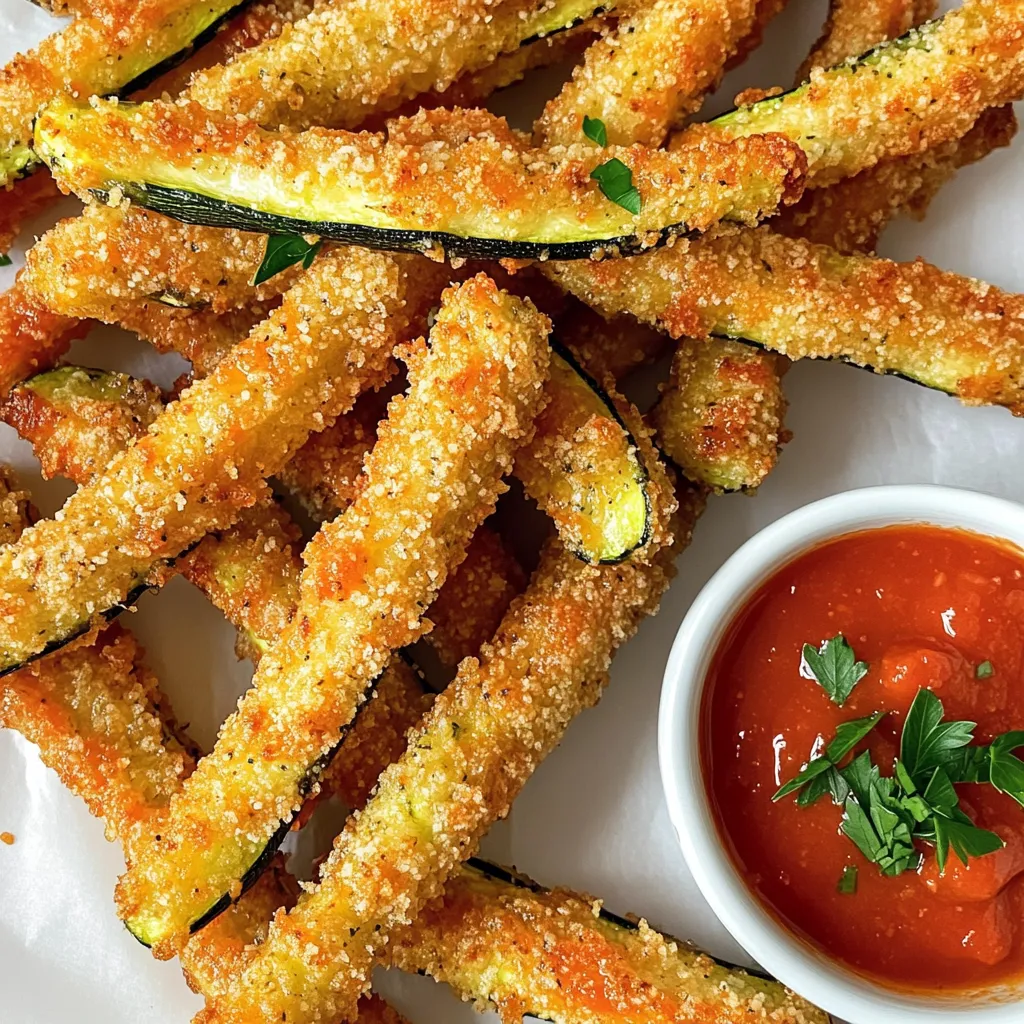
Are you ready to enjoy a snack that’s both crispy and tasty? Air Fryer Parmesan Zucchini Fries are the perfect
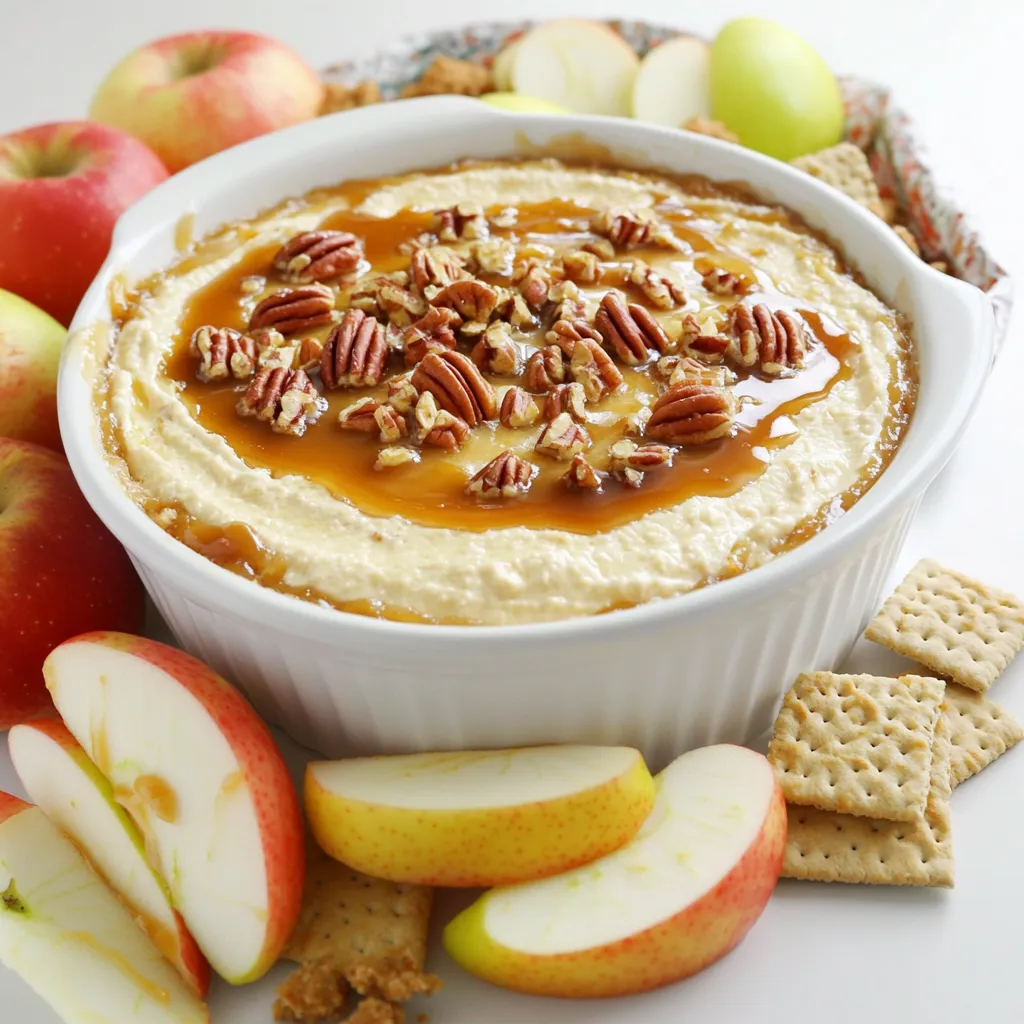
If you’re searching for the perfect party treat, look no further! This Caramel Apple Cheesecake Dip is the ultimate blend
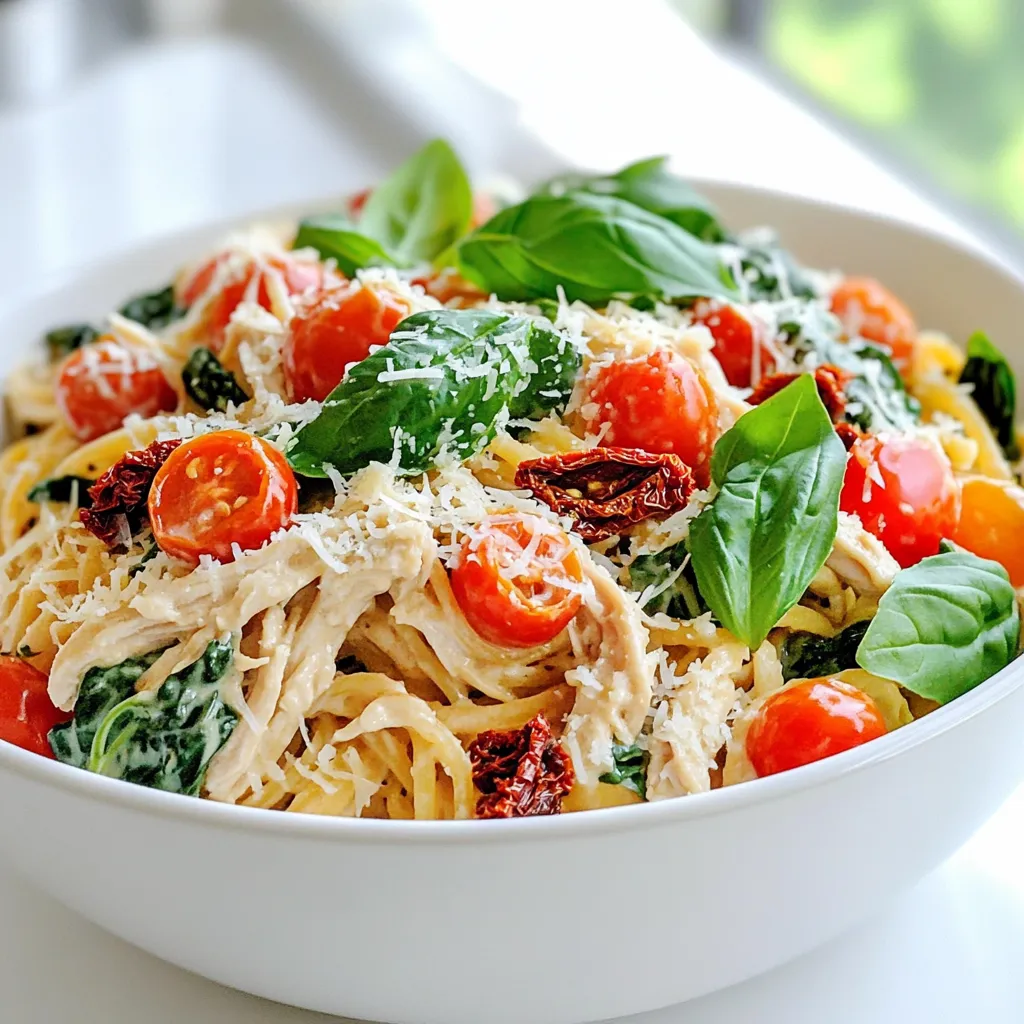
Are you ready for a meal that’s creamy, savory, and easy to make? My Slow Cooker Creamy Tuscan Chicken Pasta
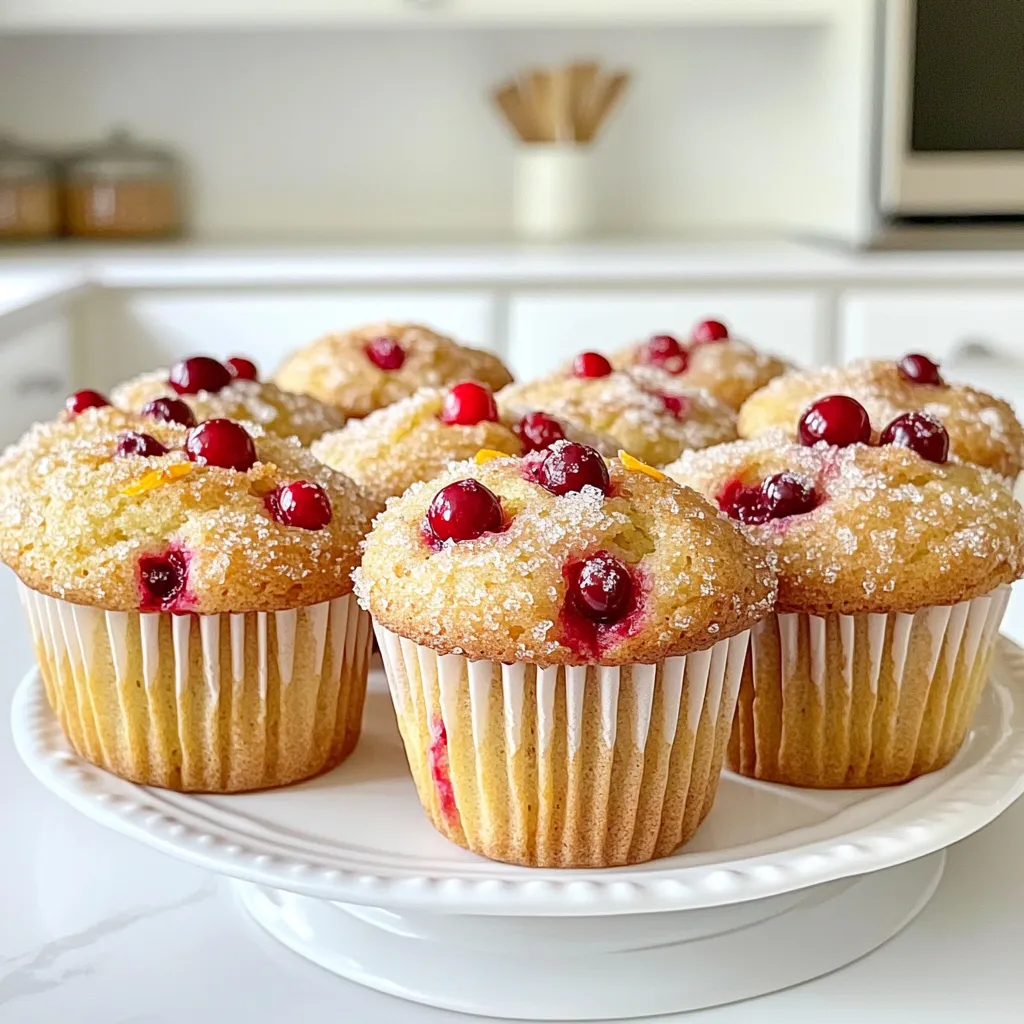
Are you ready to elevate your breakfast game? These Bakery Style Cranberry Orange Muffins will bring joy to your mornings.
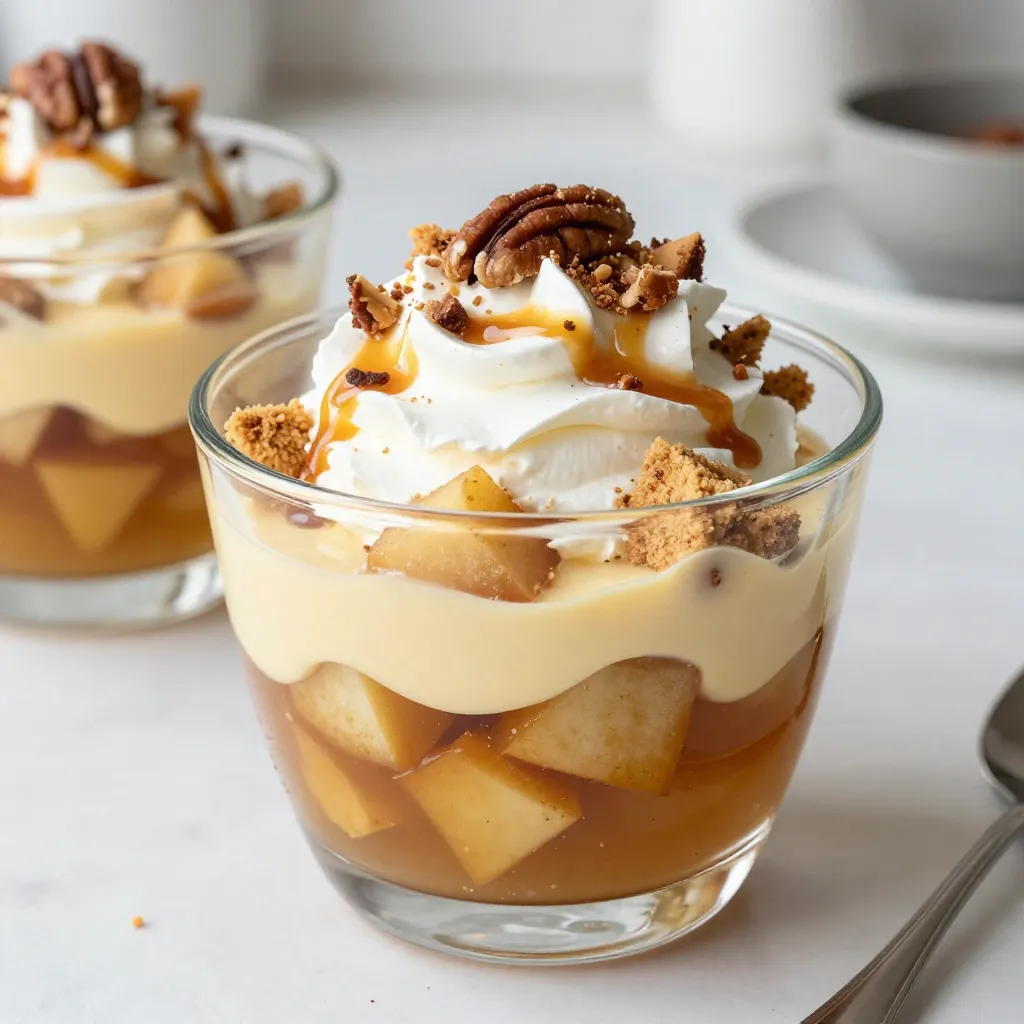
Ready to impress with a dessert that’s a total game-changer? My Caramel Apple Trifle is a delightful treat that layers
