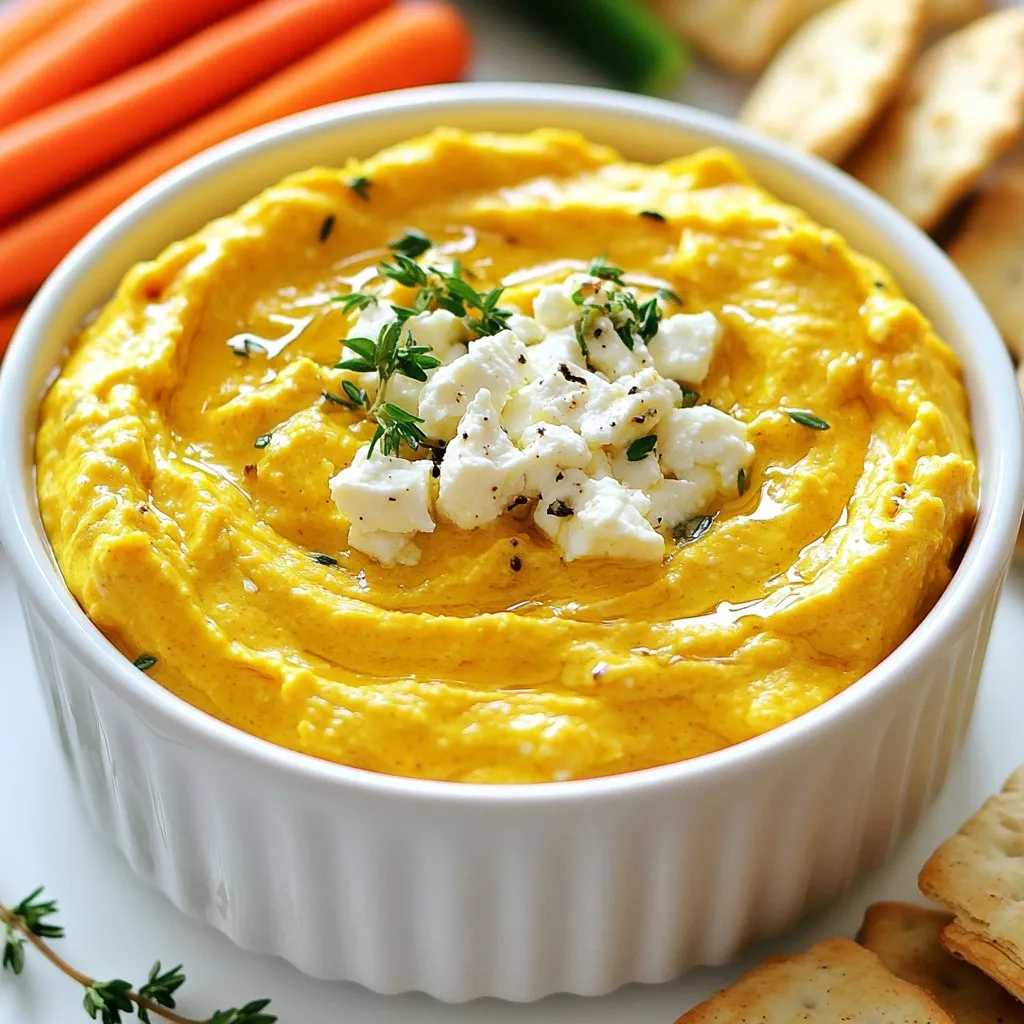
Pumpkin Whipped Feta Dip Flavorful and Simple Recipe
Are you ready to elevate your snack game? This Pumpkin Whipped Feta Dip is a game-changer. With creamy feta, rich

Are you ready to elevate your snack game? This Pumpkin Whipped Feta Dip is a game-changer. With creamy feta, rich
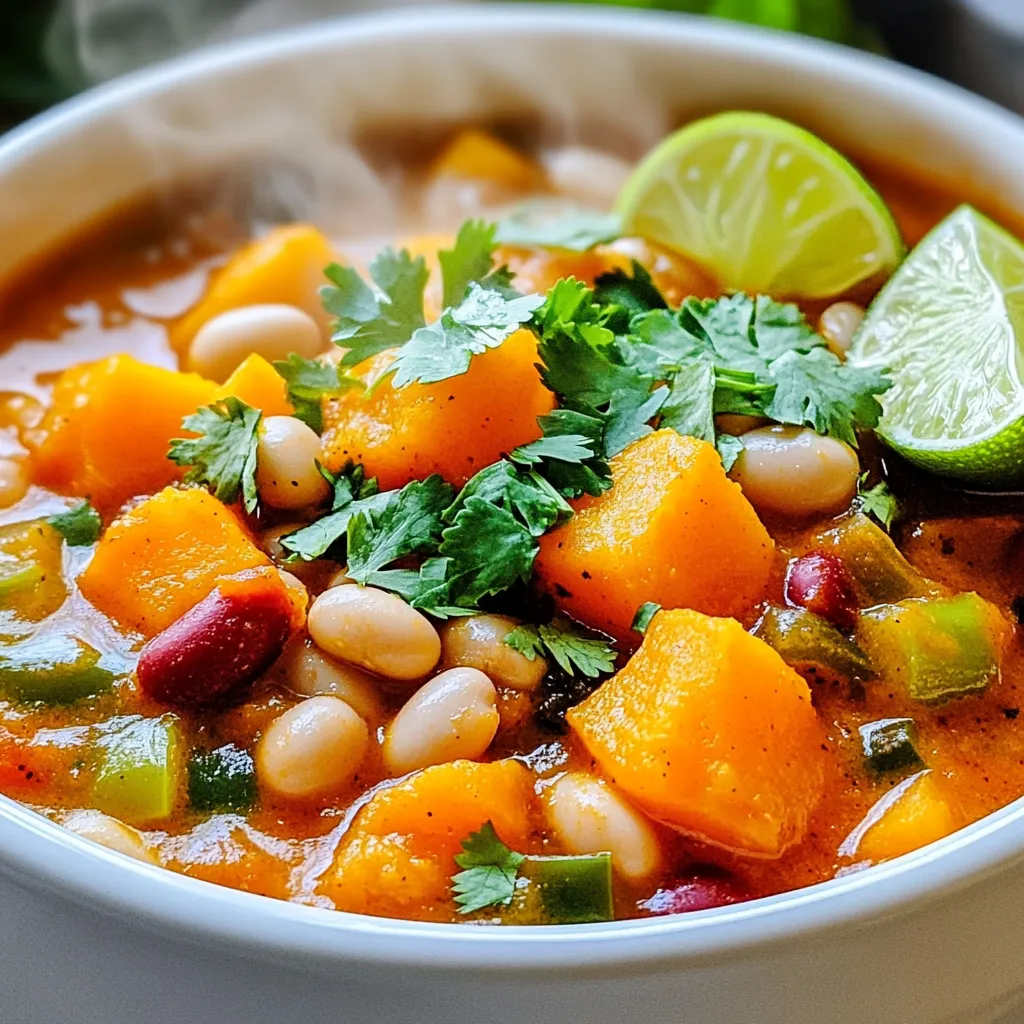
Are you ready to warm up your kitchen with a bowl of goodness? My Slow Cooker Butternut Squash White Bean
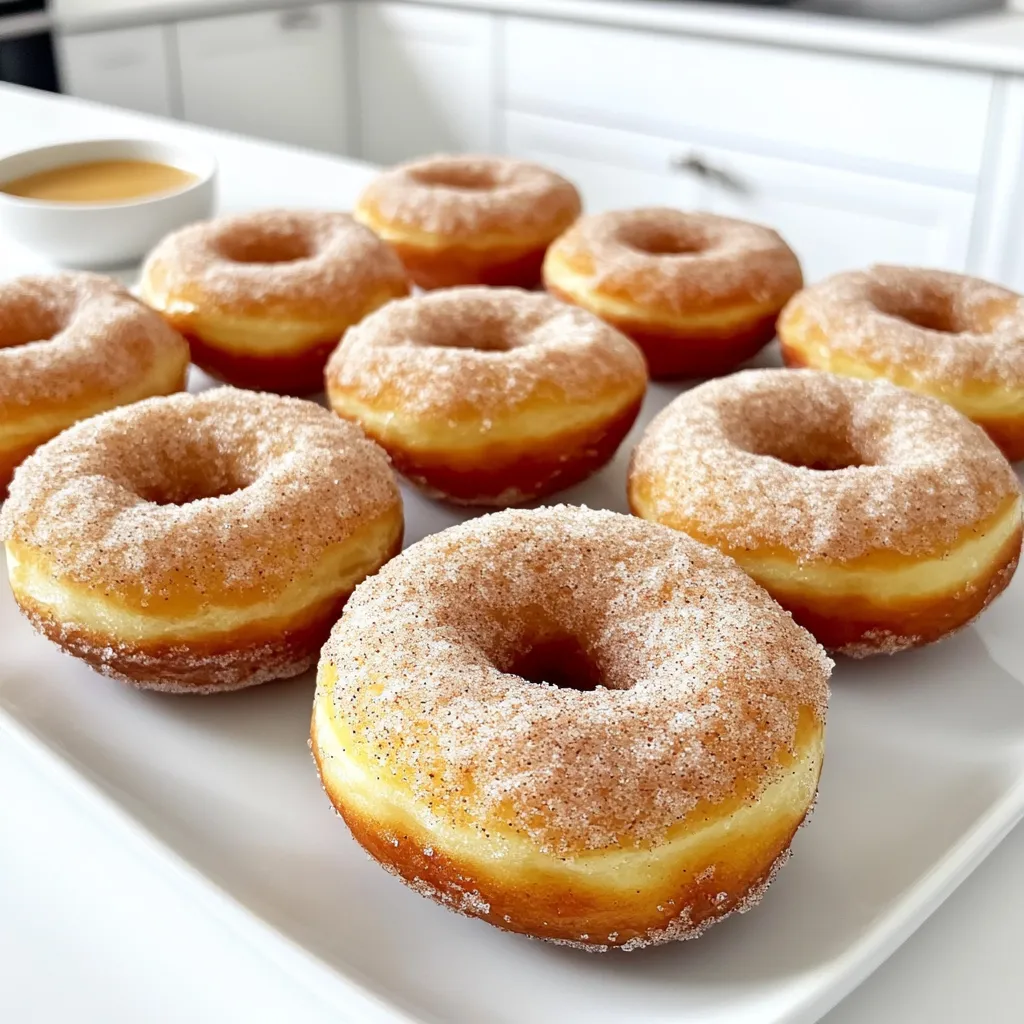
Autumn brings a special craving for warm, cozy treats, and these Cinnamon Sugar Pumpkin Donuts fit the bill perfectly. Imagine
Are you ready to whip up a delicious, easy meal that bursts with flavor? In this blog post, I’ll show
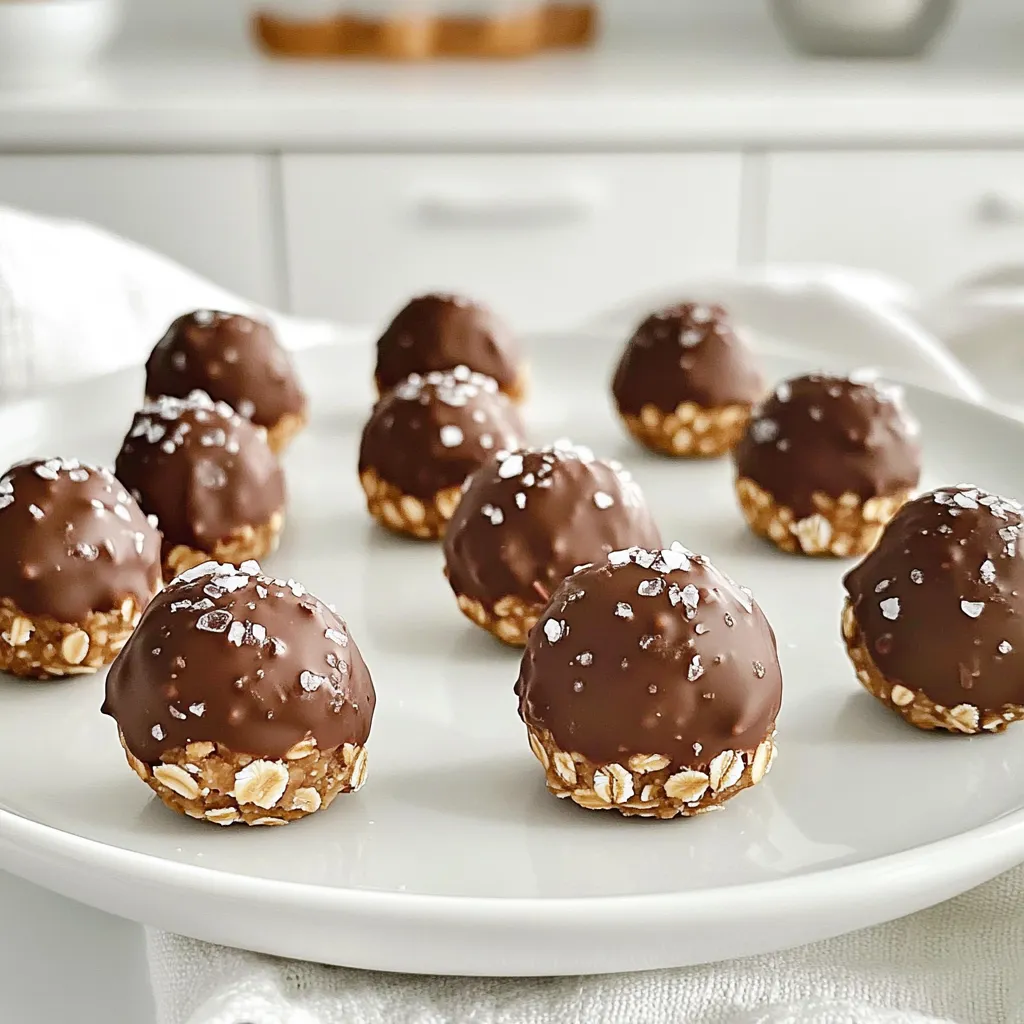
Craving a sweet treat without the oven? You’re in the right place! In this post, I’ll show you how to
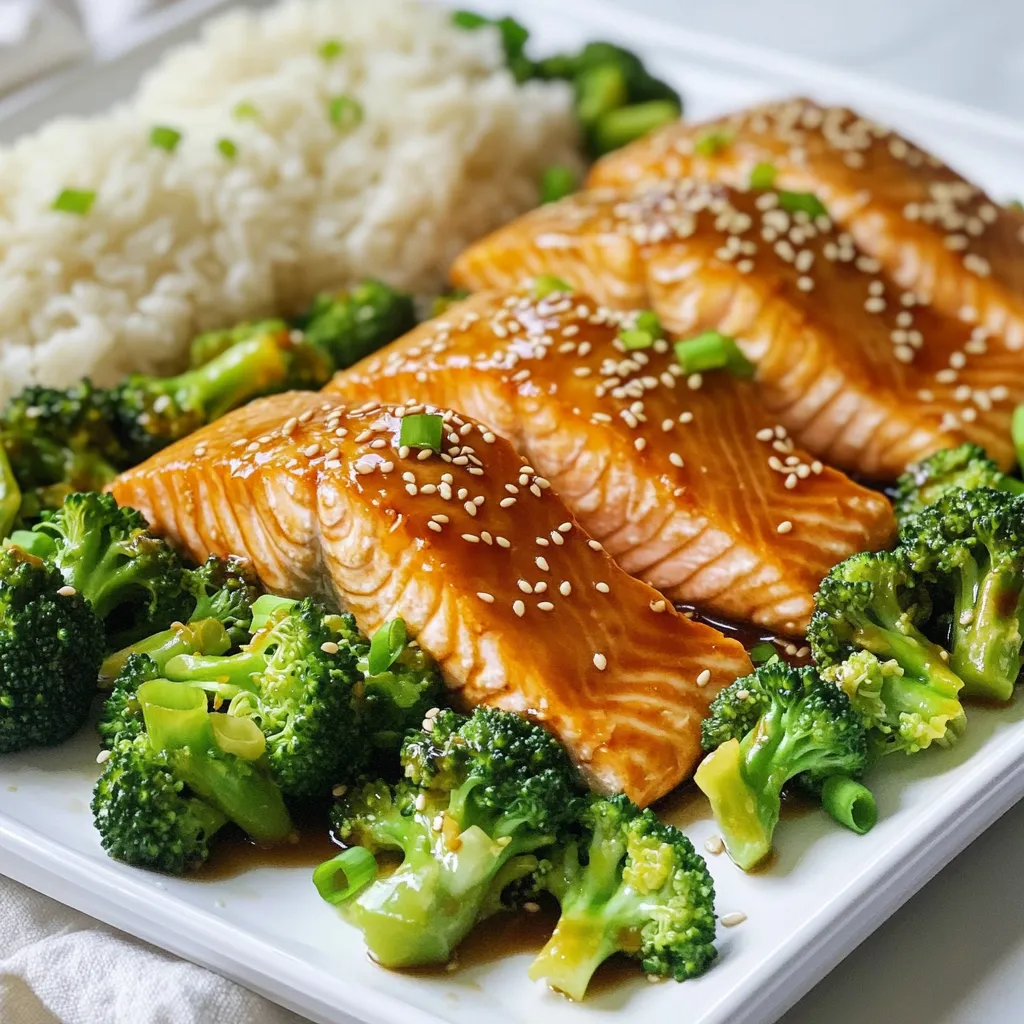
Ready to delight in a meal that’s both quick and tasty? My Sheet Pan Teriyaki Salmon with Broccoli combines juicy
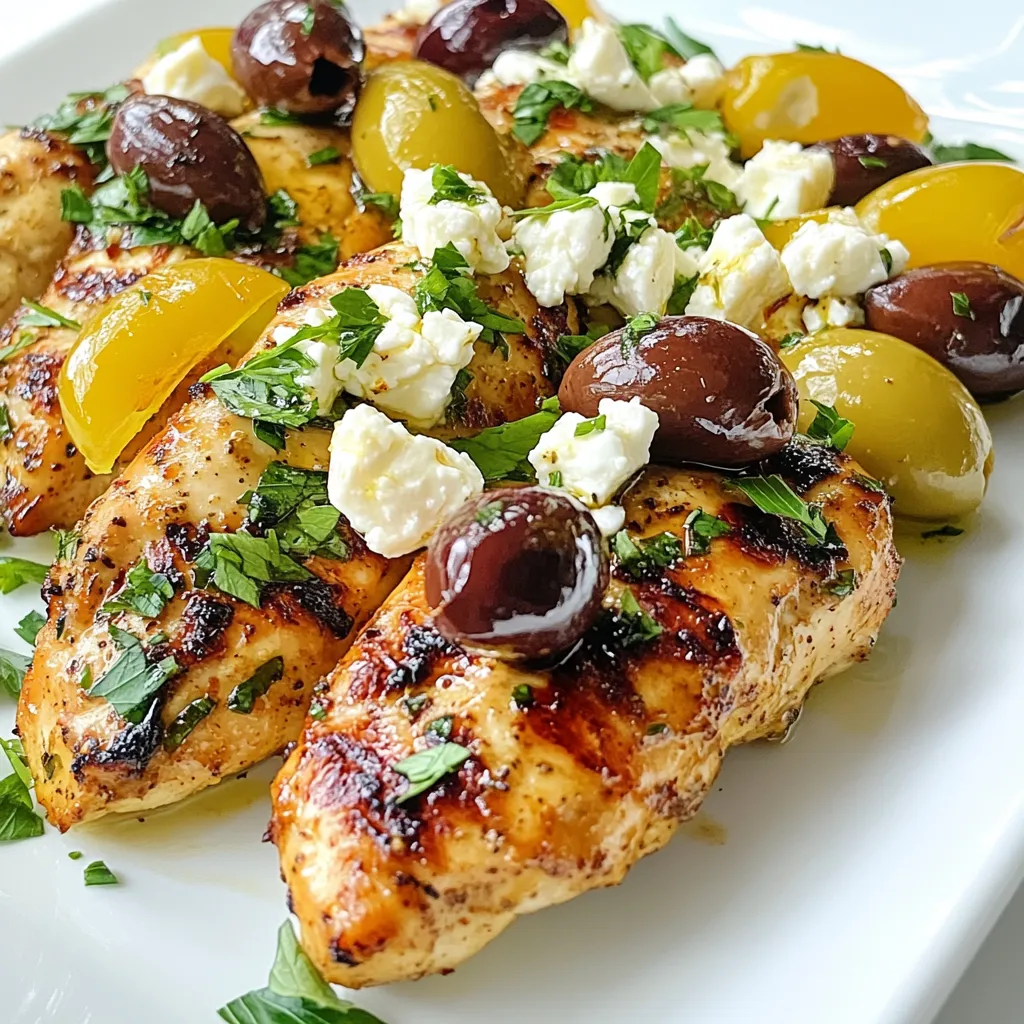
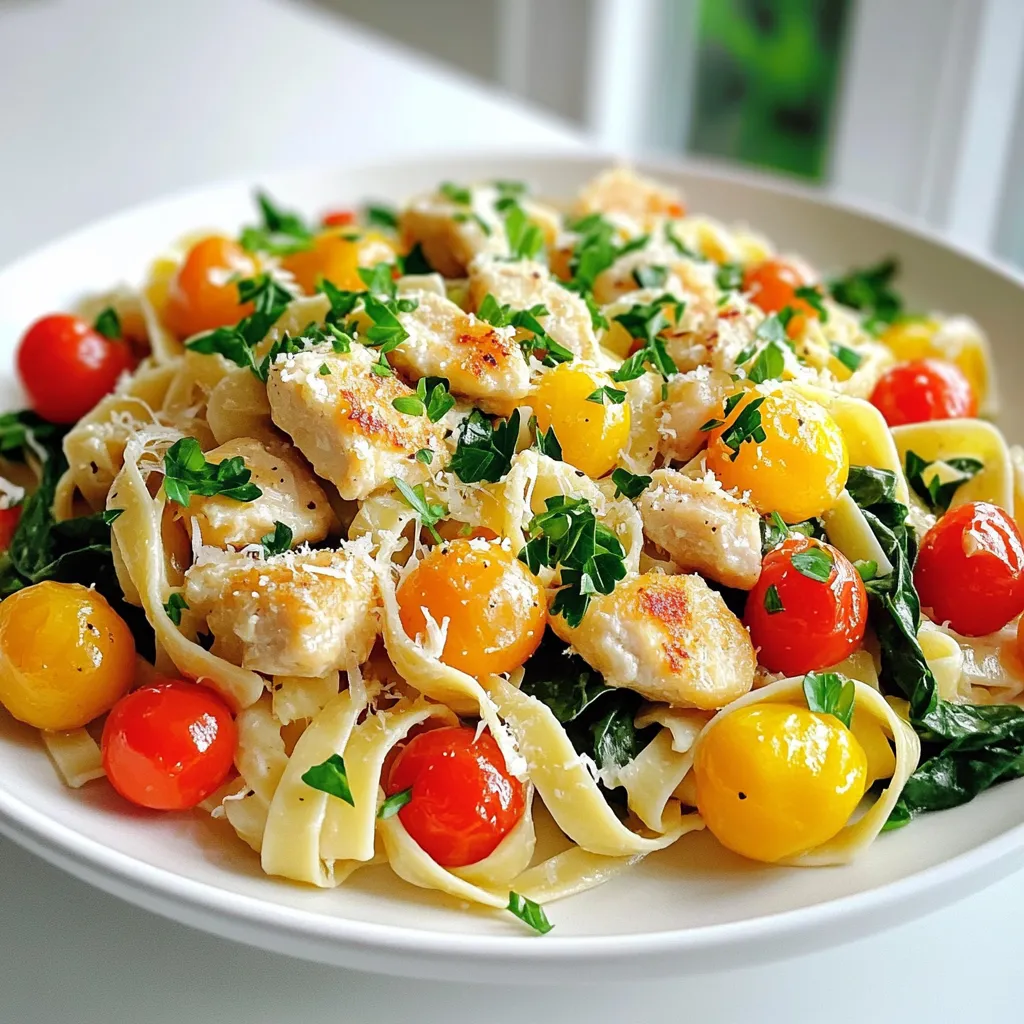
Craving a tasty dish that’s both easy to make and packed with flavor? Try my Mediterranean Chicken Tenders! With juicy
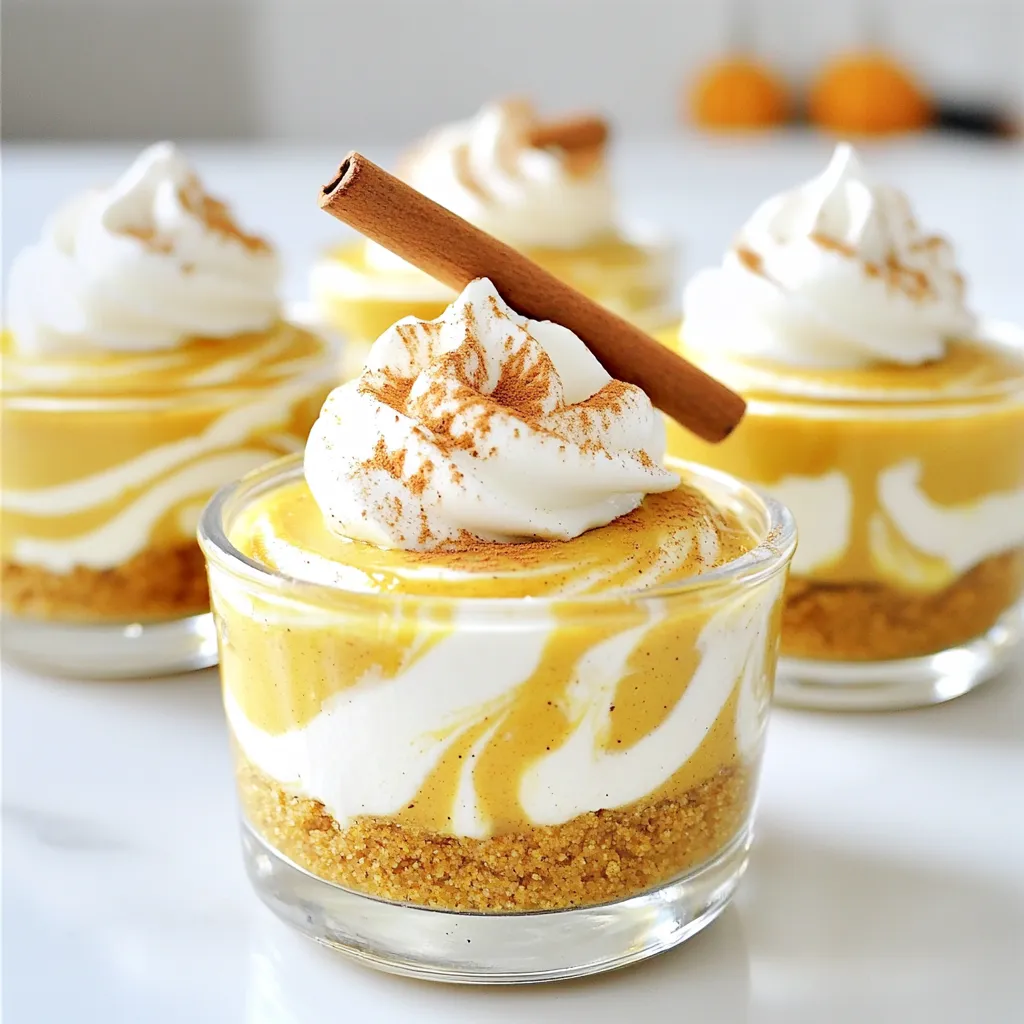
If you love easy desserts, you’ll adore these No-Bake Pumpkin Cheesecake Cups! They combine creamy pumpkin flavor with a crunchy
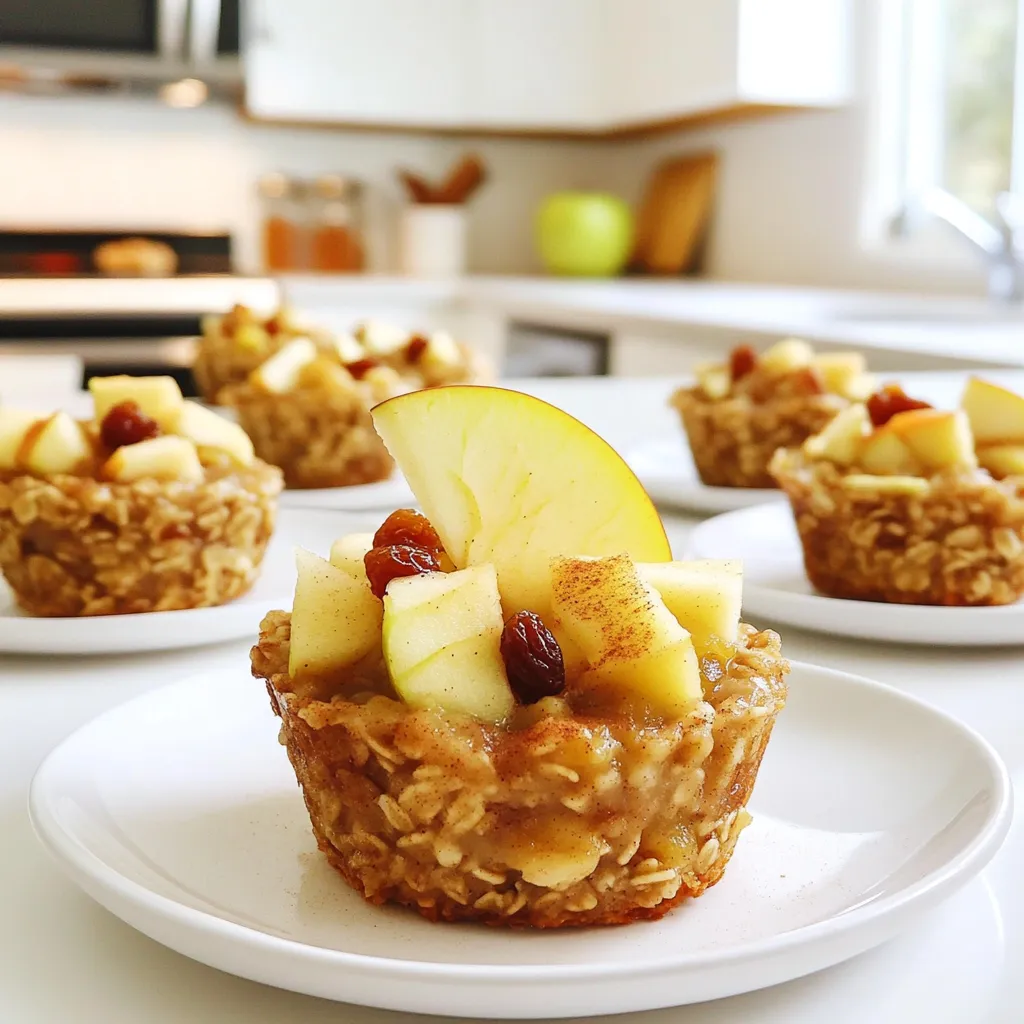
Looking for a quick breakfast packed with flavor? You’ve found it! Apple cinnamon oatmeal cups are a tasty way to
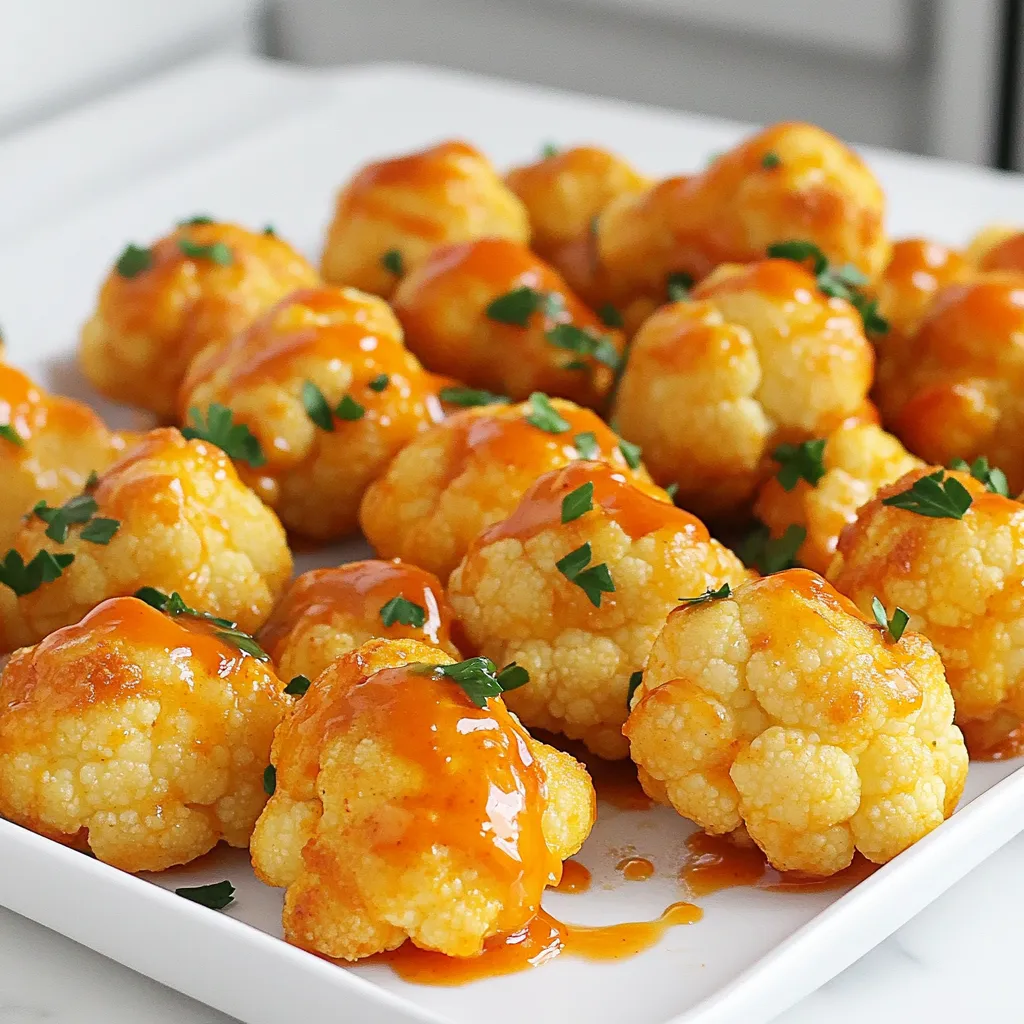
If you crave a spicy snack that’s both crispy and healthy, you’ll love these Buffalo Cauliflower Bites! I’ll guide you
