If you’re craving a quick snack that packs a cheesy punch, you’re in the right place! Cheesy pizza pockets are easy to make and fun to customize. You can whip them up in no time and enjoy a delicious treat that satisfies both kids and adults. Let me guide you through the ingredients and steps to create your perfect cheesy pizza pockets. Get ready for a tasty adventure!
Why I Love This Recipe
- Easy to Make: This recipe requires minimal ingredients and simple techniques, making it perfect for beginner cooks.
- Customizable Filling: You can easily switch up the fillings with your favorite toppings, whether it’s veggies or different meats.
- Great for Meal Prep: These pizza pockets can be made ahead of time and frozen, making them a convenient snack or meal.
- Fun to Eat: Who doesn’t love a cheesy, gooey pocket of pizza goodness? They’re perfect for kids and adults alike!
Ingredients
Main Ingredients for Cheesy Pizza Pockets
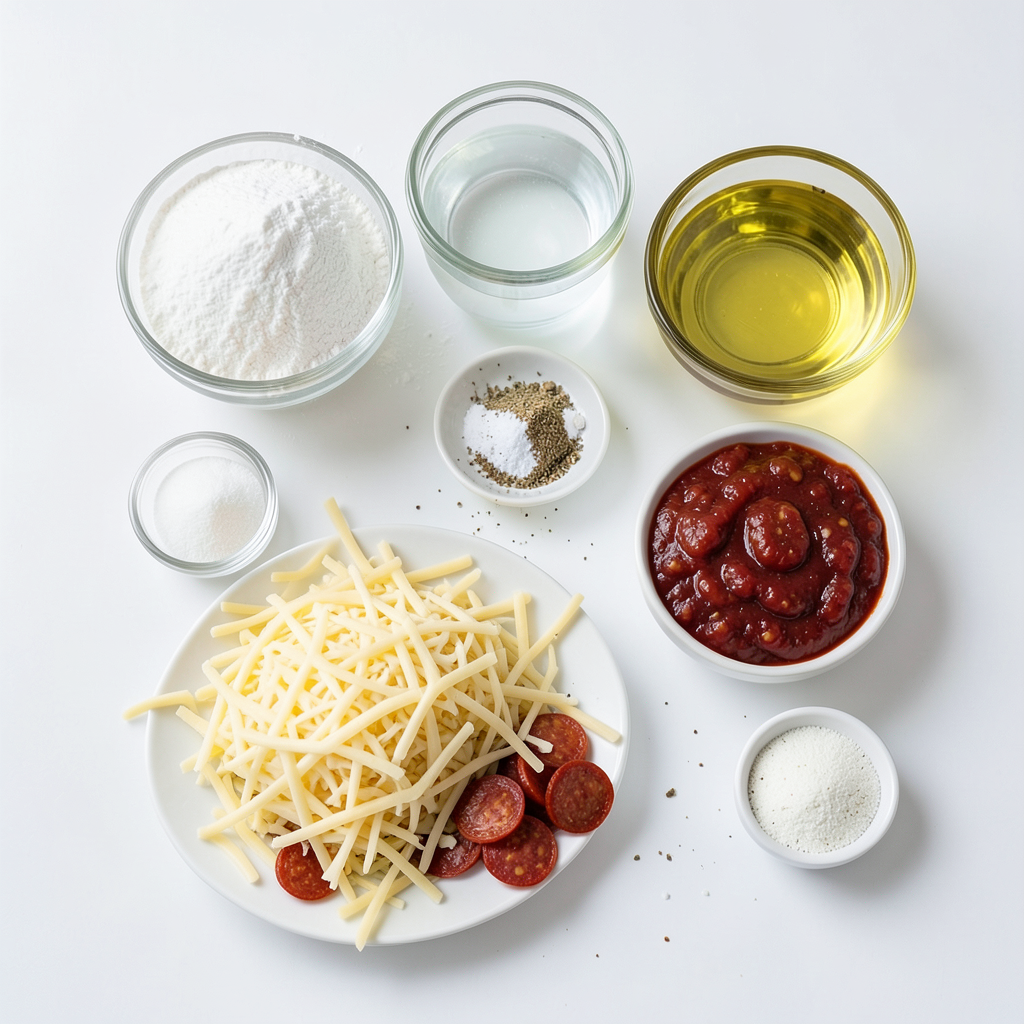
To make cheesy pizza pockets, you need these main ingredients:
- 1 cup all-purpose flour
- 1/2 teaspoon baking powder
- 1/4 teaspoon salt
- 1/3 cup warm water
- 1 tablespoon olive oil
- 1/2 cup shredded mozzarella cheese
- 1/2 cup pizza sauce
- 1/4 cup sliced pepperoni or veggies
- 1 teaspoon Italian seasoning
These items create a simple dough and a tasty filling. The mozzarella cheese gives a nice stretch, while the pizza sauce adds flavor.
Optional Ingredients for Customization
You can spice up your pizza pockets with these optional ingredients:
- Parmesan cheese for garnish
- Extra spices like garlic powder or red pepper flakes
- Different types of cheese, like cheddar or provolone
- Variety of veggies such as mushrooms or bell peppers
Using these options lets you customize your pizza pockets to your taste.
Recommended Tools and Equipment
To make these cheesy pizza pockets, you'll need:
- Mixing bowl
- Rolling pin
- Fork for crimping
- Baking sheet
- Parchment paper
Having the right tools makes the process easier and faster. You’ll enjoy every step of making these snacks!
Step-by-Step Instructions
Preparing the Dough
To make the dough, start by mixing the flour, baking powder, and salt in a bowl. Use a whisk or fork to combine them well. Next, slowly add warm water and olive oil to the dry mix. Stir it until the dough begins to form. Knead the dough on a floured surface for about five minutes. You want it to feel smooth and elastic. Once done, cover the dough with a cloth and let it rest for 10 to 15 minutes. This rest time helps the dough relax.
Assembling the Pizza Pockets
After resting, divide the dough into small balls. Each ball should be about the size of a golf ball. Roll each ball into a circle, roughly five inches wide. Now, take one half of each circle and spread a tablespoon of pizza sauce on it, leaving some edge space. Next, sprinkle shredded mozzarella cheese on top. Add your choice of pepperoni or veggies, then sprinkle Italian seasoning over everything. Fold the dough over to make a half-moon shape. Use a fork to crimp the edges tightly, sealing in all that cheesy goodness.
Baking and Serving Tips
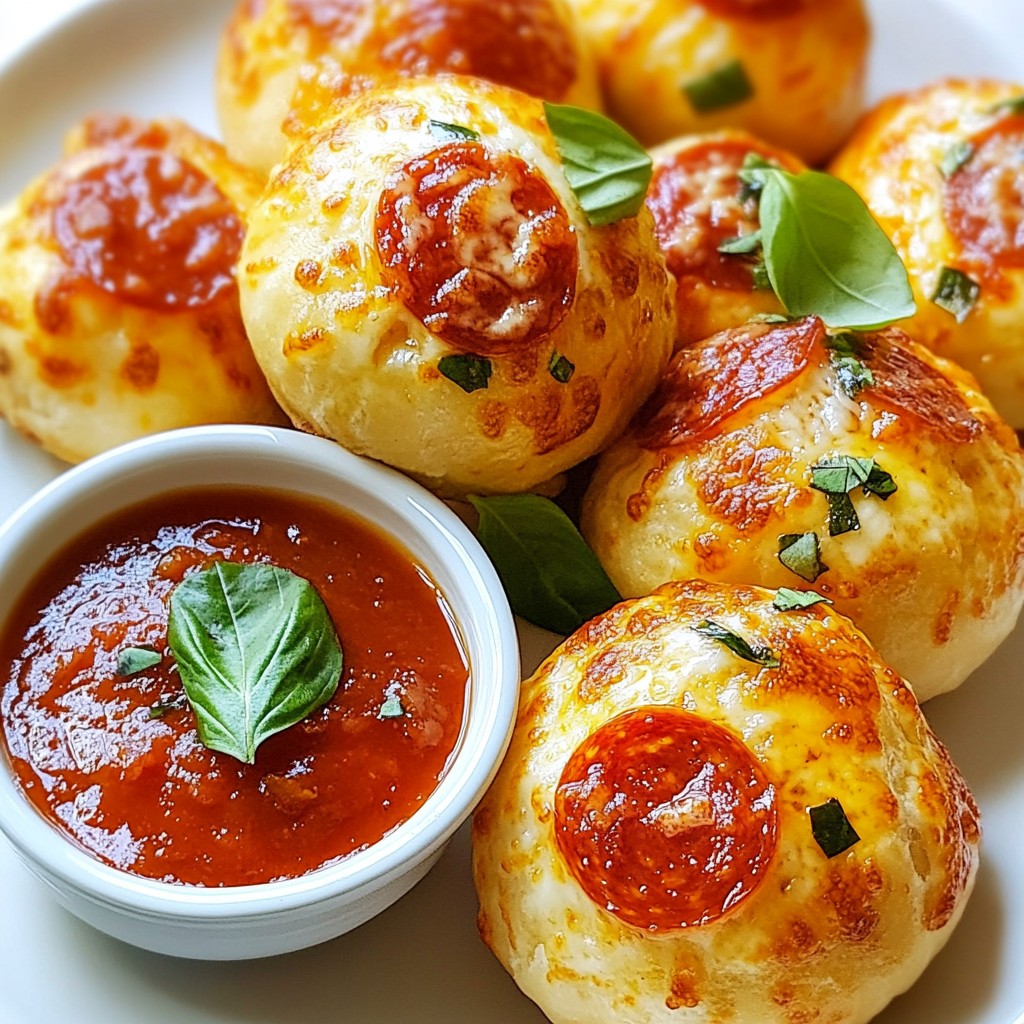
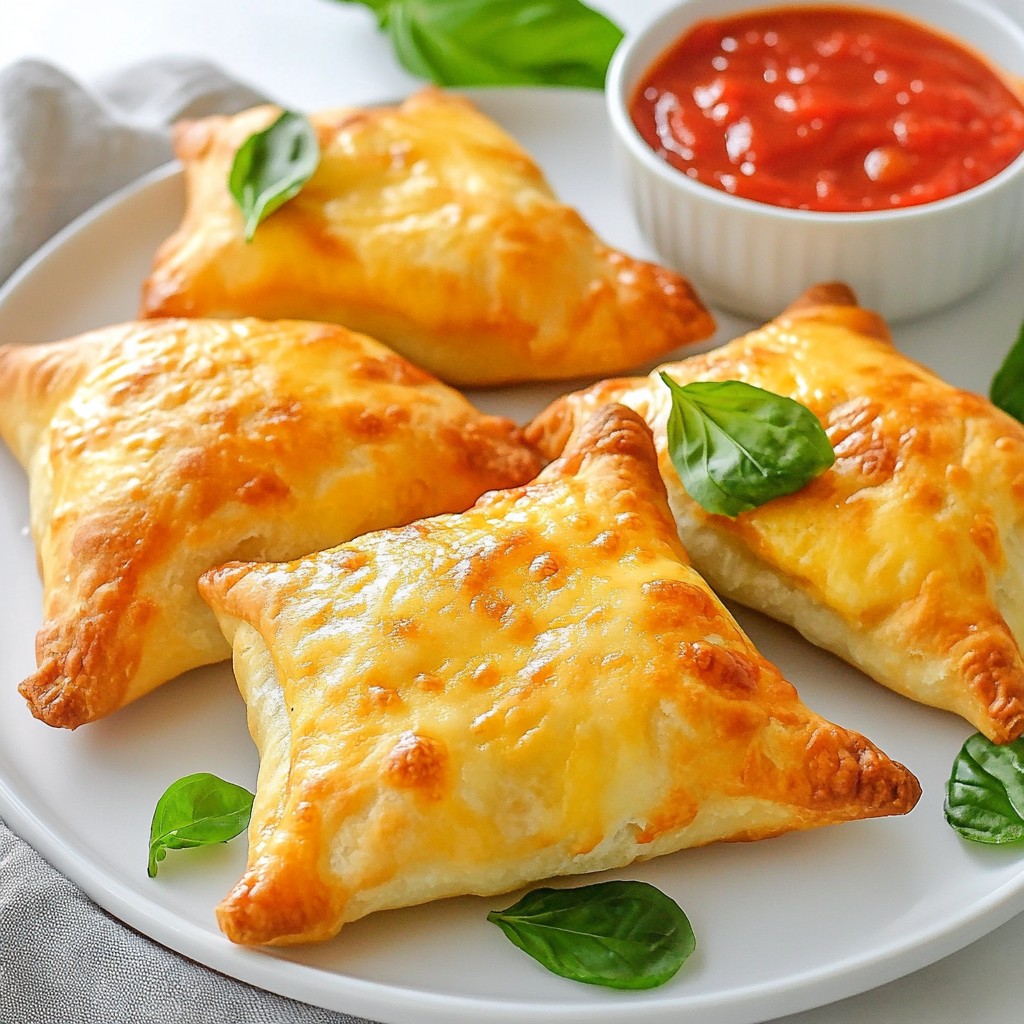
Preheat your oven to 400°F (200°C). Place the pizza pockets on a baking sheet lined with parchment paper. For a golden finish, brush the tops with olive oil and sprinkle some Parmesan cheese. Bake them for 15 to 20 minutes, until they are golden and puffed up. Once out of the oven, let them cool for a few minutes. Serve warm with extra pizza sauce for dipping. Garnish with fresh basil leaves for a nice touch. Enjoy your cheesy pizza pockets!
Tips & Tricks
How to Perfect the Dough Texture
To get the best dough, use all-purpose flour. Mix the flour, baking powder, and salt well. Slowly add warm water and olive oil. Stir until it forms a dough. Knead the dough for about five minutes. It should feel smooth and elastic. Let it rest covered for ten to fifteen minutes. This helps the gluten relax, making it easier to roll out.
Achieving a Golden Brown Finish
To achieve a golden brown finish, preheat your oven to 400°F (200°C). Brush the tops of the pizza pockets with a little olive oil. This will help them brown nicely. Baking for 15 to 20 minutes will ensure they puff up and turn golden. Keep an eye on them towards the end. Every oven is different, so timing might vary.
Best Practices for Filling Variations
Get creative with your fillings! You can use pepperoni, veggies, or even cooked chicken. Always sprinkle cheese on top of the sauce for extra gooeyness. Add herbs like Italian seasoning for flavor. Make sure not to overfill them. Leave some space at the edges to seal the pockets well. This will help keep all the tasty goodness inside while they bake.
Pro Tips
- Use Warm Water: Warm water helps to activate the baking powder, resulting in a lighter and fluffier dough.
- Resting the Dough: Letting the dough rest for 10-15 minutes allows the gluten to relax, making it easier to roll out.
- Customize Your Fillings: Feel free to experiment with different cheeses, meats, or vegetables for a personalized flavor profile.
- Perfect Crimping: Make sure to crimp the edges well to prevent any filling from leaking out during baking.
Variations
Vegetarian Cheesy Pizza Pockets
You can easily make vegetarian cheesy pizza pockets. Instead of pepperoni, use your favorite veggies. Great options include bell peppers, mushrooms, and spinach. You can also add some feta cheese for a nice twist. Just remember to keep the same amount of mozzarella cheese for a gooey texture. These pockets are not only tasty but also colorful.
Spicy Pepperoni and Jalapeño Pockets
If you like heat, try spicy pepperoni and jalapeño pockets. Just add sliced jalapeños to your filling. This will give your pockets a nice kick. You can also mix in some crushed red pepper flakes for an extra layer of spice. Pairing these with ranch or blue cheese dip will cool down the heat. Your friends will love these!
Gluten-Free Dough Alternatives
For gluten-free pizza pockets, you can use almond flour or a gluten-free flour blend. Just be aware that the texture might change slightly. Follow the same steps as before, but add a bit more water if needed. This helps the dough come together. You can still fill them with all your favorite ingredients. Enjoy your gluten-free snack without worry!
Storage Info
Storing Leftover Pizza Pockets
To keep your leftover pizza pockets fresh, store them in an airtight container. They can last in the fridge for up to three days. Make sure to let them cool completely before sealing. This way, they won’t become soggy.
Freezing for Later Use
If you want to save pizza pockets for later, freezing is a great option. Wrap each pocket in plastic wrap. Then, place them in a freezer bag. You can keep them in the freezer for up to a month. When you’re ready to eat them, you can thaw them in the fridge overnight.
Reheating Instructions for Optimal Taste
To reheat your pizza pockets, the oven works best. Preheat your oven to 350°F (175°C). Place the pockets on a baking sheet. Heat them for about 10-15 minutes until they are warm and crispy. You can also use a microwave, but they may not get crispy. Heat them in the microwave for about 1-2 minutes. Enjoy your tasty snack!
FAQs
How can I make Cheesy Pizza Pockets without baking?
You can cook Cheesy Pizza Pockets on a stovetop. Use a skillet with a lid. Heat the skillet over medium heat. Place the pizza pockets in the skillet. Cook for about 5-7 minutes on each side. Keep the lid on to help them cook through. This method gives you a crispy outside and warm filling.
What can I use instead of mozzarella cheese?
You can use several cheese options. Cheddar cheese offers a sharp flavor. Monterey Jack gives a creamy texture. Vegan cheese is great for a plant-based option. Cream cheese can provide a rich, smooth filling. Mix and match cheeses for unique flavors.
How long do Cheesy Pizza Pockets last in the fridge?
Cheesy Pizza Pockets last about 3-4 days in the fridge. Store them in an airtight container. Make sure they cool down before sealing. This keeps them fresh and safe to eat. Reheat them in the oven or microwave before serving for the best taste.
Making Cheesy Pizza Pockets is simple and fun. You learned about key ingredients, custom options, and helpful tools. The step-by-step guide showed how to prepare and bake them to perfection. Remember the tips to get the dough just right and achieve a golden brown finish. You can customize flavors, from vegetarian to spicy. Leftovers can be stored, frozen, or reheated easily. Enjoy every tasty bite, knowing that you can make these treats your own!