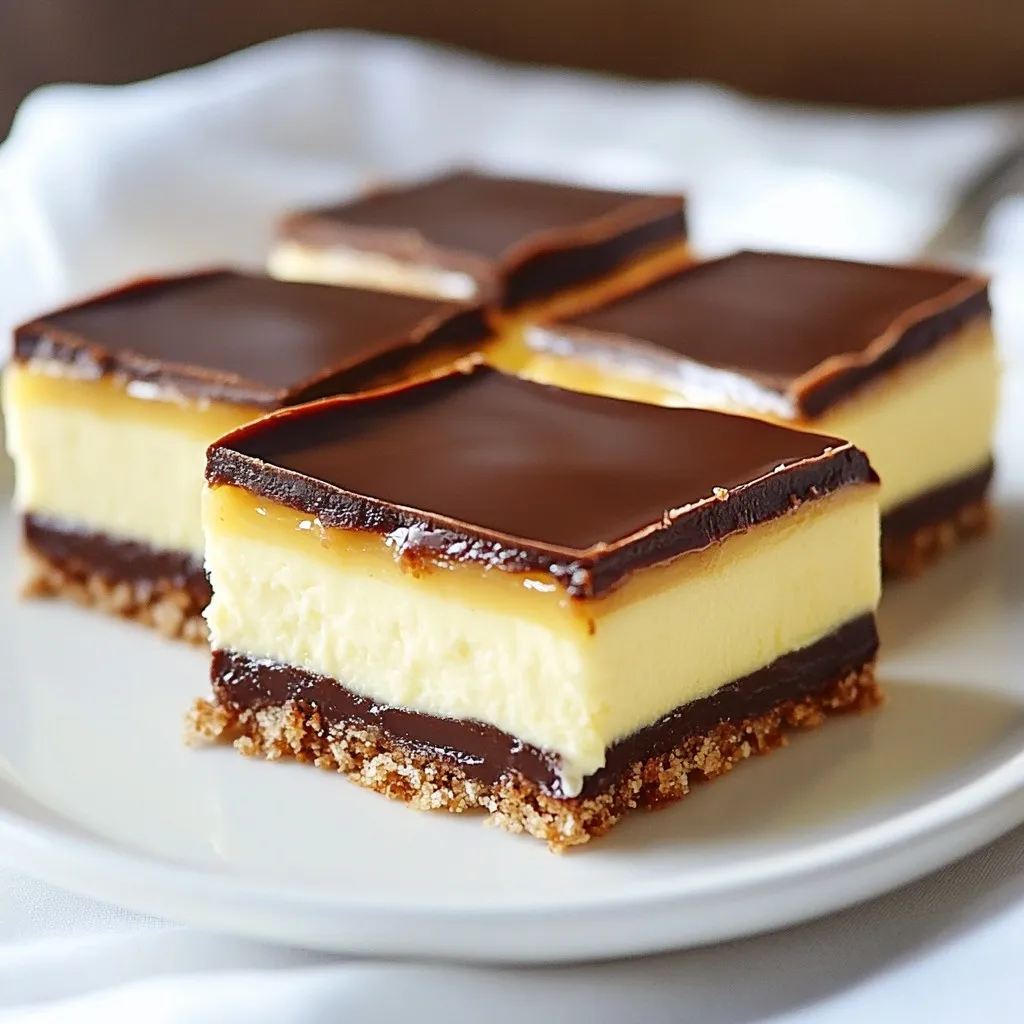
Get ready to indulge in a classic treat! Nanaimo bars are the perfect no-bake dessert combining layers of rich chocolate, creamy custard, and a crunchy base. These bars are not just easy to make, but they also deliver a delightful taste punch. In this guide, I’ll walk you through every step to create these irresistible bars, from the ingredients to the tips for perfection. Let’s dive in and make your next dessert a hit!
Why I Love This Recipe
- Decadent Layers: This recipe features three delicious layers that combine to create a delightful taste experience.
- No-Bake Convenience: Perfect for warm days, these bars require no baking, making them a quick and easy treat.
- Perfect for Sharing: Cut into squares, they’re ideal for parties, potlucks, or a sweet treat to share with friends.
- Rich Flavor Profile: The combination of chocolate, coconut, and custard creates a rich and satisfying dessert that everyone loves.
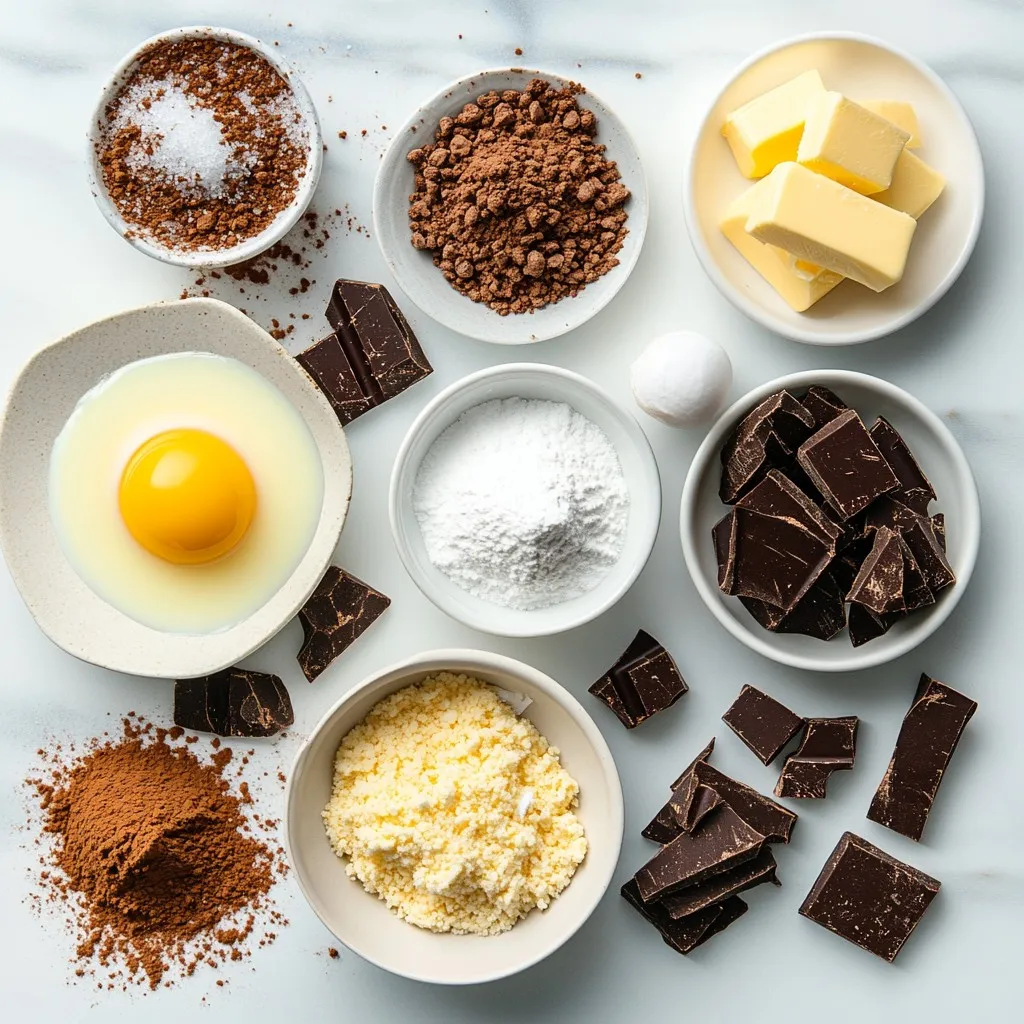
Ingredients
Base Layer Ingredients
– ½ cup unsalted butter, softened
– ⅓ cup granulated sugar
– 1 large egg, beaten
– 1 cup graham cracker crumbs
– ½ cup unsweetened cocoa powder
– 1 cup shredded coconut
The base layer forms the heart of the Nanaimo bar. It blends rich butter and sugar, giving it a sweet start. The egg binds the ingredients, while graham cracker crumbs add a nice crunch. Unsweetened cocoa powder brings a deep chocolate flavor, and shredded coconut adds a chewy texture. This layer is not just a foundation; it sets the stage for the creamy and rich layers above.
Custard Layer Ingredients
– ½ cup unsalted butter, softened
– 2 cups powdered sugar
– 2 tablespoons vanilla custard powder
– 2 tablespoons milk
– 1 teaspoon vanilla extract
The custard layer is where the magic happens. Softened butter and powdered sugar create a creamy base. Vanilla custard powder gives it a lovely yellow hue and distinct flavor. Adding milk makes the mix smooth, while vanilla extract enhances the taste. This layer is rich and sweet, making it a delightful contrast to the base.
Chocolate Topping Ingredients
– 4 oz semi-sweet chocolate, chopped
– 2 tablespoons unsalted butter
The chocolate topping is the crowning glory of the Nanaimo bar. Semi-sweet chocolate provides a deep, rich flavor. Mixing it with butter makes it glossy and smooth. This layer melts in your mouth, balancing the sweetness of the custard and the crunch of the base. It’s the perfect end to this no-bake treat!
Step-by-Step Instructions
Preparing the Base Layer
1. Start by creaming ½ cup of softened butter with ⅓ cup of granulated sugar. Mix until fluffy. This step adds air and lightness to the bars.
2. Next, beat in 1 large egg. This binds the mixture and adds moisture.
3. Now, mix in 1 cup of graham cracker crumbs, ½ cup of unsweetened cocoa powder, and 1 cup of shredded coconut. Stir until everything is well combined.
4. Press this mixture firmly into a greased 8×8-inch baking pan. Make sure it forms an even layer at the bottom.
Making the Custard Layer
1. In a separate bowl, beat together ½ cup of softened butter, 2 cups of powdered sugar, 2 tablespoons of custard powder, 2 tablespoons of milk, and 1 teaspoon of vanilla extract. Keep mixing until it’s smooth and creamy.
2. Spread this custard mixture evenly over the base layer. Use a spatula for a nice, even coat.
Adding the Chocolate Topping
1. For the topping, melt 4 oz of chopped semi-sweet chocolate and 2 tablespoons of butter together in a small saucepan over low heat. Stir until smooth.
2. Pour this melted chocolate over the custard layer. Spread it evenly with a spatula for a nice finish.
Chilling and Serving
1. Refrigerate the bars for 30 minutes after adding the custard layer. Then, chill again for 1-2 hours after adding the chocolate topping. This helps everything set properly.
2. Once set, cut the bars into squares or rectangles. Use a sharp knife for clean edges. Serve chilled for the best taste.
Tips & Tricks
Tips for the Perfect Texture
To get the right creaminess in your Nanaimo bars, use softened butter in both layers. This helps mix the ingredients smoothly. When making the custard layer, add milk slowly while mixing. This keeps the texture light. For balanced flavors, taste as you go. You can add a bit more vanilla if you like.
Common Mistakes to Avoid
A common mistake is overmixing the layers. This can make them too dense. Mix just until the ingredients combine. Another mistake is not chilling the bars long enough. Chilling helps the layers set properly, so refrigerate for at least 30 minutes before adding the chocolate.
Presentation Tips
When cutting the bars, use a sharp knife. This gives you clean edges. You can warm the knife slightly to help it cut through the chocolate topping. Serve the bars on a nice plate and consider adding some fresh berries on the side. A sprinkle of coconut or a drizzle of chocolate can make them look even better.
Pro Tips
- Chill the Layers: Make sure to chill each layer in the refrigerator before adding the next one. This helps the layers set properly and keeps them from blending together.
- Use Fresh Ingredients: For the best flavor, use fresh butter and high-quality chocolate. The taste of your Nanaimo bars will be significantly enhanced.
- Customize Your Coconut: If you prefer, you can substitute the shredded coconut with chopped nuts or leave it out entirely for a different texture.
- Cutting Technique: To achieve clean cuts, run a sharp knife under hot water, wipe it dry, and then slice the bars. This prevents the chocolate from cracking.
Variations
Gluten-Free Nanaimo Bars
To make gluten-free Nanaimo bars, simply swap the regular graham crackers for gluten-free ones. This change keeps the texture similar while meeting gluten-free needs. Look for options made from rice flour or almond flour in stores.
For binding, use ground nuts or gluten-free oats. These ingredients help hold the layers together. They add a nutty flavor that works well with the bars.
Vegan Nanaimo Bars
To create vegan Nanaimo bars, replace dairy ingredients with plant-based options. Use coconut oil or vegan butter for the base layer. These swaps keep the creamy texture intact.
For the custard layer, use almond milk or coconut milk instead of regular milk. You can find egg replacements like flaxseed meal mixed with water. This makes a great binder while keeping it vegan.
Flavor Variations
Get creative by adding nuts or fruit to your Nanaimo bars. Chopped walnuts or almonds can add a nice crunch. You might also try dried cherries or cranberries for a fruity twist.
You can infuse the layers with extra flavors too. Consider adding a bit of almond extract or orange zest for a fun twist. These small changes can make a big impact on taste and make your Nanaimo bars unique.
Storage Info
Best Storage Practices
To keep your Nanaimo bars fresh, use airtight containers. This helps prevent them from drying out or absorbing unwanted smells. If you have a lot, layer them with parchment paper. This keeps them from sticking together.
Store Nanaimo bars in the fridge for best results. They taste better chilled. However, you can also freeze them. Just wrap them tightly in plastic wrap and place them in a freezer-safe container.
Shelf Life
How long do Nanaimo bars last? When stored in the fridge, they can last up to one week. If you freeze them, they can last for up to three months.
To check for freshness, look for changes in texture or smell. If they become too hard or have an off-odor, it’s time to toss them.
Reheating and Serving
To serve chilled bars, cut them straight from the fridge. This keeps the layers intact. Use a sharp knife for clean cuts.
If you freeze your bars, take them out and let them thaw in the fridge for a few hours. This keeps them cool and tasty. Never thaw them at room temperature, as this can make them too soft.
FAQs
What are Nanaimo Bars?
Nanaimo bars are a no-bake dessert from Canada. They come from Nanaimo, British Columbia. These bars have three distinct layers. The bottom layer is rich and chocolatey. The middle layer has a creamy custard flavor. The top layer is a smooth chocolate coating.
Can I make Nanaimo Bars ahead of time?
Yes, you can make Nanaimo bars ahead of time. They taste even better after chilling overnight. To store them, place the bars in an airtight container. Keep them in the fridge for up to a week. For longer storage, freeze them for up to three months.
Can I use different types of chocolate for the topping?
You can use different chocolates for the topping. Semi-sweet chocolate is the classic choice. Milk chocolate will make it sweeter. Dark chocolate adds a rich, bold flavor. Each chocolate choice changes the taste slightly.
How do I adjust the recipe for different serving sizes?
To adjust serving sizes, you can scale the recipe. If you want more bars, double the ingredients. For fewer bars, halve the recipe. Adjust your pan size based on the amount. A larger pan will require a bit more time to chill.
You’ve learned how to make Nanaimo bars from scratch. Each layer brings unique flavors that combine to create a delicious treat. Pay attention to tips about texture and common mistakes to ensure success. You can also explore variations, like gluten-free or vegan options. Store them properly to keep them fresh longer. These tips and tricks can help you impress family and friends with your baking skills. Enjoy making and sharing these delightful bar


