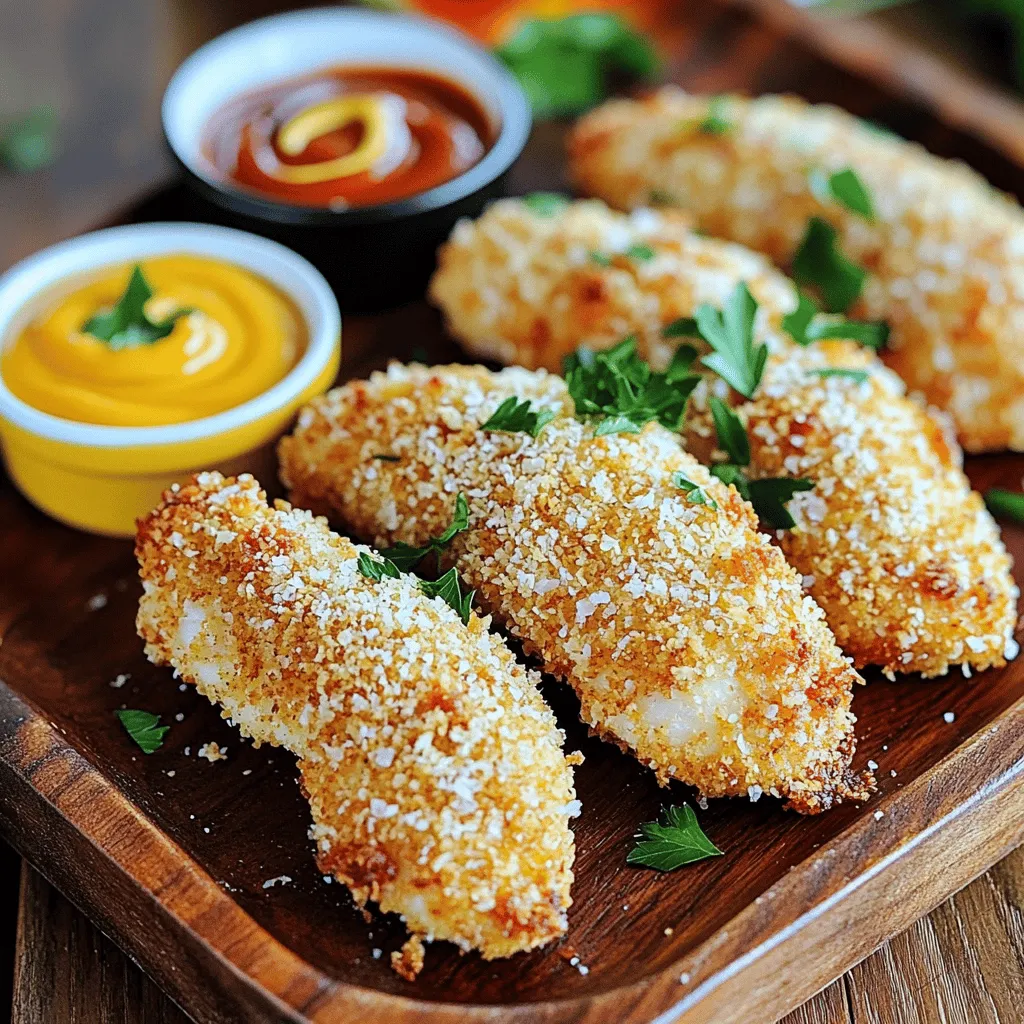
If you’re craving a delicious, healthy meal, then crispy baked chicken tenders are for you! In this easy and flavorful recipe, I’ll share the secrets to creating tender chicken with a crunchy coating. Whether you want a quick dinner or a tasty snack, these tenders will impress everyone at the table. Join me, and let’s get cooking for something crisp and delightful!
Ingredients
List of Required Ingredients
To make crispy baked chicken tenders, you need these key ingredients:
– 1 pound chicken breast tenders
– 1 cup buttermilk
– 1 teaspoon garlic powder
– 1 teaspoon onion powder
– 1 teaspoon paprika
– 1 teaspoon salt
– 1/2 teaspoon black pepper
– 1 1/2 cups panko bread crumbs
– 1/2 cup grated Parmesan cheese
– Olive oil cooking spray
These ingredients create a flavorful and crunchy coating on the chicken tenders. The buttermilk makes the chicken juicy and tender. The spices add a nice kick.
Optional Ingredients for Enhanced Flavor
If you want to make your chicken tenders even tastier, consider these optional ingredients:
– 1 teaspoon cayenne pepper for heat
– 1 tablespoon fresh herbs like parsley or thyme
– 1 tablespoon Dijon mustard in the buttermilk mix
Adding cayenne gives a spicy twist. Fresh herbs add bright flavors. Dijon mustard can add a nice tang.
Suggested Cooking Tools
To cook your chicken tenders, gather these cooking tools:
– Large mixing bowl
– Baking sheet
– Parchment paper
– Shallow dish for breading
– Meat thermometer
These tools help streamline your cooking process. A meat thermometer ensures your chicken reaches a safe temperature. Using parchment paper makes cleanup easy.
Step-by-Step Instructions
Preparation: Prepping the Chicken Tenders
To make crispy baked chicken tenders, start with fresh chicken breast tenders. Rinse them under cold water and pat them dry with paper towels. Drying the chicken helps the marinade stick better. Place the tenders in a large bowl. This step sets the stage for flavor.
Marinating: How to Marinate for Maximum Flavor
Marinating is key for juicy and tasty chicken. In a bowl, mix buttermilk, garlic powder, onion powder, paprika, salt, and black pepper. Stir well to blend all the flavors. Next, add the chicken tenders to this mix. Make sure they are fully submerged. Cover the bowl and put it in the fridge. Let them marinate for at least 30 minutes, but two hours gives more flavor. The buttermilk tenderizes the meat and infuses it with taste.
Coating: Achieving the Perfect Crunch
After marinating, it’s time to coat the chicken. In a separate bowl, combine panko bread crumbs and grated Parmesan cheese. Mix them well. Remove the chicken from the buttermilk mixture, letting the excess drip off. Dredge each tender in the panko mix, pressing lightly so the coating sticks. Place the coated tenders on a baking sheet lined with parchment paper. Lightly spray the tops with olive oil cooking spray. This step ensures a golden, crispy finish. Bake in a preheated oven at 400°F for 20-25 minutes. Keep an eye on them until they turn golden brown and reach 165°F inside.
Tips & Tricks
Secrets to a Crispy Coating
To get that perfect crunch, start with panko bread crumbs. Panko is lighter and flakier than regular bread crumbs, giving you a nice crunch. Mix the panko with grated Parmesan cheese for a savory kick. Make sure to press the crumbs onto the chicken. This helps them stick better during baking.
Baking Tips: How to Avoid Soggy Tenders
To keep your chicken tenders crispy, do not skip the olive oil spray. A light coat on top helps create a golden crust. Always preheat your oven to 400°F (200°C). This high heat seals in moisture and gives you a crisp outside. Arrange the tenders in a single layer on the baking sheet. Crowding them will cause steam and make them soggy.
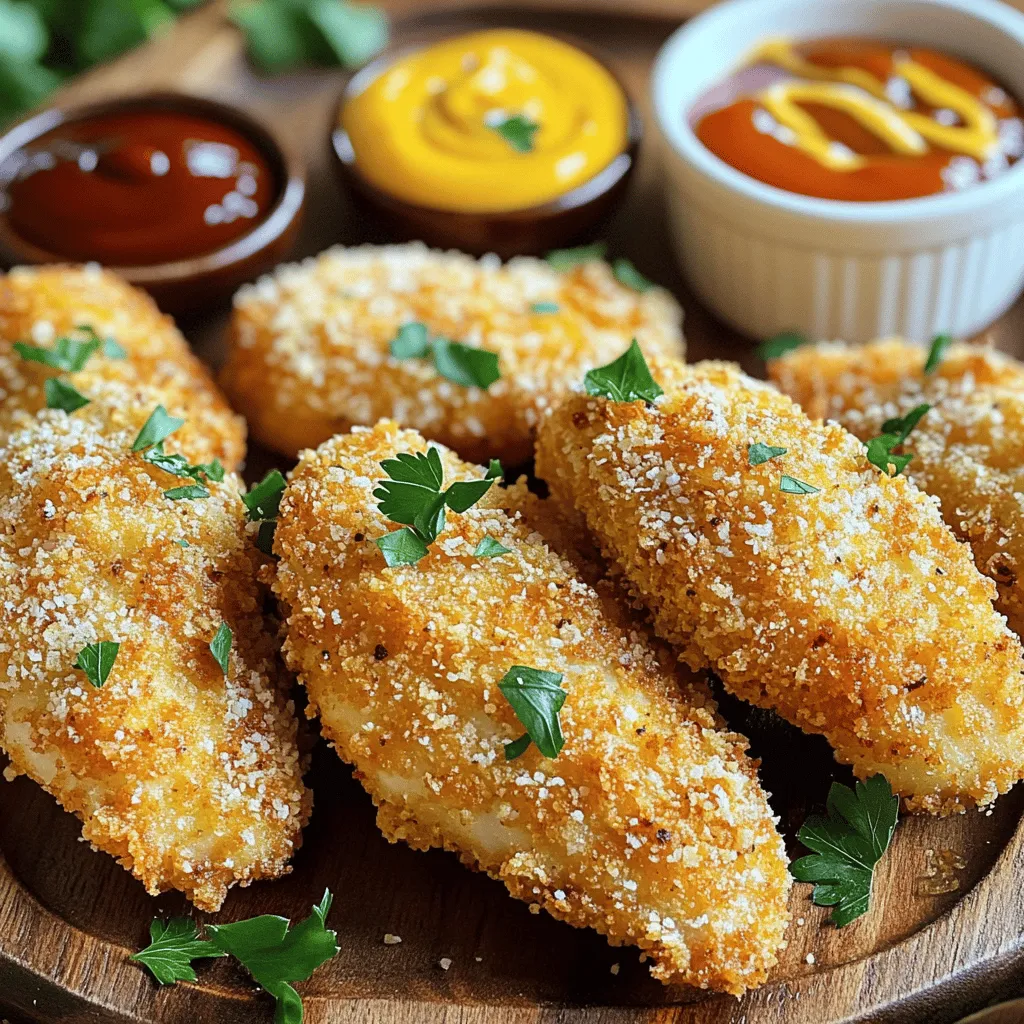
Serving Suggestions: Best Dipping Sauces and Sides
Pair these tenders with fun dipping sauces. My favorites are honey mustard, barbecue sauce, and ranch dressing. For sides, try a fresh salad or crispy fries. You can even serve them with veggies for a healthier option. For a touch of color, garnish with fresh parsley.
Variations
Different Seasonings and Flavor Options
You can change the taste of your chicken tenders with different spices. Try using cayenne pepper for heat. For a sweet touch, add brown sugar to the mix. You can also use Italian seasoning for a herby flavor. Don’t be afraid to experiment! Mixing flavors can make your chicken tenders exciting.
Altering Bread Crumbs: Alternatives to Panko
Panko gives a great crunch, but you can try other options. Use crushed cornflakes for a light texture. You can also use regular breadcrumbs if panko isn’t on hand. For a nutty flavor, crushed almonds or walnuts work well too. Each option changes the taste and feel of your tenders.
Serving Styles: Making Chicken Tenders into a Meal or Snack
Chicken tenders can be a meal or a fun snack. Serve them on a bed of salad for a healthy dish. Or, make a chicken tender sandwich with your favorite toppings. If you want a snack, pair them with dips like ranch or honey mustard. You can also serve them with veggies for a balanced bite.
Storage Info
How to Store Leftovers Properly
After you enjoy your crispy baked chicken tenders, store any leftovers right. First, let them cool completely. Then, place them in an airtight container. This keeps them fresh. You can store them in the fridge for up to three days. If you have more than you can eat, freezing is a good option.
Reheating Tips for Retaining Crispiness
Reheating chicken tenders can be tricky. You want them hot but still crispy. The best way is to use the oven. Preheat your oven to 375°F (190°C). Spread the tenders on a baking sheet. Bake for about 10-15 minutes. This method keeps them crunchy. You can also use an air fryer for about 5-7 minutes. Just make sure to check on them often.
Freezing Chicken Tenders for Future Use
Freezing chicken tenders is easy. Once they cool, wrap each one tightly in plastic wrap. Then, place them in a freezer bag. Make sure to squeeze out as much air as possible. You can freeze them for up to three months. When you’re ready to eat them, simply thaw in the fridge overnight before reheating. You can enjoy your crispy baked chicken tenders anytime!
FAQs
Can I use chicken breasts instead of tenders?
Yes, you can use chicken breasts. Just cut them into strips. Make sure they are about the same size as tenders. This helps them cook evenly. The flavor will still be great, and they will turn out crispy.
How do I know when the chicken tenders are done cooking?
Check the internal temperature of the chicken tenders. They should reach 165°F (74°C) for safety. The outside should be golden brown. If you do not have a thermometer, cut one open. The meat should be white, not pink. This shows they are fully cooked.
What can I serve with crispy baked chicken tenders?
You have many tasty options! Try serving them with a side of fries or a fresh salad. Dipping sauces like honey mustard or ranch add great flavor. You can also pair them with veggies for a healthier side. These options make your meal even more fun and delicious!
You learned about making crispy chicken tenders from start to finish. We covered key ingredients, tools, and step-by-step cooking methods. I shared tips for keeping your tenders crunchy and delicious. Variations and serving ideas let you customize your meals. Lastly, I included storage and reheating tips to enjoy leftovers. Follow these steps, and you’ll create tasty chicken tenders every time. Happy cooking!