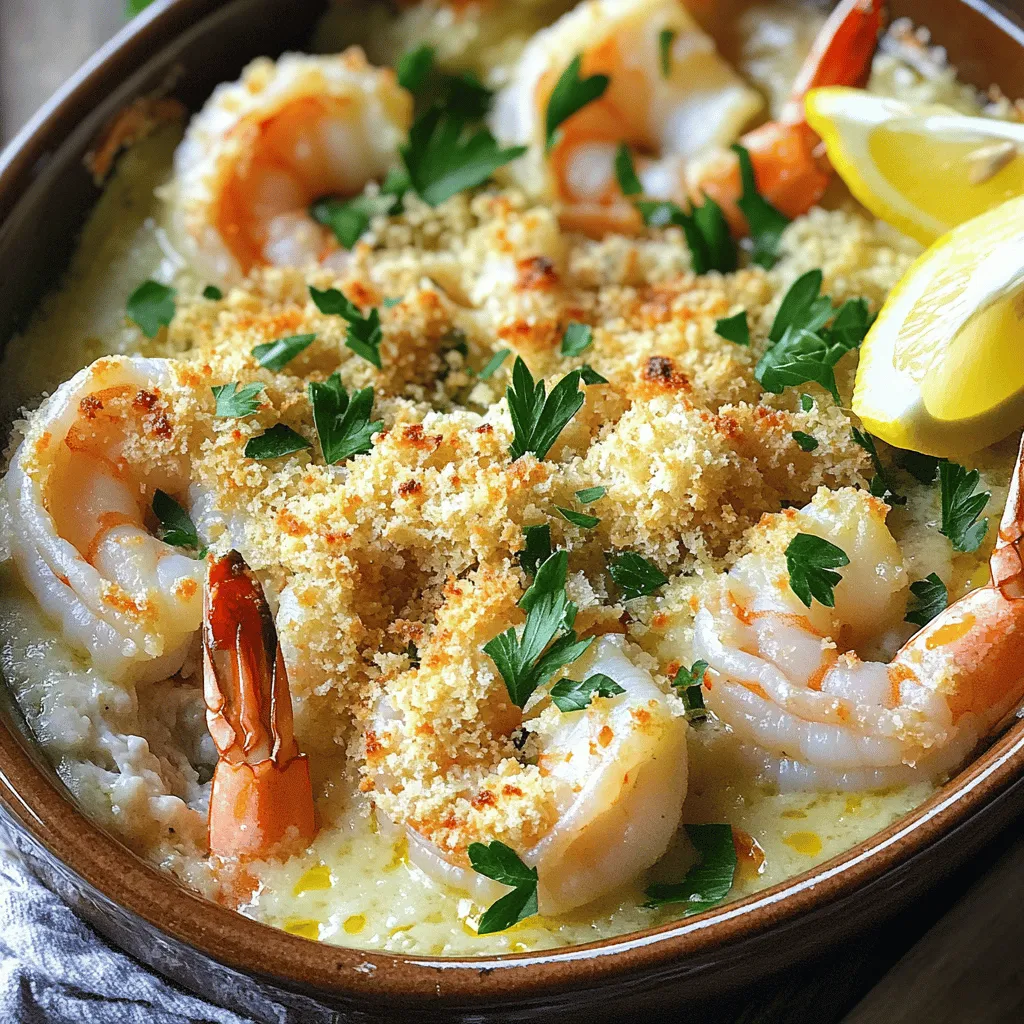
If you crave a dish that’s packed with flavor and super easy to make, you’re in the right place! My Easy Garlic Shrimp Gratin will delight your taste buds and impress your guests. In this post, I’ll guide you through simple steps and share tips to ensure your shrimp is perfect every time. Let’s dive into this tasty journey and transform shrimp into something extraordinary!
Ingredients
Essential Ingredients for Easy Garlic Shrimp Gratin
To make Easy Garlic Shrimp Gratin, you need a few key ingredients. Here’s what you should gather:
– 1 lb large shrimp, peeled and deveined
– 4 cloves garlic, minced
– 1 cup heavy cream
– 1/2 cup grated Parmesan cheese
– 1/2 cup breadcrumbs
– 1/4 cup fresh parsley, chopped
– 2 tablespoons olive oil
– 1 teaspoon paprika
– Salt and pepper to taste
– Lemon wedges for garnish
These ingredients work together to create a rich and creamy dish. The shrimp brings flavor, while the garlic adds a wonderful aroma. The cream and cheese create a smooth texture.
Optional Ingredients for Enhanced Flavor
You can add some optional ingredients to elevate this dish. Here are a few ideas:
– Red pepper flakes for spice
– Fresh herbs like basil or thyme
– A splash of white wine for depth
These extras can bring more warmth and taste to the gratin. Feel free to mix and match based on what you like.
Ingredient Substitutes and Notes
If you don’t have certain ingredients, don’t worry! Here are some substitutes:
– Use frozen shrimp instead of fresh. Just thaw them first.
– Swap heavy cream for half-and-half or coconut milk for a lighter option.
– If you lack breadcrumbs, crushed crackers or panko will work well.
These swaps keep the dish tasty and accessible. Always adjust seasoning based on the substitute you use.
Step-by-Step Instructions
Preparation Steps for Easy Garlic Shrimp Gratin
Start by gathering all your ingredients. You need:
– 1 lb large shrimp, peeled and deveined
– 4 cloves garlic, minced
– 1 cup heavy cream
– 1/2 cup grated Parmesan cheese
– 1/2 cup breadcrumbs
– 1/4 cup fresh parsley, chopped
– 2 tablespoons olive oil
– 1 teaspoon paprika
– Salt and pepper to taste
– Lemon wedges for garnish
Next, preheat your oven to 400°F (200°C). This ensures even cooking for your dish.
Cooking Instructions with Timing
Now, heat the olive oil in a large sauté pan over medium heat. Once hot, add the minced garlic. Sauté it for 1-2 minutes until it smells good. Be careful not to burn the garlic.
Add the shrimp to the pan. Season them with paprika, salt, and pepper. Cook the shrimp for 3-4 minutes. They should turn pink and be just cooked.
Afterward, remove the pan from heat. Pour in the heavy cream and stir in half of the grated Parmesan cheese. Mix until everything is combined.
Transfer the shrimp mixture into a greased baking dish. In a small bowl, mix the breadcrumbs, remaining Parmesan cheese, and chopped parsley. Sprinkle this mix evenly over the shrimp.
Bake the dish in your preheated oven for 15-20 minutes. You want the topping to be golden brown and crispy.
Once done, take it out and let it cool for a minute.
Serving Suggestions and Presentation Tips
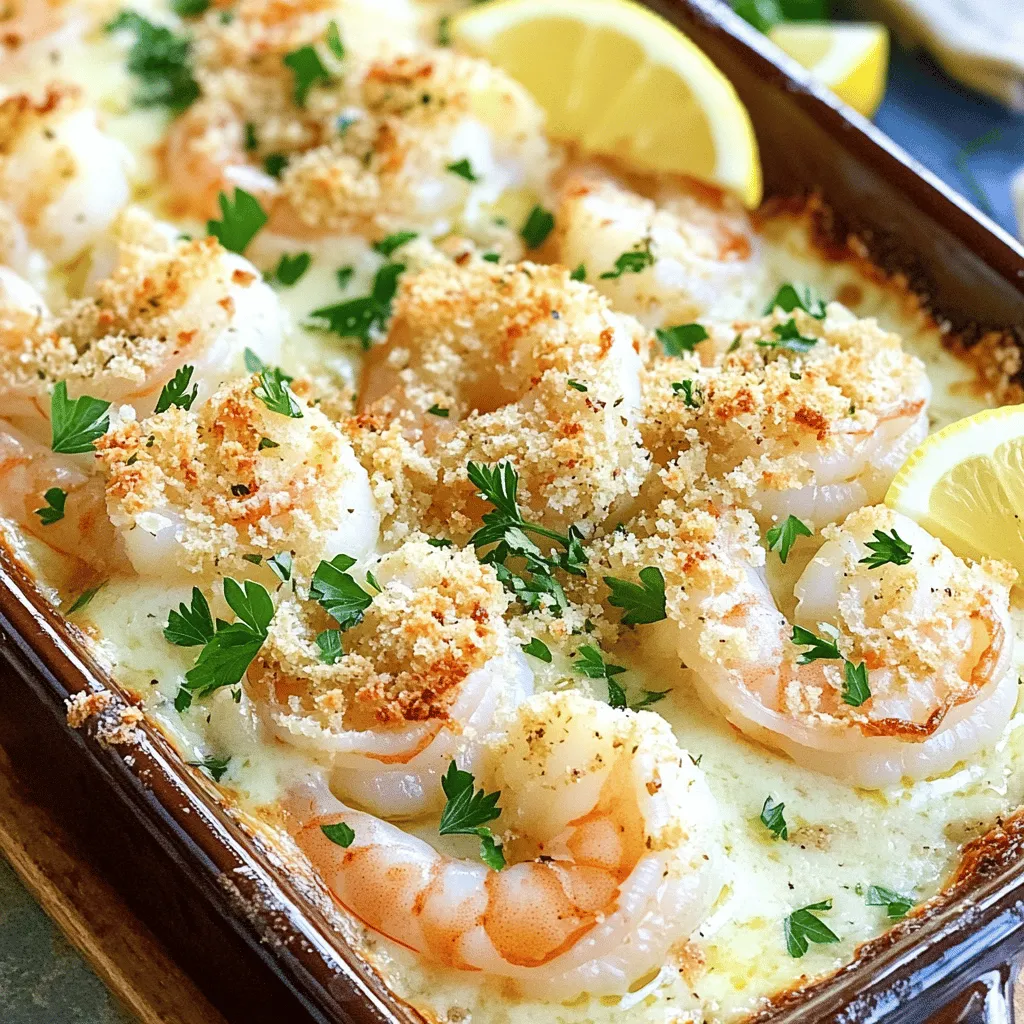
Serve your Easy Garlic Shrimp Gratin hot. Garnish it with lemon wedges on the side for a fresh kick. This dish looks great in a shallow baking dish, allowing guests to see the colorful topping.
For a complete meal, pair it with crusty bread or a light salad.Enjoy!
Tips & Tricks
How to Choose the Best Shrimp
When picking shrimp, look for fresh, firm, and shiny shells. The shrimp should smell like the ocean, not fishy. If buying frozen shrimp, choose ones that are individually quick-frozen. This keeps them fresh longer. Large shrimp work best for this dish. They hold up well during cooking and have great flavor.
Common Mistakes to Avoid
One mistake is overcooking the shrimp. They cook fast, so keep an eye on them. Remove them from heat as soon as they turn pink. Another mistake is not seasoning enough. Salt and pepper enhance the dish, so don’t skip them. Lastly, avoid skipping the breadcrumb topping. It adds a crunchy layer that makes this dish special.
Enhancing Flavor with Additional Seasonings
To boost flavor, consider adding more herbs. Fresh basil or oregano pairs well with garlic. You can also add a pinch of red pepper flakes for heat. Experiment with different cheeses like mozzarella for a creamier texture. Lemon juice adds brightness, so squeeze some on before serving. These small tweaks make each bite even more enjoyable.
Variations
Different Cheese Options to Try
You can change the cheese for a new taste. Mozzarella melts well and adds a nice stretch. Cheddar can give a sharp bite. For a creamy touch, try Gruyère or Fontina. Mixing cheeses can also add depth to the dish.
Adding Vegetables for a Healthier Twist
Adding veggies can boost flavor and nutrition. Consider spinach, bell peppers, or zucchini. These add color and crunch. Chop them finely and sauté with the garlic. This way, they cook well with the shrimp. You can sneak in more greens without losing taste.
Spicy Garlic Shrimp Gratin Variation
If you love heat, spice it up! Add red pepper flakes or diced jalapeños. This gives the dish a bold kick. Mix them in with the garlic at the start. You can also use spicy cheese like pepper jack. Adjust the spice based on your taste. Every bite will have a nice zing!
Storage Info
How to Store Leftover Easy Garlic Shrimp Gratin
To store leftover Easy Garlic Shrimp Gratin, first let it cool. Use an airtight container to keep it fresh. It will stay good in the fridge for up to three days. Make sure to cover the dish well to avoid drying out.
Reheating Instructions for Best Results
When you’re ready to eat the leftovers, reheat them in the oven. Preheat your oven to 350°F (175°C). Place the gratin in an oven-safe dish. Cover it with foil to keep moisture in. Heat for about 15-20 minutes, or until warm throughout. This method helps keep the topping crispy.
Freezing Tips for Long-Term Storage
If you want to freeze Easy Garlic Shrimp Gratin, make sure it’s completely cool first. Transfer it to a freezer-safe container. It can last for up to two months in the freezer. When you’re ready to enjoy it, thaw it in the fridge overnight. Then, reheat it in the oven as described above. This way, you’ll still enjoy a great meal later!
FAQs
Can I make Easy Garlic Shrimp Gratin ahead of time?
Yes, you can prepare this dish ahead of time. Cook the shrimp and mix in the cream and cheese as the recipe says. Place it in the baking dish, but don’t add the breadcrumb topping yet. Cover it and store it in the fridge for up to two days. When you’re ready to serve, add the breadcrumbs and bake it. This way, you save time when guests arrive.
What can I serve with Easy Garlic Shrimp Gratin?
This dish pairs well with many sides. I love serving it with crusty bread. The bread is perfect for soaking up that rich sauce. A fresh green salad also complements it nicely. You can add a light vinaigrette for a refreshing twist. For something warm, try serving it with rice or pasta. These sides balance the rich flavors of the gratin.
How can I make this recipe gluten-free?
To make this recipe gluten-free, swap out regular breadcrumbs for gluten-free ones. Look for brands that offer gluten-free options. You can also use crushed gluten-free crackers. This way, you still get that crunchy topping without the gluten. Always check labels to ensure all your ingredients are gluten-free. Enjoy this dish without worry!
Easy Garlic Shrimp Gratin is simple to make and delicious. We covered the key ingredients, essential steps, and helpful tips. You can choose shrimp wisely and avoid mistakes for great results. There are also tasty variations and storage tips for leftovers. This dish is perfect for any meal. Enjoy making and sharing this tasty treat with friends and family. Keep experimenting to find your favorite version of this dish! Your kitchen adventures start now.