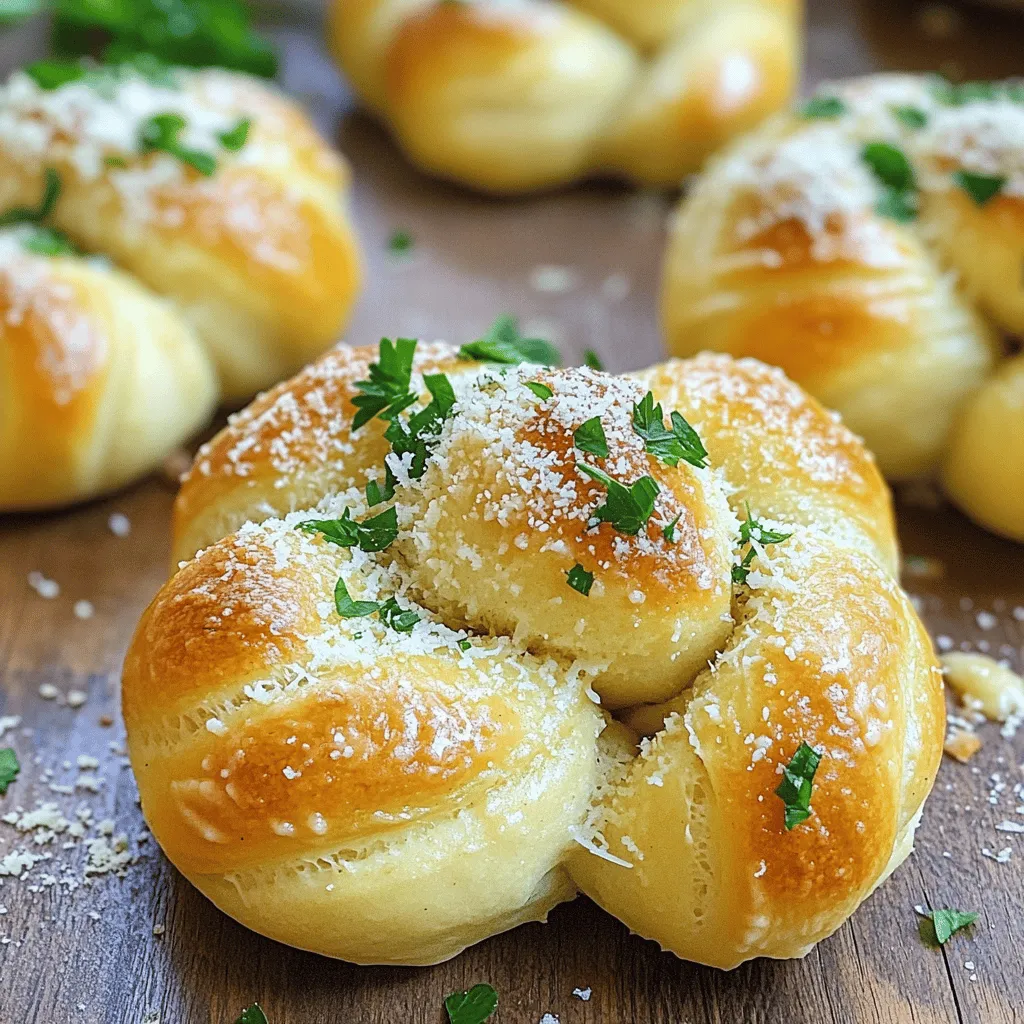
If you crave a tasty treat that’s easy to make, look no further than garlic knots! These soft, buttery knots packed with fresh garlic and herbs will wow your taste buds. In this guide, I’ll walk you through each step of the process, from selecting the best ingredients to perfecting your technique. Ready to impress your family and friends? Let’s dive into making these delightful bites!
Ingredients
Essential Ingredients for Garlic Knots
To make garlic knots, you need simple ingredients. Here’s what you will need:
– 2 cups all-purpose flour
– 1 teaspoon active dry yeast
– 3/4 cup warm water (110°F)
– 1 tablespoon sugar
– 1 teaspoon salt
– 3 tablespoons olive oil
– 4 cloves garlic, minced
– 1/4 cup unsalted butter, melted
– 1 tablespoon fresh parsley, chopped
– 1/4 teaspoon red pepper flakes (optional)
– Grated Parmesan cheese (for topping)
Each ingredient plays a key role in making these knots tasty and fluffy.
Tips for Ingredient Quality
Choosing the right flour is crucial. All-purpose flour works best because it gives your knots good structure.
Fresh garlic is a must for strong flavor. Avoid pre-minced garlic, as it lacks the fresh taste we want.
When it comes to butter, use unsalted butter. This lets you control the salt in your recipe better. Salted butter can make your knots too salty.These tips will help you pick the best ingredients for a delicious treat.
Step-by-Step Instructions
Preparing the Dough
To start, we need to activate our yeast. In a small bowl, mix 3/4 cup warm water with 1 tablespoon sugar and 1 teaspoon active dry yeast. Let it sit for about 5 minutes. You want it to look frothy. This shows the yeast is alive.
Next, we move to our flour. In a large mixing bowl, combine 2 cups all-purpose flour with 1 teaspoon salt. After that, pour in the yeast mixture and 3 tablespoons olive oil. Stir until it forms a rough dough. This is where the magic begins!
Kneading and Rising
Now, let’s knead the dough. Dust a clean surface with flour. Knead the dough for about 5 to 7 minutes. You want it smooth and elastic. If it sticks, add a bit more flour.
Once kneaded, place the dough in a greased bowl. Cover it with a damp cloth. Let it rise in a warm place for 1 hour. It should double in size. This step is key for a fluffy texture.
Shaping and Baking
After the dough rises, punch it down gently. Divide it into 12 equal pieces. Roll each piece into a 6-inch rope. Tie each rope into a knot. Place the knots on a baking sheet lined with parchment paper.
Preheat your oven to 375°F (190°C). While it heats, mix 1/4 cup melted unsalted butter with 4 cloves minced garlic, 1 tablespoon chopped parsley, and 1/4 teaspoon red pepper flakes if you like a kick. Brush this mixture over the knots.
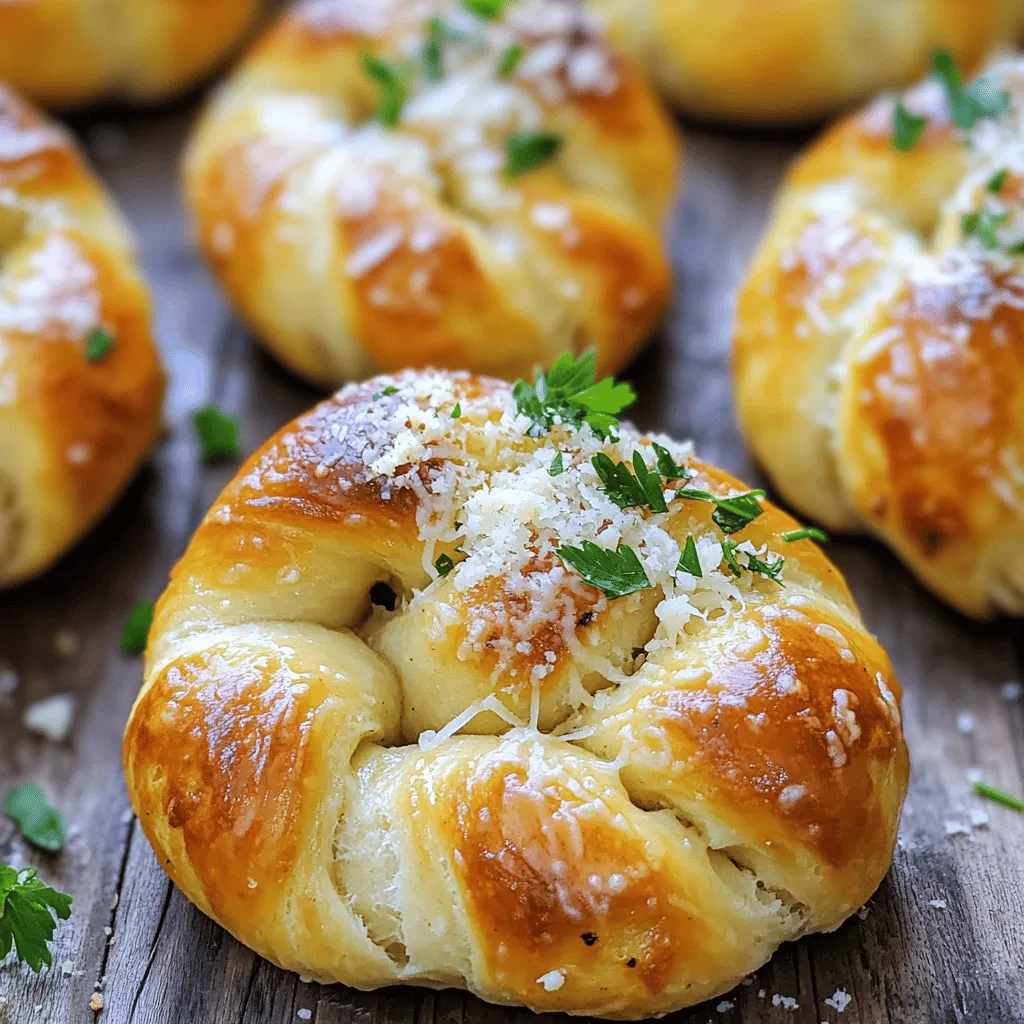
Bake the garlic knots for 20 to 25 minutes. Look for a golden brown color. As soon as they come out, sprinkle grated Parmesan cheese on top. Serve them warm for the best taste. Enjoy this garlic heaven!
Tips & Tricks
Techniques for Flavor Enhancement
To make your garlic knots sing with flavor, try using different herbs and spices. I love adding fresh oregano, thyme, or basil. Each herb brings a unique taste that pairs well with garlic. You can also sprinkle in some grated lemon zest for a fresh twist.
The role of garlic butter is key. When you brush it over the knots, it adds richness. Use melted butter mixed with minced garlic and parsley for the best results. This mix coats each knot, infusing them with flavor.
Achieving the Perfect Texture
A big mistake is over-kneading the dough. Knead just until it feels smooth. This ensures your knots stay soft and fluffy.
Look for signs of properly risen dough. It should double in size and feel light. If you poke it and it springs back, it’s ready. This is how you know it will be airy and tender.
Serving Suggestions
Garlic knots pair well with dips. Marinara sauce is a classic choice. You can also serve them with a creamy ranch or spicy aioli.
For parties, presentation matters. Arrange the knots on a large platter and sprinkle with extra parsley. This adds a pop of color. You can also drizzle some olive oil or balsamic glaze for an elegant touch.
These tips will help you create delicious garlic knots every time.
Variations
Garlic knots are fun to make and eat. You can change their flavor and style to suit your taste. Here are some great ideas.
Flavor Variations
– Herb-infused garlic knots: Add dried herbs like oregano or basil to the dough. This gives the knots a fresh taste. You can also mix in fresh herbs for more flavor.
– Parmesan and garlic cheese knots: Before baking, sprinkle grated Parmesan on top. It adds a nice cheesy flavor that pairs well with garlic. You may also fold cheese into the dough for a gooey surprise.
Dietary Variations
– Gluten-free garlic knots: Use gluten-free flour in place of all-purpose flour. You may need to adjust the water. This keeps the knots light and fluffy.
– Vegan adaptations for the dough: Replace butter with olive oil. Use a plant-based yogurt or milk instead of dairy. These swaps make the knots vegan-friendly.
Seasonal Additions
– Incorporating seasonal ingredients: In spring, try adding fresh pesto for a bright taste. In summer, sun-dried tomatoes can add sweetness. These ingredients make the knots special for any season.
Explore these variations to find your favorite!
Storage Info
Storing Fresh Garlic Knots
To keep your garlic knots fresh, let them cool first. Use a clean, dry container. A glass or plastic container with a lid works well. You can also wrap them in foil or wax paper. This helps keep them soft. Store them at room temperature for up to two days. If you want to save them longer, consider freezing.
Reheating Garlic Knots
When reheating, you want to keep the knots soft and warm. The oven is the best method. Preheat your oven to 350°F (175°C). Place the knots on a baking sheet. Cover them with foil to avoid drying out. Heat for about 10-15 minutes. You can also use a microwave. Just wrap them in a damp paper towel. Heat for about 20-30 seconds. This keeps them soft.
Freezing for Later
To freeze garlic knots, let them cool completely first. Place them in a single layer on a baking sheet. Freeze them for about an hour. After that, transfer them to a freezer bag. Squeeze out the air and seal tightly. Frozen knots can last for up to three months. To thaw, place them in the fridge overnight. Reheat them in the oven or microwave as mentioned before. Enjoy your garlic knots whenever you want!
FAQs
How long do garlic knots last?
Garlic knots stay fresh for about 2 to 3 days at room temperature. Keep them in a bag or container. If you want them to last longer, store them in the fridge. They can last about a week in the fridge. Just remember to reheat them for the best taste.
Can I use pizza dough instead of making my own?
Yes, you can use pizza dough! It saves time and still tastes great. Just shape it into knots as you would with homemade dough. This gives you a quick way to enjoy garlic knots without all the mixing and kneading.
What’s the best way to serve garlic knots at a party?
Serve garlic knots warm on a big platter. You can add a small bowl of marinara sauce for dipping. Guests will love the garlic flavor and cheesy topping. For a fun twist, sprinkle some extra herbs on top for color and flavor.
Where to find the best garlic knots locally?
To find the best garlic knots near you, ask friends for their favorites. Check out local pizza shops and Italian restaurants, as they often make tasty knots. You can also look for online reviews to see what other people recommend in your area.
In this post, we covered how to make garlic knots from scratch. I shared essential ingredients like flour, yeast, and garlic. You learned tips on ingredient quality and how to prepare the dough. We discussed techniques for flavor and texture. Finally, I offered storage tips and answered common questions.
Garlic knots are tasty and fun to make. With the right steps, you can impress anyone with these delicious bites. Enjoy making them your own!