Are you craving a delicious meal that’s easy to make and gluten-free? Look no further! My Gluten-Free Zucchini Fritter Stacks are not only tasty but also packed with healthy veggies. You can whip them up with simple ingredients and minimal effort. In this post, I will guide you through each step, share tips for the perfect texture, and explore tasty variations. Let’s dive into this fun cooking adventure!
Ingredients
Key Ingredients for Gluten-Free Zucchini Fritter Stacks
To make gluten-free zucchini fritter stacks, you will need these key ingredients:
– 2 medium zucchinis, grated
– 1/2 teaspoon salt
– 1/2 teaspoon black pepper
– 1/2 teaspoon garlic powder
– 1/4 teaspoon onion powder
– 1/2 cup gluten-free all-purpose flour
– 2 large eggs
– 1/4 cup grated Parmesan cheese (or nutritional yeast for a vegan option)
– 2 tablespoons chopped fresh parsley
– 1/4 cup Greek yogurt (or vegan yogurt) for serving
– Olive oil for frying
These ingredients create a tasty mix of flavors. The zucchini gives moisture, while the cheese adds a savory touch.
Alternative Ingredients for Dietary Restrictions
If you follow specific diets, you can easily swap some ingredients:
– Vegan: Use nutritional yeast instead of Parmesan cheese and vegan yogurt instead of Greek yogurt.
– Dairy-Free: Stick with the nutritional yeast and vegan yogurt.
– Low-Carb: Replace gluten-free flour with almond flour or coconut flour.
These alternatives keep the dish full of flavor while fitting your needs.
Tools and Equipment Needed
To whip up these fritters, you will need:
– A large bowl for mixing
– A clean kitchen towel or cheesecloth for squeezing zucchini
– A skillet for frying
– A spatula for flipping fritters
– A whisk for beating eggs
Having these tools ready will make your cooking process smooth.
Step-by-Step Instructions
Preparing the Zucchini
First, you need to prepare the zucchini. Grate the zucchinis into a bowl. Use a clean kitchen towel or cheesecloth to squeeze out the extra moisture. This step is key. If you skip it, your fritters may turn out soggy. The drier your zucchini is, the crispier your fritters will be. Set the prepared zucchini aside while you mix the other ingredients.
Mixing the Ingredients
In a large bowl, gather your dry ingredients. Combine the salt, black pepper, garlic powder, onion powder, and gluten-free flour. Stir these well to mix. In a separate bowl, whisk the eggs until they are frothy. Add the squeezed zucchini to the eggs. Then, mix in the grated Parmesan cheese and chopped parsley. Stir everything until well combined. Now, gradually fold the dry mix into the wet mix. The batter should be thick but still easy to work with.
Frying the Fritters
It’s time to fry! Heat about 1 tablespoon of olive oil in a large skillet over medium heat. Once the oil is hot, scoop about 2 tablespoons of batter into the skillet for each fritter. Flatten them gently with a spatula. Cook each fritter for 3-4 minutes until golden brown. Flip them carefully and cook for another 2-3 minutes. Keep frying until all the batter is used. Add more oil if needed. Enjoy the delicious smell filling your kitchen!
Tips & Tricks
Achieving the Perfect Texture
To make great fritters, you need the right texture. Start by squeezing out the water from the grated zucchini. This step is key. If you skip it, your fritters may turn out soggy. Aim for a thick batter that can hold its shape. Adding just the right amount of flour will also help. Too little flour makes them fall apart, while too much can make them dense.
Common Mistakes to Avoid
Many people make mistakes that affect the fritters’ taste. One common error is not seasoning enough. Always add salt and pepper to enhance the flavor. Another mistake is cooking them on low heat. If the heat is too low, the fritters will soak up oil and become greasy. Lastly, avoid overcrowding the skillet. Fry in batches, so each fritter gets enough space to cook evenly.
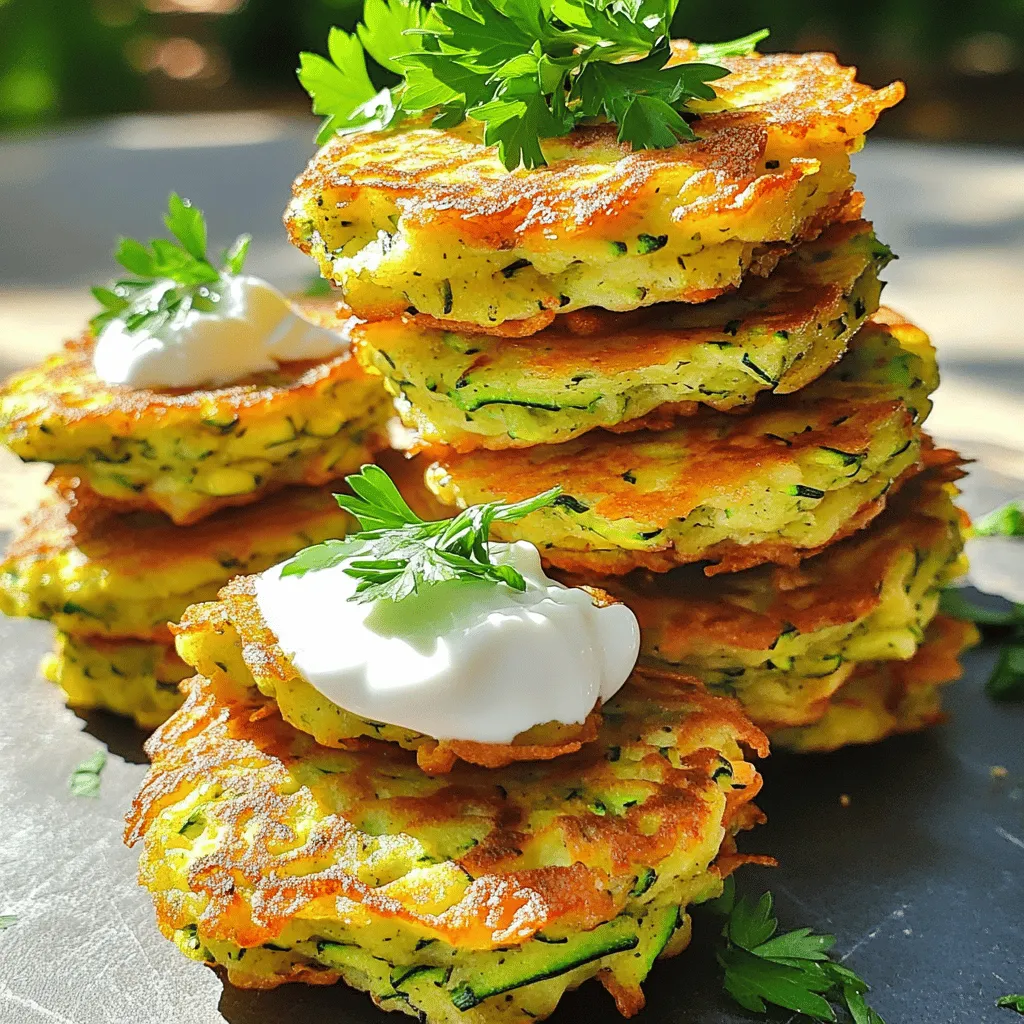
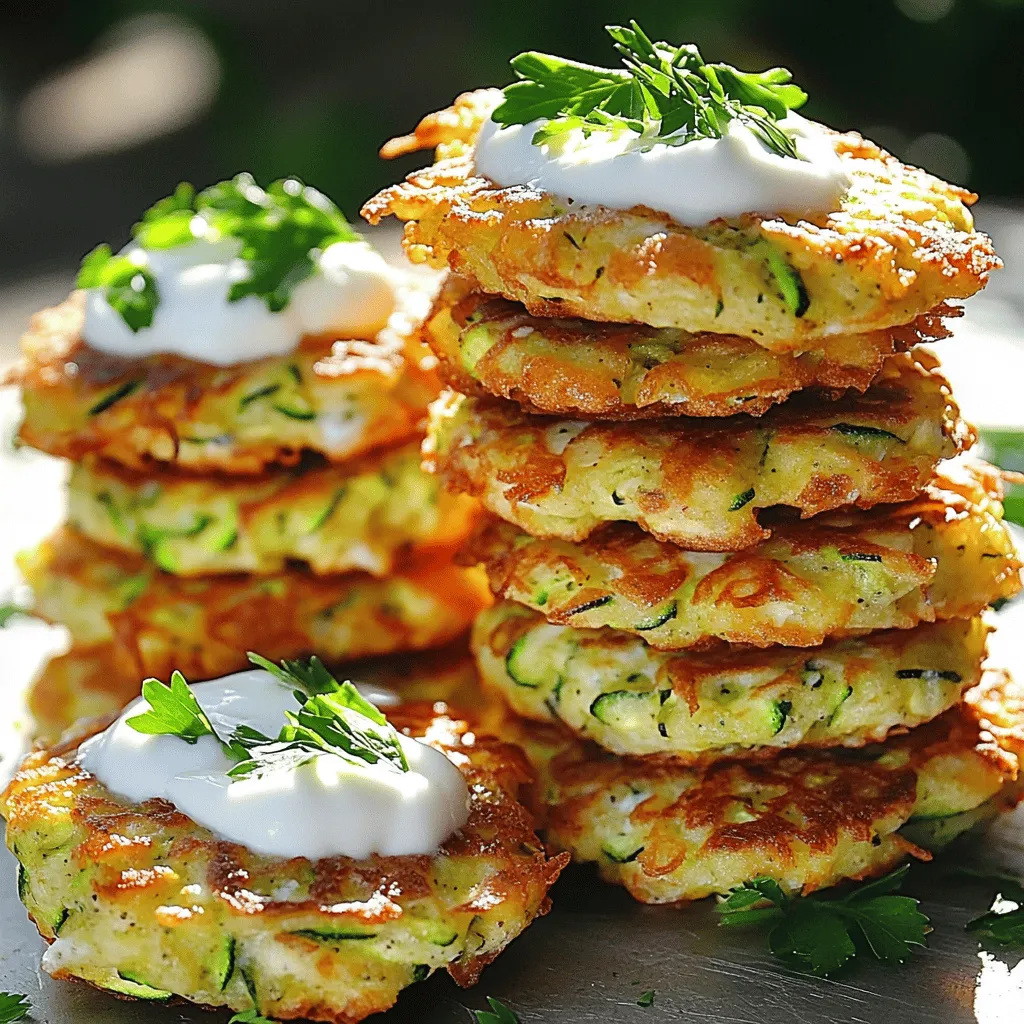
Serving Suggestions for Fritter Stacks
Fritter stacks are fun to eat! Stack two fritters with a dollop of Greek yogurt in between. You can also add fresh herbs for more flavor. A sprinkle of extra cheese on top can make them even tastier. Serve with a side salad for a complete meal. For a more filling option, pair them with a grain like quinoa or rice.
Variations
Vegan Options for Gluten-Free Zucchini Fritter Stacks
You can easily make these fritters vegan. Instead of eggs, use flaxseed meal. Mix one tablespoon of flaxseed meal with three tablespoons of water. Let it sit for five minutes to thicken. This mix works well to bind the ingredients. For cheese, replace Parmesan with nutritional yeast. It adds a cheesy taste without dairy. Use plant-based yogurt for serving, and you’ll have a tasty vegan dish.
Adding Extra Flavors and Ingredients
Want to spice up your fritters? Add some chopped onions or bell peppers to the mix. Fresh herbs like dill or basil can bring a fresh taste. If you enjoy heat, add a pinch of red pepper flakes. For a twist, try mixing in some corn or grated carrots. These changes will give your fritters a new flavor and texture. You can also top them with a homemade salsa or avocado for a fun twist.
Low-Carb Alternatives
For a low-carb version, swap gluten-free flour with almond flour or coconut flour. This change keeps your fritters light and low in carbs. You can also skip the flour entirely by using more grated zucchini. This will change the texture slightly but still taste great. Pair these with a keto-friendly dip like guacamole or a yogurt-based sauce to keep it low-carb and delicious.
Storage Info
How to Store Leftover Fritters
Store leftover fritters in an airtight container. Place a paper towel in the container to absorb moisture. This will help keep the fritters crisp. Refrigerate them for up to three days. If you want to keep them longer, consider freezing.
Reheating Instructions
To reheat, place the fritters in a skillet over medium heat. Add a little olive oil to the pan. Cook them for about 3-4 minutes on each side. This will restore their crispiness. You can also use an oven. Preheat it to 350°F (175°C) and bake for 10-15 minutes.
Freezing for Future Meals
To freeze fritters, let them cool completely. Arrange them in a single layer on a baking sheet. Freeze for about an hour until solid. Then, transfer them to a freezer bag or container. Label and date the bag. They will stay fresh for up to three months. When ready to eat, thaw overnight in the fridge before reheating. Enjoy these tasty bites whenever you want!
FAQs
Can I use frozen zucchini for this recipe?
Yes, you can use frozen zucchini. However, you must thaw and drain it well. Frozen zucchini often has more moisture. This can make your fritters soggy. Squeeze out any water before mixing. Fresh zucchini is always best for texture.
How can I make these fritters crispier?
To make your fritters crispier, follow these tips:
– Squeeze out as much water from the zucchini as you can.
– Use a hot skillet with enough oil.
– Fry in smaller batches to avoid crowding.
– Consider adding a bit more gluten-free flour for a thicker batter.
These steps will help achieve a perfect golden-brown crisp.
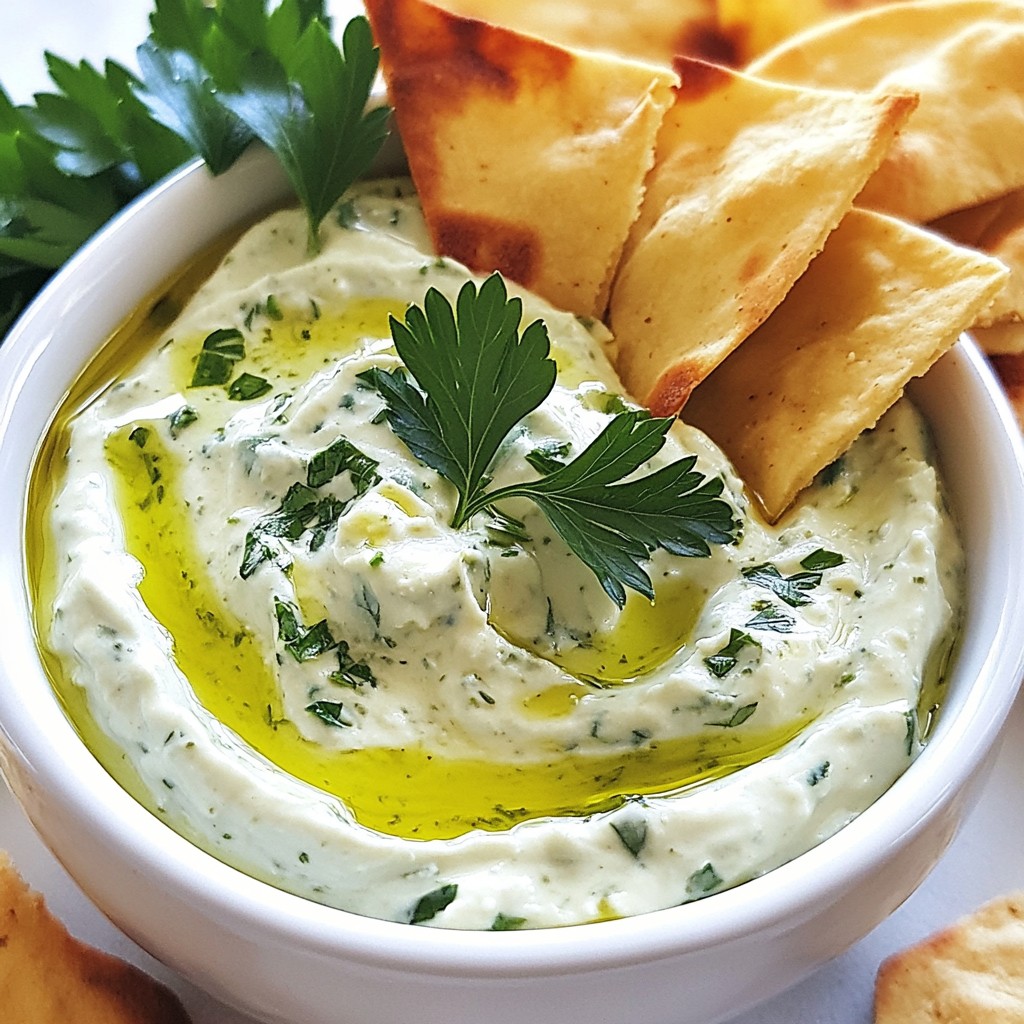
What are the best dipping sauces for zucchini fritters?
Zucchini fritters pair well with many sauces. Here are some great options:
– Greek yogurt mixed with herbs
– A tangy lemon garlic sauce
– Spicy sriracha mayo
– Creamy avocado dip
These dips will enhance the flavor and add a fun twist.
In this blog post, I covered how to make gluten-free zucchini fritter stacks. You learned about key and alternative ingredients, essential tools, and step-by-step cooking instructions. I shared tips to help you achieve the best texture and avoid mistakes. You also discovered fun variations, storage tips, and answered common questions.
These fritters are not just tasty; they’re also flexible for your diet. Now, it’s time to get cooking and enjoy these delicious stacks!