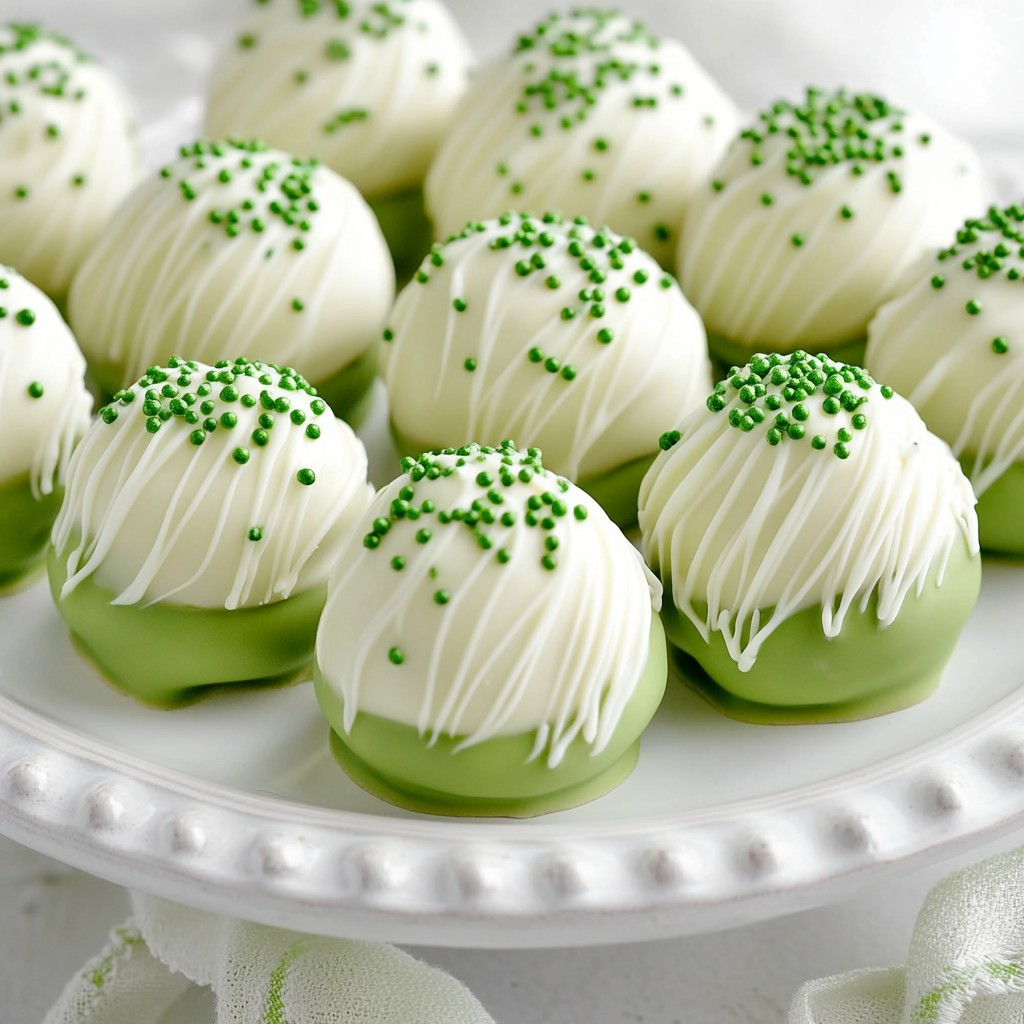
Get ready to spread some holiday cheer with Grinch Oreo Truffles! These festive treats are not only easy to make, but they also add a playful twist to your dessert table. With just a few simple ingredients like Oreo cookies and cream cheese, you can whip up these delightful bites in no time. Join me as I guide you step-by-step to create a fun holiday treat that everyone will love!
Why I Love This Recipe
- Festive Flavor: The combination of rich cream cheese and chocolatey Oreos creates a delightful treat that embodies the spirit of the holidays.
- Simple Preparation: With just a few steps and minimal ingredients, these truffles are easy to make and perfect for bakers of all skill levels.
- Customizable Coatings: Whether you prefer a classic chocolate finish or a vibrant green coating, you can personalize these truffles to match your holiday theme.
- Great for Gifting: The adorable appearance and festive flavors make these truffles a wonderful gift for friends and family during the holiday season.
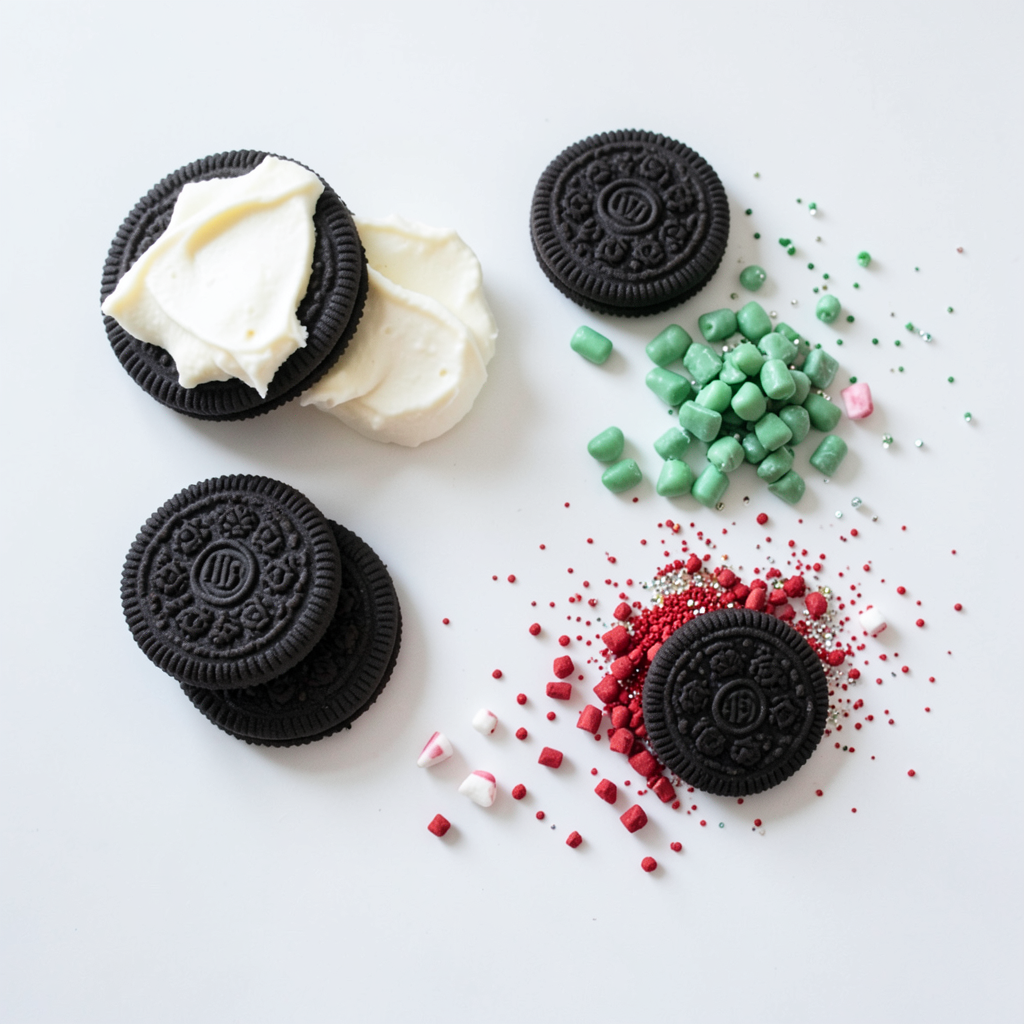
Ingredients
Oreo Cookies
You need one package of Oreo cookies. You can use regular or double-stuffed. Crush them finely. This creates the base for your truffles.
Cream Cheese
Use 8 ounces of cream cheese, softened. It helps bind the crushed cookies together. Make sure it’s at room temperature for easy mixing.
Candy Coatings
You will need 1 cup of green candy melts. If you can't find these, use white chocolate with green food coloring. You can also add crushed peppermint candies for extra crunch. Optional red candy melts add a festive drizzle. Edible glitter is another fun touch for garnish.
Step-by-Step Instructions
Crushing the Oreos
First, you need to crush the Oreos. You can use a food processor for this. Pulse them until they look like fine crumbs. If you don’t have a food processor, no worries! Just put the cookies in a sealed bag. Use a rolling pin to crush them. This step is key for a smooth truffle.
Mixing with Cream Cheese
Next, let’s mix the crushed Oreos with cream cheese. In a large bowl, add the Oreo crumbs and the softened cream cheese. Use a spatula or your hands to mix. Keep mixing until everything is smooth and well combined. This mixture forms the base of your truffles.
Shaping the Truffles
Now, it’s time to shape the truffles. Take a small amount of the mixture and roll it into a 1-inch ball. Place the balls on a baking sheet lined with parchment paper. Once you’ve shaped all the truffles, put the tray in the fridge for 30 minutes. Chilling helps them firm up.
Melting the Candy Coating
While the truffles chill, let’s melt the candy coating. Take your green candy melts and place them in a microwave-safe bowl. Heat them in the microwave for 30 seconds at a time. Stir in between each interval until they are fully melted and smooth. Be careful not to overheat!
Coating and Decorating Truffles
Once the truffles are firm, it’s time to coat them. Dip each truffle into the melted green candy coating. Use a fork to lift them out and let the excess drip off. Place the coated truffles back on the parchment paper. If you like, sprinkle crushed peppermint candies on top before the coating hardens.
Chilling to Set
After coating, return the truffles to the fridge for 10–15 minutes. This cooling time lets the candy coating set properly. If you want to get fancy, melt some red candy melts. Use a piping bag to drizzle over the truffles for a fun holiday look.
Tips & Tricks
Achieving the Perfect Texture
To get the best texture for your Grinch Oreo truffles, make sure to crush the Oreos finely. You want them to look like crumbs, not chunks. If the mixture feels too dry, add a bit more cream cheese. This helps the truffles hold together well. Once shaped, refrigerate them to firm up. This step is key for easy dipping later.
How to Melt Candy Coatings Effectively
When melting candy coatings, use a microwave-safe bowl. Heat the candy melts in 30-second bursts. Stir after each round. This stops the candy from burning. If you see lumps, keep stirring until smooth. You can also use a double boiler if you prefer. This method gives you great control over the heat.
Presentation Suggestions
Make your truffles shine! Serve them on a bright holiday plate. Use festive cupcake liners to add flair. For a fun touch, sprinkle edible glitter on top. Drizzle the red candy melts in patterns for an extra pop. These small details make your treats look professional and inviting. Share them at parties or gift them in treat bags for a sweet surprise.
Pro Tips
- Use Room Temperature Cream Cheese: Make sure your cream cheese is at room temperature for a smooth and creamy mixture that blends easily with the Oreo crumbs.
- Chill the Truffles: Don’t skip the chilling step! Chilling the shaped truffles helps them firm up, making them easier to coat in chocolate.
- Customize the Coating: Feel free to mix and match different colored candy melts for a unique look, or use crushed nuts, sprinkles, or coconut for a fun twist.
- Make Ahead: These truffles can be made a few days in advance. Just store them in an airtight container in the refrigerator until you’re ready to serve.
Variations
Using Different Flavors of Candy Melts
You can change the flavor of your truffles by using different candy melts. Try dark chocolate or white chocolate candy melts. This adds a twist to the taste. You can also mix in flavors like orange or raspberry. This way, you can create a unique treat for everyone.
Alternatives to Peppermint Crumbles
If you don’t want peppermint crumbles, try crushed nuts or coconut. Chopped almonds or walnuts give a nice crunch. You can also use crushed cookies or sprinkles for color. Each choice offers a fun change to the classic recipe.
Adding Seasonal Decorations
Get creative with your decorations! Use edible glitter to add sparkle. You can also add fun shapes like snowflakes or stars made from fondant. Colored drizzle can add more flair. Use blue or gold candy melts for a festive look. This makes your truffles stand out on any holiday table.
Storage Info
Best Storage Practices
To keep your Grinch Oreo Truffles fresh, store them in an airtight container. I suggest placing parchment paper between layers to prevent sticking. This method will keep the chocolate coating intact. Keep the container in the fridge if you live in a warm area.
How Long Do They Last?
When stored properly, these truffles last about one week in the fridge. They taste best within the first few days. If you notice any changes in smell or texture, it’s best to throw them out. Always trust your senses when it comes to food!
Freezing Instructions
You can freeze these truffles if you want to save them for later. Place them in a single layer on a baking sheet and freeze until firm. Once frozen, transfer them to an airtight container. They can last up to three months in the freezer. When ready to eat, thaw them in the fridge overnight before serving.
FAQs
Can I make these truffles ahead of time?
Yes, you can make these truffles ahead of time. I often prepare them a day or two in advance. Just store them in an airtight container in the fridge. This helps the flavors meld together.
What can I use if I don’t have candy melts?
If you don’t have candy melts, you can use white chocolate. Just add green food coloring to it. Melt it in the microwave like candy melts. Stir until smooth for easy coating.
Are Grinch Oreo Truffles suitable for freezing?
Yes, these truffles freeze well. After they set, place them in a single layer in a container. Use parchment paper between layers. They can last up to three months in the freezer.
How can I make these truffles gluten-free?
To make these truffles gluten-free, use gluten-free Oreo cookies. Many stores offer gluten-free versions. The rest of the ingredients, like cream cheese and candy melts, are gluten-free.
You learned how to make Grinch Oreo Truffles using simple ingredients. We covered the steps from crushing Oreos to chilling the truffles. You can also adjust flavors and wow guests with fun decorations. Remember, the right storage keeps them fresh longer. Whether you want a treat for the holidays or just because, these truffles are a joy to make and share. Enjoy your delicious creations and have fun trying new variations!