Looking for a snack that’s both crispy and delightful? You’ve found it! These Ham and Cheese Sticks come packed with flavor and are easy to make. With just a few simple ingredients, you can whip up a treat that’s perfect for sharing or enjoying on your own. Dive into this article for step-by-step instructions, tips, and variations that make these tasty sticks a must-try in your kitchen!
Why I Love This Recipe
- Quick and Easy: This recipe comes together in just 15 minutes of prep time, making it perfect for a last-minute snack or appetizer.
- Cheesy Goodness: With a generous amount of cheddar cheese, every bite is bursting with flavor and creaminess, sure to satisfy cheese lovers.
- Versatile Dipping: These ham delight sticks pair wonderfully with a variety of dipping sauces, allowing you to customize your snacking experience.
- Family-Friendly: This dish is a hit with both kids and adults, making it an excellent choice for gatherings or family meals.
Ingredients
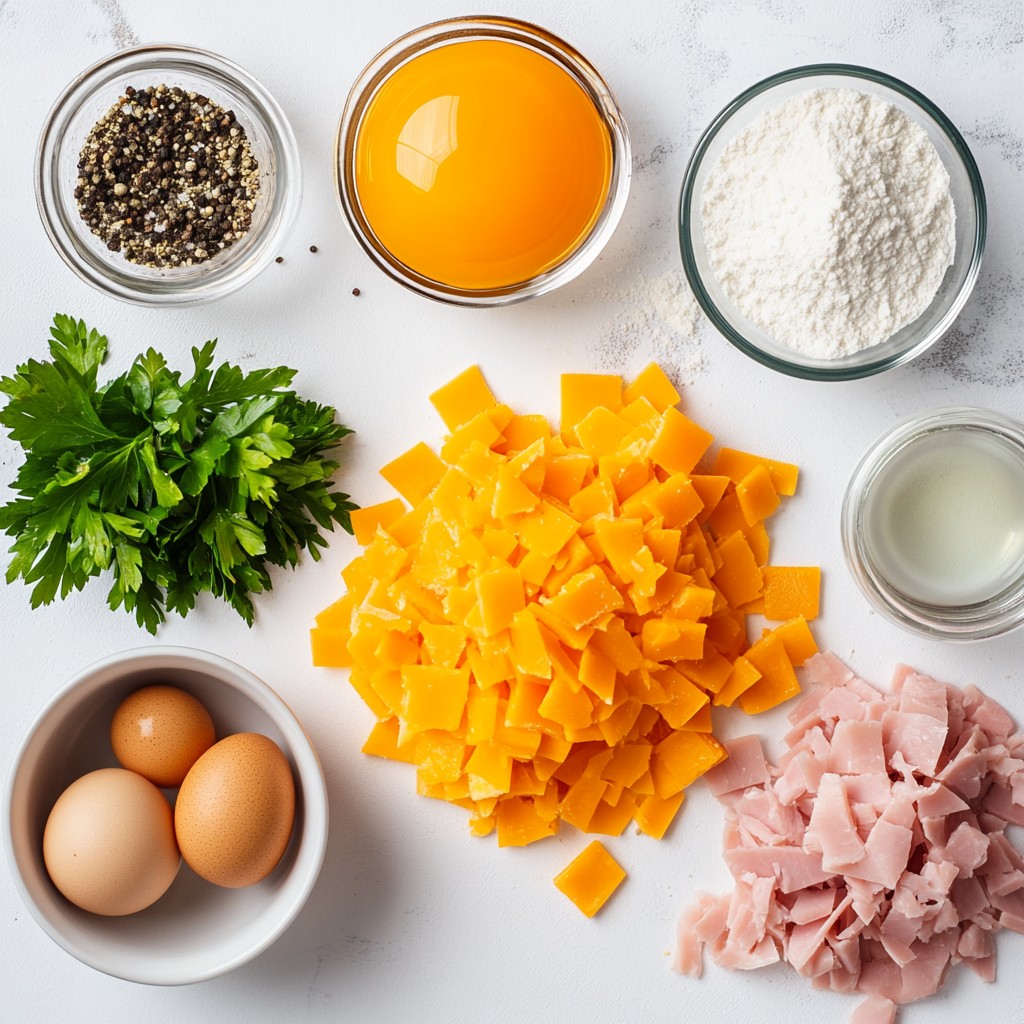
Main Ingredients
- 1 cup diced cooked ham
- 1 cup shredded cheddar cheese
- 1 cup flour
- 1/2 teaspoon baking powder
- 1/2 teaspoon garlic powder
- 1/4 teaspoon black pepper
- 1/2 cup cold water
- 1 egg, beaten
- 1 tablespoon fresh parsley, chopped (for garnish)
- Vegetable oil (for frying)
When I make ham and cheese sticks, I focus on the freshness of the ingredients. Diced cooked ham adds a savory flavor. I prefer using sharp cheddar cheese for its rich taste. The flour gives the sticks their structure. Baking powder makes them light and airy. Garlic powder adds a nice kick, while black pepper gives it a bit of spice. Cold water is key to keeping the batter smooth.
Essential Cooking Tools
- Mixing bowl
- Frying pan
- Slotted spoon
- Paper towels
To prepare these tasty sticks, I use a large mixing bowl to combine my dry ingredients. A frying pan is essential for frying them to golden perfection. A slotted spoon helps me lift the sticks from the hot oil without excess grease. I always keep paper towels handy to drain any oil after frying.
Step-by-Step Instructions
Preparation of Batter
- Combine 1 cup of flour, 1/2 teaspoon baking powder, 1/2 teaspoon garlic powder, and 1/4 teaspoon black pepper in a medium bowl.
- Gradually add 1/2 cup of cold water to the dry mix. Stir until smooth and thick.
- Let the batter sit for about 10 minutes. This helps it thicken more.
Incorporating Fillings
- Fold in 1 cup of diced cooked ham and 1 cup of shredded cheddar cheese into the batter.
- Make sure the ham and cheese mix evenly. This will give each bite great flavor.
Cooking Process
- Heat vegetable oil in a frying pan over medium heat. Aim for about 350°F or 175°C.
- Using a spoon, drop generous amounts of the batter into the hot oil. Shape them into sticks.
- Fry in batches to avoid crowding. Fry each side for about 3-4 minutes until they turn golden brown and crispy.
- Once done, remove the sticks with a slotted spoon. Drain them on paper towels to remove excess oil.
Tips & Tricks
Achieving Perfect Texture
To keep your ham and cheese sticks crispy, avoid adding too much water. A thick batter helps. If the batter is too runny, it will soak up oil. This leads to sogginess.
Maintain the oil temperature at about 350°F (175°C). Use a thermometer to check. If the oil is too cool, the sticks will absorb oil and get greasy. If too hot, they may burn before cooking through.
Serving Suggestions
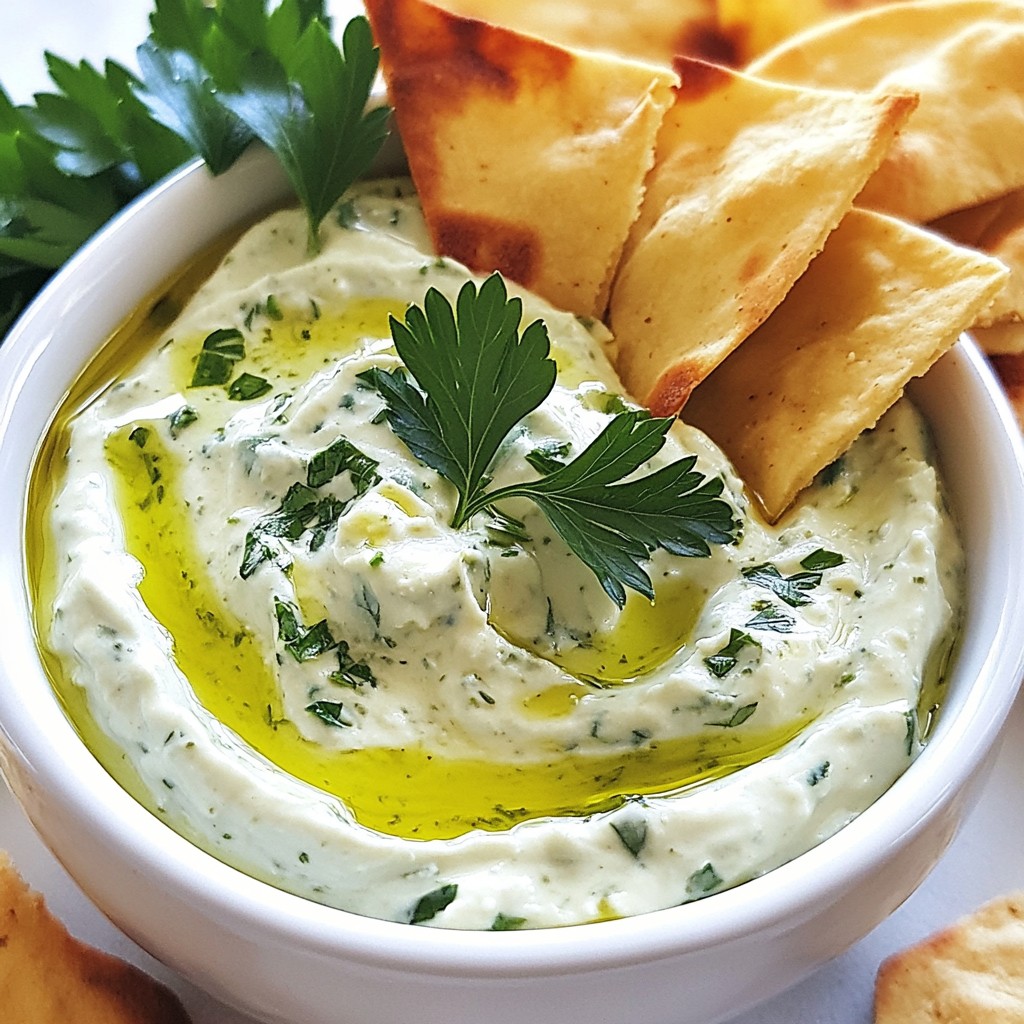
For the best dipping sauces, try ranch or barbecue sauce. They add a nice flavor boost. You can also experiment with honey mustard for a sweet twist.
Pair these sticks with a fresh salad or vegetable platter. The crunch of veggies balances the rich flavors of the sticks. It makes for a delightful meal.
Garnishing Ideas
To enhance presentation, sprinkle fresh parsley on top. It adds color and freshness. You can also use chives or cilantro for more flavor.
Consider adding toppings like grated cheese or crushed red pepper. These give an extra kick and look great on the plate. Get creative with garnishes to impress your guests!
Pro Tips
- Tip for a Crispier Texture: For extra crunch, consider double frying the sticks. Fry them for 2-3 minutes, remove and let them rest, then fry them again until golden brown.
- Tip on Cheese Selection: Experiment with different types of cheese, such as pepper jack or mozzarella, for varied flavors and textures in your Cheesy Ham Delight Sticks.
- Tip for an Even Cook: Make sure the oil is at the right temperature before frying. If it's too cool, the sticks will absorb too much oil; if it's too hot, they will burn.
- Tip for Dipping Sauces: Pair these sticks with a variety of dipping sauces like spicy mayo, honey mustard, or a zesty salsa to enhance the flavor experience.
Variations
Different Cheeses to Use
You can change the cheese for fun flavors. Swiss cheese melts well and adds a nutty taste. It makes your sticks creamy and rich. Pepper jack cheese gives a spicy kick. It adds heat and zest to every bite. Both options keep the sticks delicious and unique.
Add-Ins for Extra Flavor
Want to make your ham and cheese sticks more exciting? Try adding chopped vegetables. Bell peppers or onions work great. They bring color and crunch. For those who like heat, sprinkle in some spices. A pinch of cayenne or paprika can boost the flavor. These add-ins make every bite a surprise.
Gluten-Free Adaptation
If you need a gluten-free version, use alternative flours. Almond flour or chickpea flour works well. They keep the sticks light and crispy. You might need to adjust the liquid in the batter. Just add a bit more water until it’s smooth. This way, everyone can enjoy these tasty snacks!
Storage Info
Storing Leftovers
To keep your ham and cheese sticks fresh, place them in an airtight container. This method prevents them from drying out. You can refrigerate them for up to three days. If you want to enjoy them later, freezing is a great option.
Reheating Techniques
When it comes to reheating, the oven is best. Preheat it to 350°F (175°C) and bake for about 10 minutes. This method helps them stay crispy. The microwave works too, but it may make them soggy. If you use the microwave, heat them in short bursts, checking often.
Freezing Options
To freeze ham and cheese sticks, let them cool completely first. Then, wrap each stick tightly in plastic wrap. Place them in a freezer bag, removing as much air as possible. They can stay frozen for up to three months. To thaw, simply transfer them to the fridge overnight before reheating.
FAQs
Can I use raw ham instead of cooked ham?
No, you should not use raw ham. Raw ham needs cooking to be safe. Diced cooked ham adds flavor and saves time. It keeps the sticks juicy and tasty.
How to make ham and cheese sticks in the oven?
To bake these sticks, preheat your oven to 400°F (200°C). Prepare the batter as mentioned. Shape the sticks and place them on a baking sheet lined with parchment. Bake for 15-20 minutes or until golden brown. This method gives you a healthier option with less oil.
What dipping sauces work best with ham and cheese sticks?
Great sauces include ranch, barbecue, and honey mustard. You can also try spicy ketchup or a creamy garlic dip. These sauces add fun flavors and make each bite exciting.
How long can I store leftover ham and cheese sticks?
Store leftovers in an airtight container for up to three days. Keep them in the fridge to maintain freshness. They taste best when eaten soon, but they can last a bit longer.
Can I make these ham and cheese sticks in advance?
Yes, you can make them ahead of time. Prepare the mixture and shape the sticks. Store them in the fridge for a few hours before frying. This makes it easy to serve snacks quickly when guests arrive.
This blog post guided you through making delicious ham and cheese sticks. You learned about the main ingredients, cooking tools, and step-by-step instructions. We explored tips to maintain the perfect texture and creative serving ideas. You also discovered variations and storage options.
Remember, experimenting with flavors can make this dish your own. Try different cheeses or spices. Enjoy those crispy bites with your favorite dip. Happy cooking!