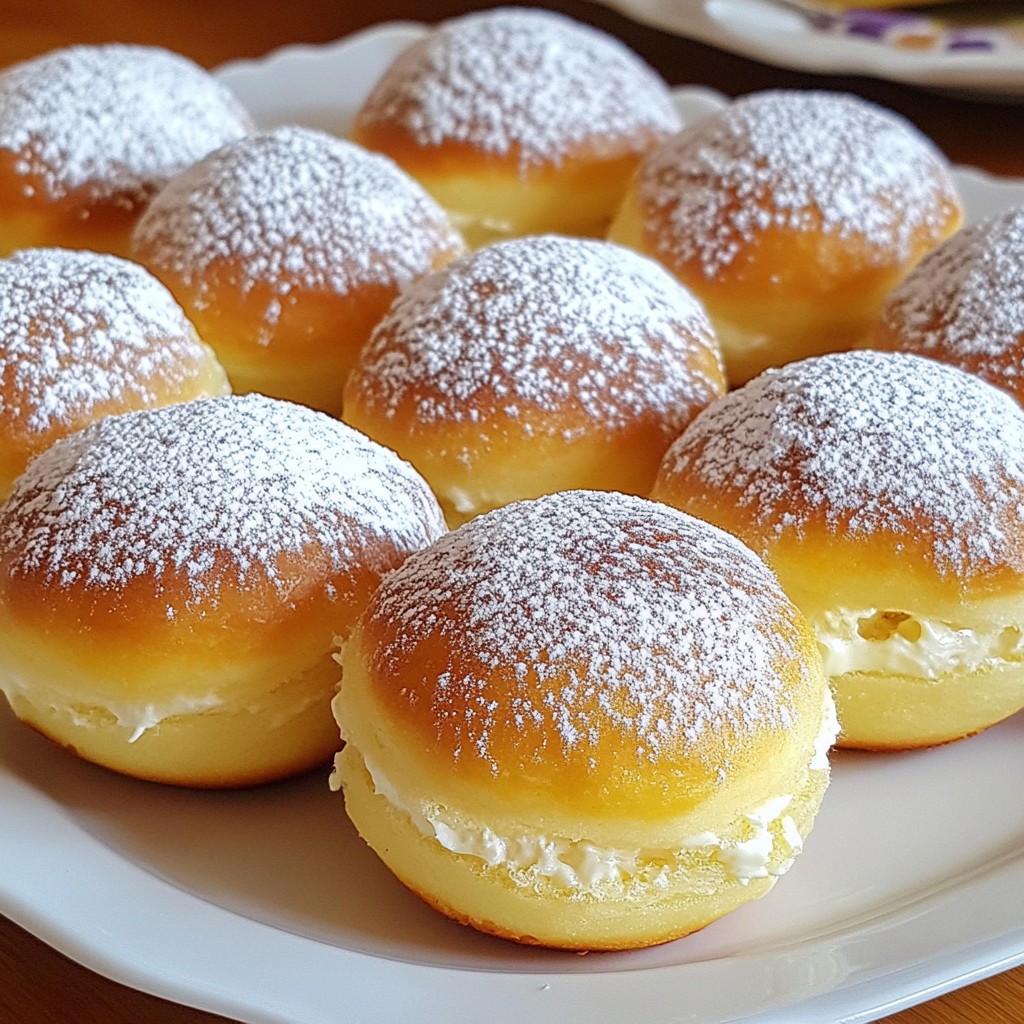
If you love sweet treats but want to skip the oven, then you’re in for a delight! These No-Bake Chocolate Caramel Cheesecake Bites are easy to make and packed with flavor. With smooth cream cheese, buttery graham cracker, and a rich caramel drizzle, each bite is a chocolate lover's dream. Join me as I guide you through the simple steps to create these heavenly bites that will impress your friends and satisfy your cravings!
Why I Love This Recipe
- Easy to Make: This no-bake recipe requires minimal effort and time, making it perfect for quick desserts or last-minute gatherings.
- Decadent Flavor: The combination of chocolate and caramel creates a rich, indulgent taste that will satisfy any sweet tooth.
- Customizable: You can easily adjust the toppings or add different flavors to the cheesecake mixture, making it versatile for various preferences.
- Perfect for Sharing: These bite-sized treats are ideal for parties, and everyone can enjoy their own little piece of heaven!
Ingredients
Main Ingredients List
- 1 cup cream cheese
- 1/2 cup powdered sugar
- 1/4 cup vanilla yogurt
- 1/4 cup cocoa powder
- 1 cup graham cracker crumbs
- 1/2 cup unsalted butter
- 1/2 cup caramel sauce
- 1/4 cup mini chocolate chips
- Sea salt
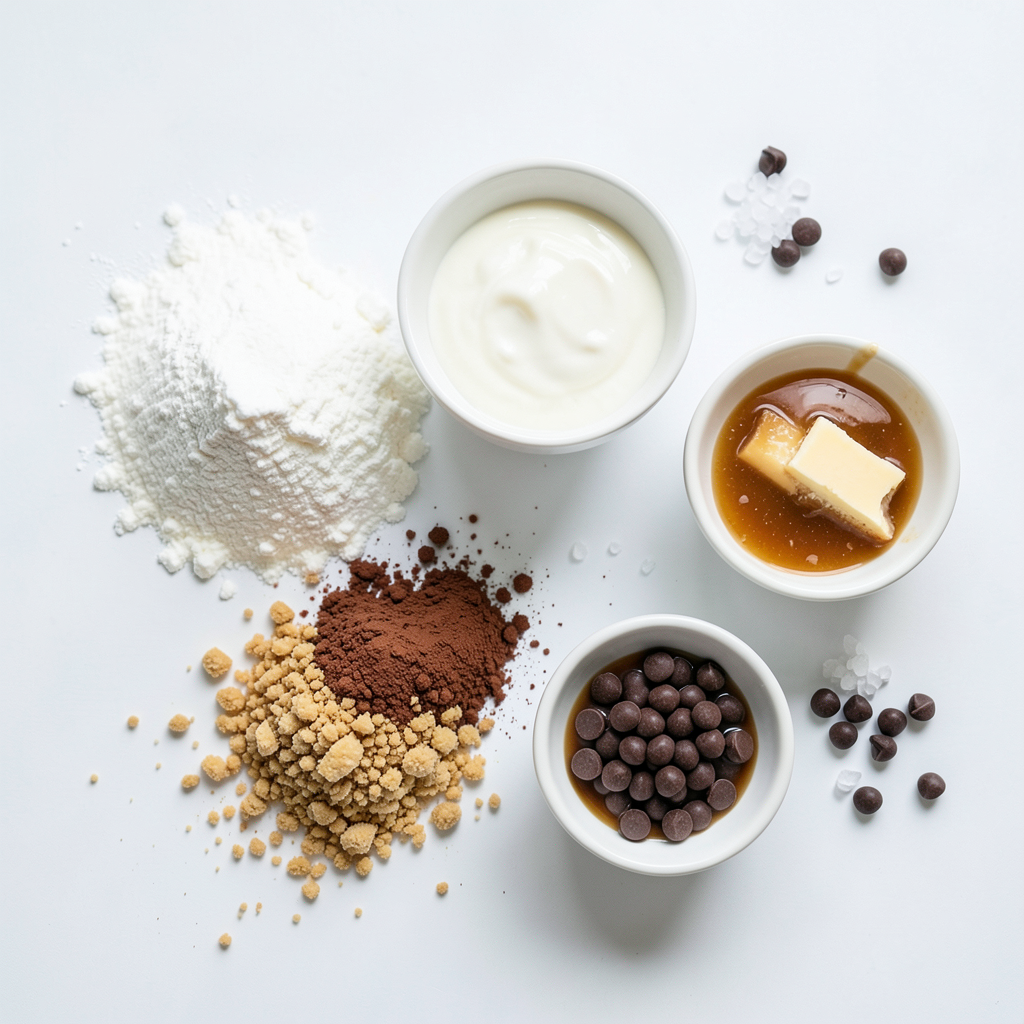
Gathering the right ingredients is key to making these no-bake chocolate caramel cheesecake bites. Start with cream cheese. It gives the bites a creamy texture. Use powdered sugar for sweetness. Vanilla yogurt adds a nice flavor and smoothness.
Next, cocoa powder brings out the rich chocolate taste. Graham cracker crumbs serve as the base. They provide a crunchy contrast to the creamy filling. Melt unsalted butter to mix with the crumbs. This helps hold the base together.
Caramel sauce is a must. It adds a sweet, gooey layer. Don't forget mini chocolate chips for a fun texture. Finally, sea salt enhances all the flavors. It balances sweetness and adds a touch of flair.
Step-by-Step Instructions
Preparation Steps
Mixing the Cream Cheese Mixture Start by taking a large mixing bowl. Add the softened cream cheese and powdered sugar. Beat them together until smooth. Next, add the vanilla yogurt and cocoa powder to this mixture. Mix well until it’s fluffy and fully blended.
Creating the Graham Cracker Base Grab another bowl for the graham cracker base. Combine the graham cracker crumbs with the melted butter. Stir until all the crumbs are coated in butter. This mixture should look crumbly but hold together when pressed.
Assembling the Cheesecake Bites Take about one tablespoon of the crumb mixture. Press it firmly into the bottom of each mold. It should form a nice base. Now, take your chocolate cream cheese mixture. Spoon it over the graham cracker base, filling each mold about two-thirds full. Drizzle a teaspoon of caramel sauce on top. Use a toothpick to swirl it gently. This will create a lovely marbled look. Finish by adding a few mini chocolate chips on top and a sprinkle of sea salt for that extra burst of flavor.
Freezing and Serving
How to Properly Freeze Place the filled molds in the freezer. Let them freeze for at least 2 hours or until they are firm. This step is crucial for the right texture.
Tips for Serving Once set, pop the cheesecake bites out of the molds. Place them on a decorative platter. Drizzle with extra caramel sauce and sprinkle more sea salt on top. This not only looks great but also adds flavor. Serve them chilled for the best taste.
Tips & Tricks
Perfecting the Texture
To make your no-bake chocolate caramel cheesecake bites extra tasty, softening the cream cheese is key. Leave your cream cheese out for about 30 minutes. This makes it easier to mix and gives a smooth result. You can also microwave it for about 10 seconds, but watch it carefully to avoid melting.
When mixing, use a hand mixer or stand mixer. Start on low speed to combine ingredients. Once mixed, increase the speed. This adds air and makes the mixture fluffy. Mixing well helps create a light texture, making each bite enjoyable.
Serving Suggestions
Presentation is important for any dessert. Arrange your cheesecake bites on a nice platter. Drizzle some extra caramel sauce over the top. Sprinkle a bit of sea salt for a fancy touch. This makes them look as good as they taste.
Pair your cheesecake bites with drinks like coffee or milk. A cold glass of milk balances the rich flavor. If you prefer something warm, a cup of coffee adds a nice contrast. These simple pairing ideas will make your dessert shine even more.
Pro Tips
- Use Room Temperature Ingredients: Allow the cream cheese to soften completely at room temperature for a smoother and creamier filling.
- Chill the Mold: Place the silicone molds or muffin tin in the freezer for a few minutes before adding the cheesecake mixture for easier removal later.
- Customize Your Toppings: Feel free to experiment with toppings like crushed nuts, toffee bits, or different types of chocolate chips for added texture and flavor.
- Storage Tips: Keep the cheesecake bites stored in an airtight container in the freezer for up to a month for optimal freshness.
Variations
Flavor Alternatives
You can change the flavor of these cheesecake bites easily. Try using different yogurt flavors like strawberry or lemon. This will give a fresh twist to each bite. You can also switch up the chocolate. Use dark chocolate for a richer taste or white chocolate for a sweeter option. Each choice will create a unique treat.
Dietary Modifications
If you need gluten-free options, choose gluten-free graham crackers. They work just as well in this recipe. For those looking for vegan substitutions, you can replace cream cheese with a vegan cream cheese. Use coconut oil instead of butter for a dairy-free option. These changes still keep the bites creamy and delicious.
Storage Info
Freezing Instructions
To store the no-bake chocolate caramel cheesecake bites in the freezer, first, let them set properly. Once firm, pop them out of the molds. Place each cheesecake bite in an airtight container or a freezer-safe bag. Make sure to layer them with parchment paper to avoid sticking. You can stack them, but leave some space.
The shelf life of these cheesecake bites is about three months in the freezer. They will stay fresh and tasty if stored properly.
Thawing Tips
For the best thawing method, take the cheesecake bites out of the freezer and place them in the fridge overnight. This slow thawing keeps the texture creamy and smooth. If you need them sooner, you can leave them at room temperature for about 30 minutes.
Wait at least five minutes after thawing before serving. This short wait helps the flavors come alive. Enjoy the creamy bites with a drizzle of extra caramel for added sweetness!
FAQs
Can I make these cheesecake bites ahead of time?
Yes, you can make these cheesecake bites ahead of time. They store well in the freezer. Just freeze them for at least two hours until firm. You can prepare them up to one week in advance. Store them in an airtight container for best results. When ready to serve, take them out and let them thaw for a few minutes. They taste great chilled.
What to do if I don't have silicone molds?
If you don’t have silicone molds, use a lined muffin tin instead. The liners help you pop out the bites easily. You can also use small ramekins or cups if they are oven-safe. Just make sure to line them with parchment paper. This way, the bites won’t stick. You can still enjoy the same tasty treat!
How can I adjust the sweetness in the recipe?
To adjust the sweetness, simply change the amount of powdered sugar. Add a little less for a less sweet taste. If you want more sweetness, you can add more caramel sauce. Taste as you mix to find the perfect balance. You can also swap the yogurt for a sweeter flavor, like flavored yogurt. Experimenting will help you find what you like best!
In this post, we explored how to make delicious cheesecake bites. You learned about the key ingredients and the steps to prepare them. We also discussed tips for perfecting the texture and offered fun flavor variations. Remember, you can easily store and thaw these bites for later enjoyment. These treats are simple and fun to make. They will impress your friends and family. Now, gather your ingredients and start creating your own cheesecake bites! Enjoy every sweet bite you make.