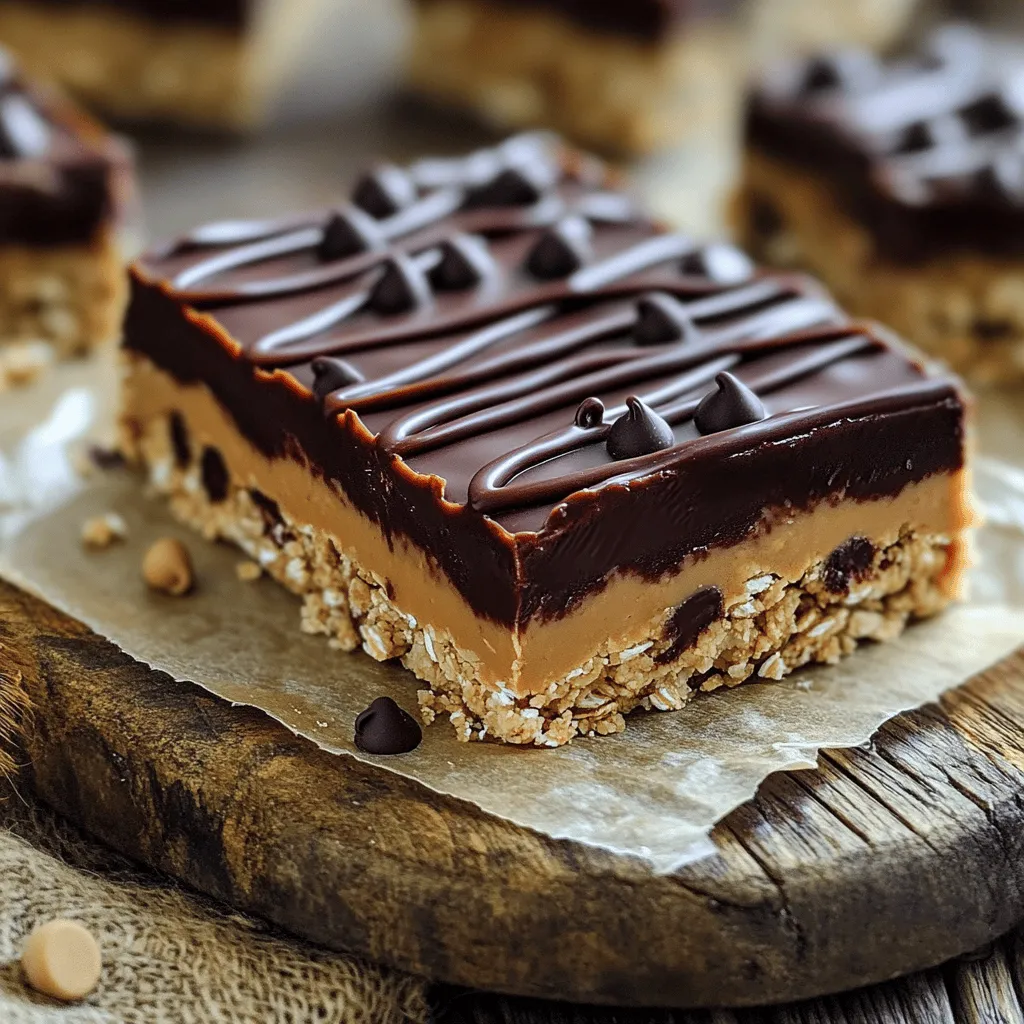
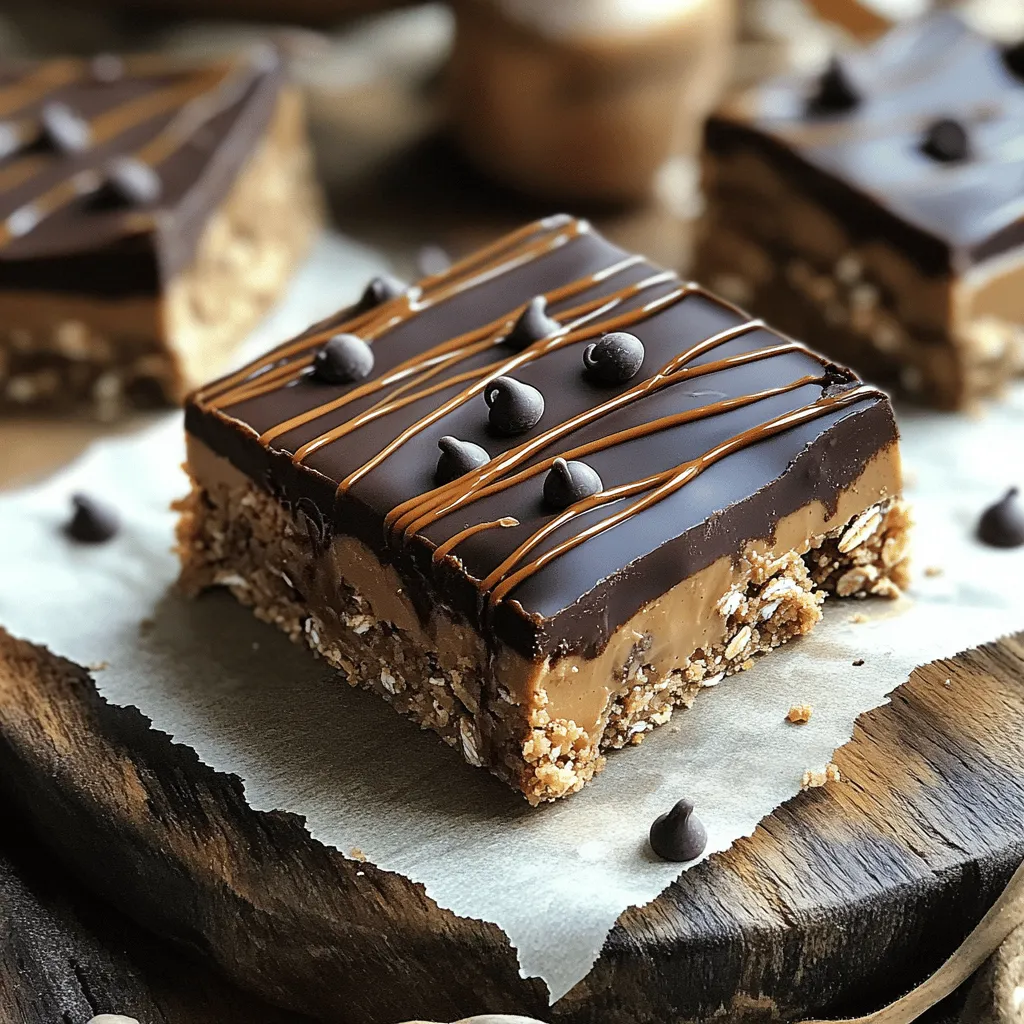
You’re in for a treat with these No-Bake Chocolate Peanut Butter Oat Bars! This easy recipe combines simple ingredients to create a yummy snack that everyone loves. You’ll learn how to mix the perfect blend of oats and peanut butter, plus tips for adding your favorite flavors. Best of all, there’s no baking needed! Let’s dive into this fun and quick recipe that will satisfy your sweet tooth.
Ingredients
Core Ingredients for No-Bake Bars
To make these no-bake chocolate peanut butter oat bars, you’ll need the following core ingredients:
- 1 cup rolled oats
- 1 cup natural peanut butter (smooth or chunky)
- 1/2 cup honey or maple syrup
- 1 cup dark chocolate chips
- 1/2 teaspoon vanilla extract
- 1/4 teaspoon salt
These simple ingredients work together to create a tasty and healthy treat. Rolled oats give the bars a chewy texture. Peanut butter adds creaminess and flavor. Honey or maple syrup provides natural sweetness.
Optional Add-Ins for Extra Flavor
Feel free to customize your bars with these optional add-ins:
- 1/4 cup chopped nuts (e.g., almonds or walnuts) for added crunch
- 1/4 cup mini chocolate chips for topping
Adding nuts can give a nice crunch and extra nutrition. Mini chocolate chips on top offer a fun, sweet finish.
Key Tips for Selecting Ingredients
Selecting quality ingredients makes a big difference. Here are some tips:
- Choose natural peanut butter with just peanuts and salt. Avoid added sugars or oils.
- Use rolled oats, not instant oats. Rolled oats provide a better texture.
- Pick dark chocolate chips with at least 60% cocoa content for rich flavor.
- Check for freshness dates on all ingredients to ensure the best taste.
By following these tips, you can create bars that are both delicious and satisfying. Enjoy the process of choosing the best ingredients!
Step-by-Step Instructions
Preparation of the Baking Dish
First, grab an 8×8-inch baking dish. Line it with parchment paper. Leave some paper hanging over the edges. This helps you lift the bars out later.
Mixing Wet Ingredients
Next, take a medium microwave-safe bowl. Add 1 cup of peanut butter and 1/2 cup of honey or maple syrup. Microwave for about 30 seconds. It should be warm and slightly melted. Stir the mix gently until it blends well.
Combining All Ingredients and Ensuring Proper Coating
In a large bowl, combine 1 cup of rolled oats, 1/4 teaspoon of salt, and 1/2 teaspoon of vanilla extract. Pour the warm peanut butter mix over these oats. Stir well until every oat gets covered. If you want, add 1/4 cup of chopped nuts for some crunch.
Pressing Mixture into the Pan
Now, transfer this mixture into your prepared baking dish. Use the back of a spoon or your hands to press it down firmly. Make sure it spreads evenly and is compact.
Melting Chocolate and Adding Toppings
For the chocolate, take another microwave-safe bowl. Add 1 cup of dark chocolate chips. Microwave in 20-second bursts. Stir in between until it melts completely and is smooth. Pour this melted chocolate over the oat mixture. Spread it evenly with a spatula. If you like, sprinkle 1/4 cup of mini chocolate chips on top.
Chilling Time and Serving Suggestions
Finally, place the baking dish in the fridge for at least 2 hours. This step helps the bars to firm up. Once ready, lift them out using the parchment paper. Cut into squares or rectangles. Serve them on a wooden board. For a nice touch, wrap them in parchment paper. You can drizzle some extra melted chocolate on top before serving too.
Tips & Tricks
How to Achieve the Perfect Texture
To get the best texture in your no-bake chocolate peanut butter oat bars, focus on the oat mixture. Use rolled oats, as they give the bars a chewy bite. Mix the oats, salt, and vanilla well before adding the warm peanut butter and honey. This helps the oats absorb the flavors evenly. Press the mixture firmly into the pan. A good, firm press ensures that the bars hold together well.
Troubleshooting Common Issues
If your bars fall apart, the mixture might be too loose. Ensure you have enough peanut butter and honey. These binders help hold everything together. If the bars are too sticky, you may have added too much honey or not pressed them firmly enough. You can also try chilling them longer to help them set.
Best Practices for Even Melting of Chocolate
To melt chocolate evenly, use the microwave in short bursts. Heat in 20-second intervals and stir in between. This method prevents burning. If you see small lumps of chocolate, keep stirring. The heat from the melted chocolate will help smooth it out. Make sure to pour the melted chocolate over the oat mixture quickly. This ensures a smooth, even layer on top.

Variations
Suggested Flavor Variations (e.g., Coconut, White Chocolate)
You can easily switch up the flavors of your no-bake bars. Here are some tasty ideas:
- Coconut: Add 1/2 cup of shredded coconut to the oat mixture.
- White Chocolate: Use white chocolate chips instead of dark chocolate for a sweet twist.
- Peanut Butter Swirl: Mix in an extra layer of peanut butter on top before chocolate.
- Mint: Add 1/4 teaspoon of peppermint extract for a refreshing taste.
These changes keep your bars exciting and fun!
Nut-Free Alternatives
If you need nut-free options, don’t worry! You can still enjoy these bars:
- Sunflower Seed Butter: Substitute peanut butter with sunflower seed butter.
- Pumpkin Seeds: Use pumpkin seeds instead of nuts for crunch.
- Coconut Butter: Use coconut butter for a creamy texture without nuts.
These swaps make the bars safe for those with nut allergies.
Customization Ideas for Dietary Preferences (Vegan, Gluten-Free)
You can adjust the recipe to fit many diets:
- Vegan: Replace honey with maple syrup. Ensure chocolate chips are dairy-free.
- Gluten-Free: Use certified gluten-free oats to make the bars safe for gluten-free diets.
- Low Sugar: Use sugar-free chocolate chips and reduce the honey or syrup.
These choices help everyone enjoy delicious no-bake chocolate peanut butter oat bars!
Storage Info
Best Storage Practices for Freshness
To keep your no-bake chocolate peanut butter oat bars fresh, you should store them in an airtight container. This method helps prevent moisture and air from affecting the bars. Place a layer of parchment paper between the layers of bars. This way, they won’t stick together.
How Long Can You Store No-Bake Bars?
You can store these bars in the fridge for about a week. If you keep them at room temperature, they last for about 2 to 3 days. Make sure to check for any signs of spoilage. If they smell off or look strange, it’s best to toss them.
Freezing Instructions for Longer Shelf Life
To extend the shelf life, freezing is a great option. Wrap each bar tightly in plastic wrap. Then, place them in a freezer-safe bag or container. They can last up to 3 months in the freezer. When you’re ready to eat one, just take it out and let it thaw at room temperature. You’ll have a chewy treat ready to enjoy!
FAQs
Can I use a different type of nut butter?
Yes, you can use any nut butter you like. Almond butter or cashew butter works well too. Each nut butter gives a unique flavor. If you want a nut-free option, try sunflower seed butter. It has a nice taste and is safe for schools.
How can I make these bars lower in sugar?
To lower the sugar, use less honey or maple syrup. You can also swap in a sugar-free syrup. Consider using mashed ripe bananas or unsweetened applesauce. These alternatives can add sweetness without extra sugar.
What is the best way to cut the bars cleanly?
Use a sharp knife and cut while the bars are cold. Let the bars chill for at least two hours. If they stick, run the knife under hot water first. Clean cuts make for better presentation.
Are these bars suitable for meal prep?
Absolutely! These bars are great for meal prep. They store well in the fridge for up to a week. You can also freeze them for longer storage. Just cut them before freezing for easy grab-and-go snacks.
Can I make these without chocolate?
Yes, you can skip the chocolate. Instead, top the bars with extra nuts or seeds. You can also drizzle melted white chocolate on top for a different flavor. The base will still taste great without chocolate.
Making no-bake bars is fun and easy. We covered essential ingredients, tips on prep, and step-by-step instructions. You can customize flavors to fit your taste, diet, or mood. Storage tips keep your bars fresh for longer.
Incorporate these insights into your next kitchen adventure. With a bit of practice, you can create tasty snacks each time. Enjoy experimenting and sharing your delicious creations with family and friends!


