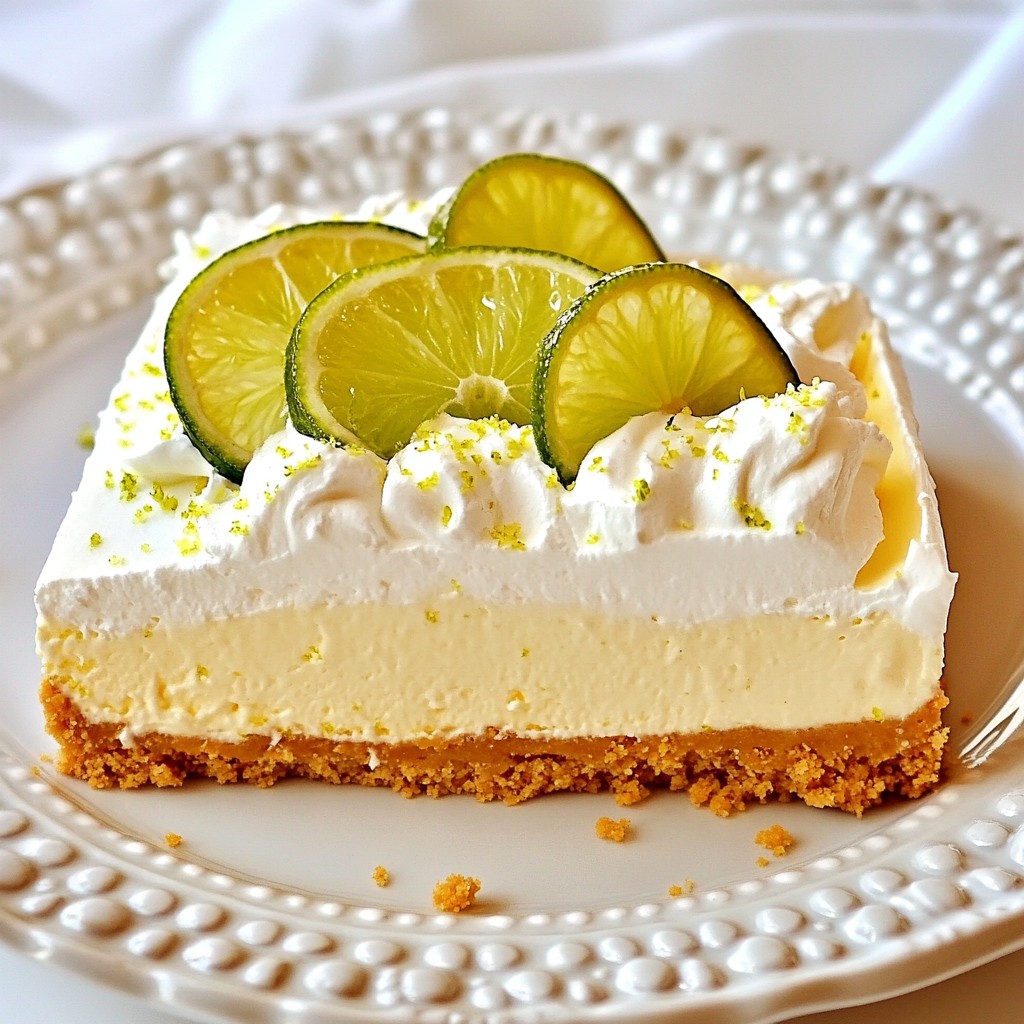
If you crave a sweet and tangy treat, this No-Bake Key Lime Cheesecake is for you! With its creamy filling and crumbly crust, it’s a dessert that needs no oven. I’ll guide you through simple steps to make this delightful dish, complete with tips to suit various diets. Whether you want it gluten-free or vegan, I’ve got you covered. Let’s dive into making this delicious dessert!
Why I Love This Recipe
- Deliciously Tangy: This cheesecake perfectly balances the tartness of key limes with the sweetness of the cream cheese, creating a refreshing dessert that’s hard to resist.
- No Baking Required: With this no-bake recipe, you can enjoy a creamy cheesecake without the hassle of turning on the oven, making it perfect for hot summer days.
- Quick Prep Time: In just 20 minutes, you can whip up the cheesecake filling and crust, allowing you to spend more time enjoying your dessert and less time in the kitchen.
- Customizable Toppings: Whether you prefer a dollop of whipped cream or fresh lime slices, this cheesecake is versatile enough to be dressed up or down for any occasion.
Ingredients
Key Ingredients
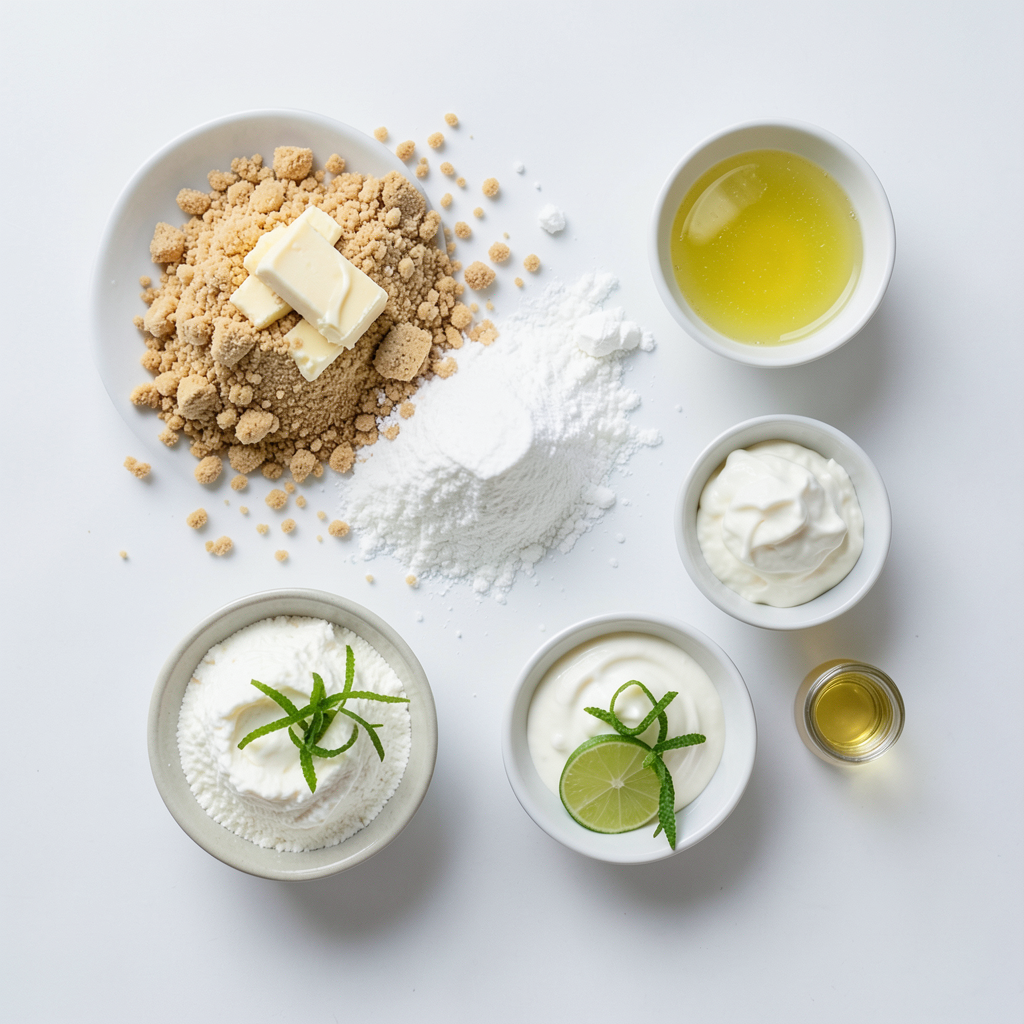
To make a no-bake key lime cheesecake, you will need these key ingredients:
- 1 ½ cups graham cracker crumbs
- ½ cup unsalted butter, melted
- 1 cup cream cheese, softened
- 1 cup powdered sugar
- ½ cup sour cream
- ½ cup freshly squeezed key lime juice
- 1 tablespoon key lime zest
- 1 teaspoon vanilla extract
- Whipped cream, for topping (optional)
- Lime slices, for garnish (optional)
If you need gluten-free options, use gluten-free graham crackers. For a vegan version, swap cream cheese for a plant-based cream cheese and use coconut cream instead of sour cream. You can also replace butter with coconut oil.
Recommended Tools
You will need a few essential kitchen tools to prepare this cheesecake:
- 9-inch springform pan
- Mixing bowls
- Electric mixer
- Measuring cups and spoons
- Spatula
Having these tools makes the process easier and more enjoyable. A springform pan is great for easy removal. An electric mixer helps to blend the cream cheese smoothly.
Step-by-Step Instructions
Preparing the Crust
To make the crust, start by mixing the graham cracker crumbs and melted butter in a medium bowl. Use a fork to combine them until you see a wet sand texture. This step is key. It helps the crust hold together.
Next, grab a 9-inch springform pan. Press the crumb mixture firmly into the bottom of the pan. Use the back of a measuring cup to create an even layer. Make sure it’s packed tightly. This helps the crust stay firm. Once done, place the pan in the fridge. Let it chill while you prepare the filling.
Making the Filling
For the filling, take a large mixing bowl and add softened cream cheese. Beat it with an electric mixer until it’s smooth and creamy. This smoothness is important for a perfect texture.
Slowly add the powdered sugar while mixing. Continue until there are no lumps. Now, add the sour cream, freshly squeezed key lime juice, key lime zest, and vanilla extract. Mix on medium speed until well combined. The mixture should be smooth, with a vibrant lime flavor.
Assembling the Cheesecake
After making the filling, it’s time to assemble your cheesecake. Remove the crust from the fridge and pour the filling over the crust. Use a spatula to spread it evenly.
Cover the cheesecake with plastic wrap. Place it back in the fridge to chill for at least 4 hours. For the best results, let it set overnight. This waiting time allows the flavors to blend beautifully. Before serving, you can add whipped cream and lime slices for a lovely touch.
Tips & Tricks
Achieving the Perfect Texture
To get a creamy filling, start with soft cream cheese. I let mine sit out for 30 minutes before mixing. This helps prevent lumps in the batter. When you mix, do it slowly at first. Gradually increase the speed as the ingredients combine. This way, your filling will be smooth and velvety.
Chill your cheesecake for at least four hours. I often leave mine in the fridge overnight. This allows the flavors to meld and ensures a firm texture. The longer it chills, the better it sets.
Flavor Enhancements
Want to boost the lime flavor? Add more zest! A bit extra key lime zest brightens the taste. You can also try different sweeteners. If you prefer less sugar, use honey or maple syrup instead. These options bring a unique twist to the recipe.
For a richer taste, consider adding a splash of coconut milk. This pairs nicely with lime. It creates a tropical vibe that’s hard to resist.
Pro Tips
- Use Fresh Key Limes: For the best flavor, always use freshly squeezed key lime juice instead of bottled juice. Fresh limes provide a brighter and more vibrant taste.
- Chill Overnight: For a firmer texture and enhanced flavor, chill the cheesecake overnight. This extra time allows the flavors to meld beautifully.
- Room Temperature Ingredients: Ensure your cream cheese is at room temperature before mixing. This helps achieve a smooth and creamy filling without lumps.
- Garnish Creatively: Add a personal touch by garnishing with lime slices and whipped cream, or even a sprinkle of graham cracker crumbs for added texture.
Variations
Flavor Combinations
You can change up the flavor of your no-bake key lime cheesecake in fun ways. Here are a few ideas:
- Coconut: Add shredded coconut for a tropical twist. Mix ½ cup of coconut into the filling.
- Berry: Use fresh berries like strawberries or blueberries. Blend them into the filling for a fruity flavor.
- Chocolate: Swirl in melted chocolate for a rich, decadent taste. Use about ½ cup of dark chocolate and mix it in gently.
- Mint: Add a few drops of mint extract or mix in fresh mint leaves. This gives a refreshing flavor.
Try these combos to make the cheesecake your own!
Presentation Ideas
Making your cheesecake look great is easy. Here are some simple ideas for serving:
- Whipped Cream: Top with a dollop of whipped cream. This adds creaminess and looks nice.
- Lime Slices: Add lime slices on top for color. They make the dessert pop!
- Zest: Sprinkle extra lime zest over the cheesecake. This adds a nice touch and a burst of flavor.
- Garnish: Use fresh mint leaves for a beautiful garnish. They add color and a fresh smell.
With these tips, your cheesecake will be as tasty as it is beautiful!
Storage Info
Storing the Cheesecake
To keep your no-bake key lime cheesecake fresh, store it in the fridge. Place the cheesecake in an airtight container or cover it tightly with plastic wrap. This will keep it from drying out and absorbing odors. It will stay good for about 5 to 7 days. If you want to enjoy it later, freezing is a great option.
Freezing Instructions
To freeze the cheesecake, first, let it chill completely in the fridge. Once set, wrap it tightly in plastic wrap. Then, place it in a freezer-safe container or bag. This keeps it fresh for up to 3 months. When you're ready to eat it, move the cheesecake to the fridge to thaw overnight. After thawing, you can add whipped cream and lime slices for serving. Enjoy your delicious dessert!
FAQs
Can I make this cheesecake ahead of time?
Yes, you can make this cheesecake ahead of time. It tastes even better after chilling. I recommend making it a day before your event. This allows the flavors to blend nicely. Just cover it tightly with plastic wrap. Keep it in the fridge until you are ready to serve.
What can I use instead of key limes?
If you can’t find key limes, regular limes work well. You can also use a mix of lime and lemon juice. This will give a nice tart flavor. Just remember, key limes are sweeter and more aromatic. Adjust the sugar if using regular limes to balance the taste.
How do I know when the cheesecake is set?
You can tell the cheesecake is set when it is firm to the touch. Gently shake the pan; the filling should be stable. It should not jiggle too much. If it looks shiny, give it more time in the fridge. A chilled cheesecake will slice cleanly and hold its shape well.
You now have a complete guide to making a no-bake key lime cheesecake. We covered essential ingredients, kitchen tools, and detailed instructions. You learned tips for achieving the perfect texture and flavor. Don’t forget to explore variations and creative storage tips. This dessert is adaptable for different tastes and diets, making it a great choice for any occasion. Enjoy the process and impress your friends and family with this delicious treat!


