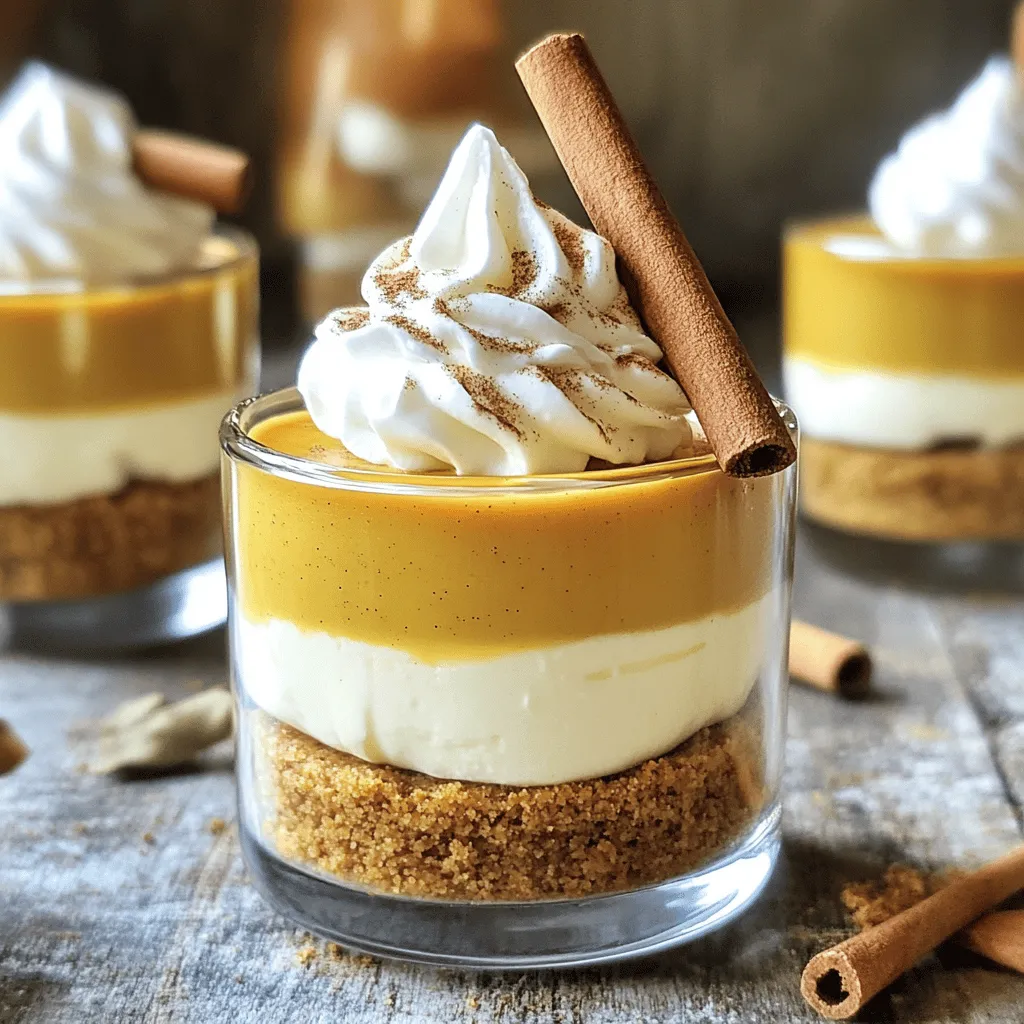
Are you ready for a dessert that’s simple, quick, and full of fall flavor? Let’s dive into these No-Bake Pumpkin Cheesecake Cups! They combine creamy pumpkin goodness with a crunchy graham cracker base, all without turning on the oven. Perfect for gatherings or cozy nights at home, these cups are sure to impress. Stick around to discover easy steps, great tips, and delicious variations that will make your taste buds dance!
Ingredients
List of Ingredients
For these delightful no-bake pumpkin cheesecake cups, you will need:
– 1 cup graham cracker crumbs
– 1/4 cup unsalted butter, melted
– 2 (8 oz) packages cream cheese, softened
– 1 cup canned pumpkin puree
– 3/4 cup powdered sugar
– 1 teaspoon vanilla extract
– 1 teaspoon ground cinnamon
– 1/2 teaspoon ground nutmeg
– 1/4 teaspoon ground ginger
– 1 cup heavy whipping cream
Importance of Quality Ingredients
Using quality ingredients makes a big difference. Fresh cream cheese gives a rich, smooth taste. Canned pumpkin puree should be pure, with no added sugars. Ground spices must be fresh to bring out their full flavor. Each component works together to create a creamy, delightful dessert.
Substitutions and Alternatives
You can modify this recipe based on your needs. If you want a lighter option, use light cream cheese. For those avoiding dairy, try vegan cream cheese and coconut cream as a substitute for heavy cream. Use gluten-free graham crackers if you want a gluten-free option. Each swap can change the taste, so feel free to experiment!
Step-by-Step Instructions
Preparing the Graham Cracker Crust
To make the crust, you need graham cracker crumbs and melted butter. In a medium bowl, mix 1 cup of the crumbs with 1/4 cup of the melted butter. Stir until the crumbs are wet. Next, take 6 small dessert cups or jars. Spoon about 2 tablespoons of the mixture into each cup. Press down the crumbs gently to form a nice crust layer. This crust gives your cups a tasty base.
Making the Pumpkin Cheesecake Filling
Now, let’s make the filling. Start by taking 2 packages of softened cream cheese. Beat them in a large bowl using an electric mixer until smooth. Next, add 1 cup of canned pumpkin puree, 3/4 cup of powdered sugar, and 1 teaspoon each of vanilla extract and ground cinnamon. Also, add 1/2 teaspoon of ground nutmeg and 1/4 teaspoon of ground ginger. Mix until everything is smooth and fluffy. This will give your cheesecake a rich flavor and creamy texture.
Assembling the Cups
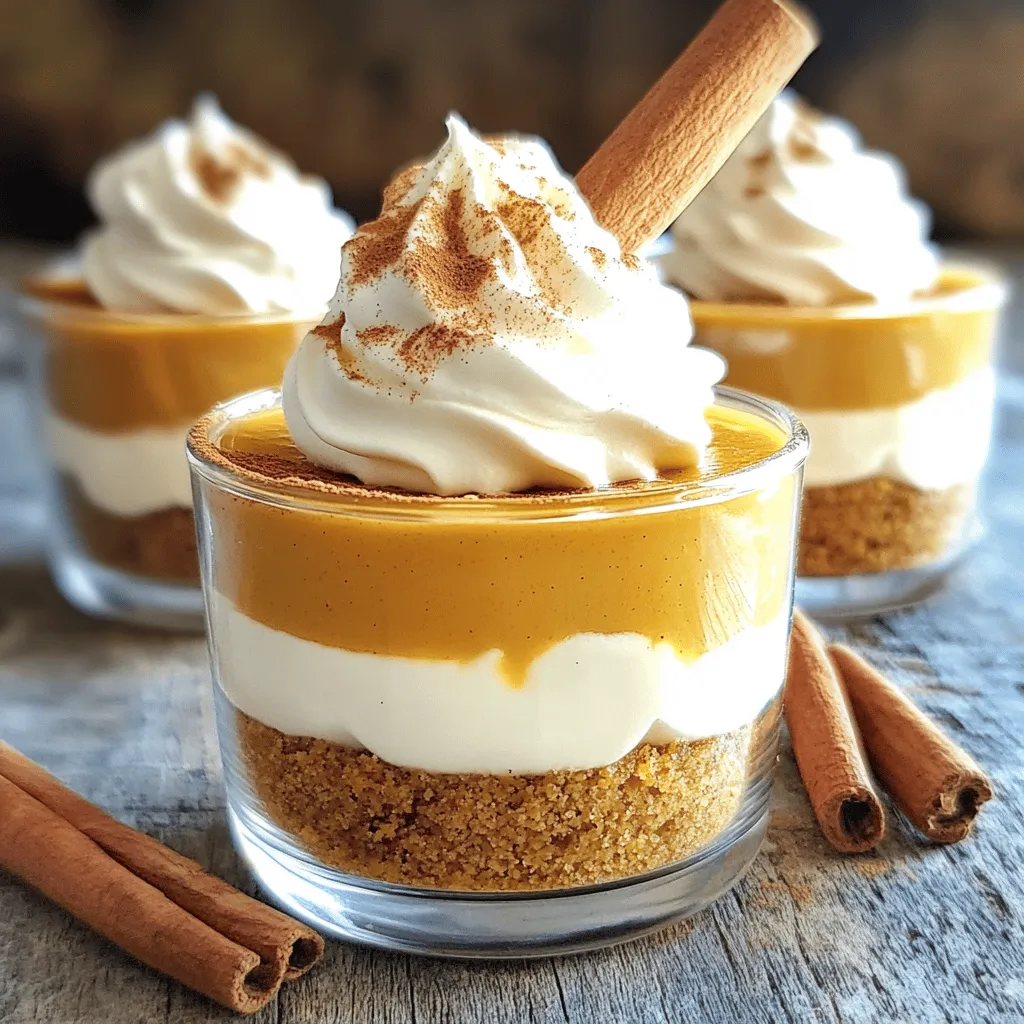
Once your filling is ready, it’s time to assemble the cups. In a separate bowl, whip 1 cup of heavy cream until it forms stiff peaks. Gently fold this whipped cream into the pumpkin mixture. This step makes your filling light and airy. Spoon the pumpkin cheesecake filling over the crust in each cup. Fill them about three-quarters full. Now, place the cups in the fridge for at least 3 hours to set. When they are ready, you can top them with whipped cream and a sprinkle of cinnamon. Enjoy this simple and delightful treat!
Tips & Tricks
Achieving the Perfect Creamy Texture
To get the best creamy texture, start with softened cream cheese. If it’s too cold, it won’t mix well. Use an electric mixer to blend the cream cheese until it’s smooth. This step is key for a fluffy filling. Also, when adding whipped cream, fold it gently. This keeps the mixture light and airy. Overmixing can make it dense, so be careful.
Common Mistakes to Avoid
One common mistake is not chilling the cups long enough. If you skip the refrigeration step, the cups won’t set properly. It’s also easy to under-mix the cream cheese, leading to lumps. Another mistake is packing the crust too tightly. The crust should hold together but still be light and crumbly. Lastly, avoid using too much pumpkin puree. Stick to one cup for the right balance.
Recommended Tools and Utensils
You will need a few simple tools for this recipe. A medium bowl is perfect for mixing the crust. Use a large mixing bowl for the cheesecake filling. An electric mixer helps achieve a smooth texture. For folding in whipped cream, a rubber spatula works best. Finally, small dessert cups or jars are great for serving your cheesecake cups. A measuring cup and spoons are also essential for accuracy.
Variations
Pumpkin Spice Cheesecake Cups
You can add pumpkin spice to your cheesecake mix. Simply replace the ground cinnamon with pumpkin spice. This gives a warm, cozy flavor. It makes each bite feel like fall. You can also top these cups with a sprinkle of pumpkin spice for extra flair.
Chocolate Pumpkin Cheesecake Cups
For a tasty twist, mix in some cocoa powder. Add about 1/4 cup of unsweetened cocoa to the cream cheese mix. This makes a rich chocolate flavor that pairs so well with pumpkin. You can even layer chocolate ganache on top for a sweet treat.
Vegan No-Bake Pumpkin Cheesecake Options
To make a vegan version, swap out the cream cheese for vegan cream cheese. Use coconut cream instead of heavy whipping cream. You can also use maple syrup instead of powdered sugar for sweetness. This way, you can enjoy the same great taste without dairy.
Storage Info
Refrigeration Tips
Keep your No-Bake Pumpkin Cheesecake Cups in the fridge. They taste best when cold. Use a tight lid or plastic wrap to cover the cups. This helps avoid any fridge smells. Properly stored, they stay fresh for about 3 to 5 days.
Freezing Instructions
You can freeze these cups if you want to save some for later. Freeze them without toppings first. Place them in a freezer-safe container. They can last up to 3 months in the freezer. When ready to eat, thaw them overnight in the fridge.
Best Practices for Storing Leftovers
If you have any leftovers, store them in the fridge. Use small containers for easy access. Avoid leaving them out at room temperature. This keeps your cheesecake safe and tasty. Always check for any signs of spoilage before eating.
FAQs
How long do No-Bake Pumpkin Cheesecake Cups last?
No-Bake Pumpkin Cheesecake Cups can last up to five days in the fridge. Store them in an airtight container to keep them fresh. Always check for any changes in smell or texture before serving.
Can I make these cups in advance?
Yes, you can make these cups a day or two ahead of time. This helps the flavors meld together. Just keep them in the fridge until you are ready to serve.
What can I use instead of heavy cream?
If you need a substitute for heavy cream, try using coconut cream. You can also use whipped topping or full-fat Greek yogurt for a lighter option. Just know that these may change the flavor slightly.
How do I serve No-Bake Pumpkin Cheesecake Cups?
Serve these cups chilled for the best taste. Top with whipped cream and a sprinkle of cinnamon for a nice touch. For fun, add a cinnamon stick or some crushed graham crackers on top.
In this post, we explored how to make delicious No-Bake Pumpkin Cheesecake Cups. We discussed key ingredients, the importance of quality, and substitutions. The step-by-step guide covered crust preparation, filling, and assembly. I shared tips to achieve a creamy texture and avoid mistakes. We also looked at fun variations and best storage methods.
Now you can create your tasty dessert with ease. Enjoy every bite and share this treat!


