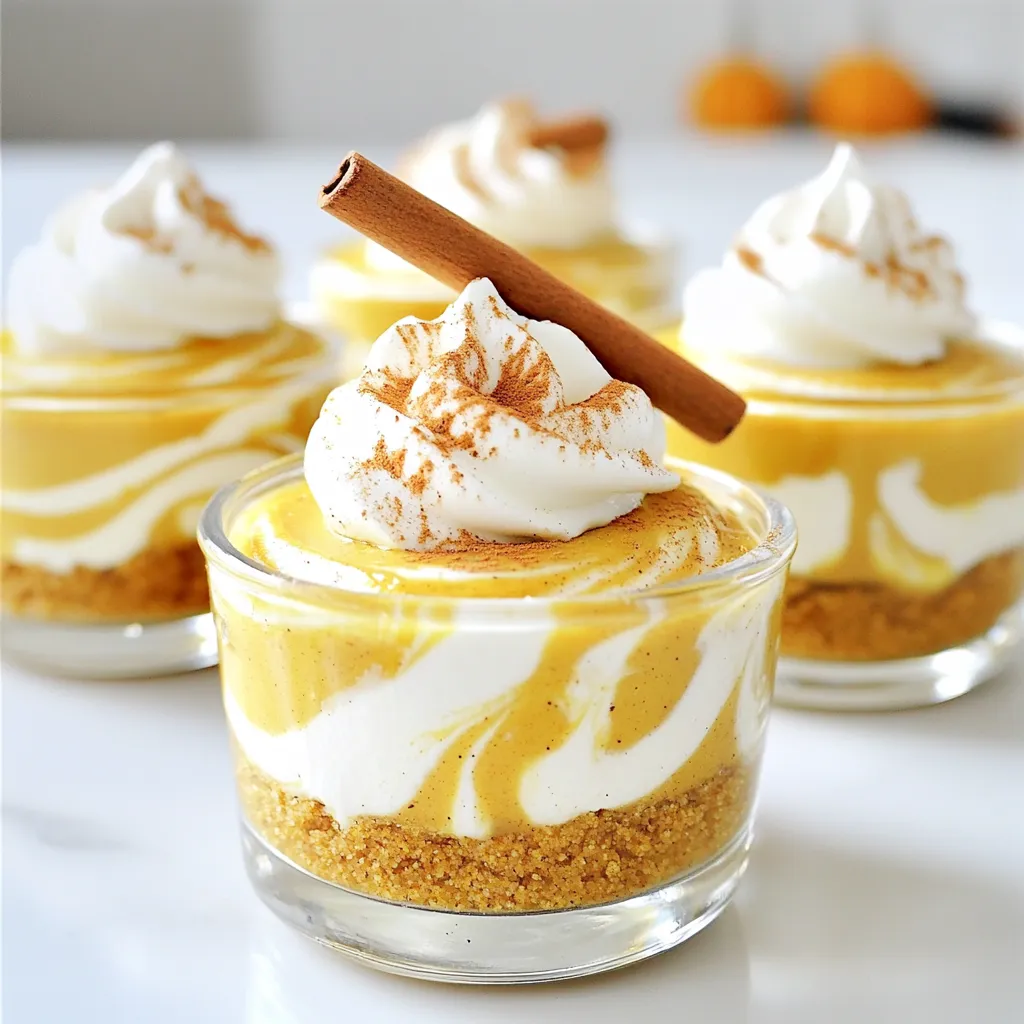
If you love easy desserts, you’ll adore these No-Bake Pumpkin Cheesecake Cups! They combine creamy pumpkin flavor with a crunchy crust, making a perfect treat for any season. You can whip them up in no time and impress your friends or family. Plus, I’ll share handy tips and tricks to customize your cups! Let’s dive in to create this deliciously simple and tasty delight together.
Ingredients
List of Ingredients
– 1 cup graham cracker crumbs
– 4 tablespoons unsalted butter, melted
– 2 cups cream cheese, softened
– ½ cup powdered sugar
– 1 cup pumpkin puree
– 1 teaspoon vanilla extract
– 1 teaspoon pumpkin pie spice
– 1 cup whipped cream (plus extra for topping)
Ingredient Substitutions
– Alternatives for Graham Cracker Crust: You can use crushed cookies like Oreos or digestive biscuits. These options add unique flavors and textures to your dessert.
– Dairy-Free Options for Cream Cheese: Look for brands that offer dairy-free cream cheese. Cashew cream is another great choice for a rich taste.
– Sweetener Alternatives: You can swap powdered sugar for honey or maple syrup. Adjust the amounts as needed for the right sweetness.
These ingredients provide a great balance of flavors in your no-bake pumpkin cheesecake cups. The graham cracker crumbs give a nice crunch, while the cream cheese and pumpkin create a smooth, creamy filling. Don’t hesitate to mix and match ingredients based on your preferences!
Step-by-Step Instructions
Preparing the Crust
– Mixing and Pressing the Graham Cracker Mixture
Start by mixing the graham cracker crumbs and melted butter in a bowl. Use a fork or spoon to blend them well. This mixture should look like wet sand. Next, grab your serving cups or small jars. Press the crumb mixture firmly into the bottom of each cup. Aim for a nice, even layer that feels sturdy.
– Tips for Even Crust Distribution
To get an even crust, use the back of a measuring cup. This helps pack the crumbs down tightly. You can also use your fingers, but be sure to keep the layer smooth. If you want the crust to be thicker, just add a bit more crumb mixture.
Making the Cheesecake Filling
– Beating Cream Cheese to the Right Consistency
In a large bowl, add the softened cream cheese. Use an electric mixer to beat it until it is smooth and creamy. This step is key. If the cream cheese is too cold, it won’t mix well. Make sure it is at room temperature for the best results.
– Incorporating Pumpkin and Spices
Gradually add the powdered sugar to the cream cheese. Mix it until well combined. Now, add the pumpkin puree, vanilla extract, and pumpkin pie spice to the bowl. Mix everything until it is smooth and creamy. You want a thick, rich mixture that smells like fall.
Assembling and Chilling
– Filling the Cups with Pumpkin Cheesecake
Take the pumpkin cheesecake filling and spoon or pipe it into each cup. Make sure to fill them up to the top. This gives a nice layered look with the crust below. You can use a piping bag for a neat finish, or just a spoon works fine.
– Recommended Chilling Time
Once filled, cover the cups with plastic wrap. Place them in the refrigerator for at least two hours. This chilling time allows the flavors to meld and the cheesecake to set. For the best taste, let them chill longer if you can.
Tips & Tricks
Common Mistakes to Avoid
1. Overmixing the Cheesecake Mixture: Mix the cream cheese just until smooth. Overmixing adds too much air and can make the texture grainy. Keep it simple and blend well, but don’t go overboard.
2. Not Chilling Long Enough: Patience is key here. Let your cheesecake cups chill for at least 2 hours. This step helps set the filling and melds the flavors. If you serve them too soon, they may not hold their shape.
Presentation Tips
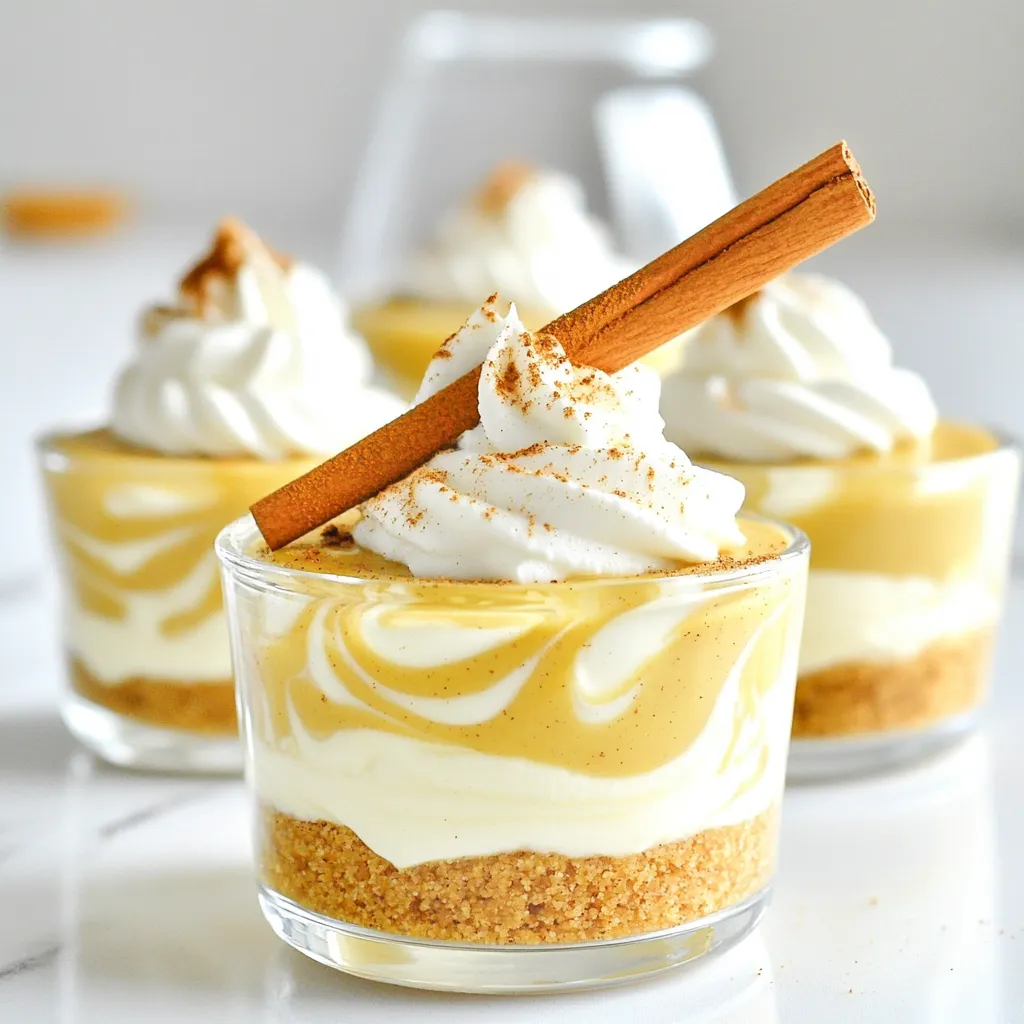
1. Creative Garnishes for Serving: Make your cheesecake cups pop! Top with a dollop of whipped cream. Add a sprinkle of chopped pecans or a small cinnamon stick for a nice touch. These simple additions make the dessert look fancy.
2. Serving Suggestions for Events: These cups are great for parties. Serve them in clear jars for a beautiful view of the layers. You can also set them on a tray with a few festive decorations. They will catch everyone’s eye and make a sweet statement.
Variations
Flavor Variations
Adding Maple Syrup
You can make these cups even sweeter by adding maple syrup. Just mix in 2 to 4 tablespoons of maple syrup with the cream cheese and pumpkin. This gives a rich, warm flavor that pairs well with pumpkin. It also adds a touch of fall that many love.
Chocolate Pumpkin Cheesecake Cups
For a fun twist, try chocolate pumpkin cheesecake cups. To do this, add ½ cup of melted chocolate to the pumpkin filling. You can use dark, milk, or white chocolate based on your taste. This change will create a delightful blend of chocolate and pumpkin, giving you a unique dessert.
Dietary Variations
Gluten-Free Options
If you need a gluten-free option, simply switch the graham crackers for gluten-free cookies or crumbs. There are many gluten-free graham crackers available now. Just make sure to check the label. This way, you can enjoy the same great taste without the gluten.
Vegan No-Bake Pumpkin Cheesecake Cups
To make these cups vegan, use dairy-free cream cheese. You can also replace powdered sugar with coconut sugar or agave syrup. Additionally, use coconut whipped cream instead of regular whipped cream. This keeps the creamy texture while making it plant-based.
Storage Info
How to Store
To keep your no-bake pumpkin cheesecake cups fresh, follow these simple steps:
– Refrigeration Guidelines: Store the cups in the fridge. Use an airtight container or cover them tightly with plastic wrap. This keeps them fresh and prevents them from drying out. They need to be chilled for at least two hours after you make them.
– Freezing the Cheesecake Cups: You can freeze these cups if you want to keep them longer. Place them in a freezer-safe container. They will last for up to two months. Just remember to thaw them in the fridge before serving.
Shelf Life
– How Long They Last in the Fridge: These delicious cups last for about 5 days in the fridge. After that, the flavors may not be as fresh.
– Signs of Spoilage: Check for signs of spoilage before eating. If you see mold or if the texture changes, it’s best to throw them away. Also, if they smell bad, do not eat them. Always trust your senses!
FAQs
Can I make these ahead of time?
Yes, you can make these no-bake pumpkin cheesecake cups ahead of time. To do this, follow these best practices:
– Prepare the crust: Make the graham cracker crust and press it into the cups.
– Mix the filling: Whip up the cheesecake filling as usual.
– Layer together: Spoon the filling over the crusts.
– Chill: Cover and refrigerate for at least two hours.
– Serve later: You can keep these in the fridge for up to three days.
Making these cups a day or two ahead saves time and helps the flavors meld together.
What can I use instead of pumpkin puree?
If you don’t have pumpkin puree, there are good alternatives. Here are some options:
– Sweet potato puree: This gives a similar flavor and texture.
– Butternut squash puree: It offers a sweeter taste and smooth texture.
– Applesauce: This can work, but it will change the flavor a bit.
When using alternatives, keep the same amount as the recipe calls for.
Can I use different types of cheese?
Yes, you can explore different cheeses for this recipe. Here are some options:
– Mascarpone: This cheese adds a rich and creamy texture.
– Ricotta: It gives a lighter filling but may need more sugar.
– Greek yogurt: This option makes the dessert tangy and lower in fat.
Mixing different cheeses can add unique flavors and textures. Just keep the ratios similar for the best results.
This blog covered how to make pumpkin cheesecake cups, from ingredients to storage. You learned about key ingredients like graham cracker crumbs and cream cheese, plus alternatives for dietary needs. I shared simple steps for preparing, assembling, and chilling your dessert. Remember to avoid common mistakes for a great result. With a few tips and variations, you can impress at any event. Enjoy making this treat, and share it with friends and family. Your pumpkin cheesecake cups are sure to be a hit!


